If you follow me on twitter you know that about 2 months ago I found this awesome lamp at the thrift store for $8.00.
Pretty much it’s the greatest lamp I have ever found. But there is one not so small problem.
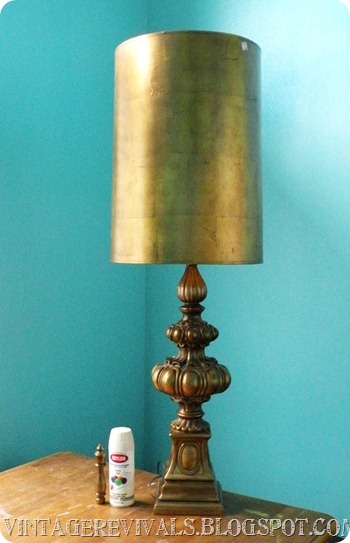
Its HUGE!! (notice the finial is almost the size of a spray paint can.)
Too small to be a floor lamp, but too big for a table lame. I did everything I could to find a way to use it but to no avail.
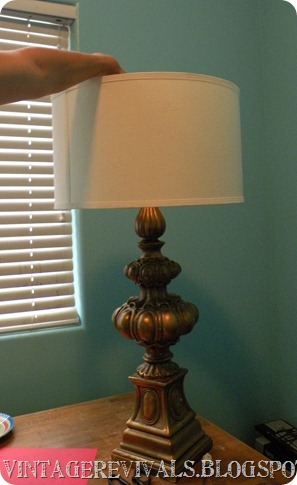
This was the shade that I wanted to use on it.
Kind of reminds you of a tall guy with a cut off t shirt right?
So I decided to preform a little bit of surgery. After making my Teapot Lamp and a few versions of it I am pretty comfortable with how lamp electrical junk works.
So here is what I did.
*MOST IMPORTANT THING EVER!!! MAKE SURE YOUR LAMP IS UNPLUGGED!!
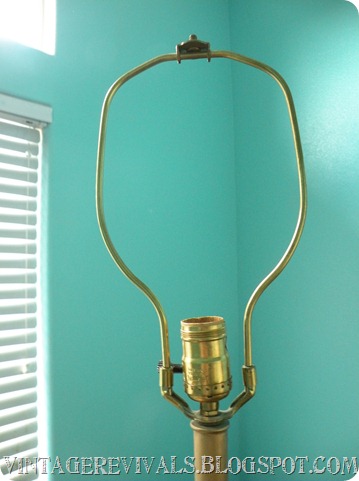
This is what your lamp will look like:
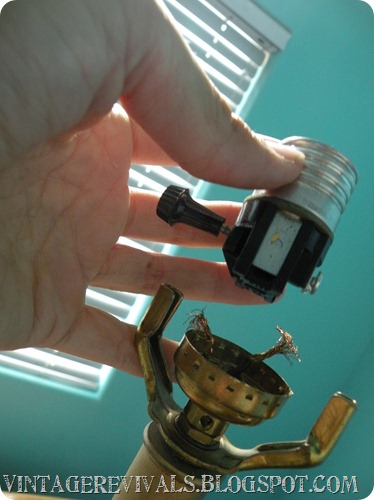
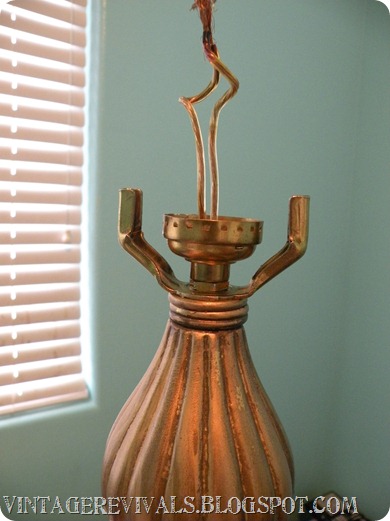
You want to start with taking off the harp. Then remove the top part of the socket. You may need a small screw driver to gently pry it off.
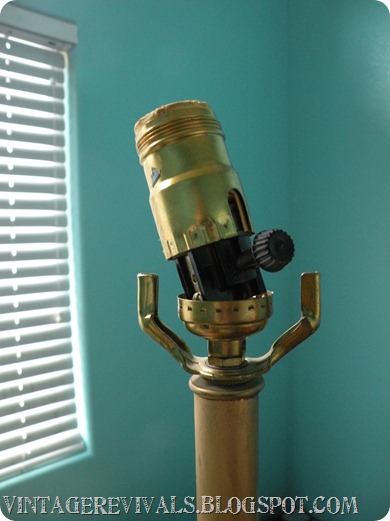
Once you remove the casing you will see the actual socket. You need to loosen the screws on the side of the socket that the wires are wrapped around (make sure you know which wire goes where!)
There is a knot in the wires that you will untie. Next you will unscrew the bottom part of the socket casing.
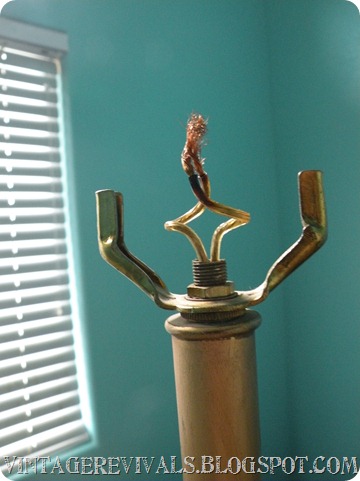
Remove whatever washers, harp holder etc. that are above the actual lamp.
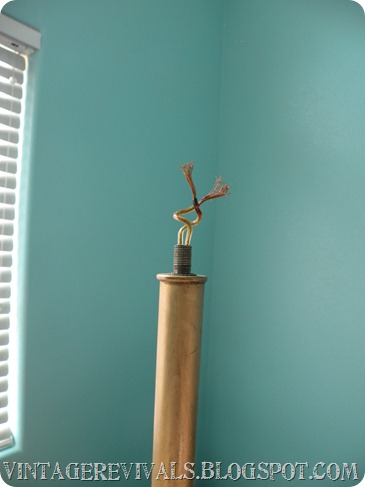
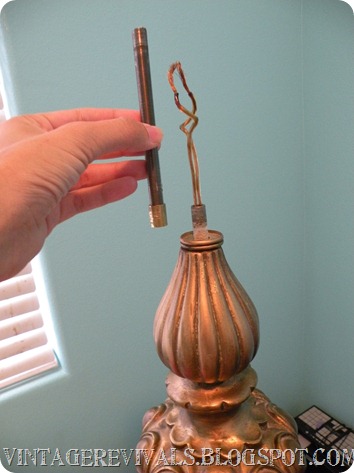
All you should be left with is the threaded tube that houses the wiring.
Then I removed the uber long wooden tube that was making the lamp 6’ tall.
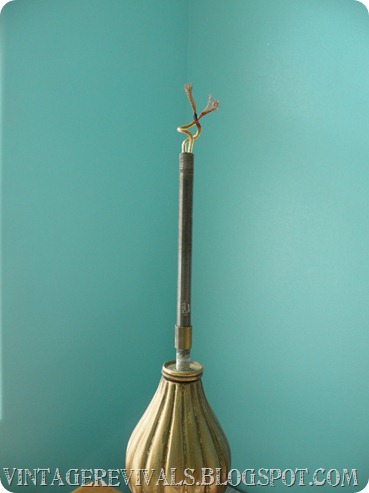
You can see that there is a washer on the threaded rod. That is holding 2 separate rods together. Unscrew the washer and the upper tube.
Then you are going to lower you wiring by pulling it out of the bottom of your lamp.
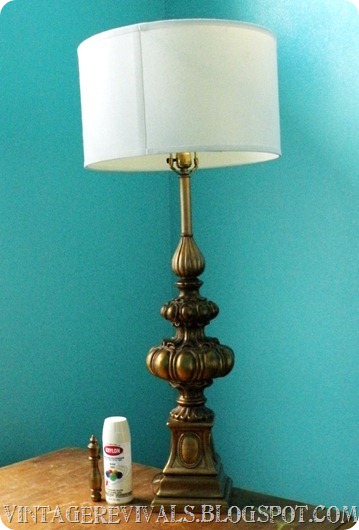
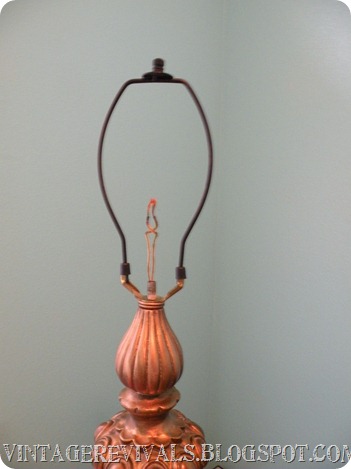
Next to make sure that its going to look awesome put your harp holder back on with your harp and make sure that it is the right height.
Looks good! Then you are going to reassemble the lamp socket. (so follow the removal instructions in reverse order)
Once it is put back together make sure that it works by plugging in the lamp and turning it on.
And then you are done!
All lamps are different, but most contain these same elements. The most important thing is SAFETY! If you are not comfortable doing this have your husband or someone else help you. And most importantly MAKE SURE YOUR LAMP IS UNPLUGGED!
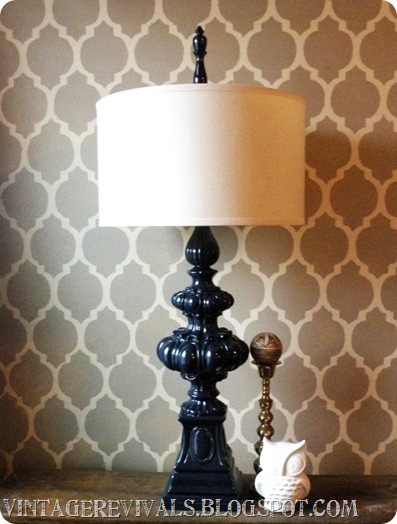
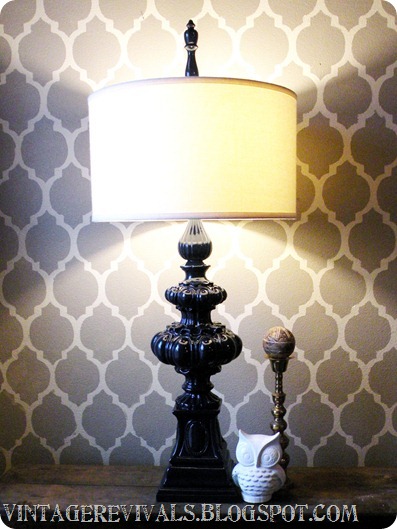
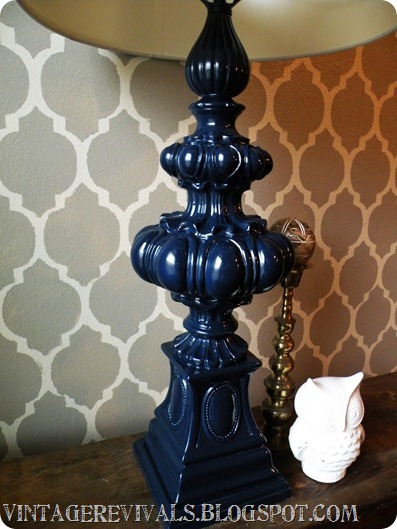
Once you have preformed you surgery you can jazz it up however you want! I spray painted mine with Krylon’s Navy. Its such a great color.
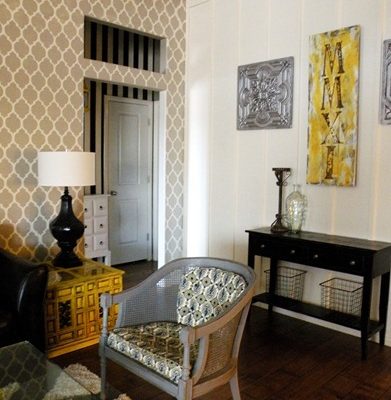
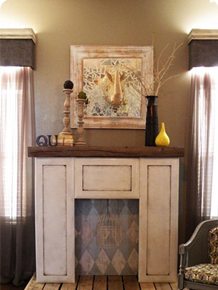
This lamp is actually going in my bedroom but I am not sharing the walls until they are all done…So my living room will have to suffice.
This is a better picture of the actual color. Sorry its super overcast today!
Don’t forget you can still link up to the Lamp Week Linky!


Perfect!
Oh wow, what a beautiful lamp! Love the navy color!
Love this lamp!! Now to see if the old lamp bases are still in the garage…. and to take look at your teapot lamp. Have a great day! More pictures of the addition will be up lickety split! The windows are in, the walls are being skimmed, and the house is filled with dust…. but its all good because in a few short weeks I’lll have a family room, guest/craft/music room and a half bath. Not to mention the work we started on the kitchen/dining room!! 🙂 Stop by and take a look!
http://www.piglogsandtaterberries.blogspot.com
Girl that lamp is epic! 🙂
Wah… I seriously need a lamps-4-dummies class… and a trip to DI… and then someplace to put my new “vision of eclecticism” (yes, I already named my new lamp… even though I haven’t quite gotten around to buying a single item…)
Holy CRAP you scored on that lamp!!! JEALOUS! i adore the after. That deep navy is amazing. Great job. winks-jen
genius! i’m totally inspired to purchase lamps around the nation just so i can perform surgery on them! i love the navy! what color is that so i can get some?? you’re an inspiration! i love reading your blog!
Kris
http://www.mrssecretingredients.blogspot.com
YOU KILLED MY FAVORITE LAMPSHADE!!!
I hope you gave him a proper burial…lol
Rashon aka Mr. Goodwill Hunting
ooooh! gorg!
omg, i LOVE both of them! i really do love the before shade, so i hope you kept it for some future projects because that would love amazing on another lamp!
and that thing is HUUUUUUGE! what a score for $8!!
props again on another amazing redo!
Wow!! Beautiful and inspiring!
Mkay. I now have a new spray paint color crush. That navy is delightful.
I think some things in my kitchen need to go navy….
supergorgeousfrikkenhot.
Love this lamp!
That glossy black looks great;)
Lovely greetings…
https://pudel-design.blogspot.com/
Fabuloso! 😉
I’m skeeerd of ‘lectricity. But maybe I’ll try it some time because of this awesome tutorial. Love how it turned out.
🙂
Love, love, love the color and the lamp.
I love it! Can’t say I would’ve seen the potential, but you made it beautiful. Love the tutorial too. Had to take apart my son’s brand new lamp a few weeks ago to fix it. It took me a couple tries to get it working, but I could do it right the first time with this info. Thanks
Hi, I really like this! I have a lamp with the same height challenge. I put it on a table matching my other table, but a table a bit shorter (from a set of nesting tables) It looks great with the other white lamp, but I want a white drum shade like yours, they are hard to find! I can see now where I can shorten mine too… hmmm I just might someday! Enjoy your blog!
Sheila
this is fabulous! Have a couple lamps I’ve been holding on to cuz I’ve been nervous to break in and give them a try…might have to do so now :0) Your lamp turned out great! Blessings,
Katy
That’s pretty dang cool mama. I never ever would have thought to shorten it, you are brilliant
GOR GEE USS!! wowies. Loving that blue. I love everything, and I would even love to see the gold shade with the blue just because! Fantastic!
love. the navy is awesome. my mom’s house used to be navy (with peach. with pattern wallpaper that may or may not have contained geese.) so navy just scares me. maybe not so much now…..
I love the navy, it was a great choice. But I have to ask…what was the gold lamp shade made of? I kinda loved the look of it.
I canNOT believe you did this! BEAUTIFUL! I cannot wait to read more of your blog! I just have to tell you one teensy, tiny, thing……don’t read my post from today on my blog…..it may scare you to death at what you might have “missed” on your lamp ; ) Love, me
http://www.youaretalkingtoomuch.com
I posted it on your lamp linky party at the suggestion of one of my readers.
Love the look of this lamp, it is hard to find something with such good bones. Beautiful
This tutorial couldn’t have been more awesome! I’m going to try it on the lamps in our room. They’re great, but too tall. Hope this works. Thanks Mandi.
You rock, truly!!! Thanks for the excellent tut!
what did you do with the original metal lamp shade? it will be perfect if you silver leaf it…check out my similar lamp shade that i silver leafed
http://www.mychampagnetaste.blogspot.com
After I originally left a comment I appear to have clicked on the -Notify me when new comments
are added- checkbox and now each time a comment is added I receive 4 emails with the exact same comment.
There has to be a way you are able to remove me from that service?
Appreciate it!
Hey Donette!
I dont know of a way to do that, I am so sorry!!
xo
m
Absolutely love the detail and character of the lamp! ( also love the antiqued gold but the dark blue is pretty). Thank you for the step by step tutorial. I have a neat old pair of lamps that need shortened.
I’d like to try to also shorten the lamp shades. Any suggestions?
Hi, I have two antique teapot lamps also, but I cannot get the harps off! They don’t just squeeze out! Any ideas?
I am reading this many years later- thank you for this tutorial! Thanks to you I am now able to turn some other VERY tall lamps into very gorgeous brass bedside lamps.