Tufted Picture Frame Headboard DIY

By Mandi | 05/07/2013 | 22 Comments

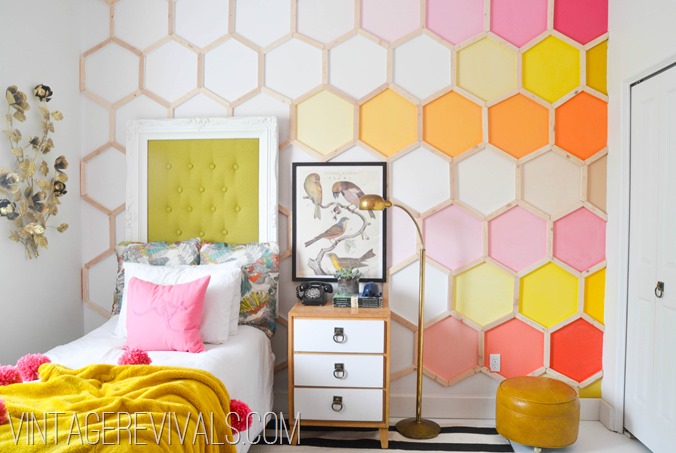
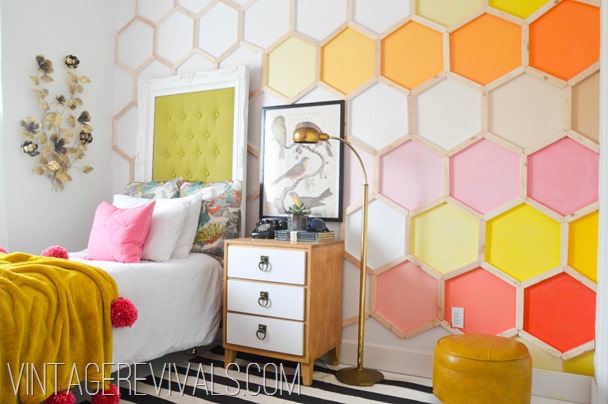
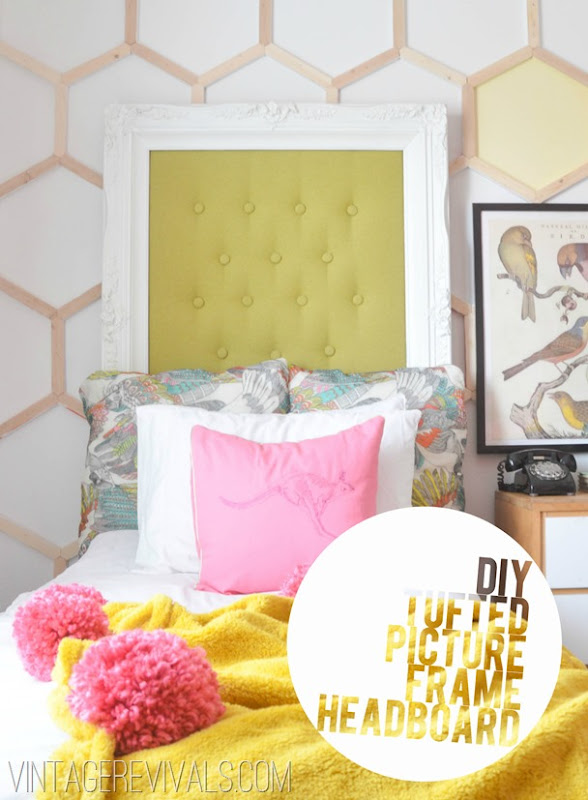
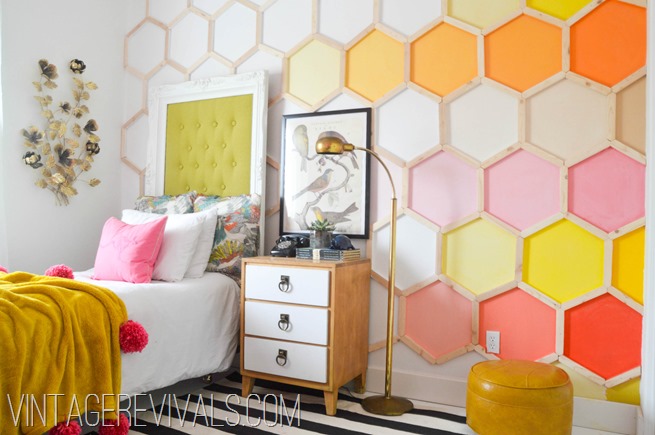
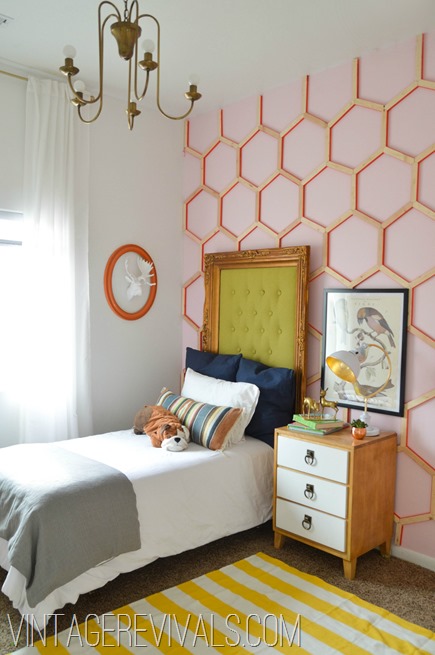
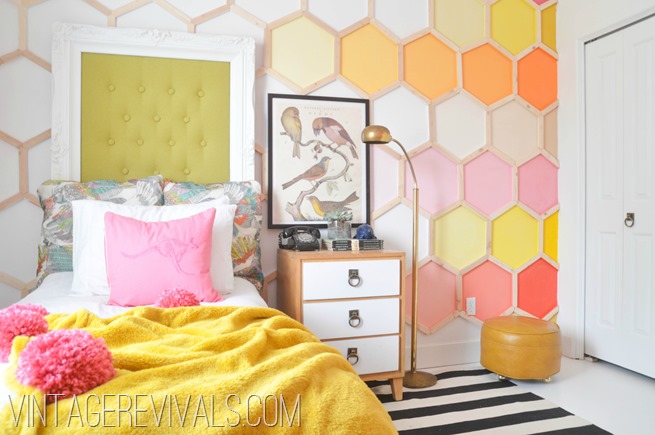
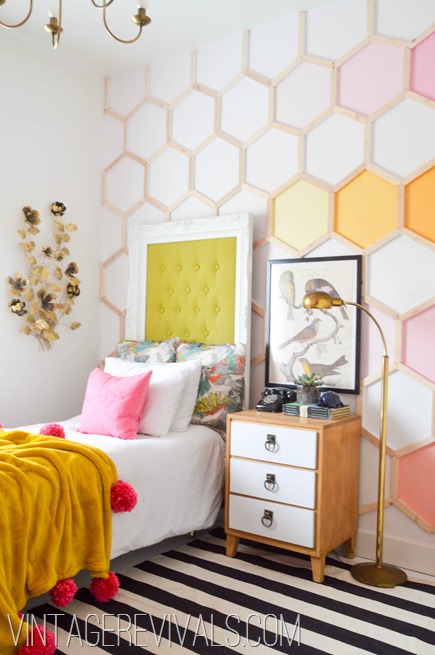
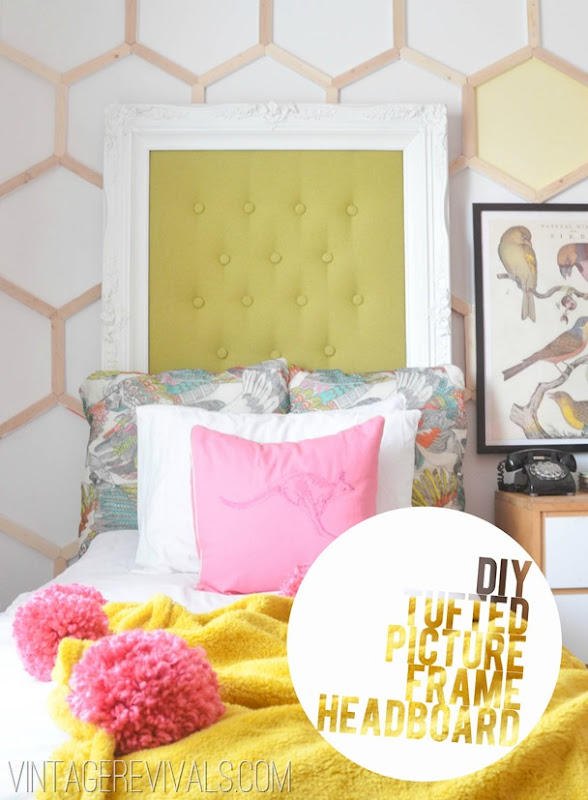
One of my favorite projects in Dylan’s Bedroom is her headboard. The original plan was to use the head and footboard that we were using before (because its fantastic). The problem was, that against the hexagon wall it made your eyes start convulsing because there was just SO MUCH going on. I needed to put something solid against the wall so the fighting was calmed.
Tufted Picture Frame Headboard Tutorial @ Vintage Revivals

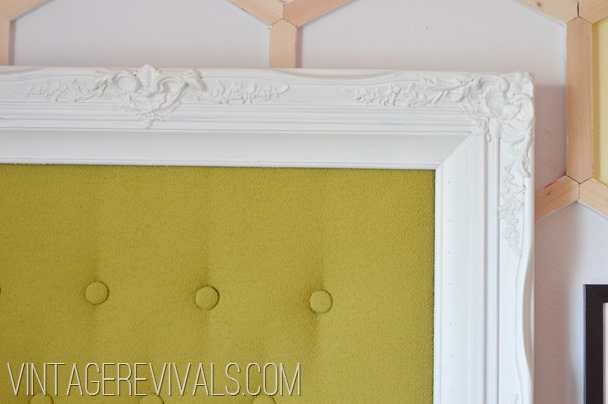
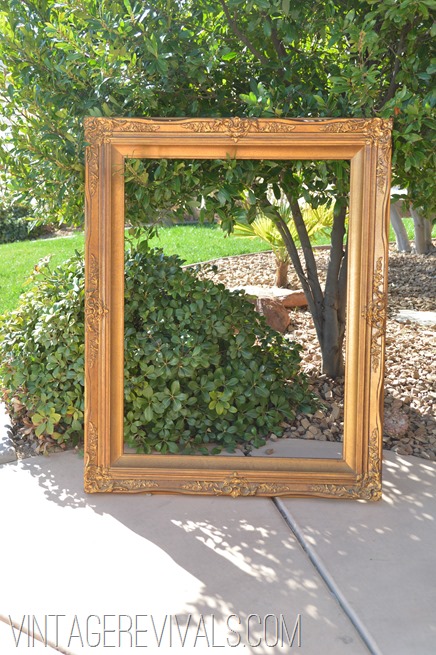
I found this amazing giant picture frame at the DI (Utah’s version of Goodwill) for $15.00. To be honest I bought it with every intention of selling it at the Hoard Sale. But then my bff Brooke pointed out that it is the exact width of a twin size bed (don’t you love friends that can connect the dots in your mind?!)  So this thrifted frame became the base for her headboard.

DSC_0543

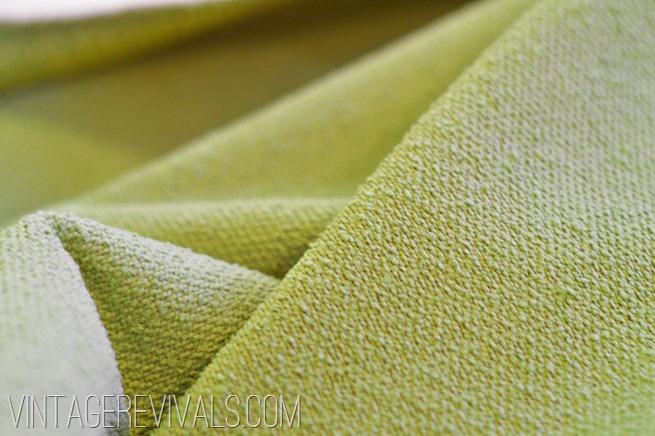
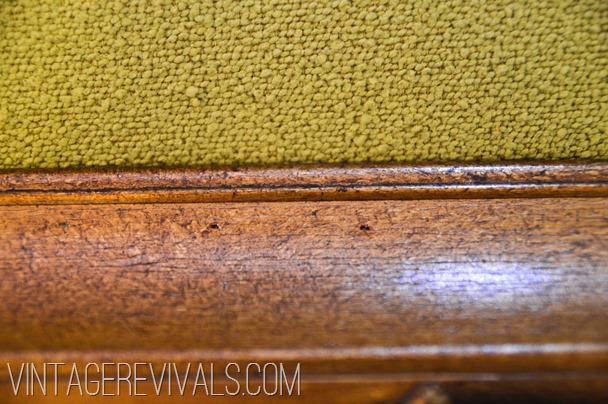
Living in Southern Utah has its advantages (its GORGEOUS here!) and its disadvantages (there is NO WHERE to buy fabric.)  So when I spotted this knobby woven pea green upholstery fabric at one of my favorite consignment stores I was ALL over it.

Tufted Headboard Tutorial Fabric vintagerevivals.com

To make an upholstered framed headboard you will need:

A frame

1/2” piece of plywood or MDF cut to 1” larger  than the dimensions of inside trim of your frame. (If your frame is 35×44” your board should be cut to 36×45”) FYI you should buy your wood at Lowes, they have a bigger variety of precut options that you can trim down, so you wont need to buy a huge 4×8 sheet)

Egg carton foam. You can find this at Target or Walmart for $10-15

Batting

A stapler. A pneumatic one is preferable because it makes things SO MUCH easier. So. Much.

Button making kit (around $10 at Joanns. This includes the buttons too!)

If you are going to be repainting your frame you will want to do that before you upholster. I decided to change mine after it was already upholstered (remember this small detail) and I had to be super careful to not ruin my fabric with paint.

Upholstery is a 2 person job, so make your best friend some Swig Sugar Cookies and make a morning of it!

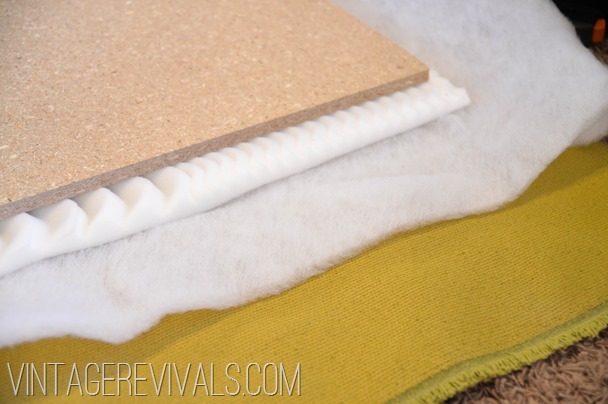
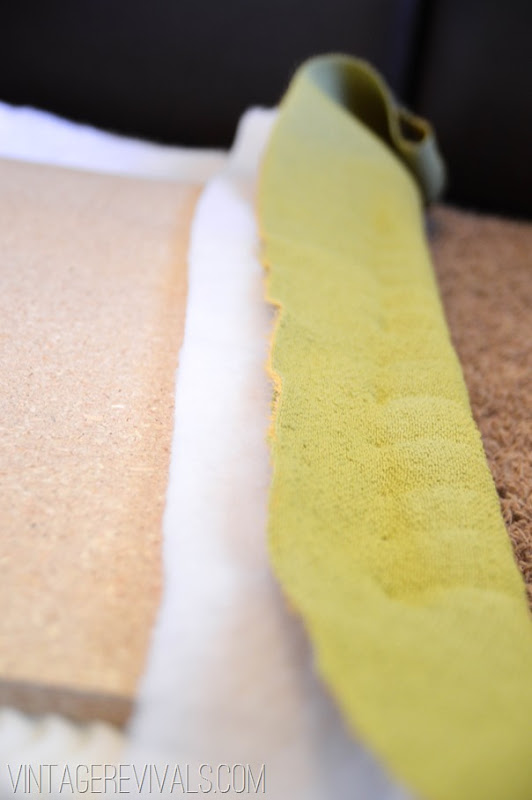
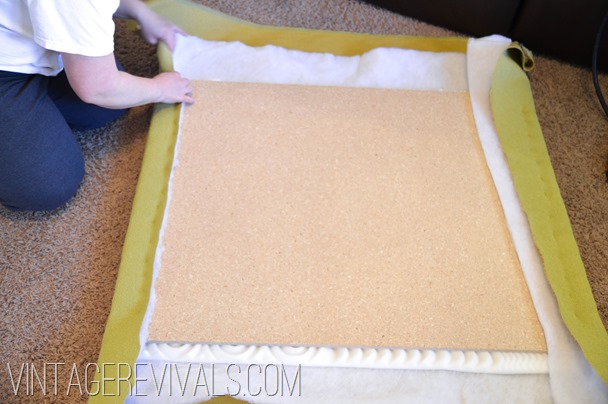
Start by laying your fabric face down on the floor, make sure there are no wrinkles in it! Next we are going to make an upholstery sandwich. So you have your fabric face down, next up is your batting, then your foam (if you are using egg carton foam make sure that the bumpy side is against the wood. (which is your last layer.)

DIY Upholstered Headboard Tutorial @ Vintagerevivals.com


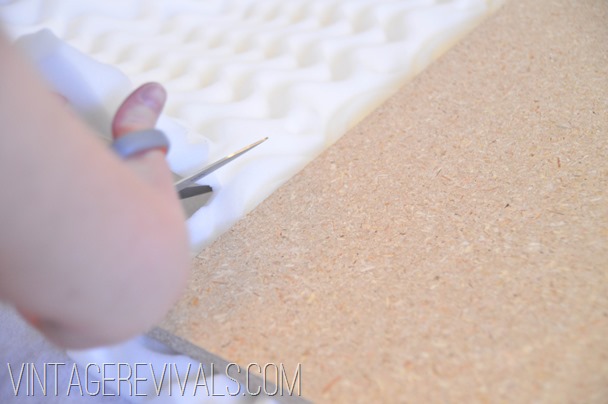
Make sure you have enough fabric to wrap around and staple to the back. Also if you are using thinner foam (like I did) leave a little bit of excess foam that you can wrap around too. If you are using thicker dense foam you will need to cut it to the exact size of your board.

Start on one side and fold over and staple your fabric. Start in the middle and work your way out. Leave about 4 inches of unstapled space from the end of your board so you have fabric to work with when you do your corners.

DIY Upholstered Frame Headboard Tutorial @ Vintagerevivals.com

Trim your fabric/foam/batting to the correct length. (I always do this after the first side is stapled down…one time of cutting it too short is enough for me.)

DIY Upholstered Headboard Tutorial @ Vintagerevivals.com-4

Next you are going to do the same thing to the OPPOSITE side of your headboard. This is where it becomes a 2 person job, one to pull the fabric tightly and one to staple. When you are pulling the fabric use 2 hands or else you will get places that are pulled tighter than others,  and that is just not a good look. (Remember to start in the middle!!)

DIY Upholstered Headboard Tutorial @ Vintagerevivals.com-6

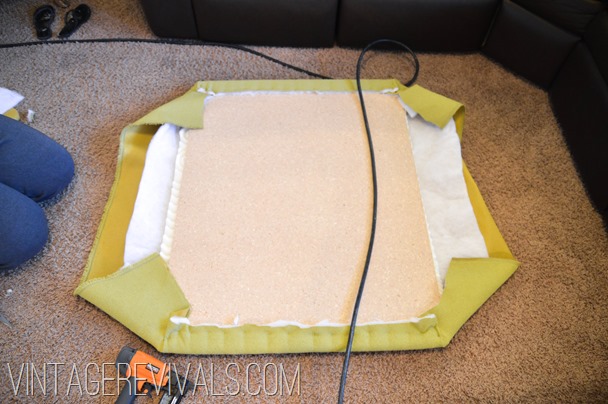
Once you have gotten to this point it is time to do the dreaded corners. To quote my girl Brooke its just like wrapping a present.How To Upholster Corners @ vintagerevivals

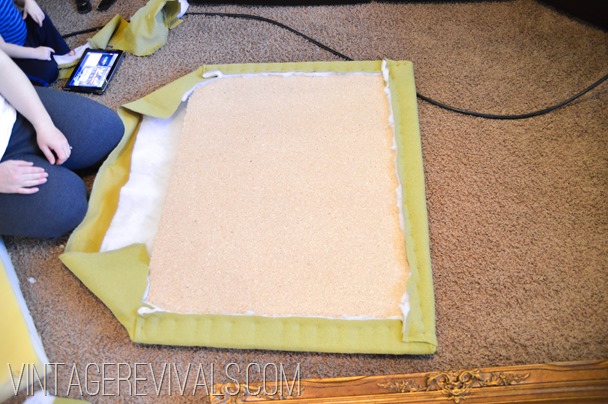
Follow those steps for each corner. When you are finished your headboard should look like this:

How to Make an Upholstered Headboard Tutorial @ Vintagerevivals.com (2)

Now you are going to do the same process of stapling one side and then the opposite. Make sure you pull your fabric SUPER TIGHT. This is what makes it look professional.

To finish off your corners fold your fabric in a straight line and staple along the edge.

DIY Upholstered Headboard Tutorial @ Vintagerevivals.com-16

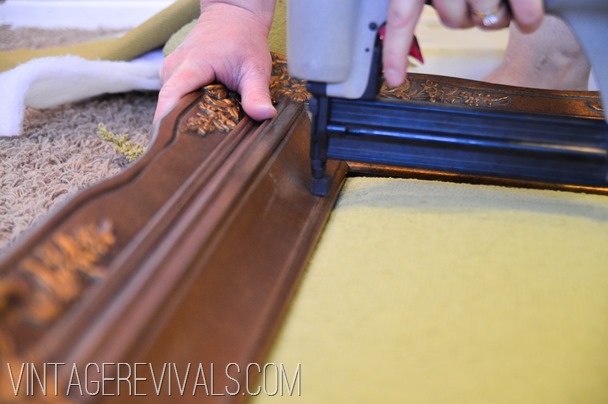
You have a few options for attaching the frame to your upholstered board. You can use brackets,  you can nail through the board into the frame,  or you can nail through the frame into the board (which is what we did.)

The nails that we used are finishing nails that don’t really have a head so they left a very small hole. If you don’t have access to a nail gun I would nail it from the back.

DIY Upholstered Headboard Tutorial @ Vintagerevivals.com-19

DIY Upholstered Headboard Tutorial @ Vintagerevivals.com-20

Once your frame is attached its time to decide on the button placement. I wanted something that had a shallow mid century tuft (which is why we used thin foam and did not pre-tuft)  if you want deep button or diamond tufts your process is going to be a little different. Check out Brooke’s diamond tufting tutorial here.

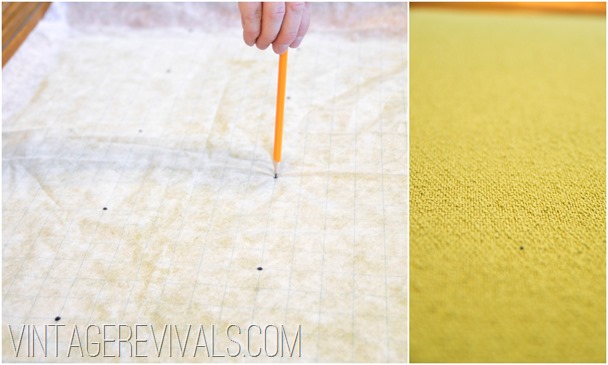
Like the upholstery ninja that she is Brooke whipped out this piece of backing that has a grid on it. I have no idea of the actual name (if you know please leave it in the comments and I will love you forever!)

We marked where we wanted the tufts on the grid and then lined it up and marked on the headboard where they needed to be. This was 100x easier than measuring and leveling and measuring again.

How To Tuft Upholstery

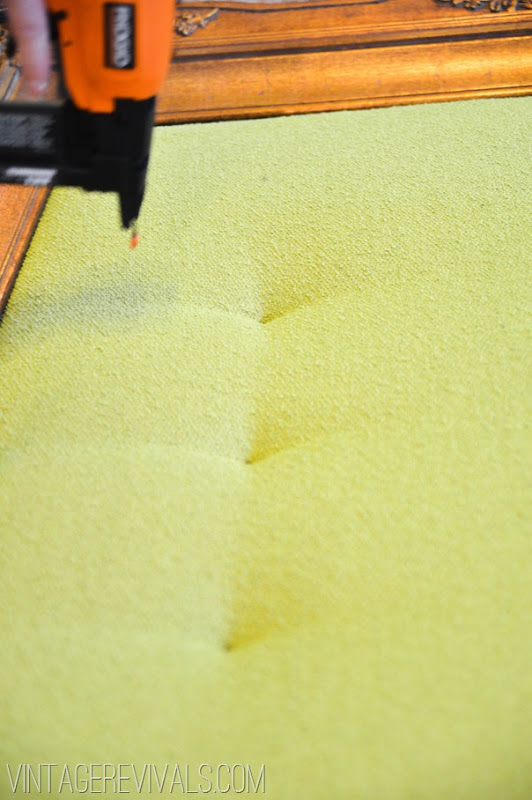
Staple each mark and voila! Tufting!!

Staple Tufting @ Vintagerevivals.com

Once you have made your buttons (just follow the template and directions on the package, they explain it better than I can!) hot glue them over your tufting.

I hung this on Dylan’s wall with a Hangman. Its basically a big metal French cleat that can hold 200 lbs. I love them and have used them here and here and here to hang headboards.

DIY Upholstered Headboard Upcycle @vintagerevivals.com

Honeycomb Hexagon Wall @ Vintage Revivals

Dylan's Dream Room Makeover-61

Tufted Picture Frame Headboard Tutorial @ Vintage Revivals

Make sure to check out the other projects in Dylan’s Dream Room for lots of kid friendly ideas!!
Love Your Guts

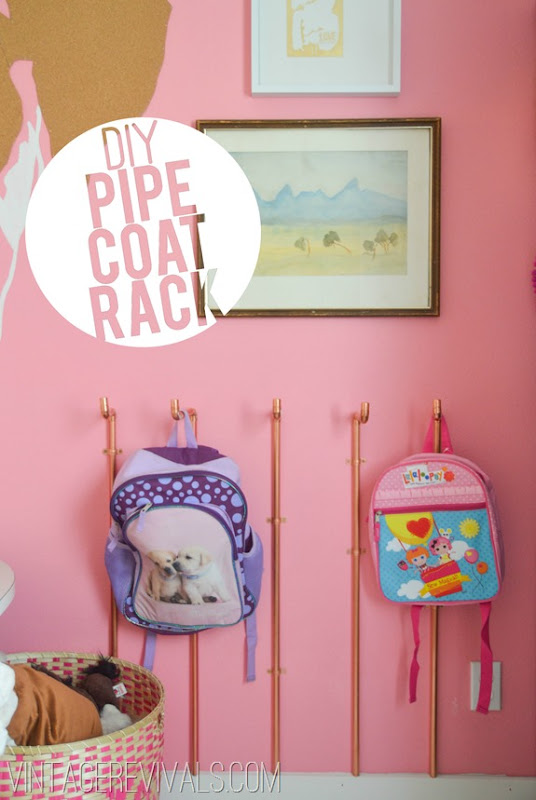
DIY Copper Pipe Wall Coat Rack Tutorial

By Mandi | 05/06/2013 | 14 Comments

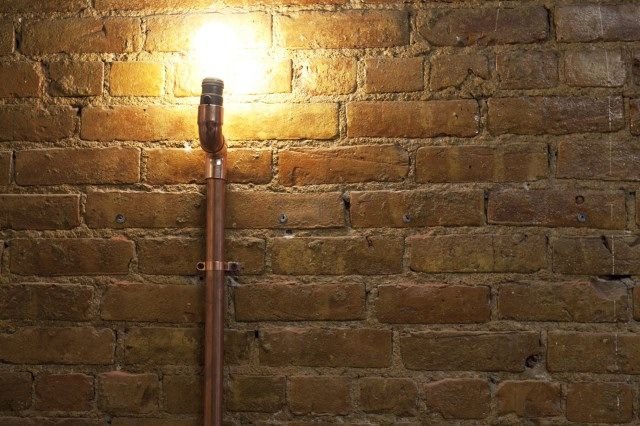
I love when someone comes up with a design that is just so genius that it sticks with you for YEARS. You may remember a few years ago on Design Star Courtland created these amazing wall sconces out of Copper Pipe.

5393219772_d36a8b72f0_z

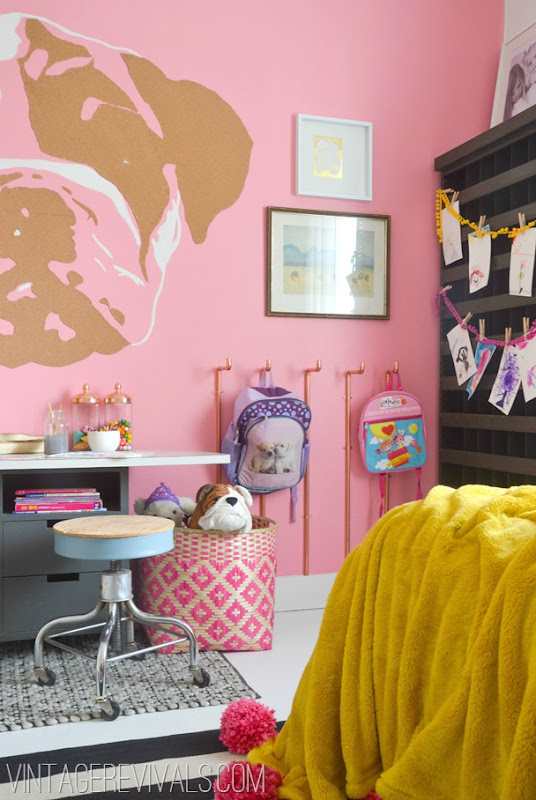
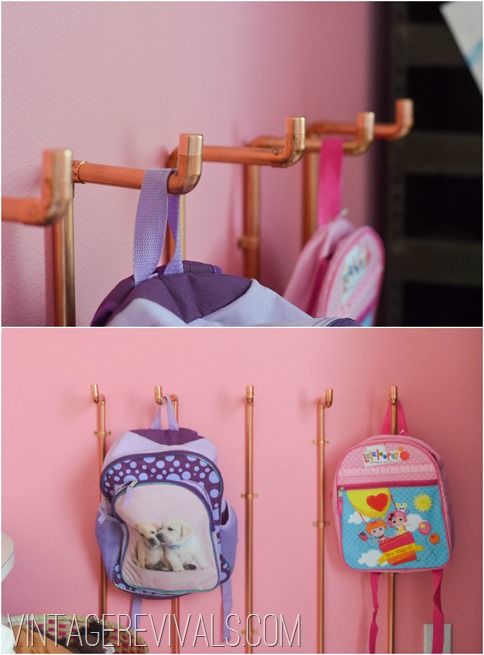
They were a huge part of the inspiration for the conduit wall sconces in my living room and for the coat rack in Dylan’s Room.

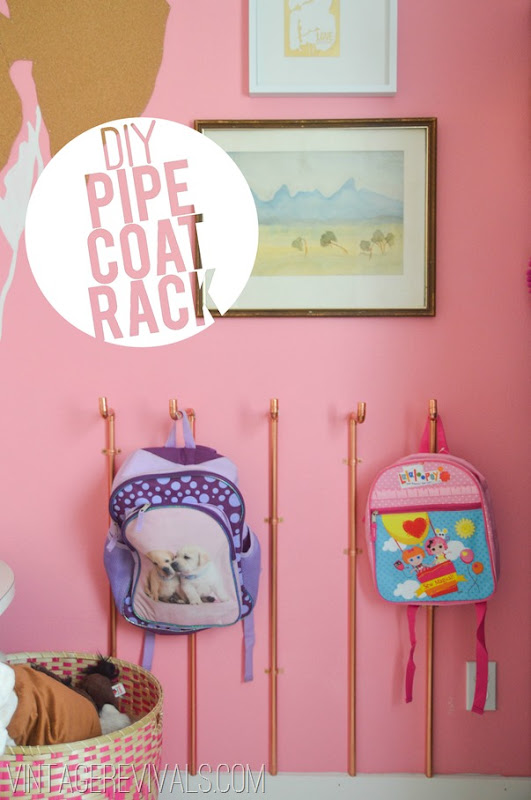
DIY Copper Pipe Coat Rack Tutorial @ Vintage Revivals

One problem that I was running into while I was putting the finishing touches on her bulldog cork mural wall was a phenomenon that I have never experienced before.

In real life everything looked great, but once it was shot the space looked completely barren. It was super confusing and frustrating to say the least. So like the great DIY Houdini I needed to pull an idea out of, well, somewhere… and FAST.

Copper Pipe Coat Rack @ Vintage Revivals

A coat rack was on my list of ideas but I was thinking knobs on a board kind of coat rack. After I taped off the space with painters tape to see where I was size wise it was still too sparse. I needed something to fill the ENTIRE space. Luckily for me Courtland’s pipe lights zoomed out of the back of my brain and I was on my way to Lowes.

When you are buying copper tubing for this project you need to get PLUMBERS tubing. Its thin and easy to cut and perfect for this project.

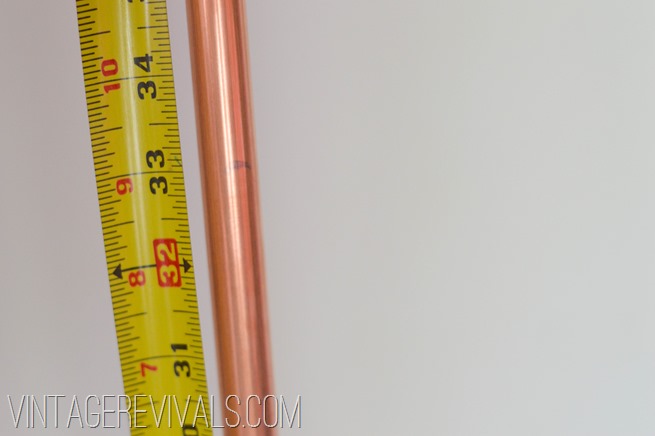
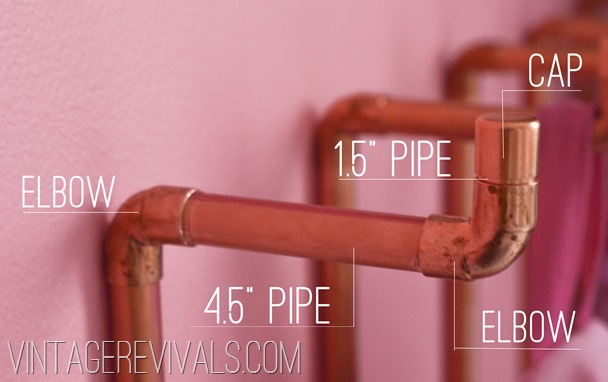
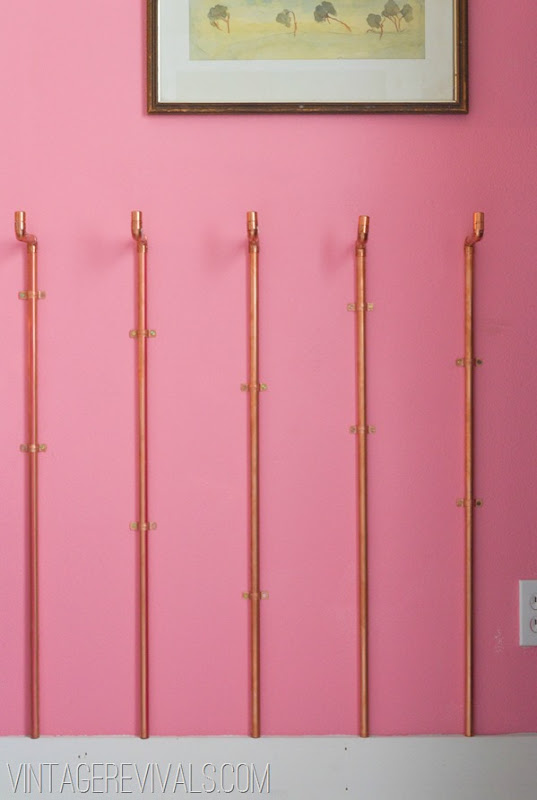
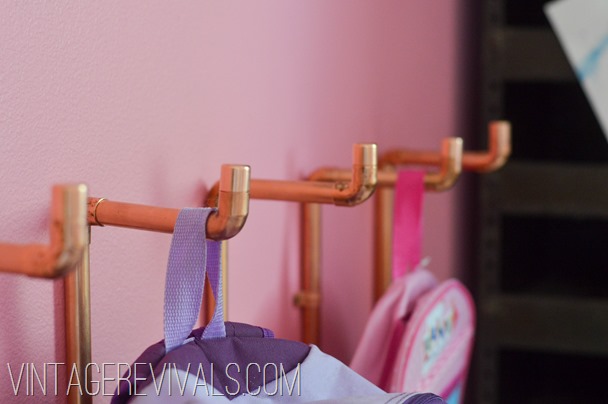
You will need to decide the height of your coat rack and how many you want, to determine how much copper you will need (mine are 33’” high) and you will need to factor in an additional 5-6” for each of the actual hooks. You will also need (2) 90 degree elbows,  1 cap (they look like chapstick lids),  2 brackets for each rack, and pipe cutters.

I ended up with (2) 1/2” x  8’ pipe lengths,  and plumber’s value packs of the elbows and brackets (they sell 10 in a package)

Start by marking where your pipe needs to be cut.

How To Make A Pipe Coat Rack

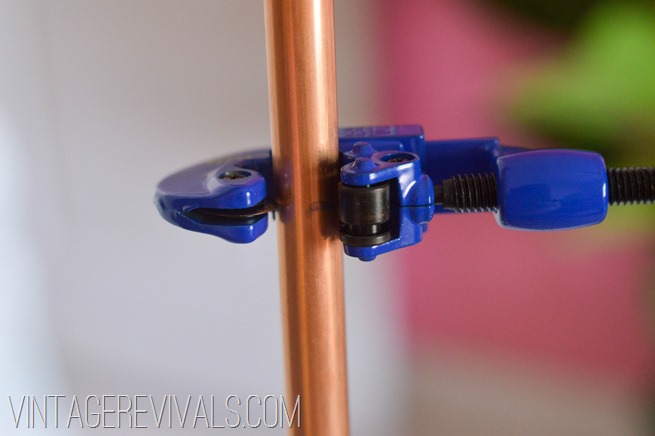
The pipe cutter that you will need is about $14.00 and is literally the most simple thing in the world to use.

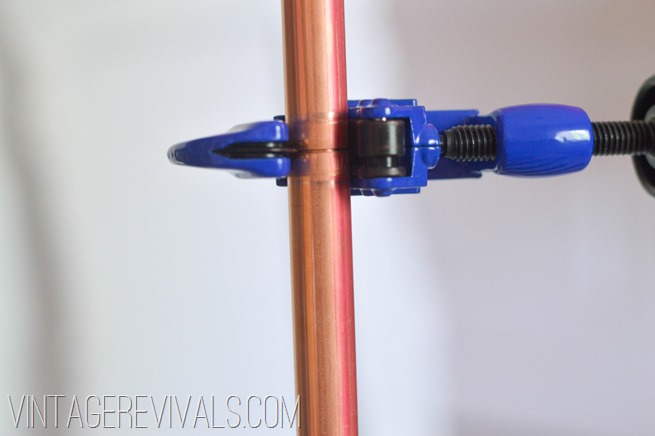
Place it on your tube with the blade on the mark.

DIY Copper Pipe Coat Rack

Start spinning the entire cutter around your pipe. As it is cutting the pipe you will need to tighten the clamp a little tighter. You can see in the picture below how it is cutting through the pipe.

untitled-5

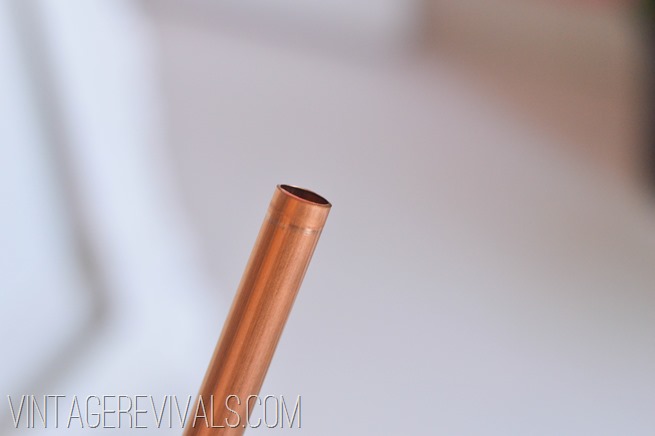
Then voila! your pipe is cut.

untitled-6

You are going to repeat this process for each of the hook pieces cutting them at 4.5” and 1.5”. The 1.5” pipe is practically invisible, but it is what connects the cap to the elbow and is SUPER important.

Coat Rack Hook

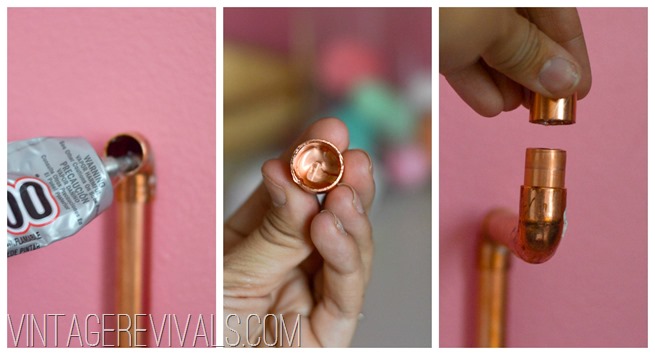
If you are using this pipe the way that it is meant to be used you would then solder all of your pieces together…but since we are NOT doing that I used my trusty e6000 to epoxy them together.

(You can use whatever bonding adhesive you have on hand, just make sure that it is clear due to possible seepage. PS. Seepage is one of those nasty words that make you dry heave when you hear it. Like Fleshy, or Yeast, or the way that my husband thinks I feel about the word Shower.)

Wall Pipe Coat Rack Tutorial

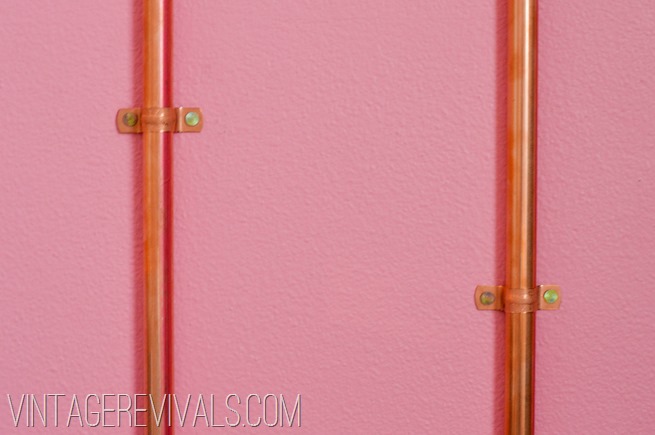
Evenly space the pipes out and attach them to the wall using pipe brackets (make sure that you get them in the same diameter as the pipe you are using!!)  I attached mine to the wall at different heights to give is just a touch more visual interest.

Pipe Coat Hanger

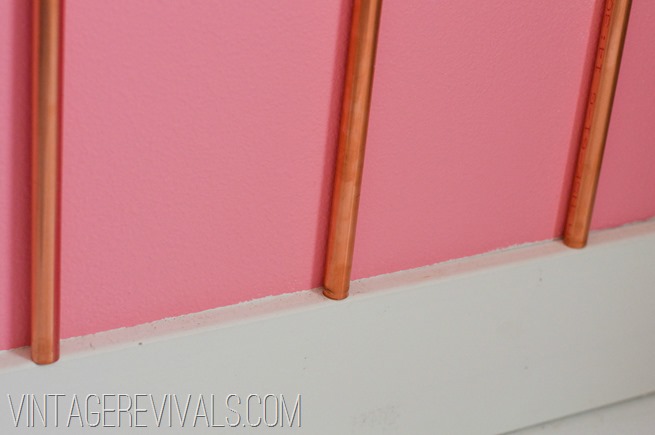
Another thing that is worth noting,  the pipe is the same width as the chunky baseboard so I didn’t have to worry about how to transition it.

Pipe Coat Rack

DIY Coat Rack vintagerevivals.com

Total cost if you need to buy the pipe cutting tool is around $35.00.

Dylan's Dream Room Makeover-7

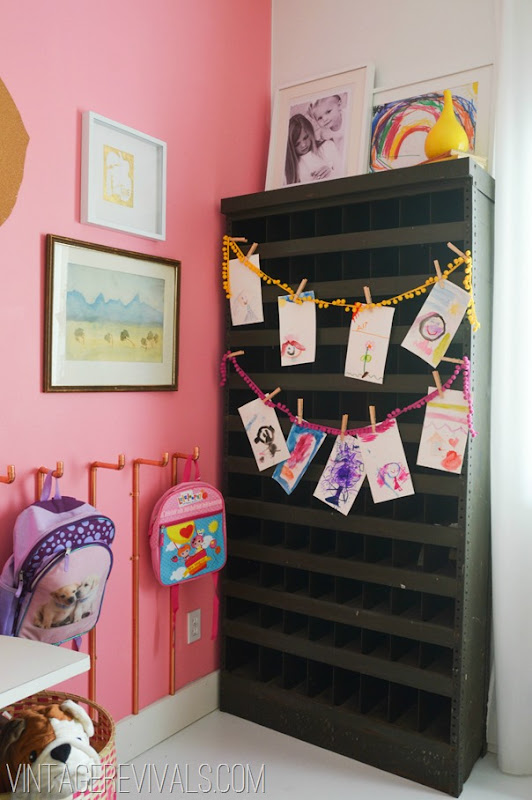
Industrial Metal Shelf Pink Wall @ Vintage Revivals

DIY Copper Pipe Coat Rack Tutorial @ Vintage Revivals

Make sure to check out the rest of Dylan’s room below!


Love Your Guts

Upcycled Industrial Schoolhouse Pendant Light Giveaway!

By Mandi | 05/02/2013 | 18 Comments

Back in October I teamed up with Homes.com and did a really fun giveaway where I took an old light and overhauled it and gave it away to one lucky reader. You guys loved it so much that I am doing it again today!

Custom Upcycled Light Giveaway

Over the last few weeks I have been writing a Thrifting series on ForRent.com all about decorating for an apartment (I KNOW so many of you are in that situation because I get emails about it all the time!)  Decorating an apartment is definetely harder than decorating your own house and comes with about a zillion challenges. So we have talked about what to look forhow to mix vintage and new furniture https://goo.gl/WlPAa, and the type of pieces you should be looking for.

To finish it off with a bang I am giving away a custom upcycled light plucked from my local thrift store and prettied up just for one of you!

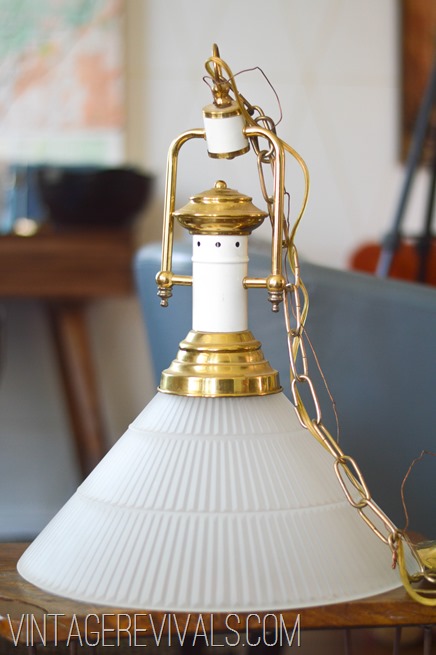
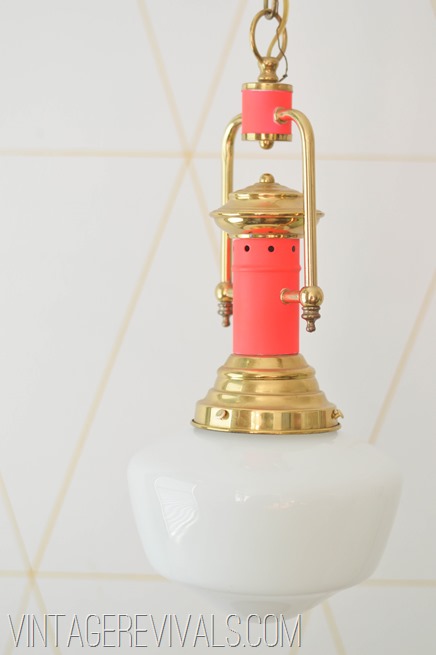
Lighting is one of my favorite ways to enhance the design in a space. When I saw this light obviously the first thing that you see is that horrid glass shade. But if you look past it to the hardware it will make your heart skip a beat!

untitled-1

I taped off the brass that I loved so much and painted the white enamel pieces HOT PINK. I just cant get enough pink right now. This color is by Rustoleum and can be found anywhere spray paint is sold. Also it is nearly impossible to capture neon with a camera. So just know that it is super bright and I am already having separation anxiety over parting with it.

I found the white glass schoolhouse globe for $5.00 at Home Depot. Super on trend and dirt cheap, just the way I like it!

untitled-5

untitled-2

The light is wired with a plug at the end and is perfect for anyone that is renting because it doesnt need to be hardwired.

So do you want to win it?!

All you need to do is jump over and enter the rafflecopter at ForRent.com.

Super simple folks, and VERY exciting.

untitled-4

What are you still doing here?! Go! Go! Go!


Love Your Guts

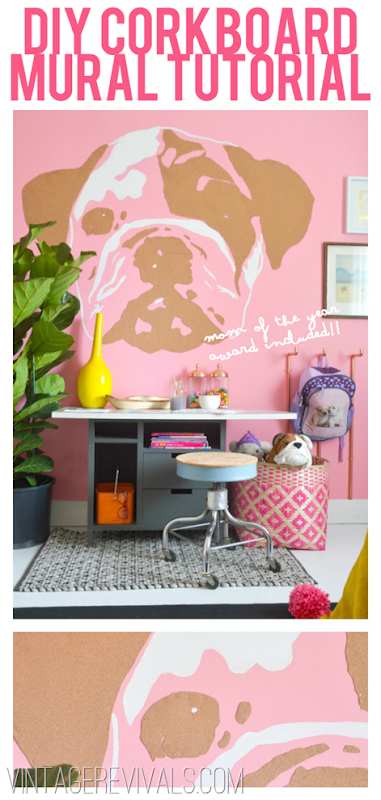
DIY Corkboard Wall Mural Bulldog Style

By Mandi | 05/01/2013 | 27 Comments

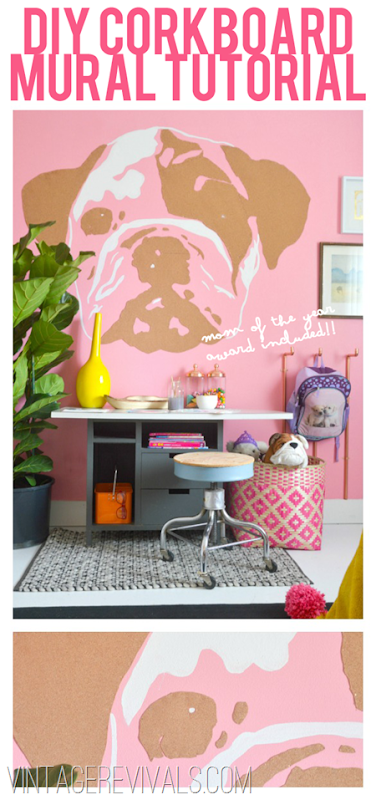
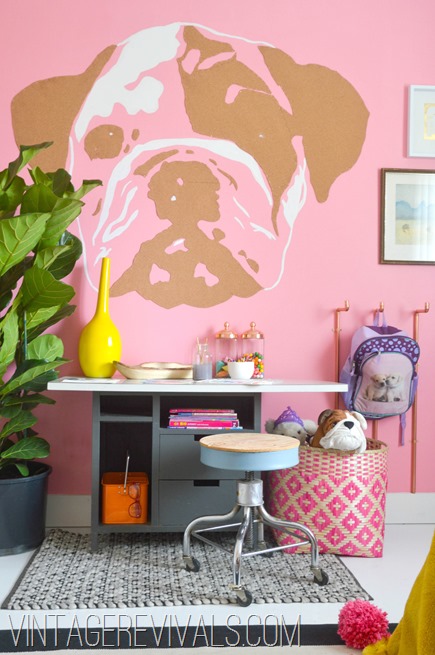
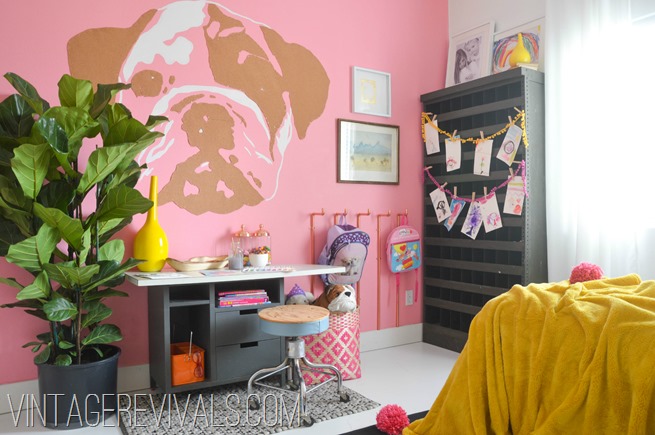
Do you know what is good about having a giant dog face on the wall? It doesn’t have horrific gas like the little puppy sitting on my lap. Do you know what else is good about a giant dog face on the wall? It makes your 4 year old say “MOM! Is this REALLY my room?!” when she sees it.

DIY Children's Corkboard Mural Tutorial

This project is VERY simple and a little time consuming. I probably spent 4 hours on it. But it was worth every single second.

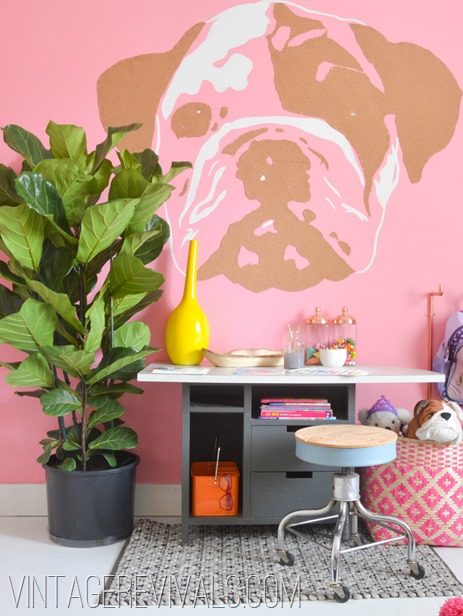
If you have watched Dylan’s Dream Room video than you know she mentioned that she wanted puppies in it approximately 98,013 times. The girl LOVES animals. So the idea of a giant puppy head was born. When I decided to put her little art desk underneath, my mind went to where she would hang all of her paintings as they were drying. From there the corkboard idea was born. Gigantor puppy head + corkboard = SUPER fun project.

First things first, get your base paint up on the wall. I used Pink Moment from Sherwin Williams. Its a great bubble gum pink that is a touch more orange than blue. (Basically its a warm bubble gum.)

Pink Girls Room

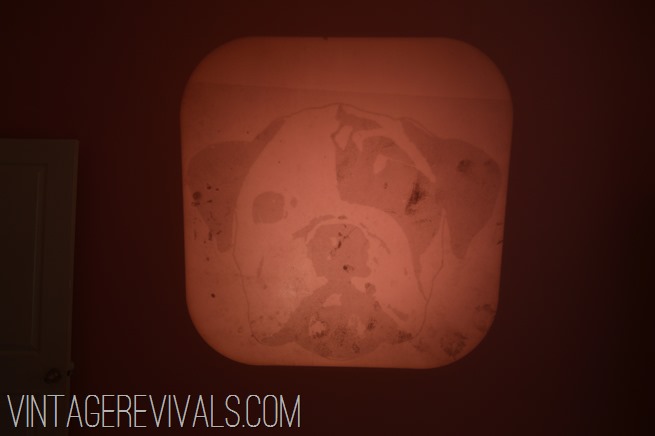
Next its time to pick your image. Here is the secret. You want something that has clean lines, and the best thing to use for this type of image is wait for it…..pumpkin carving stencils. Just Google search ___________________ pumpkin stencil. I searched English Bulldog Pumpkin Stencil and this is the image that I chose:

58364162_1d295cc0db_z

Notice how there are 3 colors. This is a good thing. You wouldn’t believe the difference that another color makes. So see if you can find one that has 3.

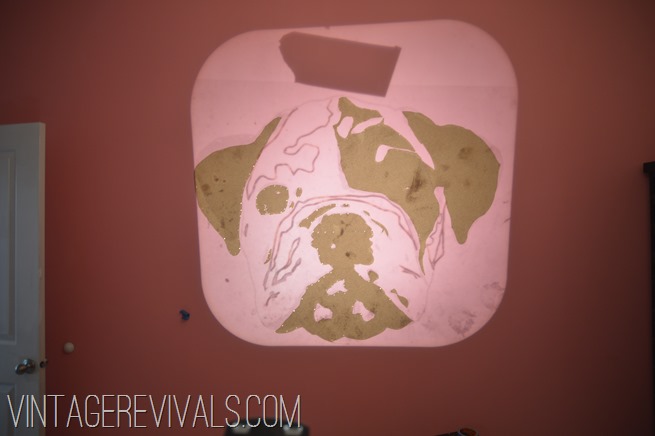
Print out your stencil onto an overhead projector transparency (if you are old skool like me) or use those new fangled computer projectors to project it against the wall.

English Bulldog Wall Mural

(For some reason my printer only printed the darkest area, which was fine,  I will show you how to fix that in just a second.)

To rock the corkboard buy a few (I used 4) rolls of cork at Joann’s (they have MUCH better prices than Staples and you can use a coupon!)

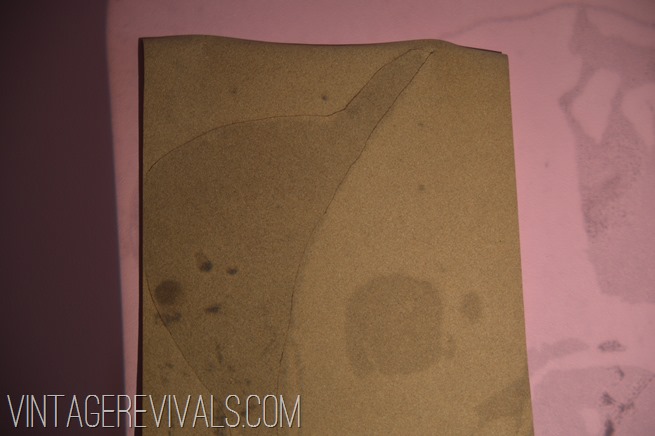
Start by pinning your corkboard into place with push pins. It needs to be secure but you are just holding it in place so you can cut it out,  its not a permanent job. From here you have 2 options. You can trace your pattern onto the cork with a marker or pen (like I did in the picture below) or you can just cut along the shape with an exacto knife (which I did from this point forward)  totally up to you.

DSC_0385

To attach the corkboard to the wall I tried a few different things. Originally I thought spray adhesive would work, but it was no where near strong enough. So then I tried Wallpaper Glue, and that was even worse. So I turned to my smart friend Google. Apparently the only way to attach cork to something is to use some majorly heavy duty adhesive. I would much rather fill 1000 holes than scrape and retexture a wall. So I used small copper wire nails. (EXACTLY like the ones I used in my DIY String Art) I nailed them every inch and 1/2 or so around the outer edge of the cork. The plan with the copper was for it to look cute, not match the cork but they blend in REALLY well, so if you are wanting to hide them go with the copper.

DIY Corkboard

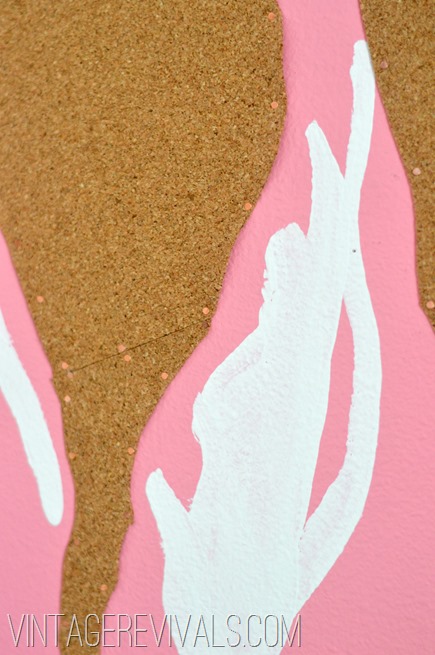
Once the cork was on I traced the area that didn’t print (the white part) and hand painted it on. The good news is that you really cant screw it up too badly. Just do your best to stay in the lines.

Bulldog Mural

Little Girls Creative Bedroom @ Vintage Revivals

Imaginative Girls Bedroom @vintage revivals

Can you imagine the possibilities with this?! Good riddance horribly ugly giant vinyl stickers.

DIY Children's Corkboard Mural Tutorial

Make sure to check out the rest of Dylan’s Dream Room series below!

Love Your Guts

Behind the Scenes with Dio

By Mandi | 04/30/2013 | 21 Comments

This post brought to you by dio. All opinions are 100% mine.
Once upon a time there was this new site. It was called Pinterest. People had no clue what it was or how to even pronounce it,  no lie I hear it pronounced P-Interest a handful of times. (Sheesh, what does that say about where I live?!)  But since then I have been uber sensitive to all new forms of social media because MAN I missed that boat.
So today I am going to share a new site with you called dio. dio is a way to spatially separate a space, project, or anything amazing that your mind comes up with. Picture giving a house tour with virtual exits from each room and fun interactive surprises so people really feel like they are walking through your house! Its sort of like Minecraft for adults. (Disclaimer:  I dont actually know how Minecraft works, all I know is that when my nephew plays it looks like he is running from room to room. Disclaimer over.)

Dio 2
The thing that I loved most about it is that its more than just physical rooms, I created a dio place on a day in my life.  I thought you guys might enjoy seeing some behind the scenes action. The good, the bad and the ugly. Trust me,  there is lots of ugly. So go and check it out!!
When you create a dio place you start with the first room and then you create exits that go to other places,  they can all interconnect to each other or you can guide the tour by placing things in order with only one exit to the next spot. There are all of these fun objects that you can place in each place like pictures, albums, text, video, and lots of things to interact with.
Dio 1

So what do you think? Fun right?!

I was a little worried about the whole learning a new program situation, but dio was actually really easy to understand and I am sure that there is SO much more about it that I have yet to learn!
Dio 3
I would love to connect with you over there for reals, and because sometimes we need a little extra motivation to try something new dio is giving away a $100 Gift Card to Amazon!! To enter please head over to visit dio.com, create a place, and comment back with the email you signed up with! That’s it! Its been really interesting to see what other people do with the same tool,  Like dio on Facebook and stay connected to what other users are creating.
*If you are feeling extra motivated for some cash you can also tweet a message about their place and include @dioplaces in their tweet with a dedicated #discoverdio hashtag (and make sure you tag me in it so I can RT it!!)  Complete Contest Rules here.

Visit Sponsor's Site

Gut Check and Waking Up Gorgeous.

By Mandi | 04/26/2013 | 29 Comments

Ok so go with me on this one. You know how there are those people who seem to roll out of bed perfectly rested, sit up with the sun streaming through the windows, gracefully yawn and dont have morning breath? I feel like maybe that is how ya’ll are seeing this room design. When in all actuality it was more like sitting STRAIGHT up in bed and yelling your favorite swear because you have overslept, still wearing your clothes from last night, and rocking bed head that will not quit.

I wish I could say that this was the original plan for Dylan’s room.

Honeycomb Hexagon Wall @ Vintage Revivals

But that would be big fat lying.

The original room had much less of Dylan’s sparkle in it.

Paint Week Pink Honeycomb Wall After

I worked like a mad woman to have this project completed and it seemed like everywhere I turned or everything I did was just wrong.

When I got to this point it just felt so old and boring. Old as in mature. Like a grandma. And not the hip kind.

Do you gut check your progress on a project? I have a specific method of gut checking. I walk away without looking at it and then turn around with my eyes closed. When I open them I either get a super excited feeling (when I am headed in the right direction) or I get a sinking feeling because I just dont love it. Funny thing about it is even when the gut check isnt working for me, sometimes I have to still go through with the plan, just to make sure. (Like the Faux Bois floor)

I loved the idea of a light pink and orange red together. I loved the hex wall. I loved the gold frame on the bed. But it just wasnt right together.

Paint Week Pink Honeycomb Wall-1-2

So it had to be changed. So as the tutorials start rolling in, please remember that what it may look like in the picture is not how it always appears in the final shot.

Especially when it comes to the Hex Wall. The tutorial for that thing is all jacked up. So please bear with me a couple more days while I iron out the process (since it changed about 1/2 way through!)

Speaking of waking up gorgeous. I have to introduce you to the newest member of our family.

Meet Wallace.

Boston Terrier Puppy

Though he looks ginorm in this picture he is actually the teeniest thing that you have ever seen. The last week of our lives have been consumed with puppy training and snuggles and it is fantastic.

Love Your Guts

Dylan’s Dream Room Source List

By Mandi | 04/24/2013 | 29 Comments

I am COMPLETELY overwhelmed with the response that Dylan’s room has received. Seriously, you guys rock my world. I have a whole slew of tutorials for everything from painting the floor, to the hex wall, to the headboard, to the pom pom blanket. I mean almost EVERYTHING in this room is a project, and the tutorials start tomorrow!! But now we get to chat about everything that isnt DIYed and some of them are a MUST buy.

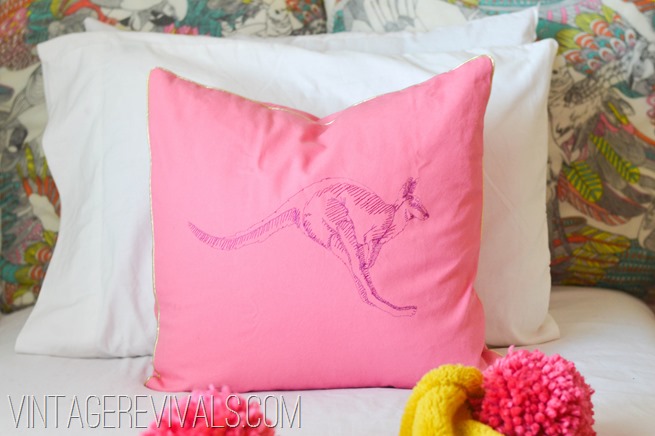
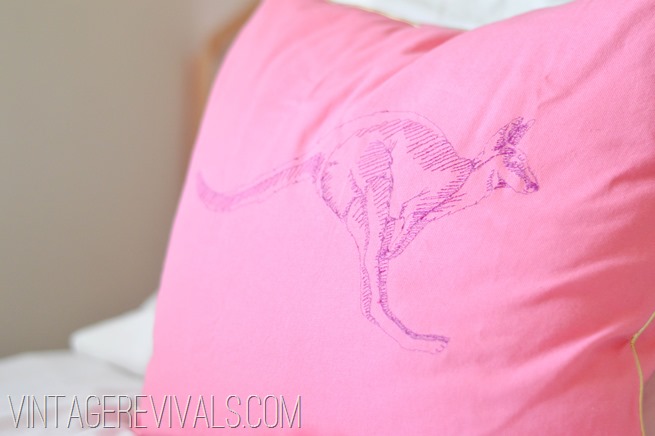
Probably my favorite non-project in the room (and so many of yours according to the comments!) is the Kangaroo Pillow. When Dyl said that is what she wanted I was thinking “Fantastic, another project that is a necessity.” (You have to remember that I pulled this room together in a week and 1/2 so any project warranted that response in my head…) but then I got an email from one of my favorite readers. She had just started an etsy shop and make thread sketched pillows and really wanted to make a kangaroo pillow for Dylan. You know when are are reading something and you are like “Oh that is nice..” and then you get to the bottom of the email where the images are attached and you are like “OMGosh. These are INSANE!?!” That is exactly what happened

Dylan's Dream Room Makeover-57


Dylan's Dream Room Makeover-101

If you are in need of a cute creature for any room in your house pop over and check out her shop Jane Isa RIGHT NOW.

The Euro pillows are covered from a Target scarf that stole my heart. Have you ever thought to do that? Dont worry, I will teach you.

Kangaroo Pillow Pom Pom Blanket @vintage revivals

The tutorial for the pom pom blanket is coming soon too. I love how over the top it is,  its the perfect topper to the simple white duvet.

The bird art is from Urban Renewal and really similar to the feather art that I used in the Emerald Room Makeover that I did a couple of months ago for Studio 5.

Spunky 4 yr old Dream Room Makeover @ Vintage Revivals-2

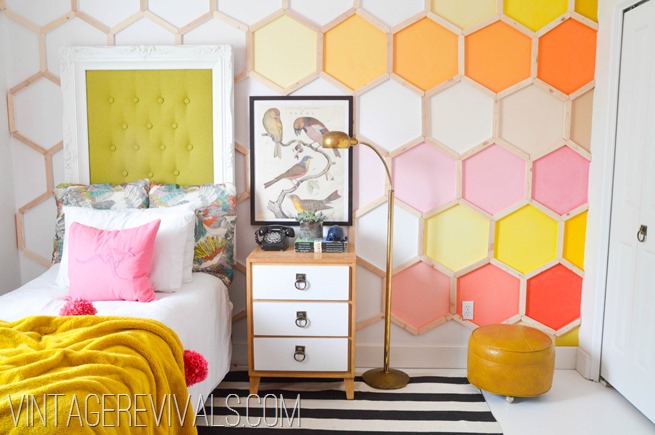
I tried a few different rugs in the room and originally thought I needed a sisal to balance out the walls and the bright colors, but it was just too boring. I found this black and white flat woven rug at Homegoods for $49.99. The black grounds the room and gives it just a little more maturity. And the best part is that because its flat woven it is the same on both sides…which means it can be flipped if necessary…pretty sure that will happen.

Tarnished Brass  Floor Lamp vintagerevivals.com

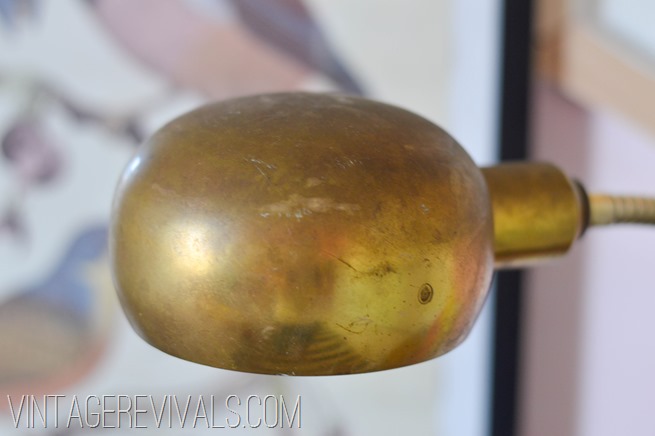
The standing brass floor lamp was a $5.00 consignment store score. You know when you spot something and people just dont see the awesomeness of it and you happily skip away hoping they dont realize the error of their ways and follow you home? Yes, that.

Dylan's Dream Room Makeover Hexagon Wall @ Vintage Revivals-2

The little goldenrod ottoman was a thrift store score from a few months ago (I think it was $7.00) it is in perfect condition, and fills that little space.

The white and wood modern dresser is a roadkill rescue that I refinished here.

Imaginative Girls Bedroom @vintage revivals

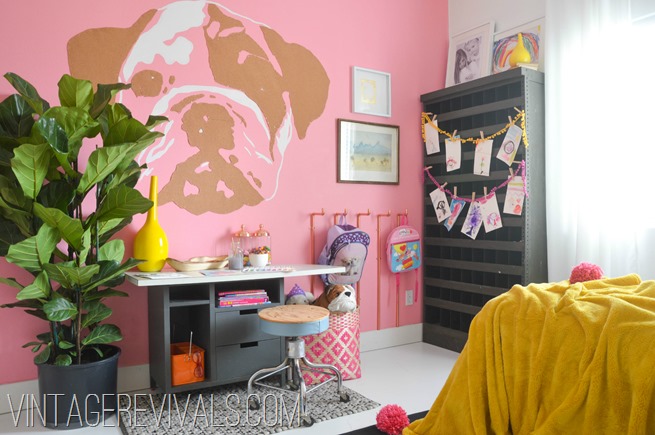
The little industrial art desk and the huge industrial shelf are from the same yard sale. The shelf was $35 and the desk was $10. And the good news for you? I found a couple of other pieces there that I will be selling at the Hoard Sale! Happy happy joy joy!!

The hot pink and natural woven birdseye basket ($16.99), the gray wool rug ($29.99) and the wooden tray ($14.99) that holds Dylan’s colored pencils and markers are all from Homegoods.

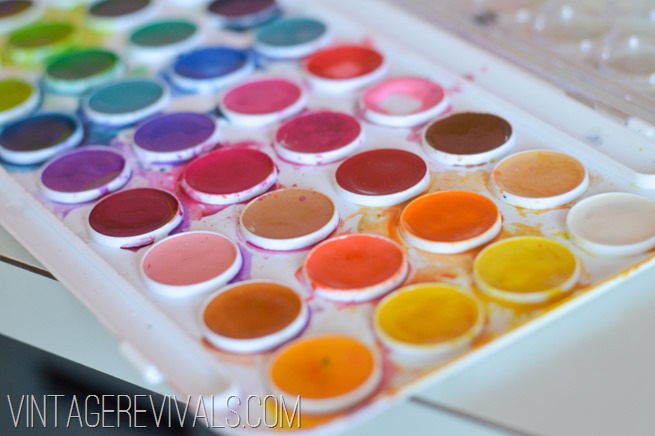
All of the cute art supplies like the water colors and gem shaped chalk are the Kid Made Modern art line that is new at Target. The quality is so amazing and they are so pretty to look at!

Dylan's Dream Room Makeover-4


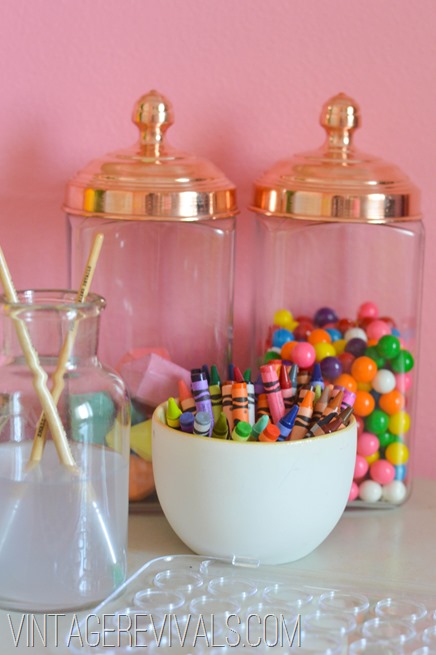
The copper lidded canisters are from Homegoods, and let me tell you, I wanted to buy 30 because they are my favorite.

Dylan's Dream Room Makeover-2

The tutorial for the copper coat hangers is coming soon too.

Copper Tubing Coat Rack Childs Room @ vintagerevivals.com

Without the Fiddle Leaf Ficus that entire side of the room would be missing something. Houseplants add so much life to a space. Look at your favorite magazine,  I can guarantee that there is a living plant somewhere in each of those spaces. So if you can pin point what is missing in your room try a plant! This one was $99.00 from Lowes. I love buying plants there because they have a 1 year guarantee, so if you have a black thumb you can switch it out for a new one.

Bulldog Wall Art Childrens Art Center

Tutorials start tomorrow, which one do you want to see up first?!

Check out the rest of the posts in this series below!

Love Your Guts