Living Room Makeover Reveal

By Mandi | 02/11/2013 | 148 Comments

Its.about.dang.time. That is ALL I have to say about this. This little makeover has taken me seemingly forever but it is DONE (for at least a few weeks…).

The starting point for my room designs aren’t the typical fabric swatches or pinterest boards. When I design a room the first thing I envision is how I want that room to FEEL when you walk into it. When you come into my house I want you to feel happy. Not just “oh I am happy to be away from my kids for 5 minutes” but the kind of happy that you are like “Man. There is something special about that place. Its like Disneyland but thriftier.” I want our house to feel comfortable and interesting  and inspiring. So that is what I started with. Happy, comfortable,  interesting, and inspiring, and of course my favorite feeling in the world, fearless. So as you are looking at this new room I hope these are the words that come to mind.

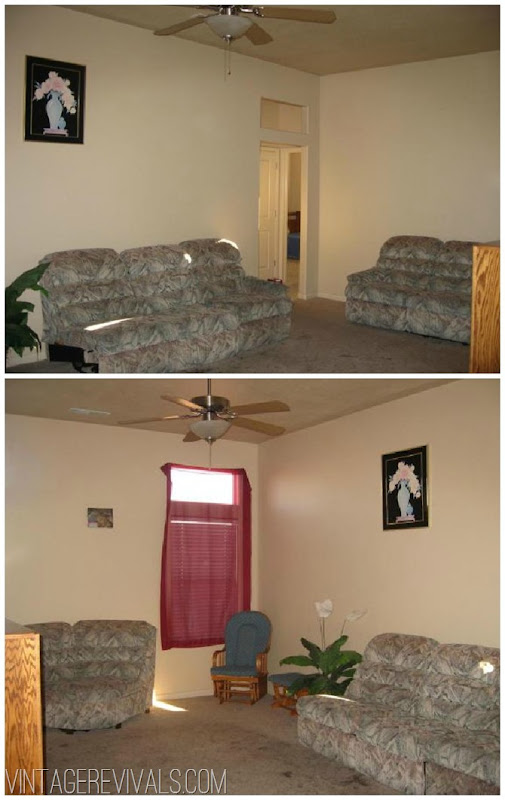
For those that are newish (welcome!) Court and I bought our house 3.5 years ago. It was a short sale that had been thrashed. Here are the MLS listing pictures…please enjoy.

Living Room Before

Doesn’t that carpet make you want to get a tetanus shot? BLECH. But I loved it the second we walked in. (Please keep in mind this was a year before I started the blog and had ever tried to decorate anything…)

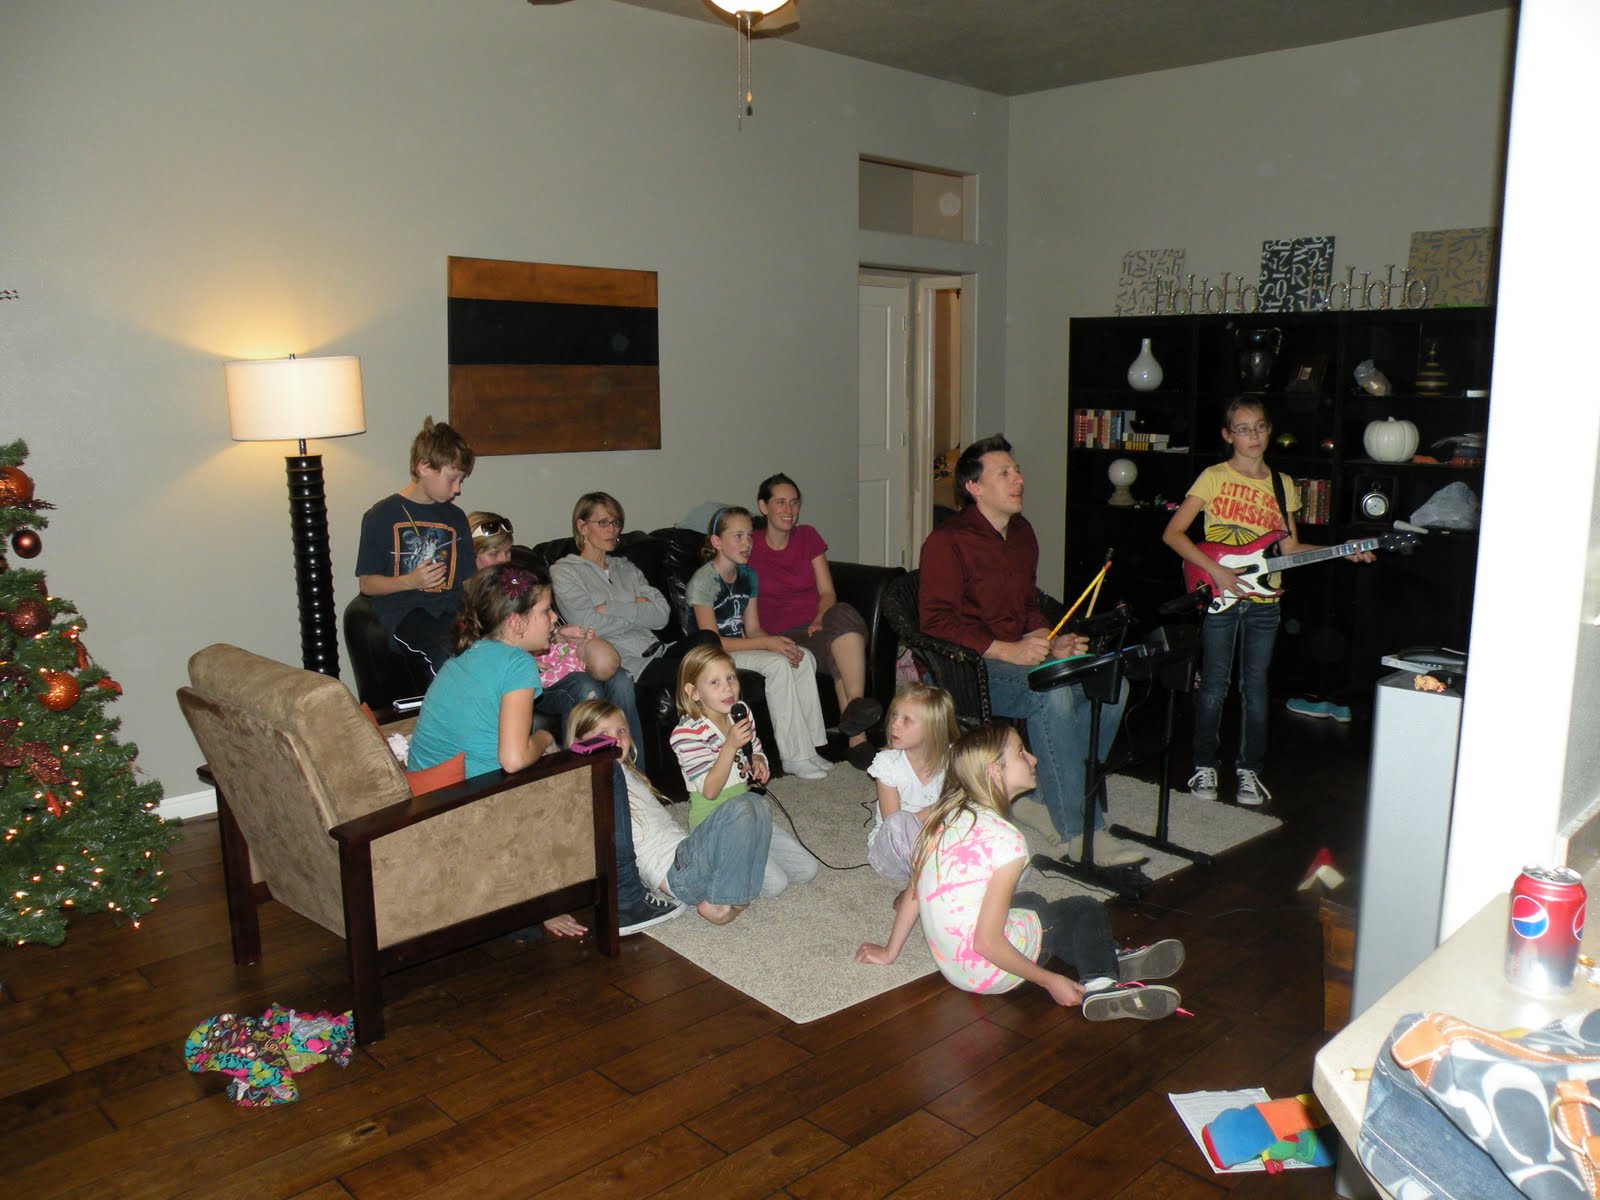
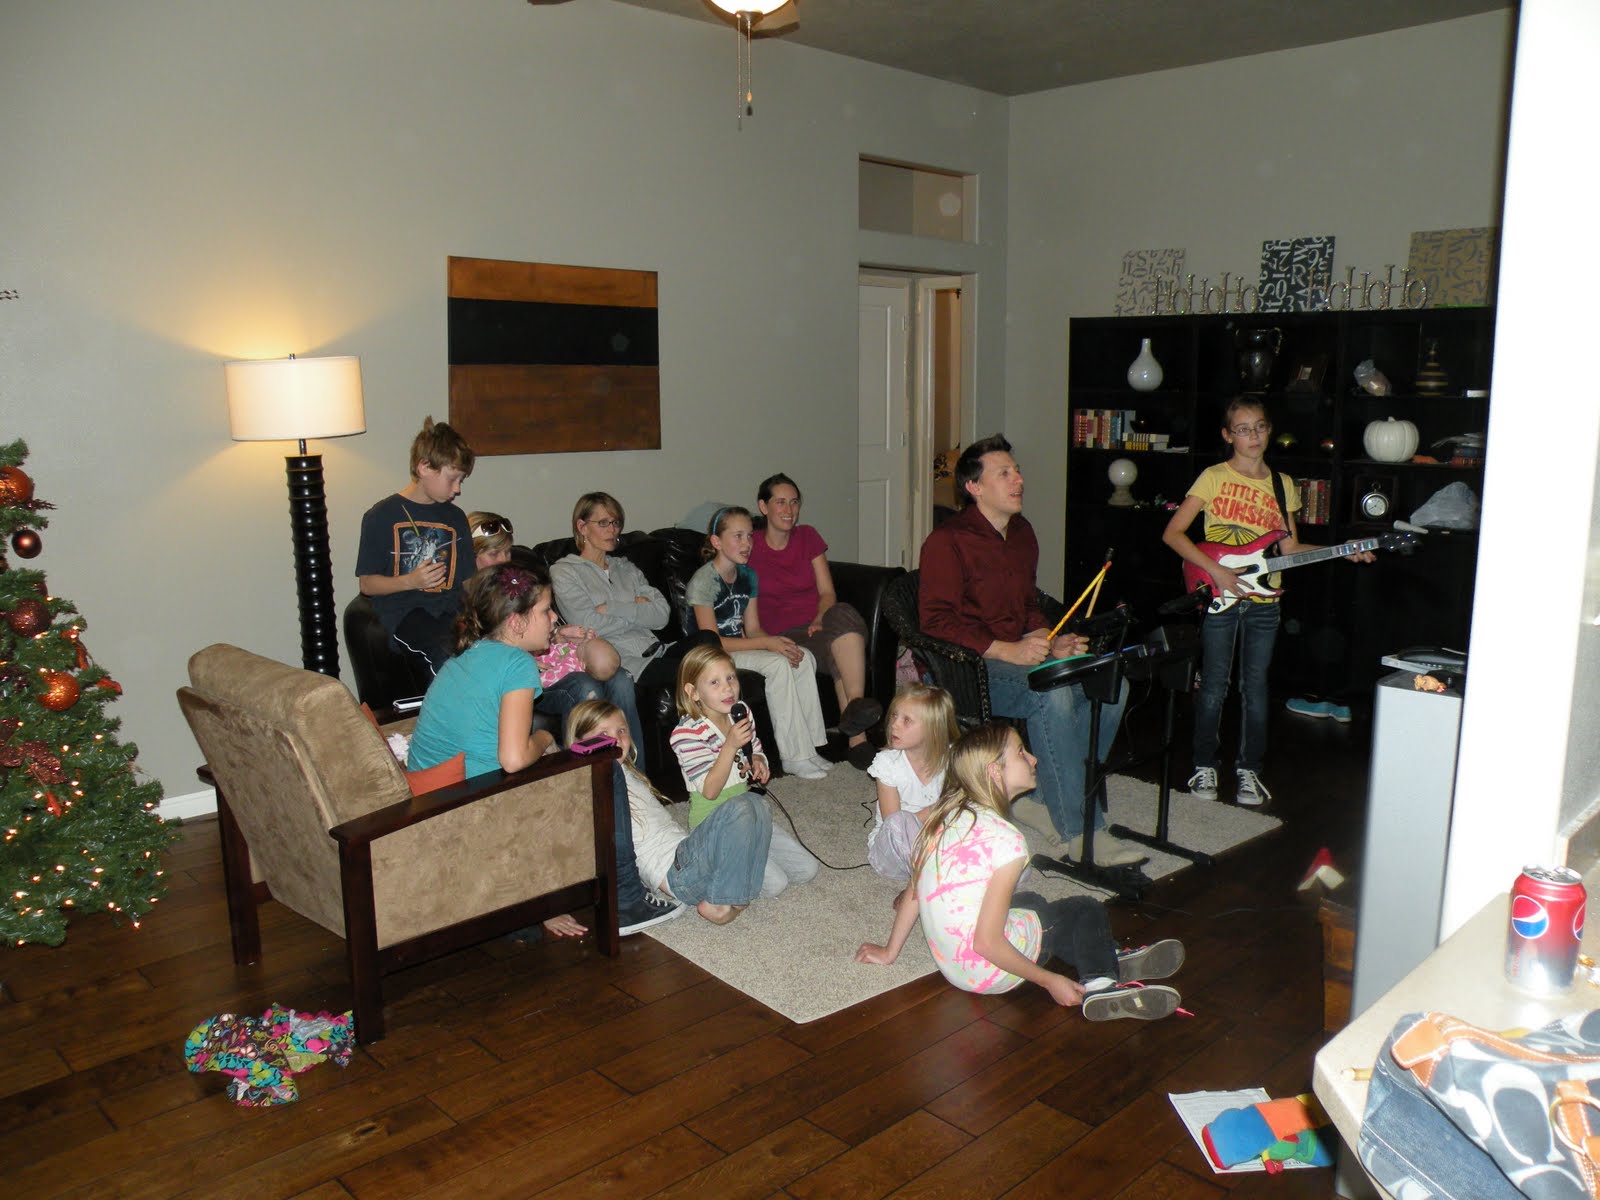
I found this picture last week of a Rockband Christmas Party that we were having about 5 months after we moved in.

Obviously we installed hardwood and repainted but that was about the extend of the fun.

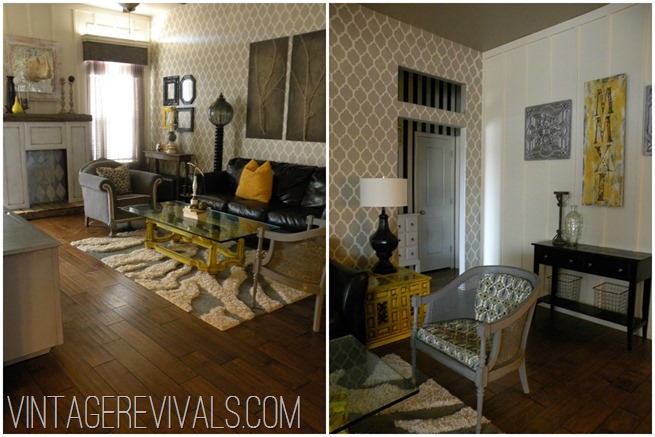
Then after living room makeover #1 it looked like this:

Living Room Makeover 1

Tons of work, tons learned, and I outgrew it really quickly. It was great, but I wanted it to be lighter and brighter and funner. I was sick of gray and white and yellow.

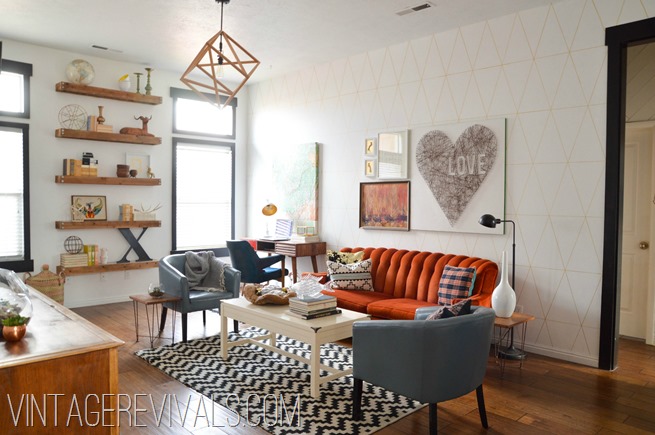
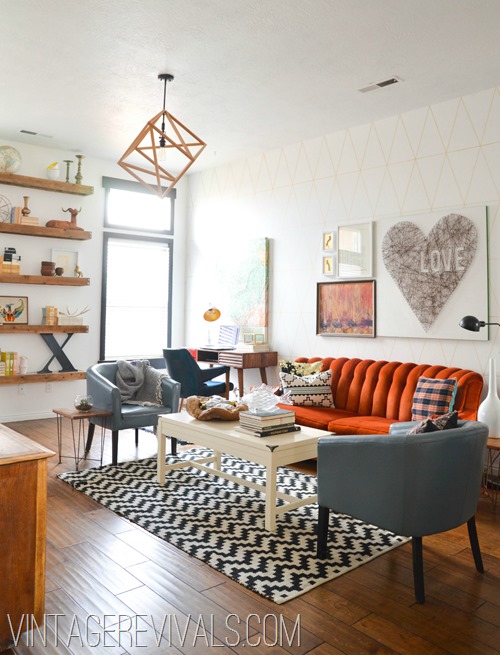
So this is what it looks like now.

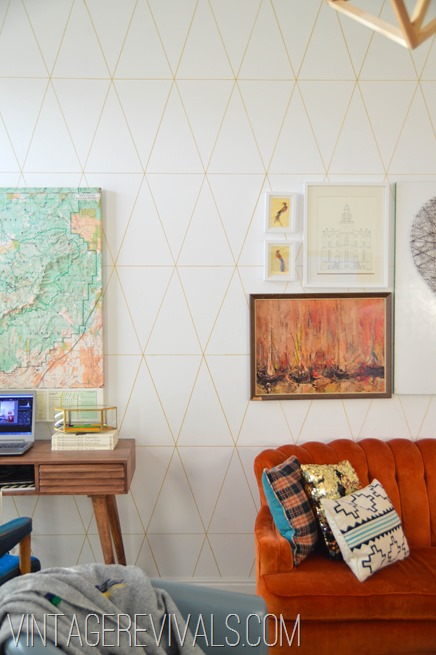
Living Room Makeover @ Vintage Revivals

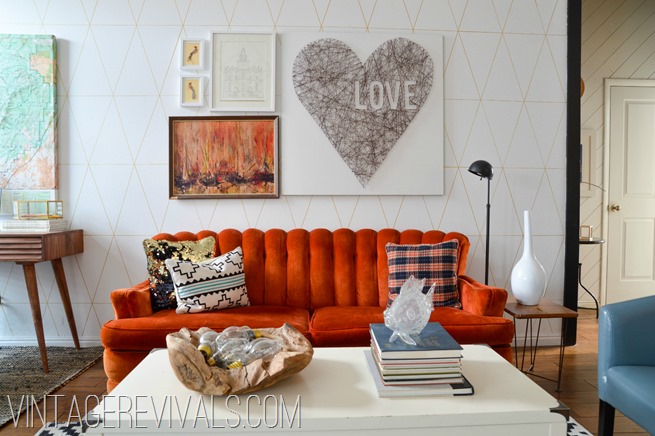
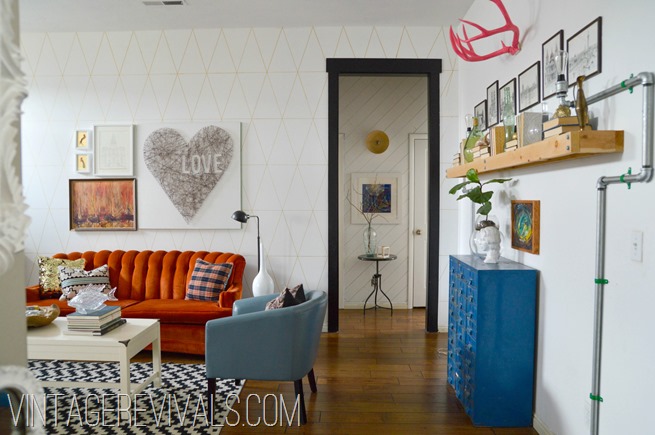
Orange Tufted Couch Living Room Makeover @ Vintage Revivals

I mean. Literally not the same house, except that it is. The original theme my friends coined was Santa Fe Brothel, because of the plans for Southwest+Gold+Velvet Couch. While the room has nods at Southwest happiness, its not as overwhelmingly ethnic as originally planned. And I am 100% ok with that.

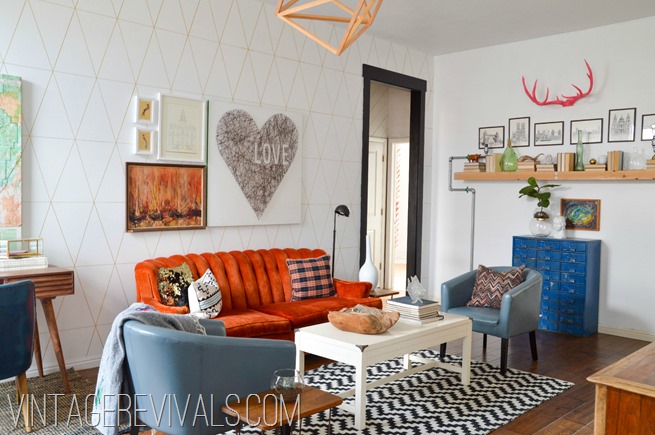
Thrift store gallery wall Living Room Makeover @ Vintage Revivals

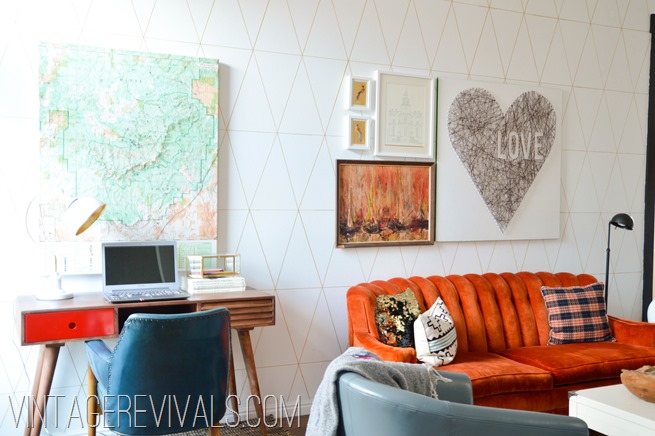
It started out with the Orange Velvet Couch. After someone stole the Navy Chesterfield right out from under my Craiglisting nose, I knew I NEEDED something that was show stopping. One of my friends was selling it and I was happy to pay $300 to take it off her hands. The pillows are from Homegoods and Target.

I found the coffee table at Homegoods on major clearance for $50. All the knickknacks are thrifted or from Homegoods.

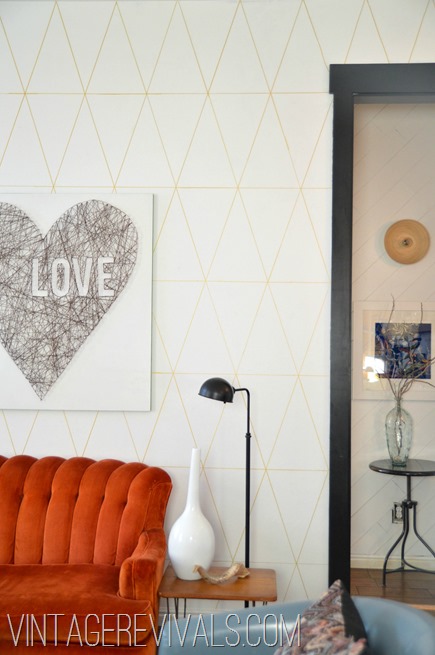
I went out on a limb with the giant heart string art but without it the room would absolutely not be the same. The other pictures are thrifted or custom (which we will be talking about soon!)

And of course the base for the entire thing is the Sharpie Wallpaper. It brings just the right amount of metallic in.

DIY Wallpaper Tutorial @ Vintage Revivals-2

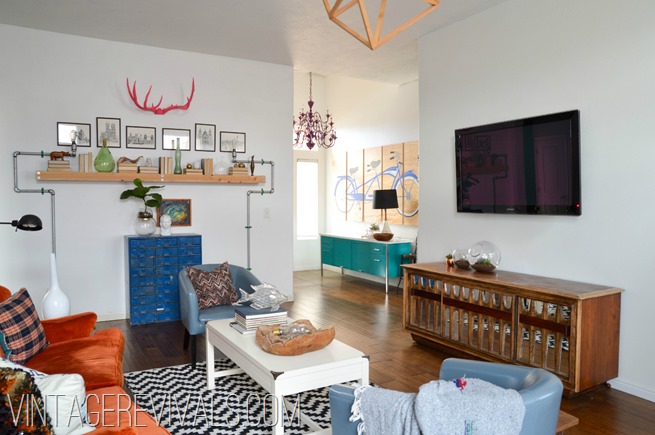
Entryway Living Room Makeover @ Vintage Revivals

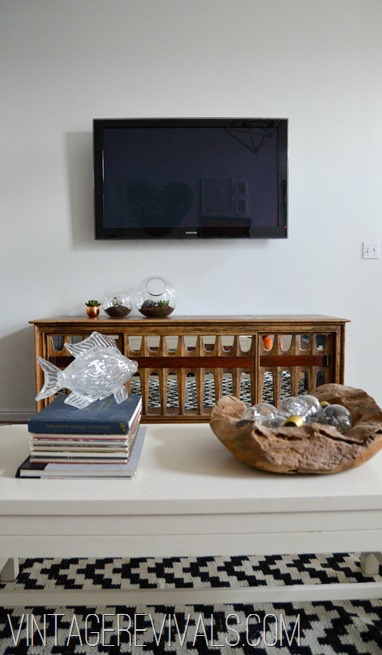
Miss Vicki the vintage Victrola stereo cabinet was thrifted and updated here and then updated again here.

I think this is the first time I have shown you guys a shot that shows my living room and my entryway.

Here is a picture looking into the Kitchen. I just painted the walls black and LOVE it (and I cant wait to share the tutorials for that space with you soon!!)

Vintage Stereo Cabinet Living Room Makeover @ Vintage Revivals

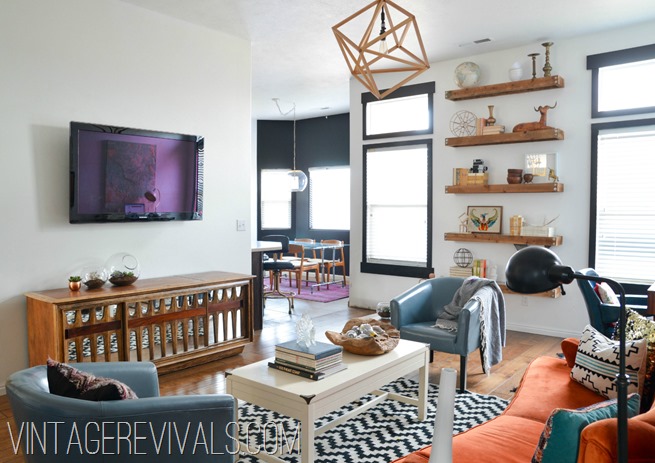
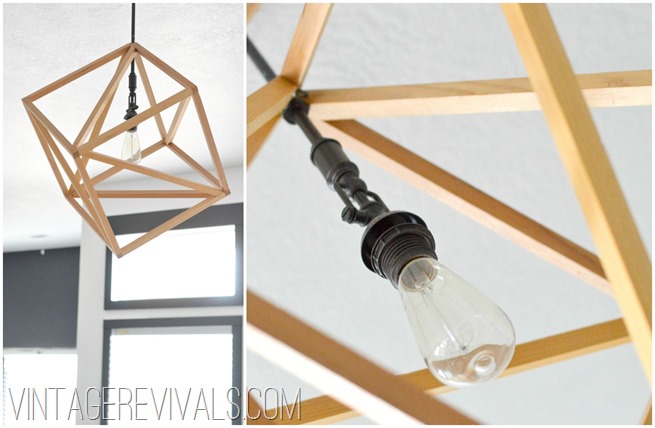
I moved the openwork cube pendant out of Dylan’s room and into the living room because I love it JUST that much. It needed to be shown off.

DIY Openwork Light

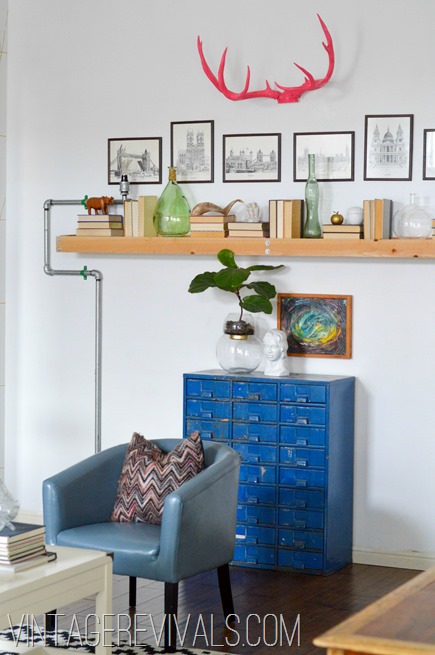
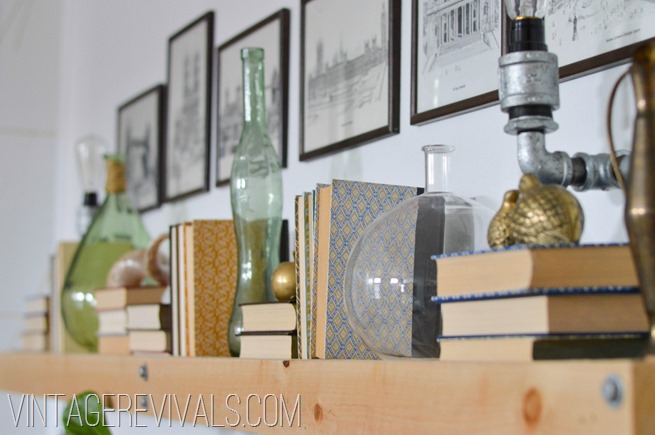
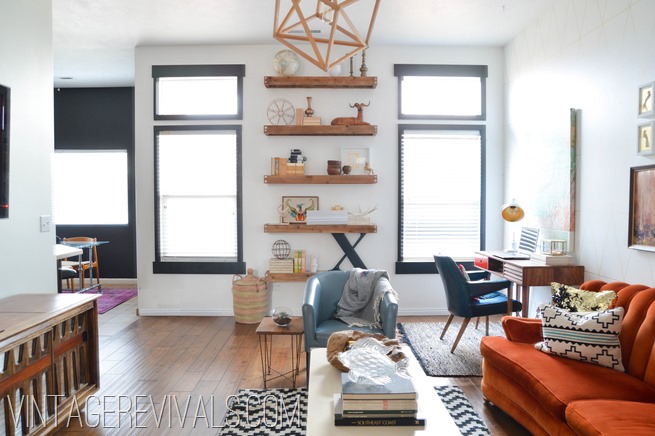
One of my favorite projects in this room is the floating industrial shelves. I changed them up from the original colorful staging to something a little more toned down but the process is still the same, so watch the video if you are struggling with staging.

Everything on these awesome shelves are thrifted, gifted, or lifted…and by lifted I mean stolen with permission from my Mother In Law. Literally everything except the Love Your Guts gold leaf art. If I had to add it up I would say the entire vignette cost this girl around $75. Not too shabby.

DIY Built In Shelving Living Room Makeover @ Vintage Revivals

The floating shelf on the opposite side of the room is full of thrifted goodness as well. The art and the pink antler sheds are my favorites.

Pink Antlers Living Room Makeover @ Vintage Revivals


Book Shelves Living Room Makeover @ Vintage Revivals

The desk was a Homegoods score that went against everything I believe in, but it is PERFECT right there. And I still cant believe that I found that huge map for $12.

Living Room Makeover @ Vintage Revivals-1-2

So now I am going to shut up and just show you some more eye candy ok? Be right back.

Vintage Stereo Living Room Makeover @ Vintage Revivals

Living Room Makeover DIY Book Shelves @ Vintage Revivals

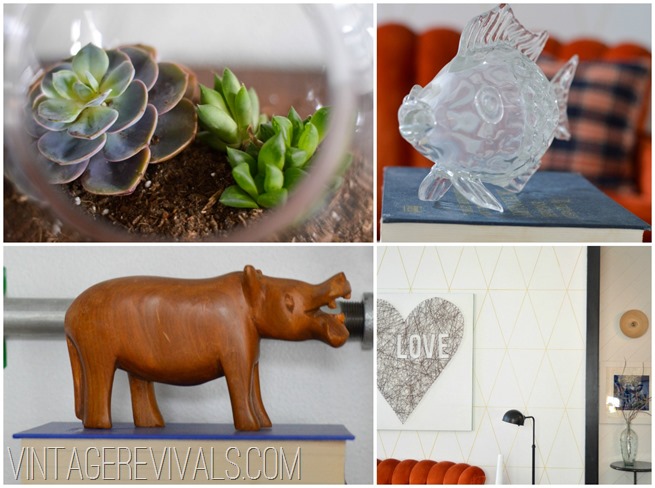
Wooden Hippo Succulent Collage

Living Room Ideas @ Vintage Revivals

Vintage Revivals Living Room Makeover

Living Room Makeover Ideas @ Vintage Revivals

I am in love with the entire thing so much the only way to describe it is with a big ol’ sigh.

I love that it feels collected, because it is.

I love that it feels like me, because it is.

I love that there will never be another room like this on the planet because everything was found and not just purchased.

It has taken me 2.5 years of decorating and writing almost every day to find a style that is MINE. And I wouldn’t change it for the world. Do I cringe when I see some of my old projects? Yes siree bob I do. But at the time they were perfect, because they made me comfortable with evolution.

Here are all of the tutorials for this room makeover:


So I want to know, what is your favorite part of the living room makeover?
Love Your Guts

True Dat Homie.

By Mandi | 02/09/2013 | 12 Comments

Happy dance happy dance!

Thanks so much to everyone who voted for Vintage Revivals over at The Homies!  We have advanced to the TOP 6!!!!!!!

Last year when we made top 6 I literally was just grateful to be included and didn’t care to win (do you think that is how some Hollywood stars feel? Its a honor just to be nominated!)

But this year, while I am so happy to be included, we are going to WIN!

Have you noticed how I am using the word we instead of I? While I am the voice behind Vintage Revivals, you guys are the heart of it. You are the reason that it exists. You’re the meaning in my life, you’re the inspiraaaaation! When I started this little blog 2.5 years ago I had never decorated anything. You guys have been with me as I have learned what to do, and definitely what NOT to do,  and turned some obscure dream into real life.

Did we just have a moment? Cause I think we did.

So click over, cast a vote, and give yourself a huge hug for me…because I love your guts! And if you feel so inclined I would love for you to share this!!

VIntage Revivals Homies

Love Your Guts

The Most Hilarious Picture of My Husband Ever…Oh and Its My Anniversary!!

By Mandi | 02/08/2013 | 26 Comments

Its Friday Friday Friday! Its not just any Friday at the Gubler’s though, today is Feb. 8th and that means that today Court and I are celebrating our 10 year anniversary!! Holeeeeeeeeeeee Fetchballs.

Court and Mandi

Do you guys know what I asked for?

I asked for Court to finish painting my ceilings. Because remember how that is the suckiest suck job ever? Tada!
DSC_0673

Ceilings painted, angels singing, no sore muscles. Its the best gift ever!! (Yes I am fully aware that I just showed you a picture that is only of a white ceiling…please excuse my excitement/  They have looked like THIS for far far too long)

If you have read my Real Life Story, you know that today was such a far off reality for us not very long ago. I am so freaking thankful that today is here.

I mean, is there a better match under the sun for this freaky loving picture girl? I think not.
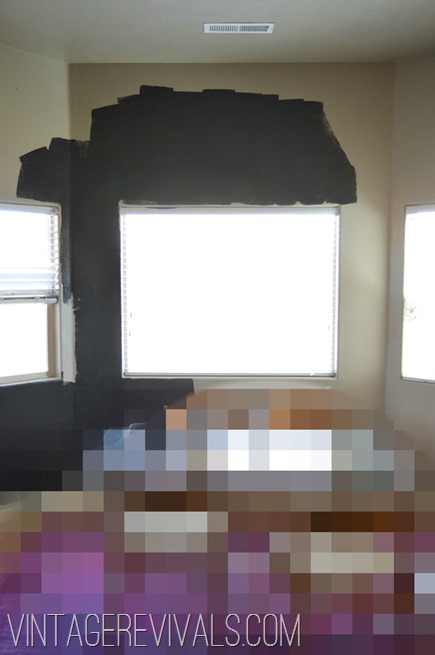
photo (1)

Today is the last day to vote in the Homies before the Top 6 are announced!! Do you want me to have diarrhea for my anniversary? If not then click over and vote, because this is STRESSFUL. And a HUGE thank you to everyone who has voted so far, you guys are my favorite people ever.

image

Love Your Guts

5 Tips To Survive Blog Puberty Like A Champion AKA How To Work Through A Creative Slump.

By Mandi | 02/07/2013 | 32 Comments

A few weeks ago I basically ripped my heart out of my chest (Once Upon A Time style) and showed it to you all in my Blog Puberty post. I am SO glad that I did. Apparently the way that I was feeling is the way that A LOT of us feel from time to time. Whether you have a blog or are just in a slump, here are a few things that helped slap me, shake me, and wake me up again. This was my process.

Blog Puberty Solved

1. Go back and read your blog from the beginning. Yes, it is PAINFULLY obvious that your pictures were horrible,  you were still trying to find your voice, and you have zero comments. BUT you were passionate. THAT is what you need to remember. The passion that made  you start your blog in the first place. The excitement that you had when you couldn’t get your fingers to type fast enough because you had opened the floodgates and your creativity was taking out everything in its path. THAT is what you need to feel again, and you can! And just for fun here is the after picture from the first project I ever posted

2. Figure out why you are in a slump. Is it stuff going on at home? Have you gained weight from sitting on your computer for hours at a time? Are you comparing yourself to other bloggers? Did you run out of mulah? (These are some of my slumpish reasons, they may or may not be yours.)  Make a list of why you are feeling so awkward. We as women (at least most of the women that I know) want to talk about things over and over and over and don’t necessarily want a solution, we just want validation, we want someone to understand us. Well knock it off. Face it like a man. Figure out why you are comparing yourself, and then STOP IT. Figure out why you have no money (daily thrift store trip much?) and come up with a better solution. And then do it.

3. Get outside your comfort zone. I know,  you are feeling blah. Put on some proverbial pink lipstick and go make new friends! I just got back from ALT and let me tell you,  these people are TALENTED. Now come closer….Let me tell you something else. They are people too. And they just might be feeling the same way that you are.

4. Go find some new blogs and leave wonderful and sincere comments. There are some people that are of the opinion that there is not enough internet to go around. That is complete crap.  Virtually raise your hand if you only read one blog. Now keep your hand up if once you find a great new blog that you connect with, you stop reading the one blog that you previously were obsessed with. I mean, really folks? That DOES NOT happen. Ever.

5. Shut off that DANG computer and make something!!! Like with your hands folks. Set a $10.00 limit and use your creativity to make it amazing!! Want to know what I did with my $10? I bought a cookie and drew on my walls with a Sharpie. And I feel SO much better!!

DIY Wallpaper Tutorial @ Vintage Revivals-1

So these steps are literally the way that I worked through my dark cloud. I finally feel like I am back, and let me tell you how fun it was for a freaky picture loving girl to share these with you.

Blog Puberty Outtakes


Thank you to everyone who has taken the time to vote for VR on the Homies!! They are still going full force and if you love my guts as much as I love yours, I would love it if you clicked over and voted (if you haven’t already!)

image

Love Your Guts

Black That Wall Up

By Mandi | 02/06/2013 | 33 Comments

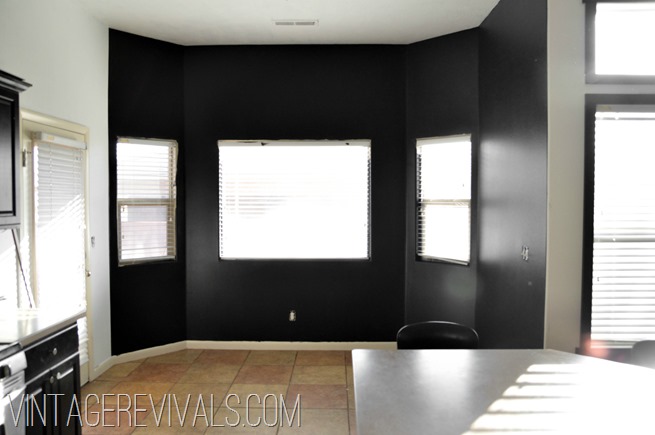
I must admit, up until a year ago I was not a fan of black. I felt like it was just too harsh and preferred a dark gray over black any day. When we moved into our house we painted everything, EVERYTHING a really great greige (Hopsack by Ralph Lauren) Now, you have to remember that we did all of this before I started Vintage Revivals, before I found the world of DIY, before I had ever tried decorating. I just found this picture browsing our family blog and it made me gasp in horror. This is our house a few months after we moved in. Can you even believe that?!!

If you would have told me then what my house would look like now, I would have called you a liar and asked how the view from the telephone wire was.

But here we are today,  with an orange velvet couch,  a giant bike painting and now a black wall.

Black Wall @ Vintage Revivals

So lets discuss the black.

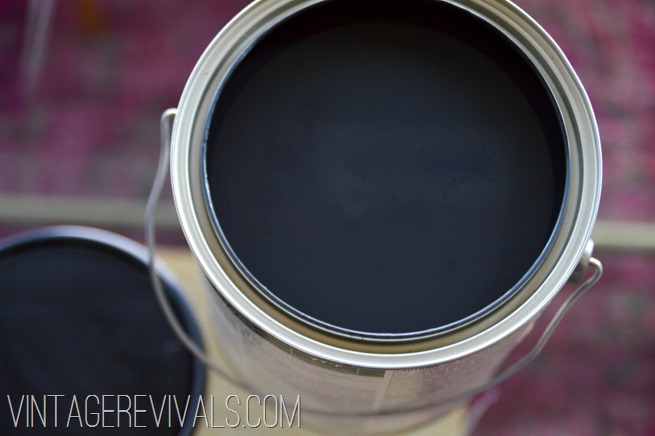
I have used a super dark gray before in a few rooms (the only one that has been revealed is the $150.00 makeover,  the other one is coming very soon…muah hahahaha)  The color is called Iron Ore by Sherwin Williams and it is THE BEST dark gray color I have found HANDS DOWN. It is a true gray, not too purpley, bluish, or greenish. Just a straight gray. And that is how I wanted my black to be. Pure black.

The color that I ended up with is Tricorn Black by Sherwin Williams. Its the same color of black that I used to case in my entryway and give my windows mascara (aka black trim).

Black Wall @ Vintage Revivals-2

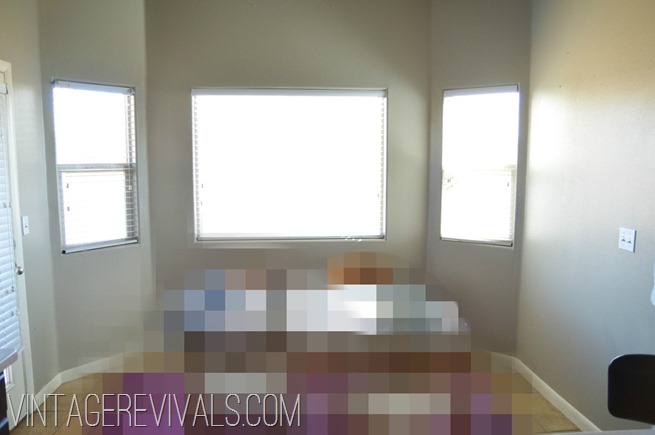
This is what I started with: (also please pay no attention to the giant pixilated box…still working on the tutorial for that one before the reveal.)

Black Wall @ Vintage Revivals-1

This area is not huge, but just because something isn’t ideal in your mind doesn’t mean it needs to be forgotten or brushed over. You can still make it amazing.

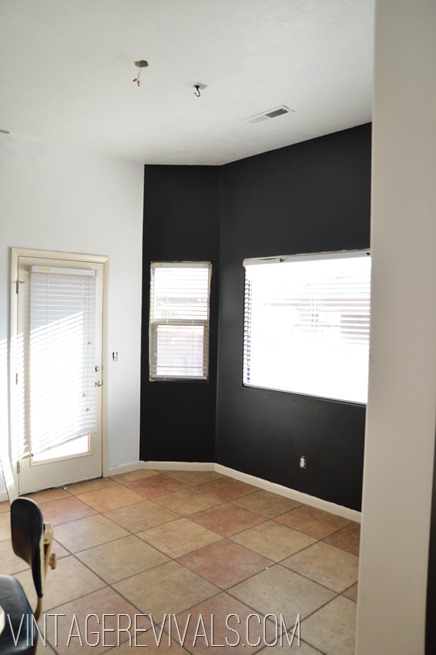
I started painting and when I got this far I stepped back and knew that it was love.

Black Wall @ Vintage Revivals-3

I used a satin sheen to hide as much of the orange peel texture of our walls as possible.

Did you know the lower the sheen the more texture is hidden? Its true! Some of you may be wondering why I didn’t use flat if I wanted to hide as much of the texture as possible. For you my friends I have 2 reasons,  1. I didn’t want it to look like a chalkboard wall, cause its not, its just a black wall. And 2. The higher the sheen the better the scrubablity. This is where 95% of our eating happens and you never know when a bottle of ranch dressing is going to explode on your face and the wall behind you (true story that happened to me when I was 10). Satin is the best of both worlds.

The biggest worry that people have when doing something like this is obviously the light issue. If you are painting an area black, wont it be really dark/depressing/Satan worship-y?

Black Wall @ Vintage Revivals-1-2

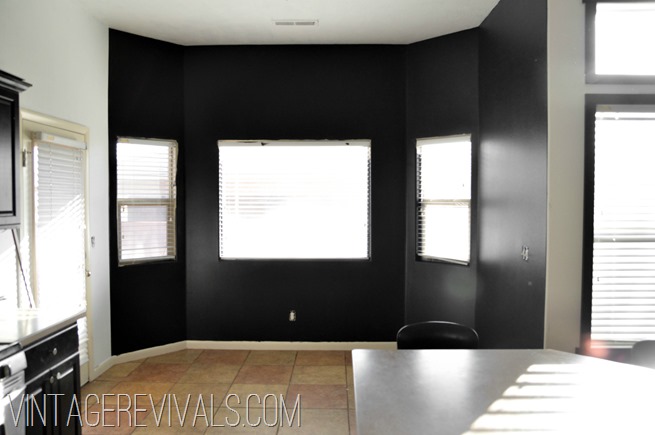
I think that if you did that in a room with little to no natural light it for sure can happen. In this area of our house though it is full of natural light (there are 4 windows just in that little alcove) so to answer your burning question, yes those specific walls are darker but its almost like the walls disappear, all you notice are the windows. AND to balance out the dark all of the other walls/ceiling is pure white, so overall its actually brighter than it was when everything was Greige.

So for those of you that are thinking about this (yes, I am talking to you Facebookers) and wondering how I am feeling about it I big huge fat love it. I cant believe I was even a little bit concerned about doing it black! So thanks for pushing me off the proverbial cliff friends!

Black Wall @ Vintage Revivals

I have some big plans for that solid wall and the plan is to replace the white blinds with something else, either a roman shade or some earthy matchstick blinds. Which would you choose?


Love Your Guts

Thrifty Finds That You Have Never Met.

By Mandi | 02/05/2013 | 21 Comments

Man I hope you guys follow me on Instagram,  those people get ALL the good secrets. Here is a story. I dropped my phone and cracked my screen a few weeks ago (I have insurance, its all good.)  I have been meaning to take it in and just haven’t made time. Well this morning Dyl dropped it again on Ivie’s Faux Bois Concrete Floor and massacred it. Like it was so sharp I lost about 5 layers of skin just sliding open my lock screen…as a matter of fact, I don’t know if I have a fingerprint on my right thumb anymore.

So as I was backing up my phone and downloading everything off of it in preparation to kiss it farewell, I was going through all of my pics and there are a TON of great things that I haven’t shared over here on the blog.

So lets catch up shall we?

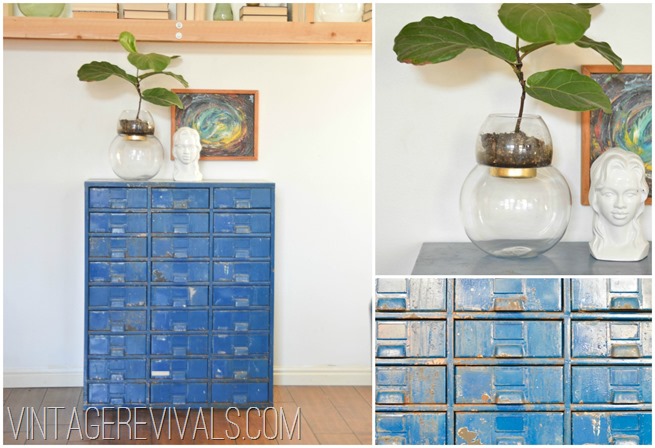
Lets begin with this metal cobalt card catalog. I found it for $25, and it was DIRTY. It must have been sitting outside with all of the 15,394 drawers open because they were FULL of cotton fluff from cottonwood trees. It was not fun for this allergy infested mama. But I mean,  I would totally take cotton fluff over spiders. So I should be counting my blessings.

Industrial Card Catalog

Its the perfect width for the spot underneath my giant shelf and thrift store art.

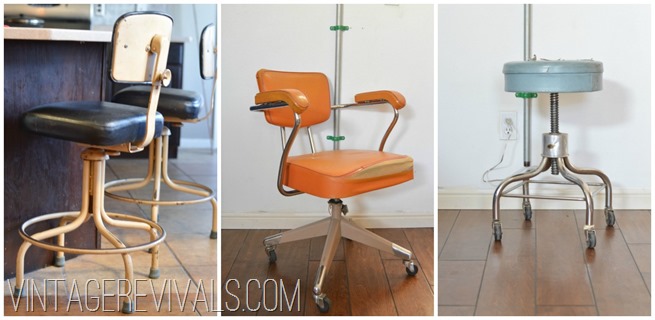
I currently have this freakish obsession with metal chair/stools. They make my spray paint covered heart sing. These were all around $8.00 each

Metal Rolling Office Chairs and Stools

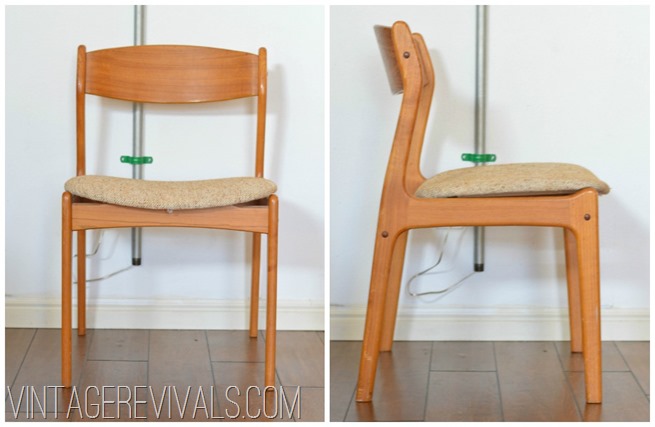
And I am pretty sure that I have not properly introduced you to my new dining room chairs. They were the score of the century, I grabbed 7 for $120 total. These ones that are identical, retail for a meager $850 PER CHAIR. (Insert Carlton happy dance here.)  They are getting a quick fabric swap (tutorial coming soon!) and then moving into my dining area.

Danish Modern Thrift Store Chairs

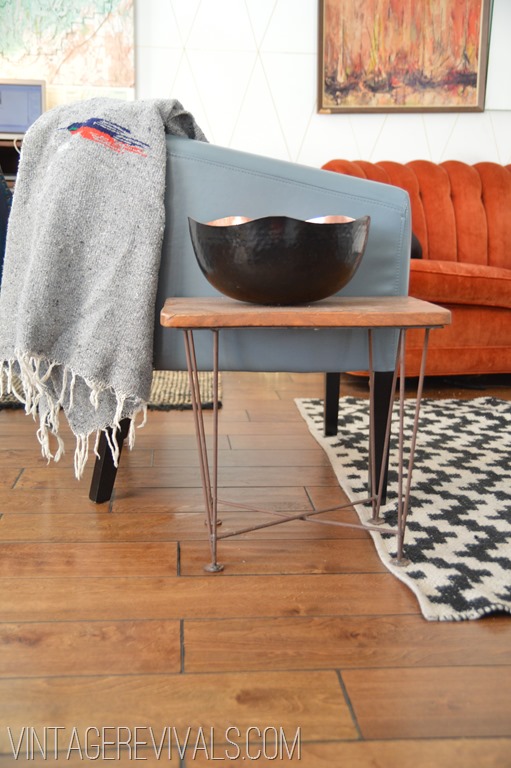
Quite a few months ago a local hotel cleaned house and gave everything to ReStore. I found 3 of these vintage hairpin end tables for $8.00 each and I wish I would have gotten more. They go anywhere and work with anything. So congrats to the St. George ladies that also bought some (and if you want to sell me a few,  hook a sistah up!) DSC_0609

Hope you guys have a fantastic Tuesday!!

image

*Homies Update! THANK YOU SO MUCH everyone for voting!! Vintage Revivals is currently in the top spot!! If this hold out we will for sure make it to the Top 6!! Love your voting guts! (and if you don’t have voting guts yet,  you can click over and vote and then you will have the infamous voting guts…I hear they are all the rage this season…)


Love Your Guts

Chindi-licious: How To Make A HUGE Rug Out of 6 Smaller Ones

By Mandi | 02/04/2013 | 19 Comments

Have you noticed that I have a few tutorials from the Epic Room Makeover Giveaway that I have yet to post? Its true, and its a crying shame. (Lesbihonest, I am procrastinating that 3D tumbling wall because its going to be 78 posts long) So hopefully forgiveness will be freely doled out.

Oh and for those that are new, every year I host the most amazing giveaway blogland has to offer, I get to be the Room Makeover Fairy and go to one readers house for a week give them a FREE makeover. Sweet right? Its the best way I can say thanks to my amazing followers! Check out 2012 and 2011 for inspiration and to see the incredible transformations!

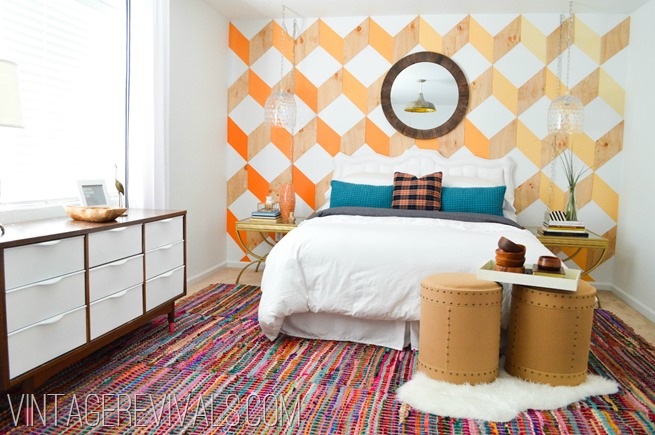
Colorful Woven Rug vintagerevivals.com

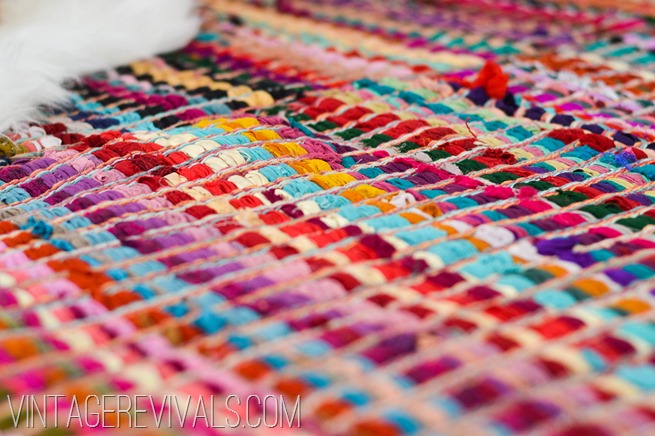
Way back when we were working on Kelsey’s room the biggest obstacle that we were having design-wise was the rug. I couldn’t find one that was right. They were either to boooooring, or too small, or too suckish. As a matter of fact we (Me, Kelsey, Jilly & Mia, and Hailee) spend a good 45 minutes sitting on the floor of the Peoria Homegoods trying to come up with a way to make a Chindi rug. (For those unfamiliar with the term Chindi it basically is a woven rug made out of different textiles. Also known in the great USofA as a rag rug.)

Woven Chindi Rug vintagerevivals.com

One early morning we found ourselves at World Market. (I had actually never been to World Market before and was in love with a handful of things). So we walk in and right to the side of the entrance they had this huge pile of the most colorful rugs I had ever seen. I actually think I made the sound of a singing choir of angels the second we walked in the door…which basically will guarantee that the employees love you from that moment forward.

The problem?

The rugs were much too small for what we needed, and they didn’t come in larger sizes. So I pulled my inner DIY MacGyver up by the bootstraps and decided that we were going to make a rug. We bought 6 rugs @ $39.99 a piece and skipped our happy rear ends out of there with a plan.

*Update (They were 3×5 each and here is the link to World Market)
This is probably the simplest DIY ever.

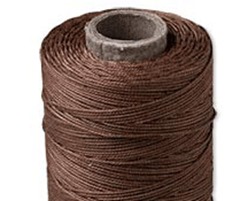
You will need a long upholstery needle and twine craft thread. It looks like this:

Twine Thread

Nice and thick.

Lay out your rugs out in the pattern that you want. Ours were 2 rows of 3 rugs, hamburger style. (Here is a visual if you don’t have a 2nd grader to explain what hamburger style means…)

How To Make A Woven Rug

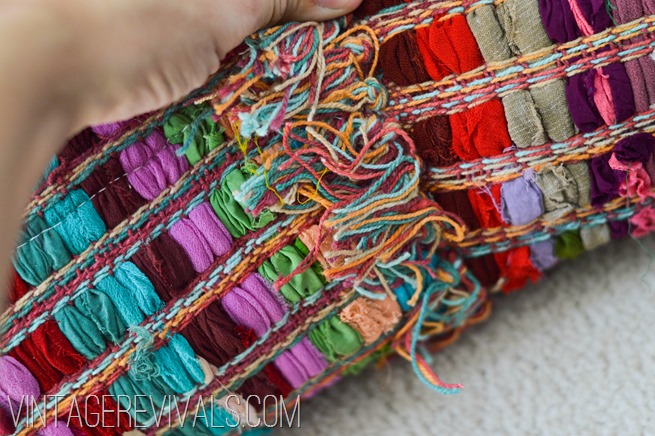
Then we stitched them together using the loops at the ends of the rug. We made sure to tuck the fringe underneath the parts that weren’t supposed to be fringy.

How to stitch rugs together vintagerevivals.com

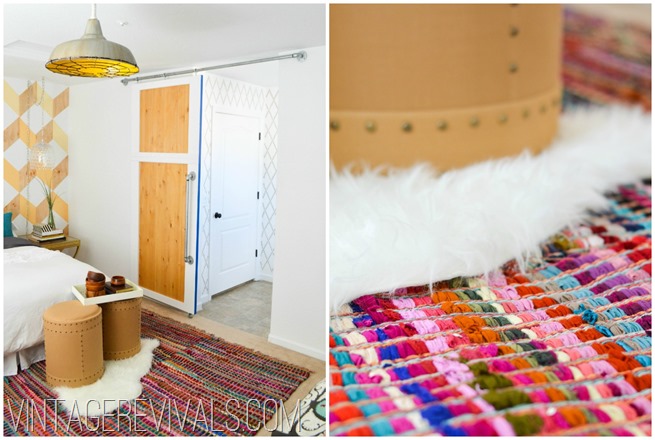
And 6 too small rugs became 1 giant perfect colorful base to Kelsey’s room. Its pretty much impossible to screw this up. This style of rug is SO forgiving when you are doing a project like this.

Colorful Chindi Rug Makeover

This rug screams “Hello world, I am happy today and I don’t care who knows it.” and don’t we all want a rug that says that to us in the morning? I know I do.

Check out the rest of the Epic Room Makeover 2012 projects too,  unless you HAVE to get back to work,  then you can come back later…


image

Voting is still happening for the 2013 Homies,  if you have ever been inspired by something on VR I would love it if you would click over and vote here. Its sort of like putting a gold star on my forehead and slapping my butt for a job well done. xo


Love Your Guts