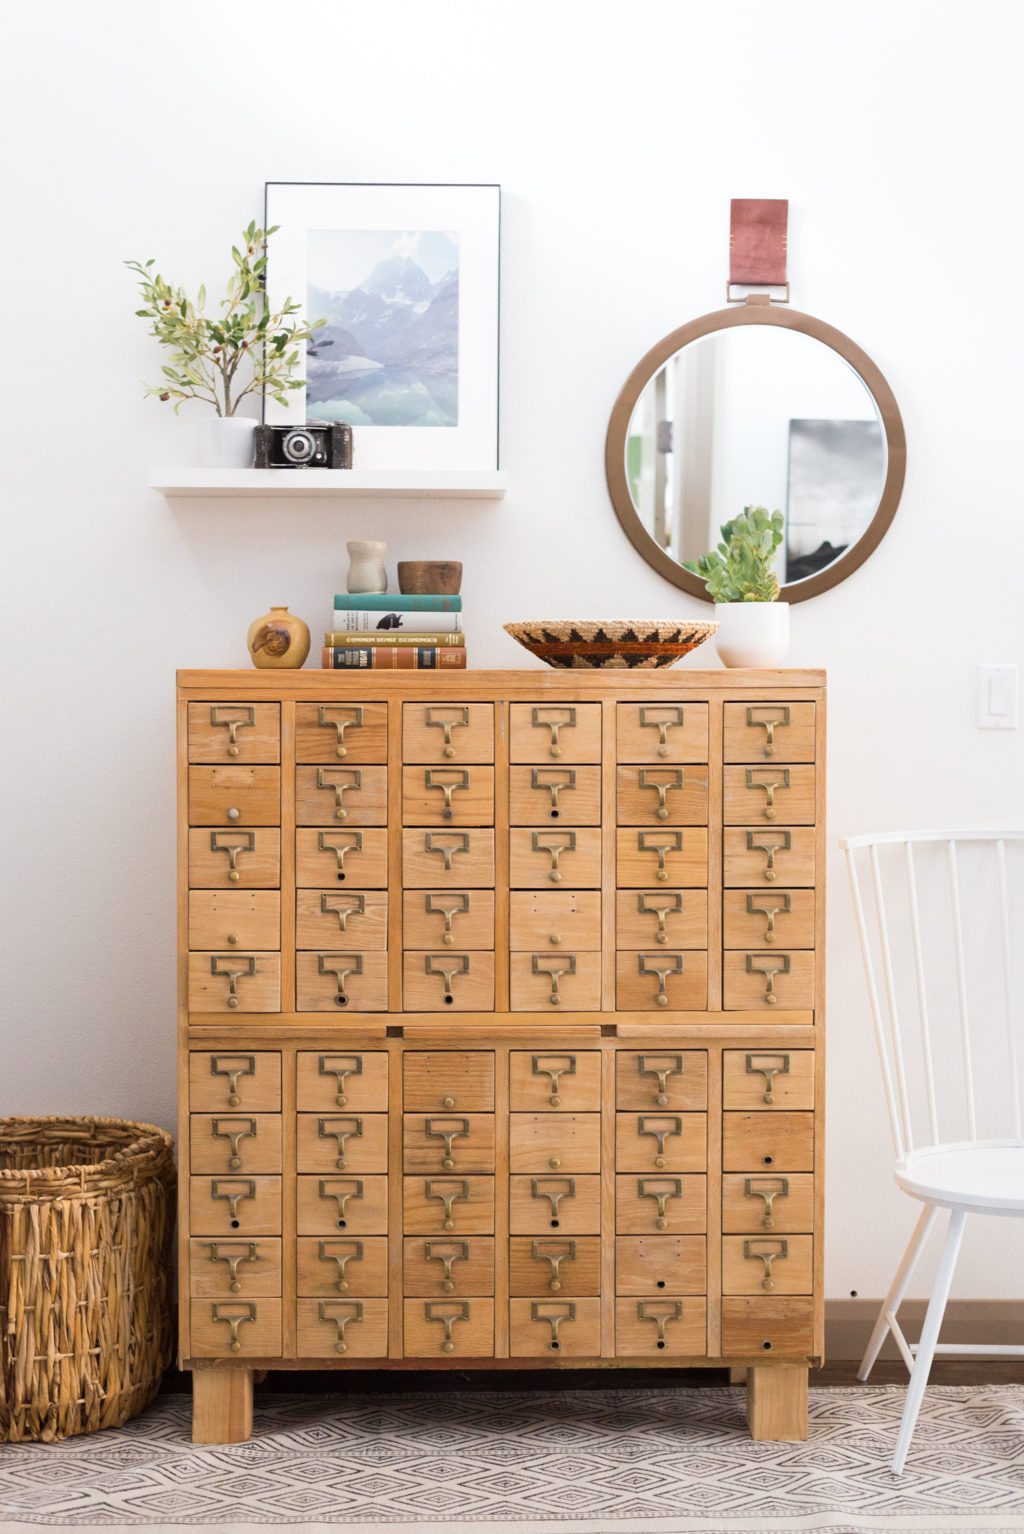
It’s been a long while since I’ve been in the thrifting game (obviously when you’re eyeball deep in renovations you’ve got other priorities. Like not eating at McDonalds again.) I was cruising Craigslist last night and feeling like every good thing ever was gone. Man this world of instant gratification! So instead of feeling sorry for the lack of cool vintage leather and the overabundance of microfiber, I took a trip down memory lane at all of the great things that I’ve scored and I thought it would be fun to look back over the years at my favorite secondhand finds.
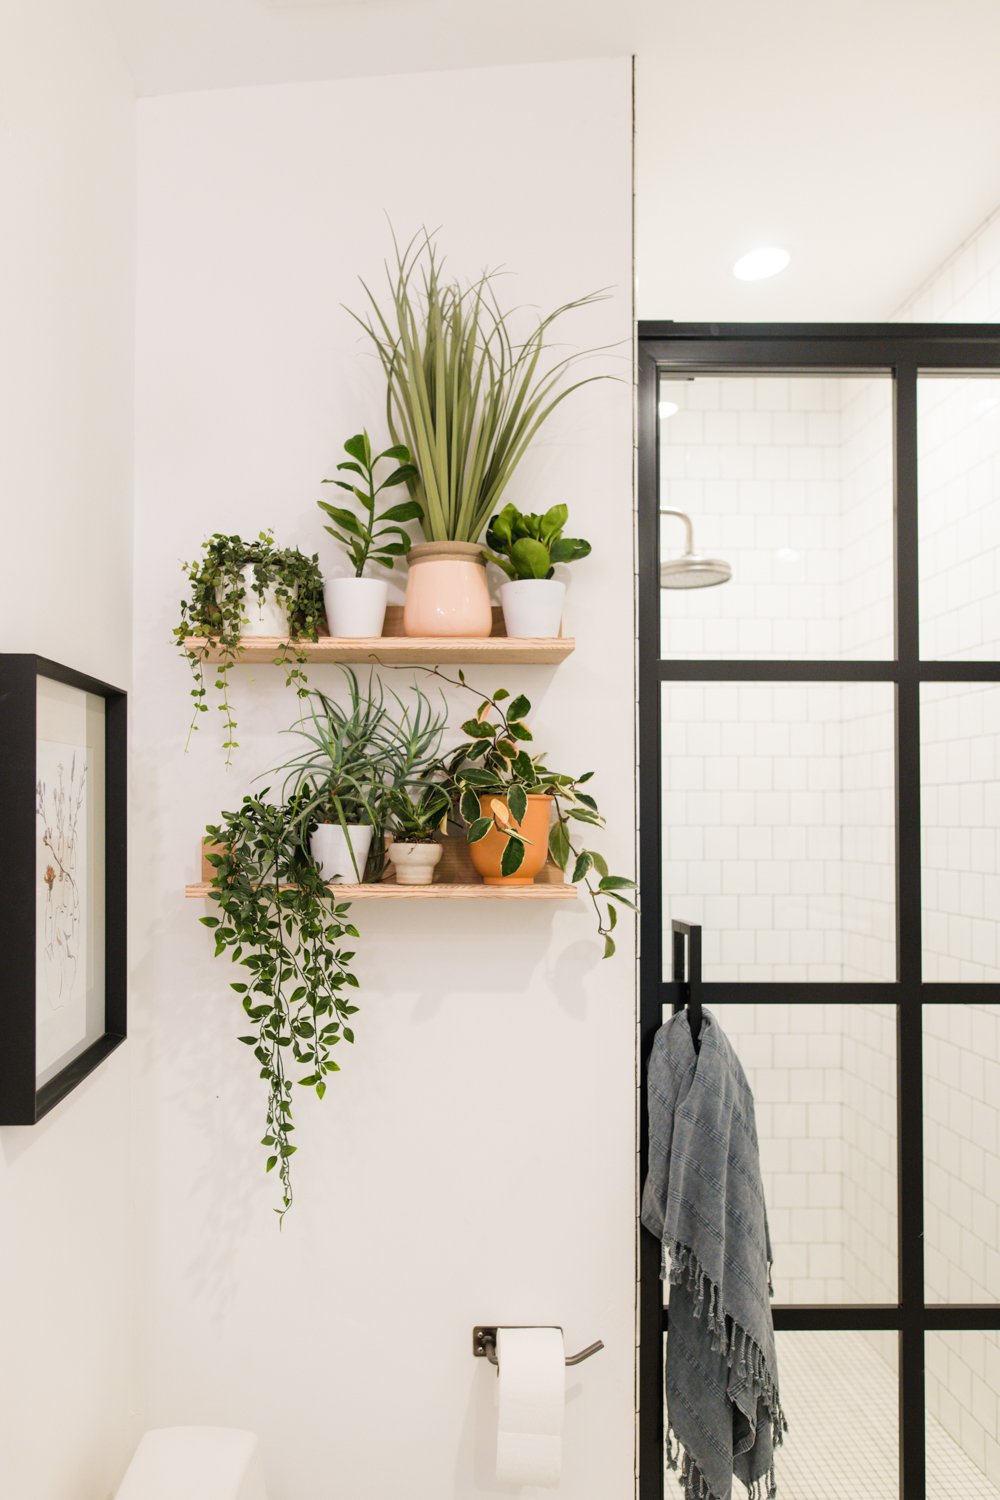
Anyone and everyone knows that you’re not supposed to throw away scrap wood. But like, what are you supposed to do with it?! THIS PROJECT IS THE ONE YOU’VE BEEN WAITING FOR! These cute DIY wood shelves are easy peasy and throw off a cool modern vibe and if you’ve got some scrap wood floating around will cost you zero dollars!
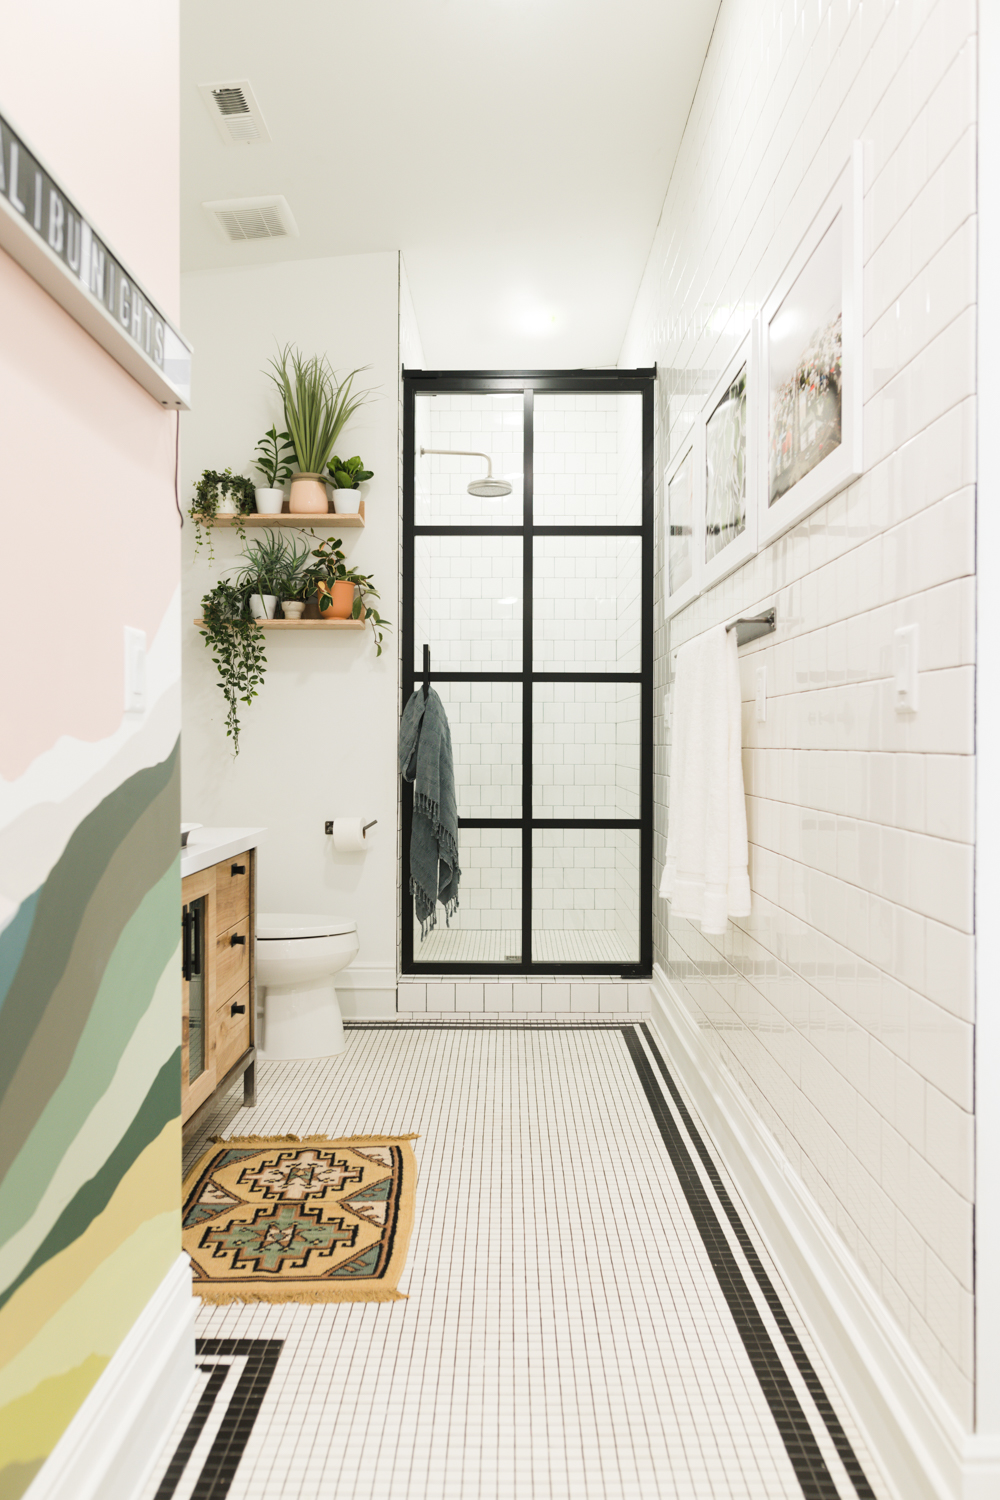
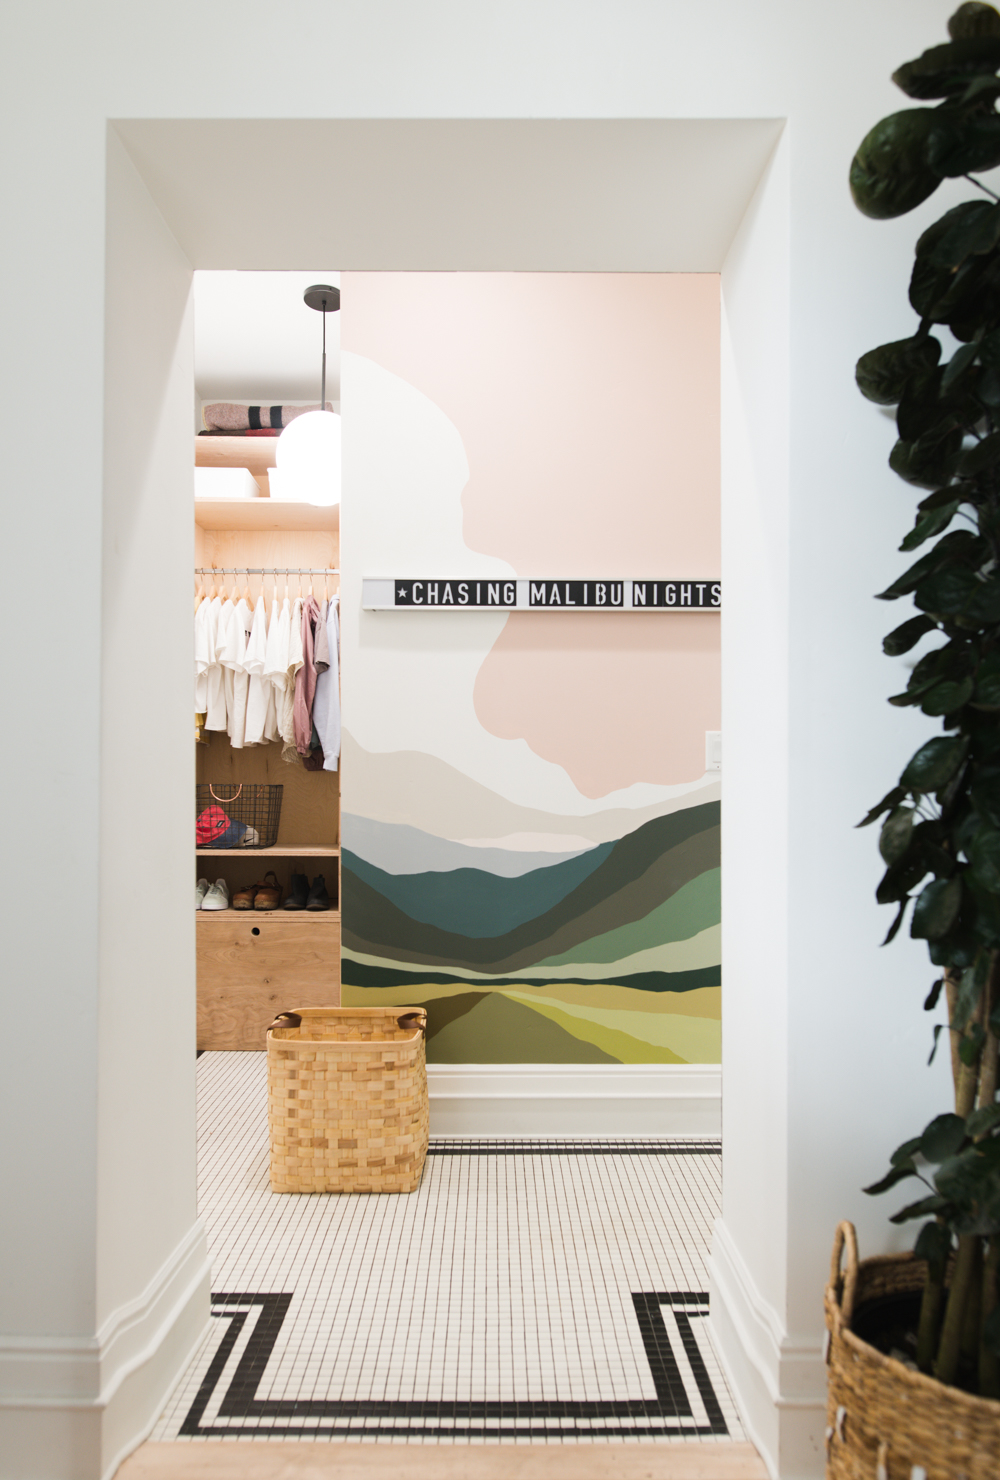
TODAY IS A BIG DAY. We’ve partnered with Sherwin-Williams® and finally finished (like totally finished) one of the rooms in the Merc! Guys, meet my teenage daughters bathroom + closet!
Did you guys catch the full reveal of my daughter Ivie’s bathroom?! It is one of my favorite spaces I’ve ever designed!! This post is giving you all of the details on the eye candy and everything you need to know to recreate it yourself!
This post is sponsored by Travelers Insurance; All opinions are my own.
There are a few moments in life when you actually feel like an adult. Truthfully, most of my life is spent looking around wondering if anyone can see through my 35 year old facade to the Barbie loving 12 year old underneath. One of the scariest/best moments of adulthood was when we bought our first house. It was in 2009. We found it listed as a short sale and it was in rough shape.
It can be rough picking paint colors, but people seem to have the hardest time picking white paint. Today I’m sharing my secret formula for the best white paint color EVER. If you are looking for white paint for your house, or your kitchen cabinets, or your furniture (see how to paint furniture here!) You will not be disappointed!
Thin Brick, Faux Brick, Half Brick, whatever they call it in your neck of the woods, brick veneer installed on a interior wall it can look like a million bucks. This post is a step by step guide on how to install a faux brick wall inside your home.
Everyone Loves a Brick Wall
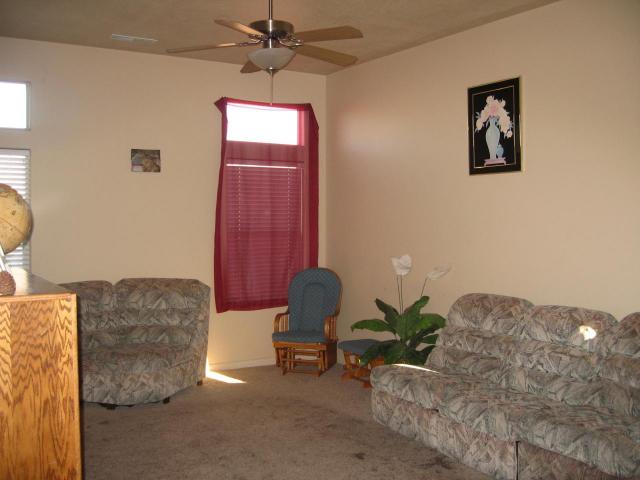
Our house is a builder basic beige box in Utah, very far from the urban loft vibe that I want in my heart. Once I decided to capture my inner New Yorker it was time for a makeover. The very obvious first step in turning the living room into a loft was a brick wall.
(Just a reminder, this is what we started with)
Where To Buy Brick Veneer
I bought my brick veneer from a local mason (the same amazing guys that we used at the restaurant). I paid $5.00+ per sq/ft. because I took all of their remnants. (The original plan was to paint it but I sort of loved it how it was!) You can also buy it at Home Depot but I would definitely check out local shops first! There are also companies that sell whole wall systems that include metal tracks and brackets. We’re on a budget over here so we’re doing it the full DIY route!
Supplies You’ll Need:
Brick Veneer
OmniGrip Mastic (you can find this at Home Depot)
Trowel
Laser Level (see other suggestions below!)
Marker
How To Install A Faux Brick Wall
I found a lot of conflicting info online about how to actually install brick veneer over dry wall. Some online sources recommend installing concrete backer board, or metal lath to your drywall before you put the brick on. Others said that it was totally fine to install it directly to the drywall if you are using the right kind of thinset. So I decided to ask the experts actually in my life (that do this day in and day out) what they thought. They said that installing directly to the drywall is the way that they do it, and have done it for the last 25+ years. So that is what I did.
Continue reading to see the debate resolution!
Step 1: Clean Your Drywall
Because we decided to install the brick directly over drywall, the first thing that we did was clean the wall really well. Make sure that all of the dust is off the wall and wipe everything down with a slightly damp rag. If you are dealing with grease and/or grime you’ll want to use something more heavy duty like TSP to get all of the oils off.
Step 2: Draw Level Lines on Your Wall
You can use a chalk line, a laser level, or (if you are lucky like me!) you might already have lines on it! You can see the tutorial for our faux wallpaper here! The look that we were going for was a little imperfect, having such a large space between the level lines worked out so well (That way I’d have something to recheck everything on every 4 rows or so, but it isn’t row by row perfection.)
Step 3: Spread A Thin Layer of Mastic on the Wall
Like I mentioned earlier, using the right product for the job is CRITICAL. We used OmniGrip (you can order it on Prime or pick it up in person at The Home Depot) Its is a spreadable mastic and it worked so so well.
When you are ready with your lines, the first step is to spread a thin layer of OmniGrip all over your wall and let it dry. This will give the adhesive that you are putting on the brick something to grab to so your bricks aren’t sliding all over the place. Don’t skip this step!
Step 4: Spread Mastic On The Backside of Your Brick and Place
When you are spreading adhesive to the back of your brick veneer, you want a good thick layer. Like a perfectly frosted sugar cookie for those of us that love frosting.
Then, once you have the entire brick covered, use your trowel to scrape out a line in the center. This creates a suction cup when you are sticking the brick to the wall.
Press it down firmly. You’ll get the hang of the entire process really quickly.
How To Space The Bricks
The best way to work is to start at the bottom and work up in a medium sized section. I didn’t want the brick to be perfectly spaced, so I just used my finger to check the spacing. In the picture below you can see a piece of wood that is the new baseboard. We used this to figure out the spacing from the floor. If you want your bricks to be perfectly spaced you can use tile spacers.
It took about a day and 1/2 to get to this point (with 2 people buttering the bricks and 1 placing them).
Brick Patterns Above Windows and Doorways
When we started working on the second wall I decided that I wanted the brick Soldier style above the windows. Soldier style is when the brick stands in a uniform vertical line.
Which meant that we needed to change the brick above the doorway that had already been installed. Lets go back to the installation debate. The conflicting info on the internets say installing veneer to drywall is a bad idea because you are essentially only adhering the heavy wall to paper.
That sounds absolutely HORRIFYING right?
But. There is not a doubt in my mind that installing it directly over drywall is a great option. Check out the brick that we pulled to change the style above the doorway.
That is the paper from the OTHER SIDE of the sheetrock.
Crazy right?
Cutting Faux Brick Veneer
To finish off the rows along the windows and doorway we tried a few different techniques.
Using a Brick Hammer
The first (pictured on the left) was using a brick hammer. Which is basically a hammer with a chisel on one side. On a scale of 1-10 I would rate this technique around a 5. If you are going for rough imperfect edges it is great, but if the edges along the doorway are the only places that the brick is broken it looks a little weird. And it is hard to break the piece in an exact size.
Using a Tile Saw
The next technique (on the right) that we used was a wet tile saw and it worked SO well. It was easy to control the cuts and worked especially well for the long cuts along the ceiling. This is what we ended up using and I HIGHLY recommend it.