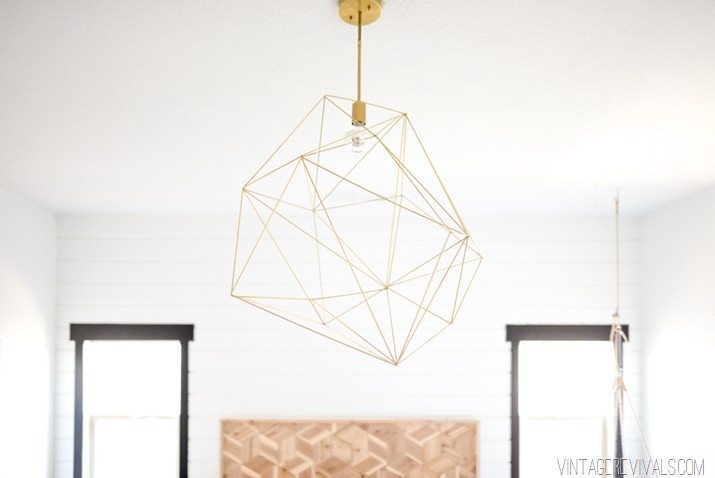
Fearless DIY Episode 4: Giant Geometric Brass Light Fixture

By Mandi | 06/23/2016 | 5 Comments

Hell has officially frozen over. Remember ages ago when I made this geometric light for The Nugget and never posted a tutorial? Yes. Me too. I have guilt about it daily. When I was planning the projects for Fearless DIY this one was the first on my list. I was DYING to show you how to DIY this simple light. Then it took a lot longer to release the episodes than originally planned (you can see my baby bump poking out) but TODAY IS THE DAY!!

Giant Geometric Brass Light

This project is actually so simple that I was able to fit the entire tutorial in an episode. So head over and check it out!

Giant Geometric Brass Light-3

You can buy the full kit in the Vintage Revivals Shop right now!  And check out the video here!

Feeling Found and My D-I-Why

By Mandi | 06/17/2016 | 132 Comments

Happy Friday you guys! So its 2:22 am (make a wish!) Court is camping and I have the worst time sleeping when he’s not here. Not to mention I was really thirsty and decided to drink some Bai instead of water. Caffeine? Suuuuuure, why not, I’ll be awake anyways…So um how’s your day going?
Cactus-1

Life has been pretty hectic around here lately, there is so much that I want to share, hopefully next week I’ll be able to start chatting and then you wont be able to get me to stop ;). In the meantime, lets have a heart to heart, yes? I’m not sure if you’ve noticed but the last year or so I’ve been a little (and at times, a lot) off. If you’re a long time reader you might have noticed, and if you’re newish then you don’t know anything different. But this is me openly talking about it which can be sort of scary on the internet.  So please be patient with me as I fumble over my fingers and write run on sentences.

I’m an open person, its who I am. In accepting my faults and trying to become better, not perfect, I’ve learned how to genuinely love everyone for who they are and where they are with no strings attached. I think that being so involved in 12 Step work helped me become that way. Its easy to see that while people are in bad situations that they aren’t bad. On the flip side, as I’ve learned, being so open can leave you vulnerable, like a turtle without a shell. Fleshy. (Sorry if you hate that word!) 

Last year I had some really close friends choose to, I don’t know what the word is…leave? Can people leave friendships like they leave relationships? I internalized it and though it was very much out of my control, I took all of the emotional responsibility for their immature and irresponsible behavior.

In so doing, it fundamentally effected the way that I saw myself. Have you ever been in a situation like that?

I would work through it and think that I was in the clear, and then the anger and frustration and rejection would resurface, throwing me back onto the ground face first. At the same time, I was pregnant with the boy wonder and had hormones (I’m sure) making things harder than they probably would have been otherwise. For months I analyzed and reanalyzed what had happened trying to make sense of it. Knowing in my head that I’m not responsible for other peoples choices, but feeling so much hurt in my heart.

I’m so grateful for this experience though, because it has made me take a much deeper look at myself. Over the last year, I became more closed off and fearful of what people thought of me. I worried about things that were out of my control and I feel like I lost the welcoming aura that could make anyone around me comfortable. Probably because I was so wrapped up in my own thoughts. And I was frustrated. SO frustrated. Because this is not who I wanted to be. I felt like (and voiced a few times here) that I was failing. I was stuck in this downward cycle of failing and apologizing and feeling guilty for sucking and then failing more.

So do you want to know what woke me up? For years Court has been telling me that I just need to change what I was doing and put out easy content that I could just make money on. Stuff like affiliate round ups or taking an image off of pinterest and linking to things to recreate the space. For years I’ve told him to suck an egg but the more depressed and less invested that I was feeling, the more his argument seemed like a good idea. I didn’t have to put my heart into a round up. Until last week, when I had to make the hardest decision that I’ve made in a year. It came down to choosing a direction. What was Vintage Revivals going to be from this point forward? While we were talking about it, I said I didn’t really want to go in this other direction, and he said “Why, you’re not doing anything anyways?” My answer, for some reason that I’ll be eternally grateful for, relit my fire.

I told him it was because I make stuff. I make things that don’t exist anywhere. I create beautiful spaces out of nothing. That anyone can spend $50k on a bathroom makeover but it takes creative grit to do it yourself and have it look like a million bucks. And the most important part is that instead of telling someone to buy a $3000 chandelier I teach incredible women to take matters into their own hands and do it themselves! I think that I’ve always had this whispering in the back of my mind that kept inching its way forward until it became a full blown negative thought. That somehow I was less of a designer because I wanted to make things instead of buy them. It made me inferior. When that thought was fully formed in the heat of this moment I was able to look at it for what it was, a BIG STUPID LIE. Do you know how awesome it is that we can dream up a wall treatment and be able to execute it with our own 2 hands?! Do you know how great it is that we don’t have to be limited by what can be bought in a store or exists at face value?! As DIYers we can do whatever the crap we want. RAHHHHHHHH!
2016-05-08 17.40.17


DIY saved me. It literally changed the course of my entire life. It gave me something that in the turmoil of Court’s addiction I could actually make better. Over the last 6 years it has brought me more joy and fulfillment than I can even describe. It has made me who I am. It has created this community in this little corner of the internet for which I will be eternally grateful.

As a blogger in this space its easy to get caught up in what everyone else is doing. What the next big thing is, who the next big thing is, and how you’re not it and probably doing things all wrong. That is where its easy to start to drift.

If you hear nothing else from this post hear this: I’ve relearned something that I forgot. This blog isn’t about me, its about you. It doesn’t matter what all the other bloggers are doing, it matters what YOU, my people, are doing and how I can teach, encourage, and inspire you to do it better. So what are you doing? Where can I help?

You know when you want to say that you were doing the best that you could, but in reality you weren’t really doing anything to change the situation? That was me. I feel like I was living on autopilot. Especially here. I’m a communicator, and the way I process things is to talk about it.  So I would like very much to apologize to each of you for being so wrapped up in myself that I failed to see you as more than a number or a comment or a like, for not delivering projects and tutorials that I said I would share, and for expecting you to be invested in what I had to say here when I wasn’t all in. I was wrong and I am very sorry (this is the part where we *hopefully* group hug).

If you’ve made it to the end of this post, thank you. If you’re feeling something, share it below. If you have suggestions I would love to hear them! Thank you for supporting me and being patient with the crazy, it truly truly means the world!

xo
m

5 Minute Wooden Hanging Picture Frame (So Easy!)

By Mandi | 06/14/2016 | 4 Comments

Hey friends!  I have got the easiest tutorial ever for you today, you’re going to love it! Anytime you can change up a traditional picture frame and do something different is a good idea in my book.

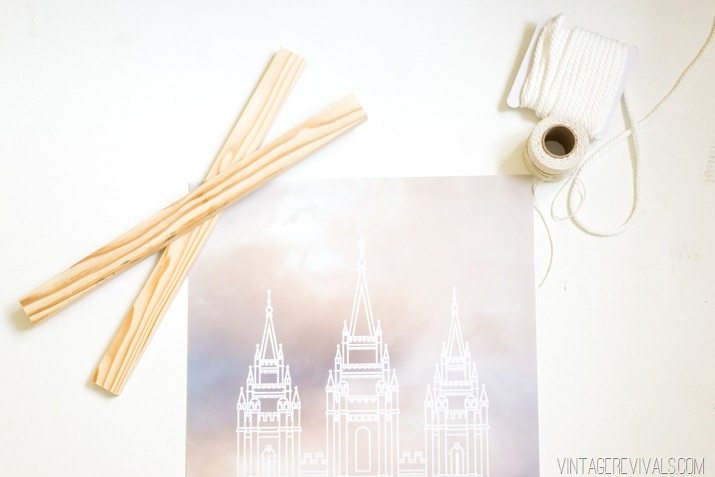
Here’s what you need:

Easy DIY Picture Frame

(2) 1×2” cut to length (we’ll talk more about this in a second!)
Cotton Rope (I bought mine at Joann)
Cotton String (From Home Depot)
Hot Glue
Picture

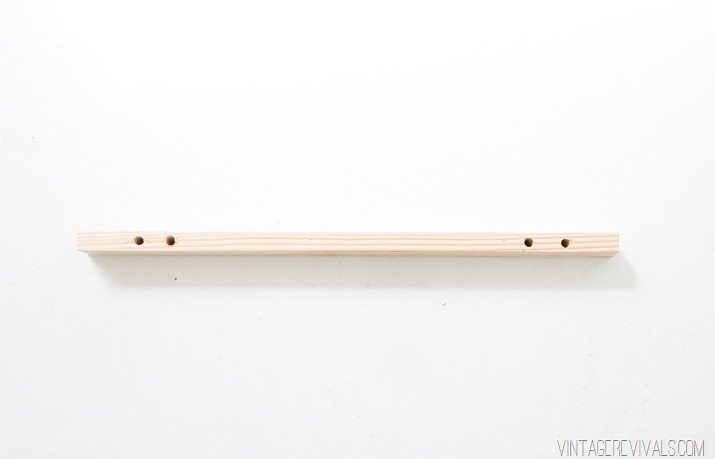
Chances are great that the print that you are using isn’t the same size as mine, which means that you wood probably wont be the same size either.  To get the same look as mine you’ll want to cut your wood so that its 3” longer than the width of your print.  This will give you 1.5” on either side for overhang.

The next step is to mark and drill the holes for your rope.  Measure and mark 3 and 4”  from each end and drill a hole the entire way through the wood.

Easy DIY Picture Frame-2


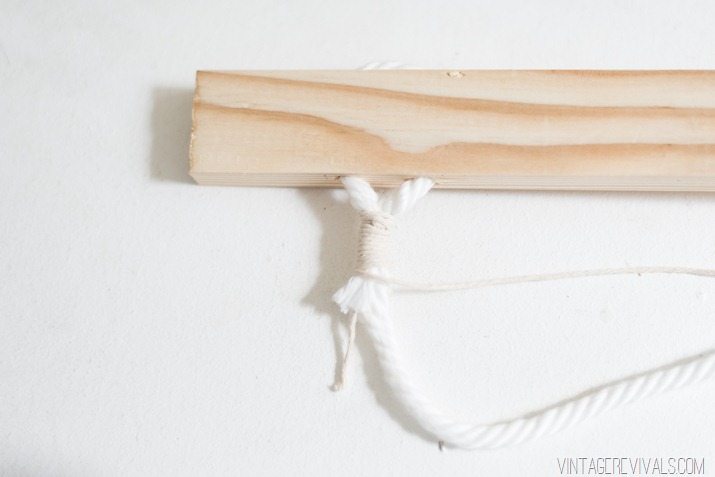
Then feed your rope through and wrap the end against the rope with the string. 

Easy DIY Picture Frame-4

You can tie this off, or use a bit of glue to secure it.

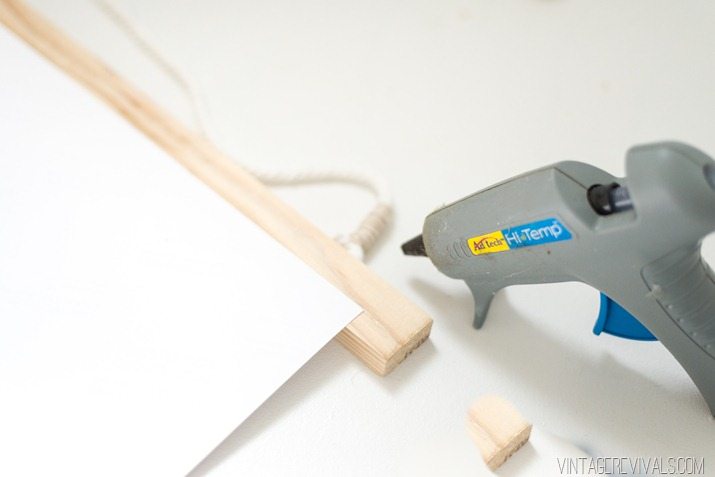
The last step is to put a thin line of hot glue on the edge of the wood and place your print on it.  Because I like to change things up so often I lined just the edge of the print up in the glue, that way if I decide that I want to frame it later, the damage will still be covered by the picture frame. 

Easy DIY Picture Frame-5


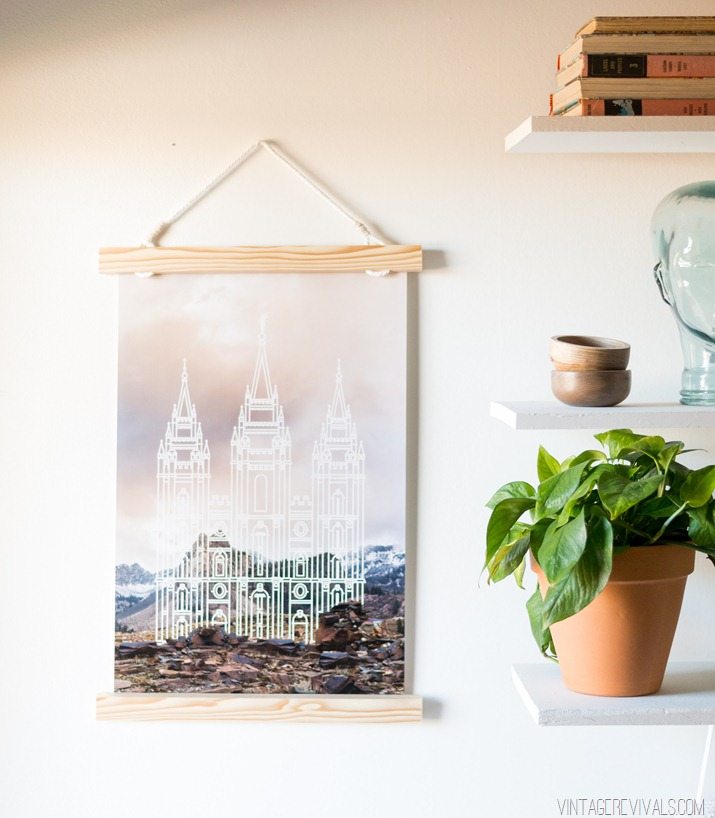
Glue the second piece of wood to the bottom of your print, hang and enjoy!!

Easy DIY Picture Frame-6

If you”re still itching for a Modern Temple Print, there are a handful of coupon codes left for 40% off….(I may have added a few more ;)) Use the code 40LOVE! to save! 

LoveYourGuts14

Ivie’s Bedroom Source List

By Mandi | 06/06/2016 | 12 Comments

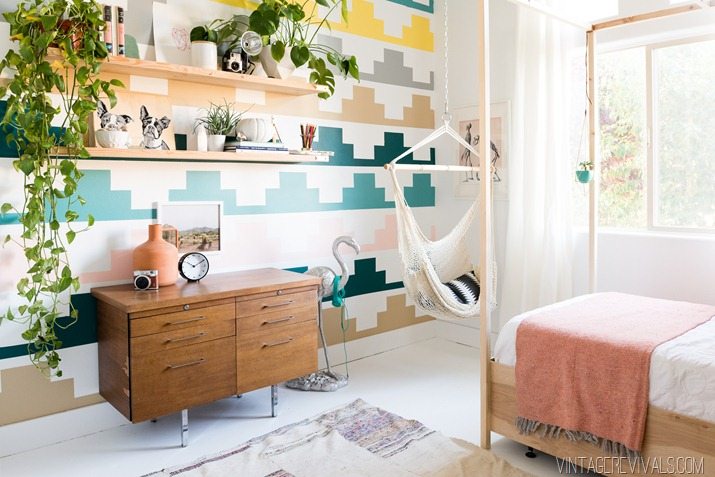
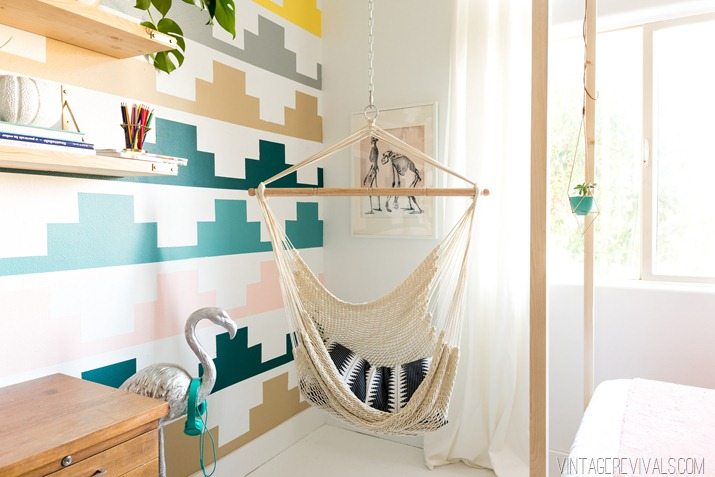
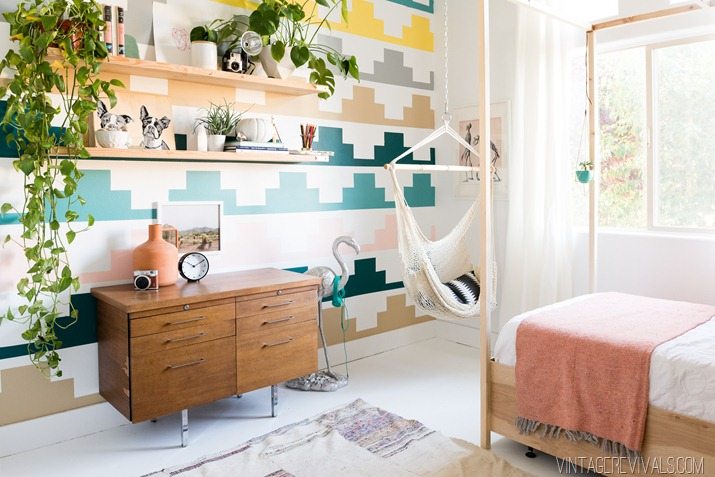
Hello!! Lets dive right into the sources for Ivie’s room makeover shall we? (Psst there is still time to vote for it to win $5000 for The Children’s Miracle Network)

Vintage Revivals Girls Bedroom Makeover-18

I love when rooms are full of DIY projects, because then you guys have the chance to recreate the parts that you like, I especially love when there is a tight budget because that’s where creativity gets to take over.

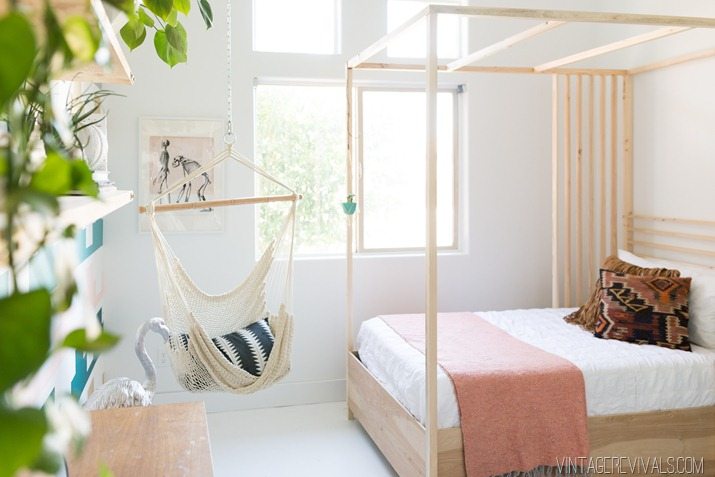
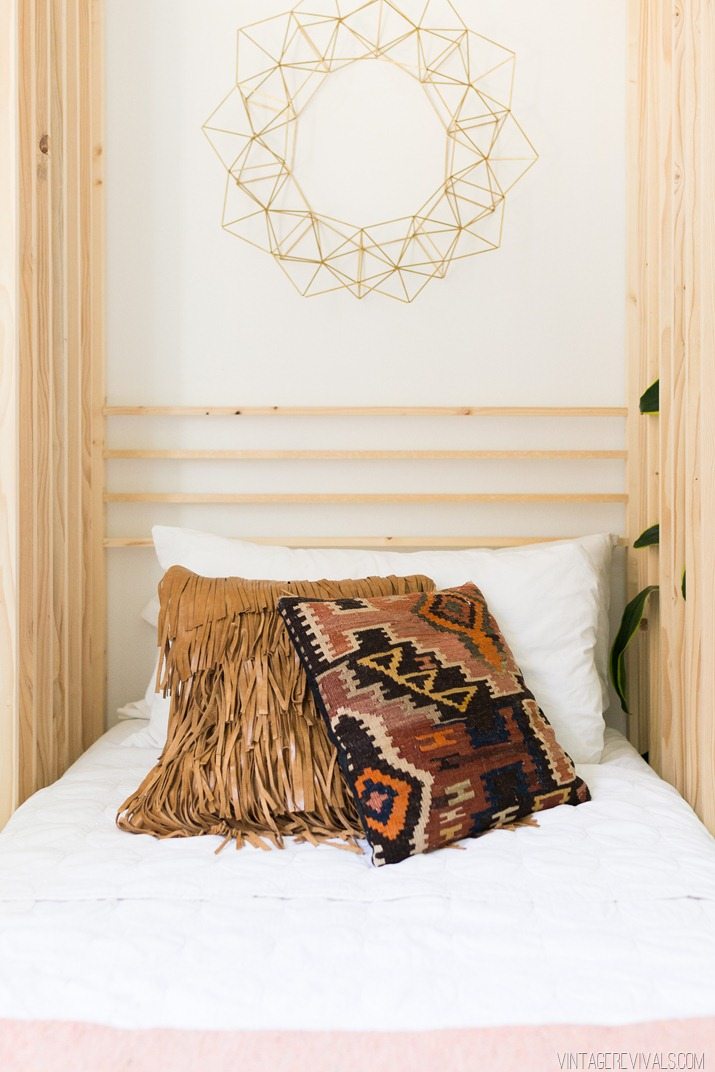
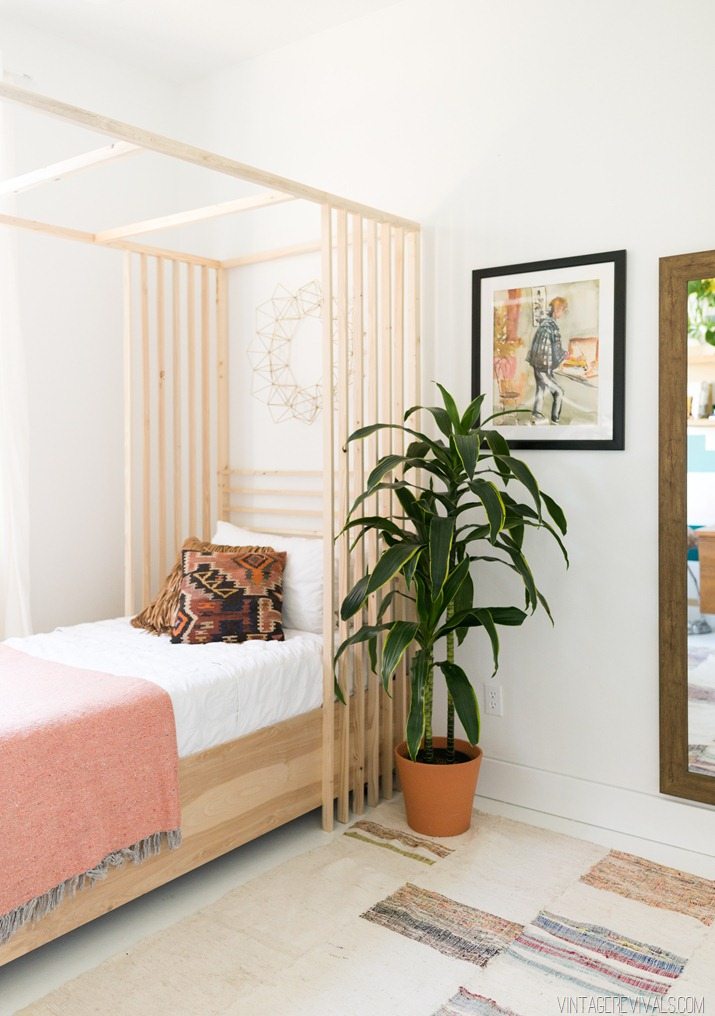
My favorite project in the room is the canopy bed. Man I love that thing! The best part is that its made from $.89 lumber! Watch for the tutorial later this week!

Vintage Revivals Girls Bedroom Makeover-1

You can find the tutorial for the leather fringe pillow here and the Moroccan pillow is vintage from one of my favorite local stores Urban Renewal.

Vintage Revivals Girls Bedroom Makeover-28

The giant himmeli wreath kit is in the Vintage Revivals Shop and you can find the tutorial here!

Vintage Revivals Girls Bedroom Makeover-20

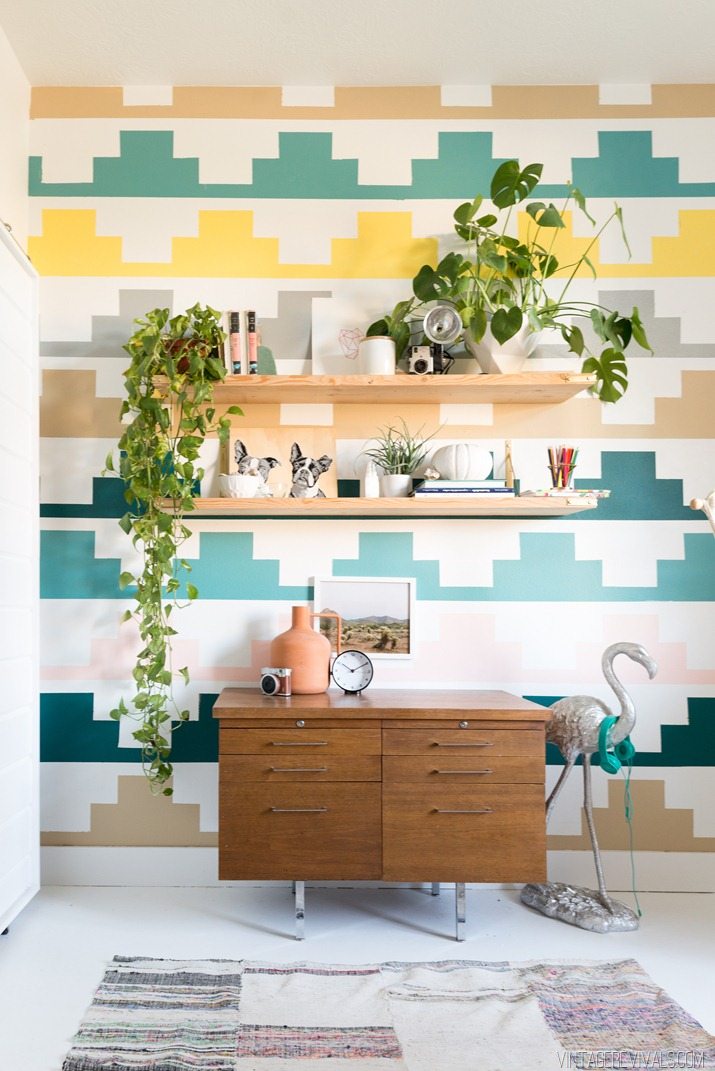
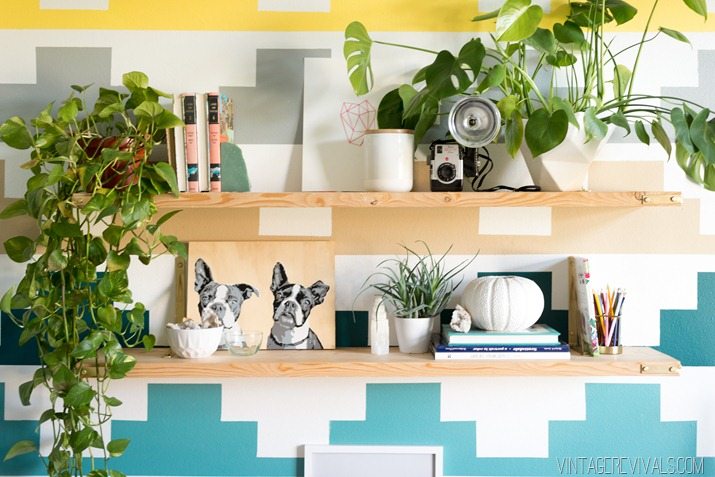
The shelves are a super simple DIY with basic treasures from Home Depot (tutorial coming next Monday!)

Vintage Revivals Girls Bedroom Makeover-2 

Everything is thrifted or secondhand , with the exception of the geode string art, white canister, large geometric vase (found at Homegoods), white faceted bowl, dog painting and colored pencil holder.

Vintage Revivals Girls Bedroom Makeover-11

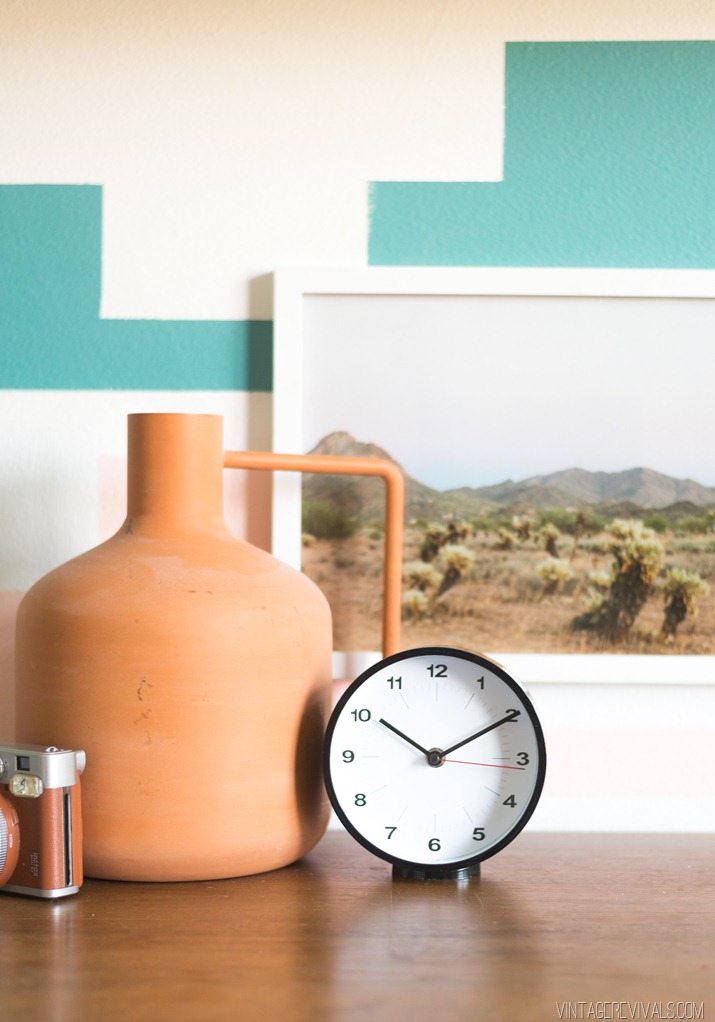
Camera | Vase | Clock | Art

After seeing a hanging rope chair at the HGTV Dream Home I absolutely 100% had to have one. After digging around the internet for a while, I found the best one here!

Vintage Revivals Girls Bedroom Makeover-22


 Vintage Revivals Girls Bedroom Makeover-27

The terracotta planter is from IKEA (they have THE BEST ones!) Tall mirror is from Target, and the rug is vintage from One Kings Lane.

Stay tuned for the tutorials!

LoveYourGuts14


.

Ivie’s Bedroom: dont miss any of this series

Teamwork Yeah Yeah!

By Mandi | 06/03/2016 | 1 Comment

Hey guys! So its Friday, I’ve been spending the last week with my sisters and it has thrown my whole life off! It actually feels like Tuesday, but man was it awesome. Sisters are the greatest thing in the entire world (I keep hoping that Ivie and Dyl will learn that little lesson but as of right now they are like water and oil, Kanye and humility, me and beige. Any tips would be massively appreciated!

Mostly I just wanted to pop in and ask a massive favor. Remember Ivie’s room makeover?

Vintage Revivals Girls Bedroom Makeover-18

One of the reasons that I was happy dancing all over town about it is because Frogtape is donating $5000 to one of the six bloggers favorite charities! The charity that I’m playing for is The Children’s Miracle Network. I actually had an incredibly hard time narrowing my choice down but the thread in all of the ones that I love were the kids. Children’s Miracle Network was a way that I could benefit all of them and I couldn’t be more pleased!

Ok so, here is where you come in. The winner and their charity are determined by votes. If you could take just a sec and click over and vote, it would make all the difference in the world!!

You guys are wonderful, I am so blessed to have you in my life!

LoveYourGuts14

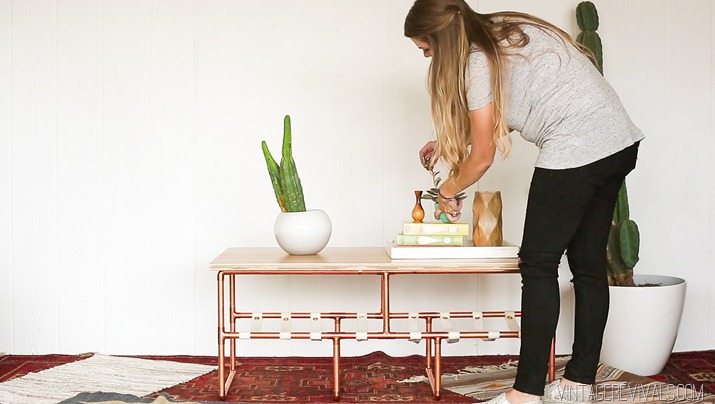
Fearless DIY Episode 3: Copper Sling Coffee Table

By Mandi | 06/02/2016 | 9 Comments

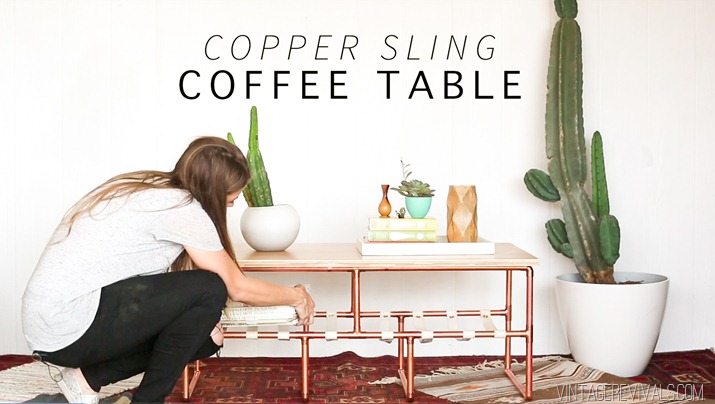
Its June! What the freak man?! Moving on, I’m so excited to finally be able to share this tutorial with you guys!

DIY Copper Sling Coffee Table vintagerevivals.com-21


Here is a little teaser of the full episode that is over on The Design Network:


I know I say it all the time, but this project is SO simple guys.

Here is what you’ll need to make your own:

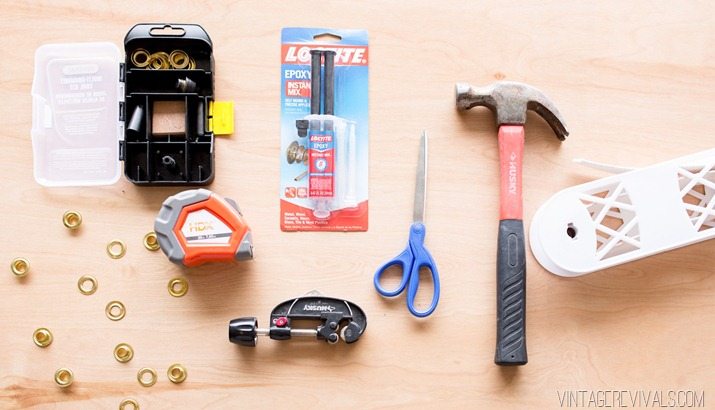
24’ of 3/4” copper pipe
(12) copper elbows
(12) copper T’s
(6) copper straps
(1) 2×4’ sheet of plywood (it comes precut in this size at Home Depot!)
(1) grommet kit
Clear Epoxy
13’ of cotton belting
Pipe Cutter

DIY Copper Sling Coffee Table vintagerevivals.com-10


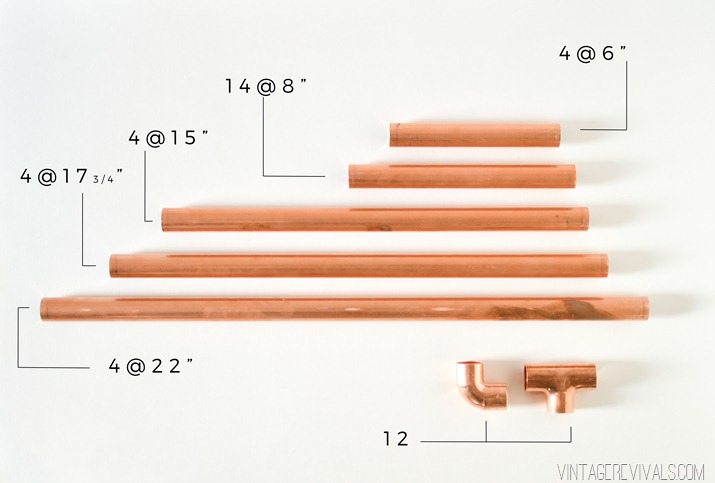
Start by cutting your pipe as follows:

DIY Copper Sling Coffee Table Pipe Measurements vintagerevivals.com-5


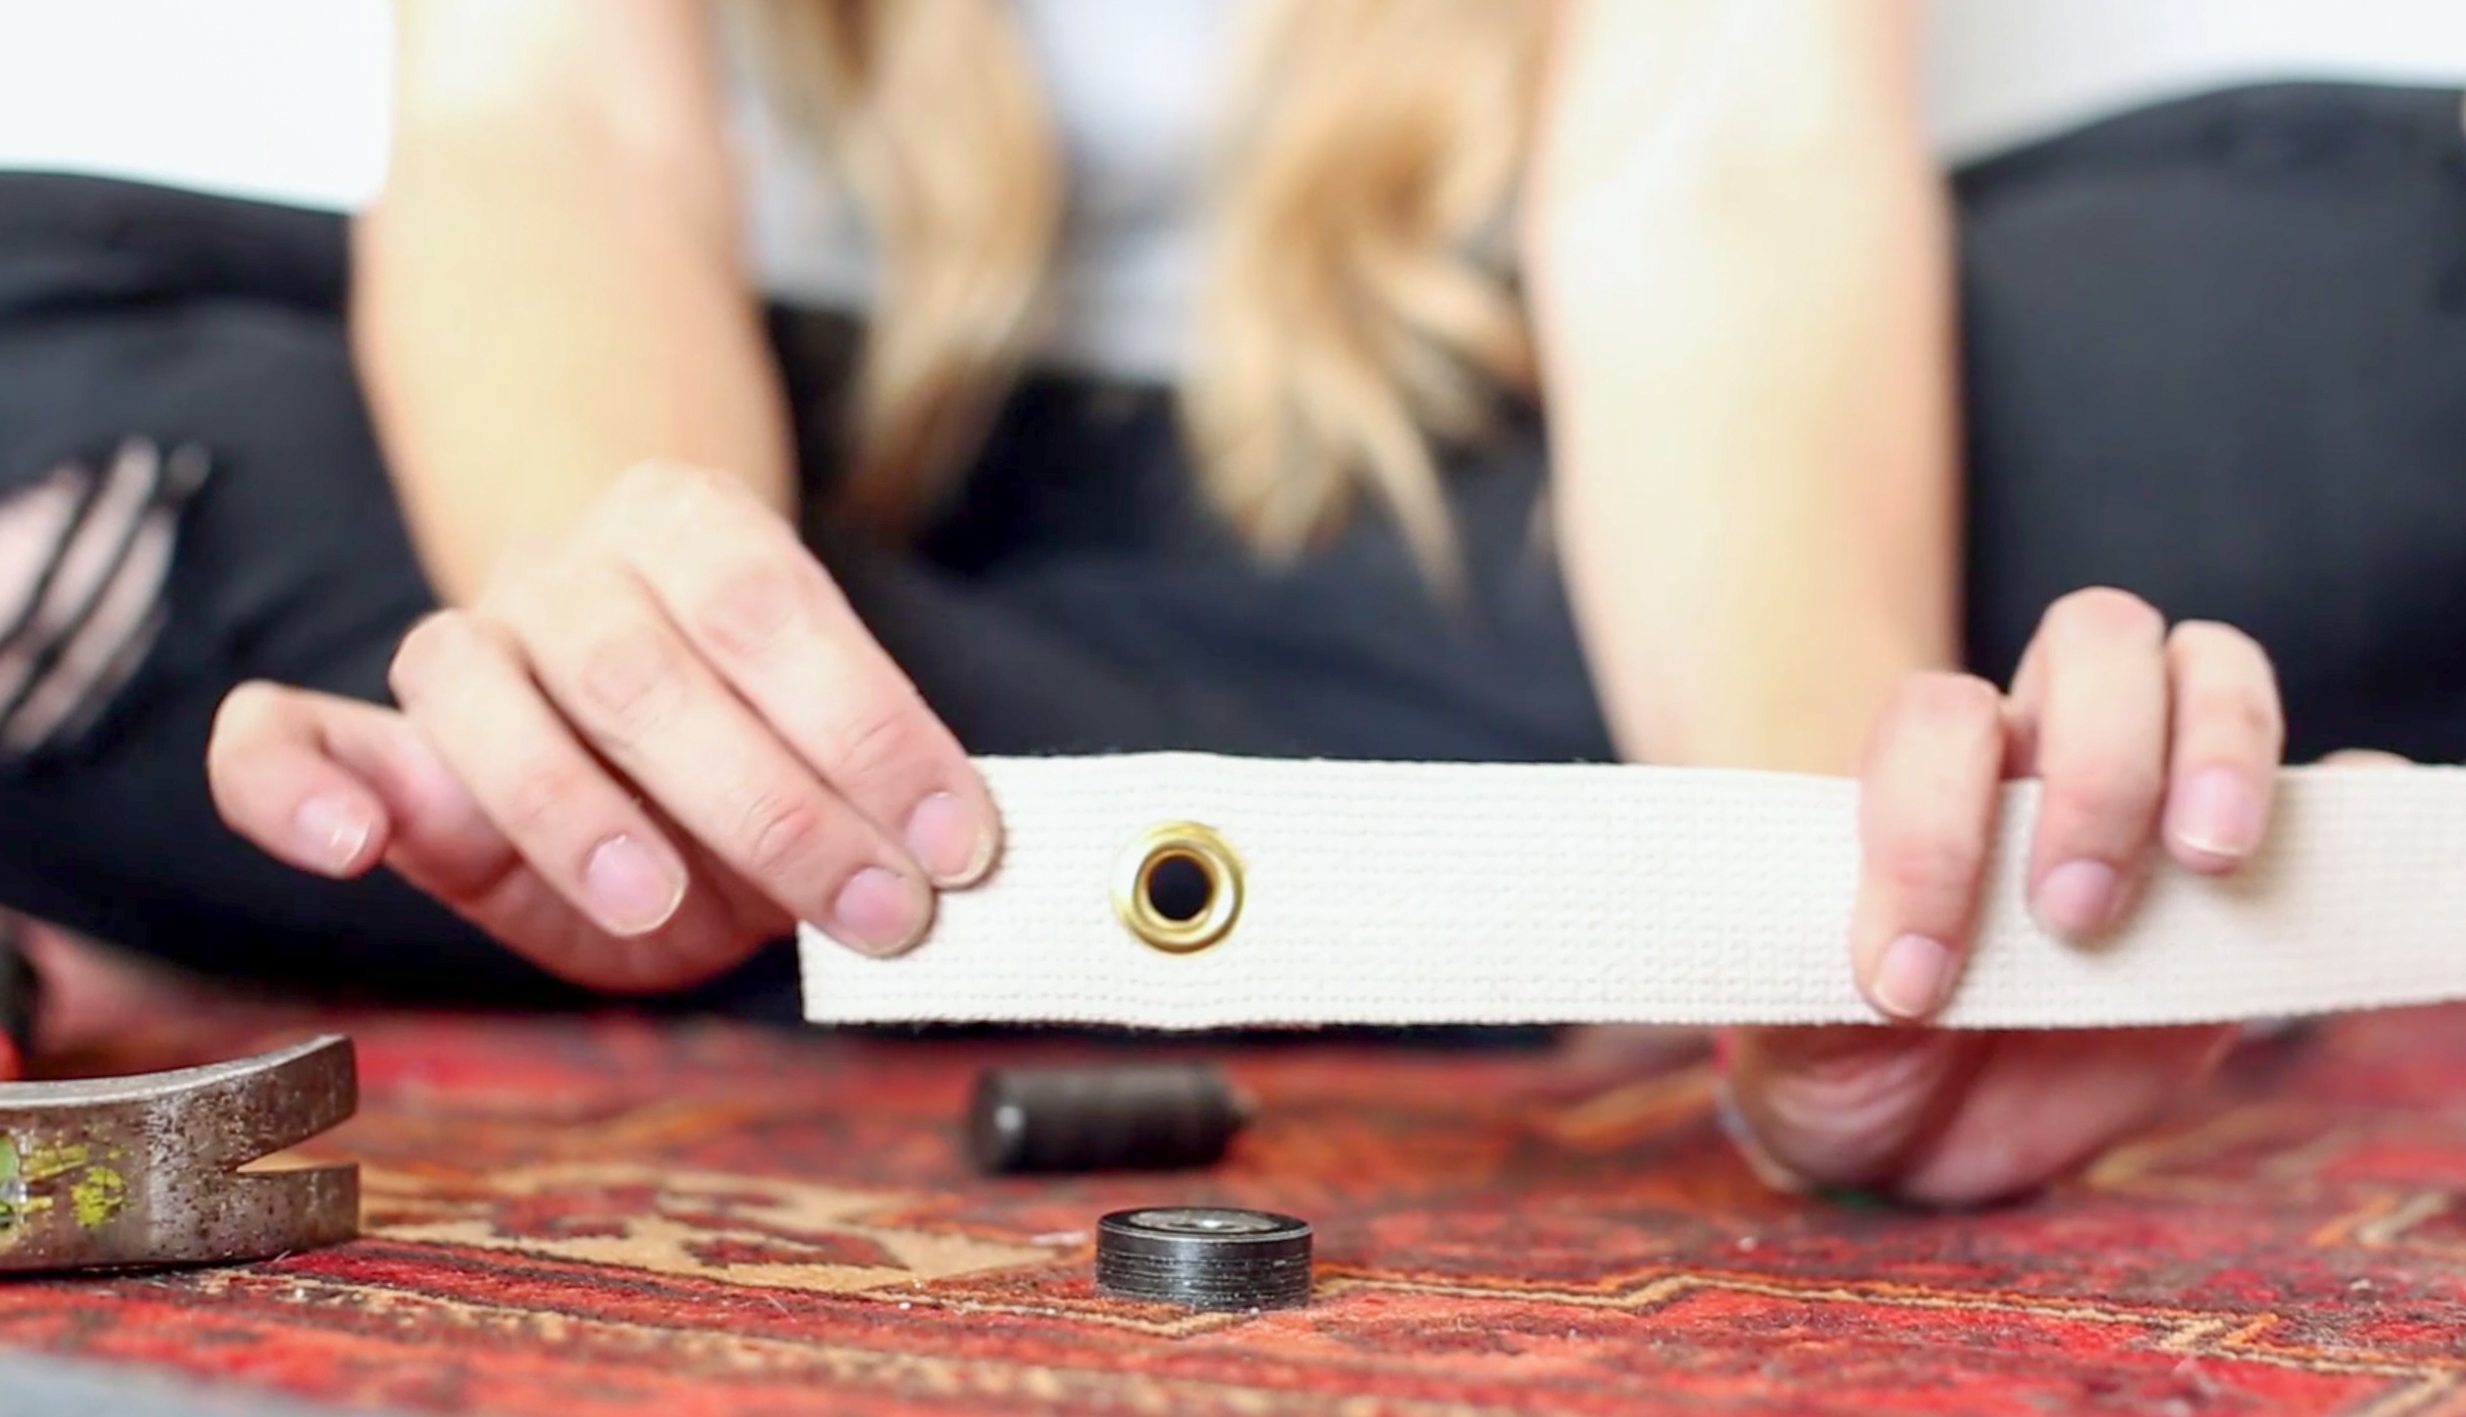
Cut your belting to 24” and follow the instructions on the video to set your grommets.

DIY Copper Sling Coffee Table vintagerevivals.com-11

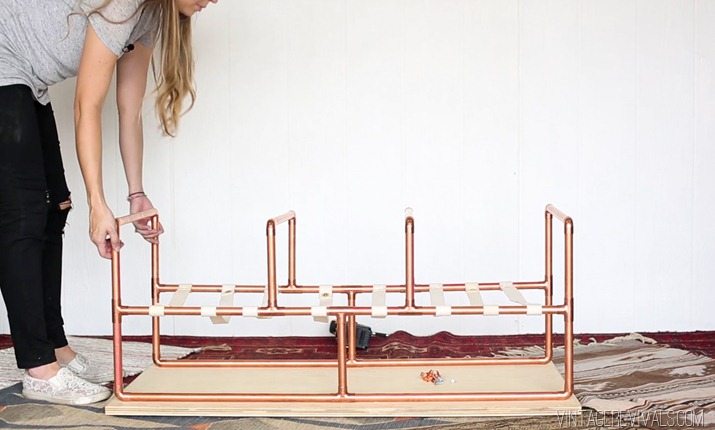
Once you have your belting ready and your copper cut its time to start assembly.

This is how your pieces will fit together:

Copper Coffee Table Assembly

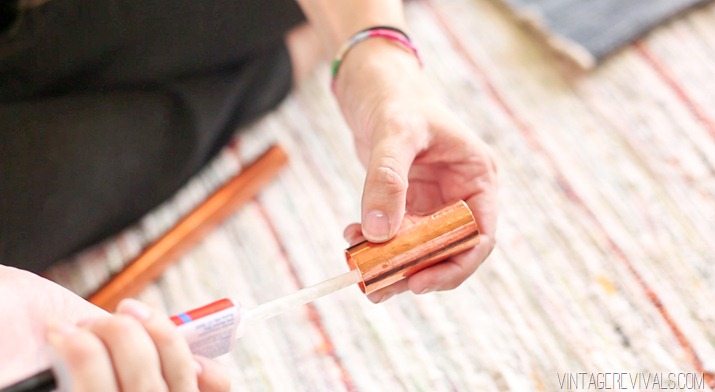
Like I said in the video, I always dry fit everything, just to make sure that it looks the way I want. Once you’ve done that you can start epoxying things together (just remember to add your slings as you are assembling!)

DIY Copper Sling Coffee Table vintagerevivals.com-17


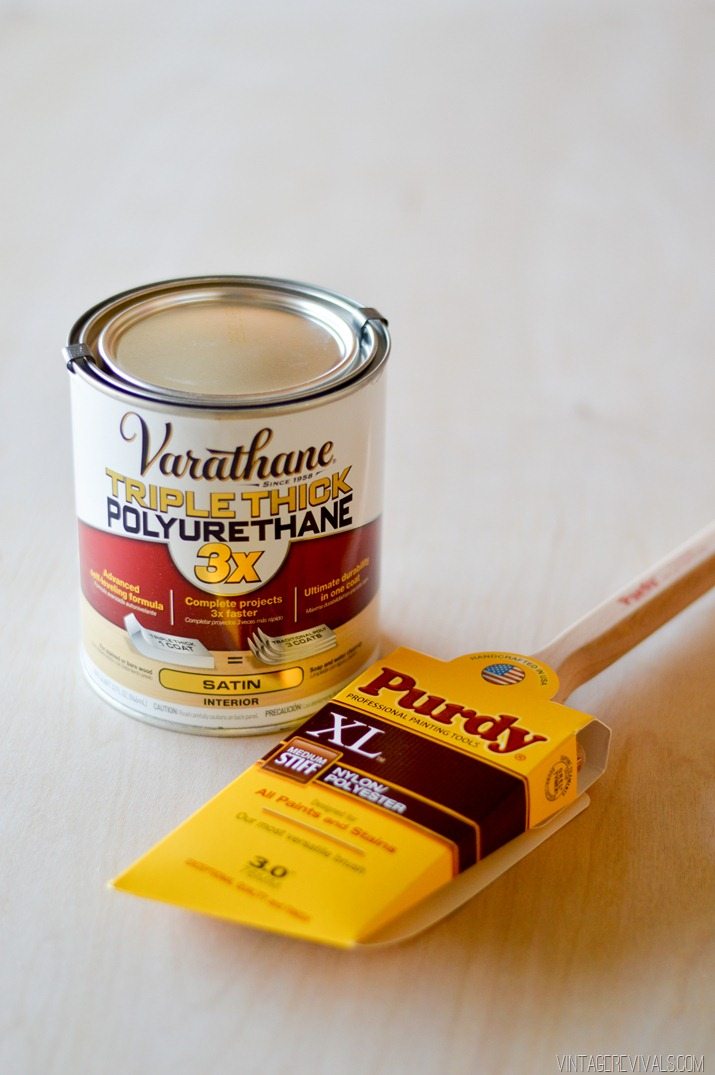
To finish the top of the table I used my favorite clear coat. Varathane’s Triple Thick.

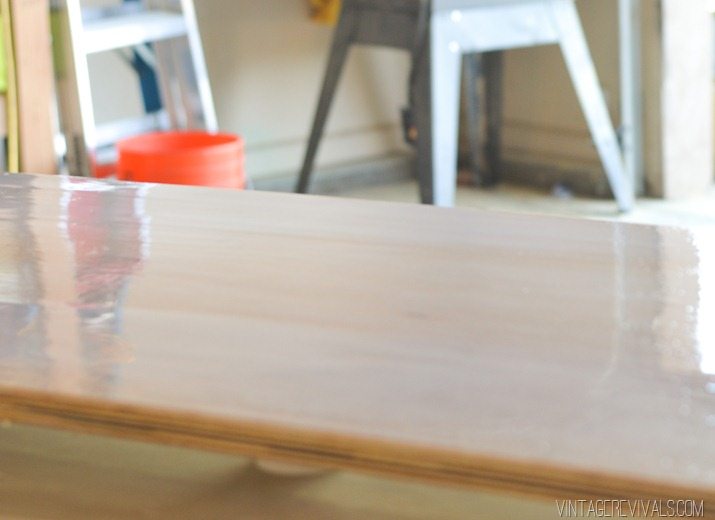
DIY Copper Sling Coffee Table vintagerevivals.com-2


Spread a nice thick coat and let it dry!

DIY Copper Sling Coffee Table vintagerevivals.com-4


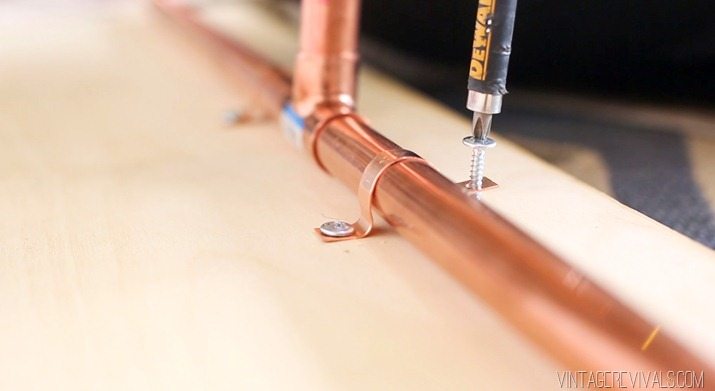
Then attach your table top to the base with pipe straps.

DIY Copper Sling Coffee Table vintagerevivals.com-19

DIY Copper Sling Coffee Table vintagerevivals.com-18


Tada! Wouldnt this be the cutest bench at the end of your bed too?

DIY Copper Sling Coffee Table vintagerevivals.com-20

Check out the full video tutorial on Fearless DIY here!

LoveYourGuts14

Well That’s A Stove of a Different Color: Appliances That Will Make Your Kitchen Unforgettable!

By Mandi | 05/27/2016 | 15 Comments

Oh my gosh you guys, I am OBSESSSSED. A few months ago I stumbled upon the world of colored appliances. Now. I know what you might be picturing…

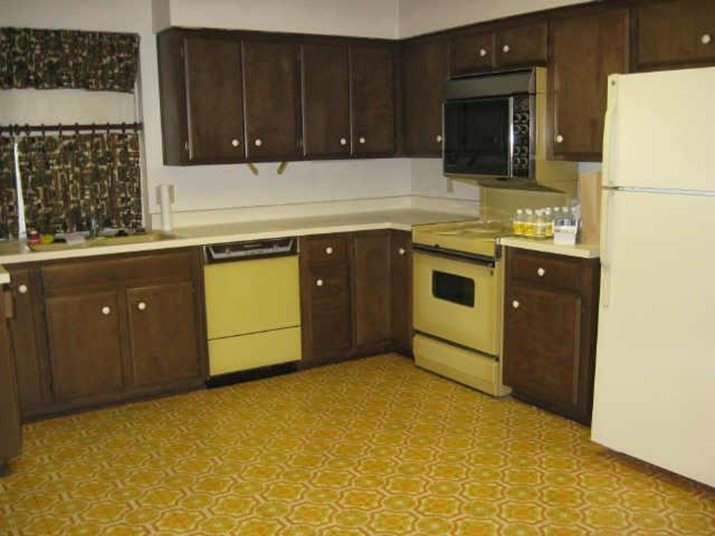
screen-shot-2012-11-16-at-1-05-13-am

These are nothing along the lines of that tragedy.

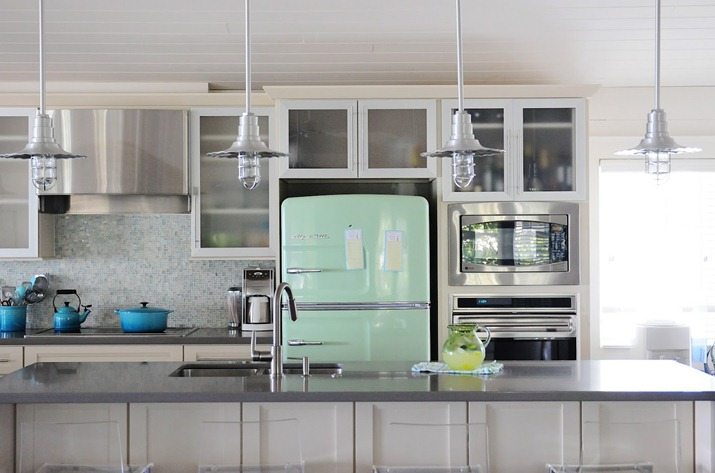
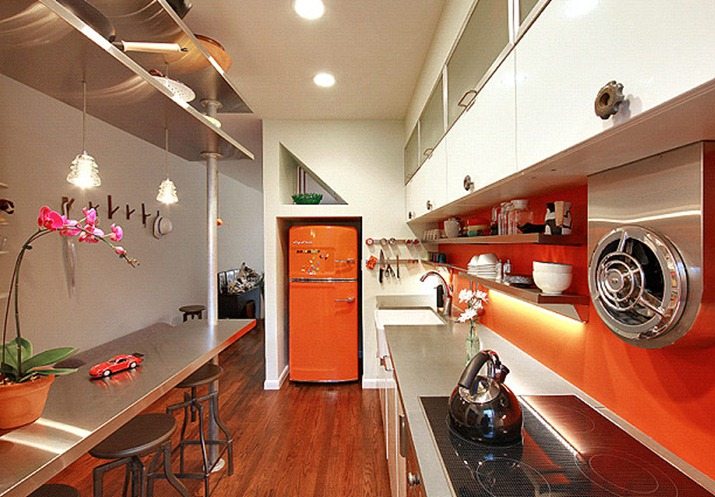
Soak in some of this goodness:

51bb331fdbd0cb70b7000095._w.540_s.fit_

 Apartment Therapy

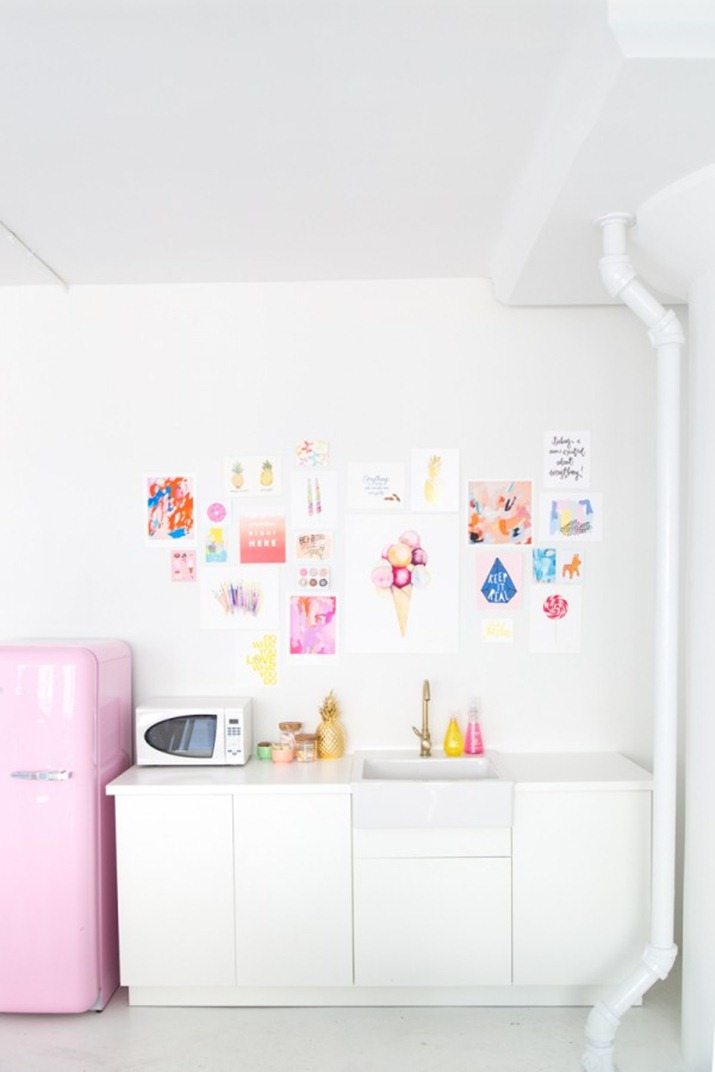
Studio-DIY-HQ6-600x900

Kelly’s Studio

Screen Shot 2016-05-27 at 9.53.55 AM

Elsie’s Kitchen

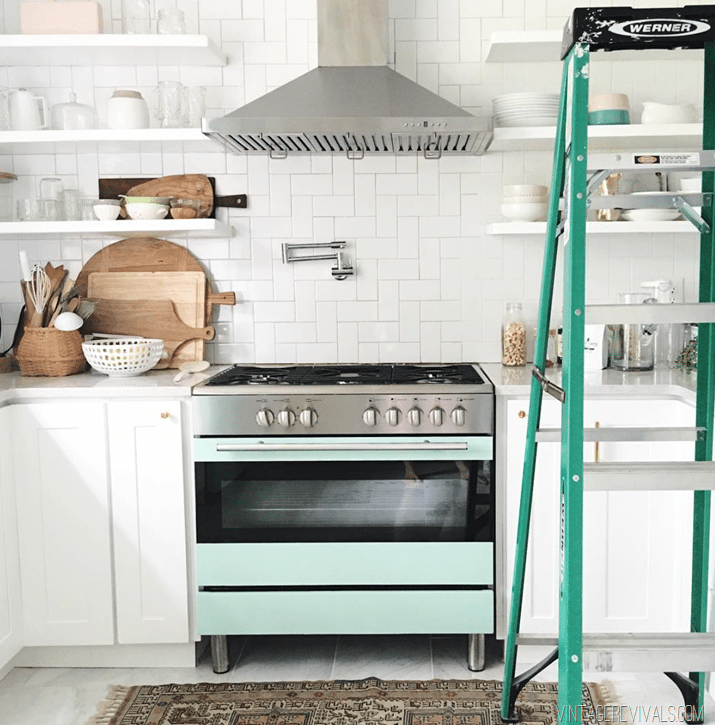
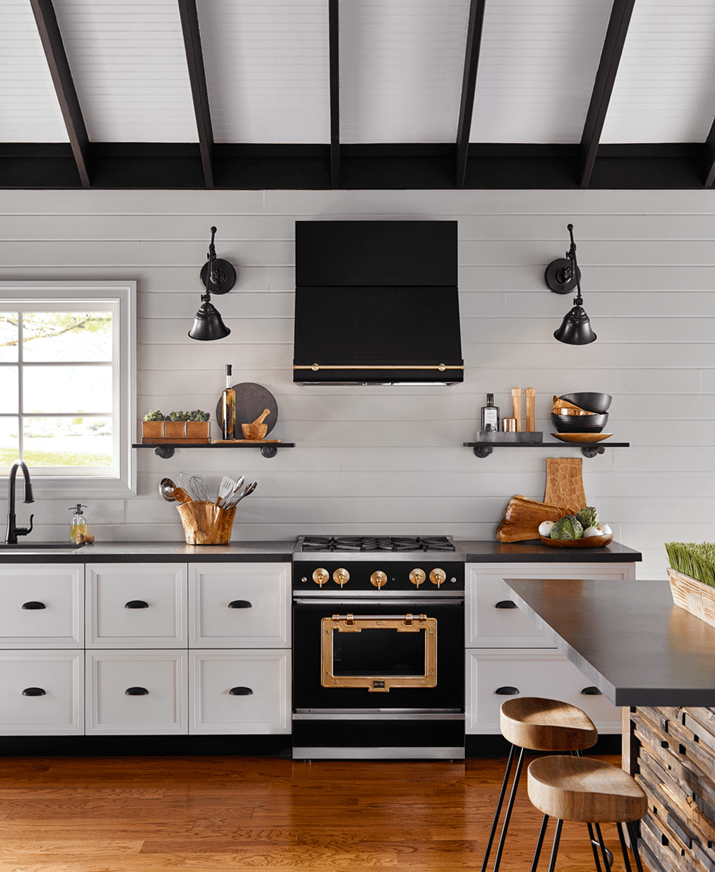
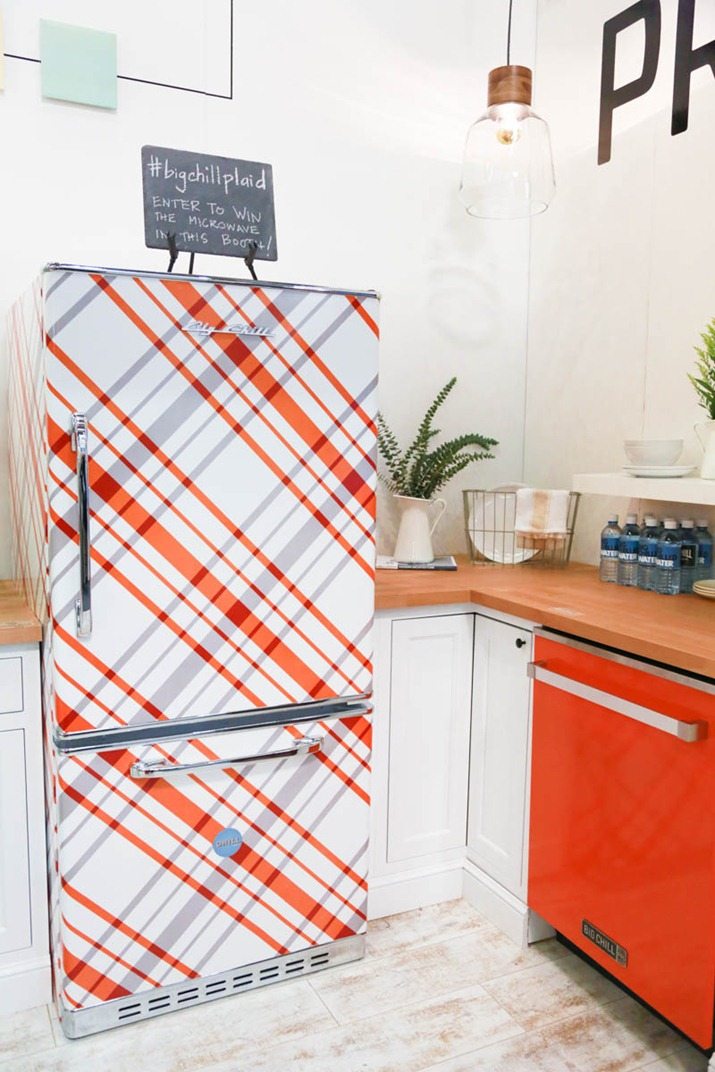
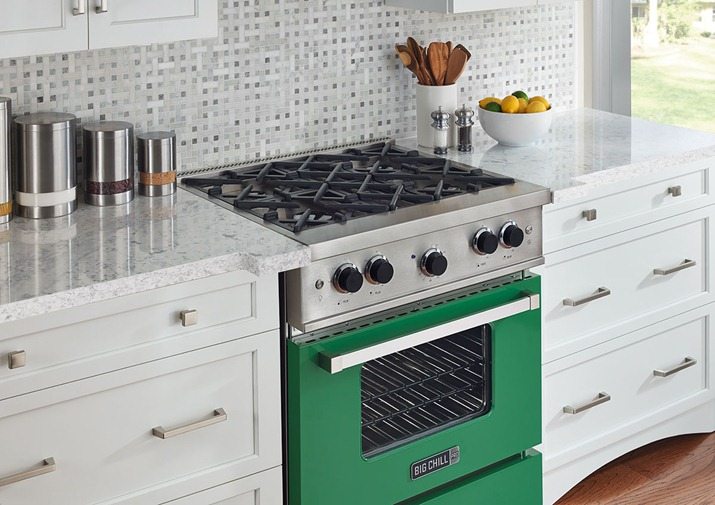
One day I fell down the rabbit hole, as one does on the internet, and sourced colored appliances (hey, a girl can dream!) From what I’ve learned, none are as versatile as Big Chill. So here is why they are special. I love that they dont have just one style of gas stove or fridge. They have a Pro line (more modern), a Retro line, and a Classic line (you’ll LOVE this one if you’ve been lusting after a La Cornue but choke when you see the price)

Screen Shot 2016-05-27 at 9.21.33 AM

Big_Chill_Classic_Straight-On-VERT-T3

Compressed-9851-2

bluemoon-jadine-retro-fridge

Orange-Retro-studio

Big_Chill_Pro-1

As if having a whole array of styles isnt enough, they also have over 200 colors that you can choose from. TWO HUNDRED.

Big-Chill-Colors

I dont care how, come hell or high water these are going to be part of my life.

I’m dying to know, if you could have a stove in any color of the rainbow, what would it be?!

LoveYourGuts14