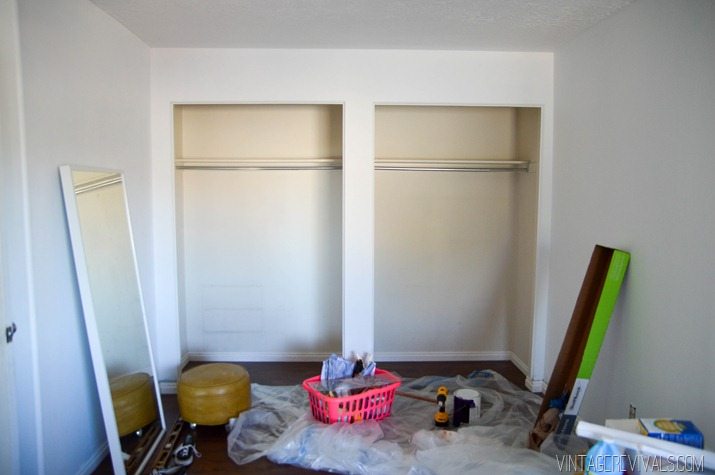
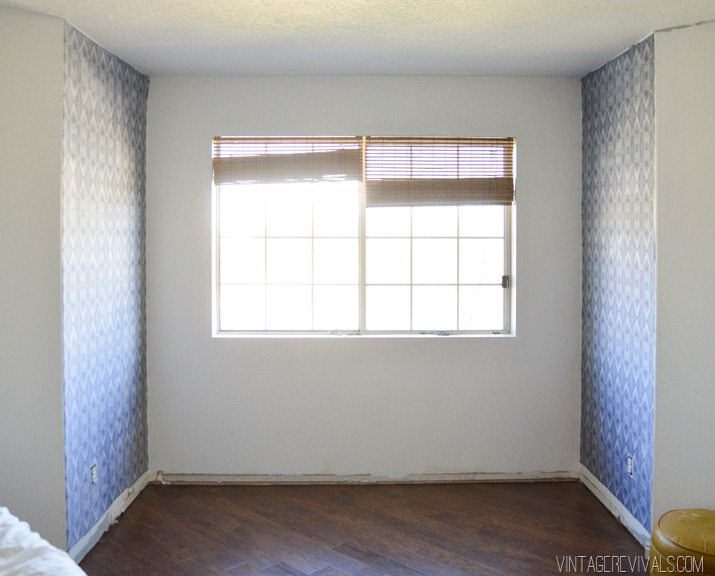
Hey guys!! So Ashy’s room is in full swing and I am loving the way that it is turning out, but most importantly she is loving the way that it is turning out, which makes me love it even more!
I love when you stumble across something that just strikes a chord with you (tell me I am not the only one!) that jumping off point of inspiration is so powerful. Last week I fell head over heals for this little peg project by Orlando Soria (you guys read his blog right? He is hilarious.) It got the ol’ wheels turning for a way that we could do something similar, just on a large scale.
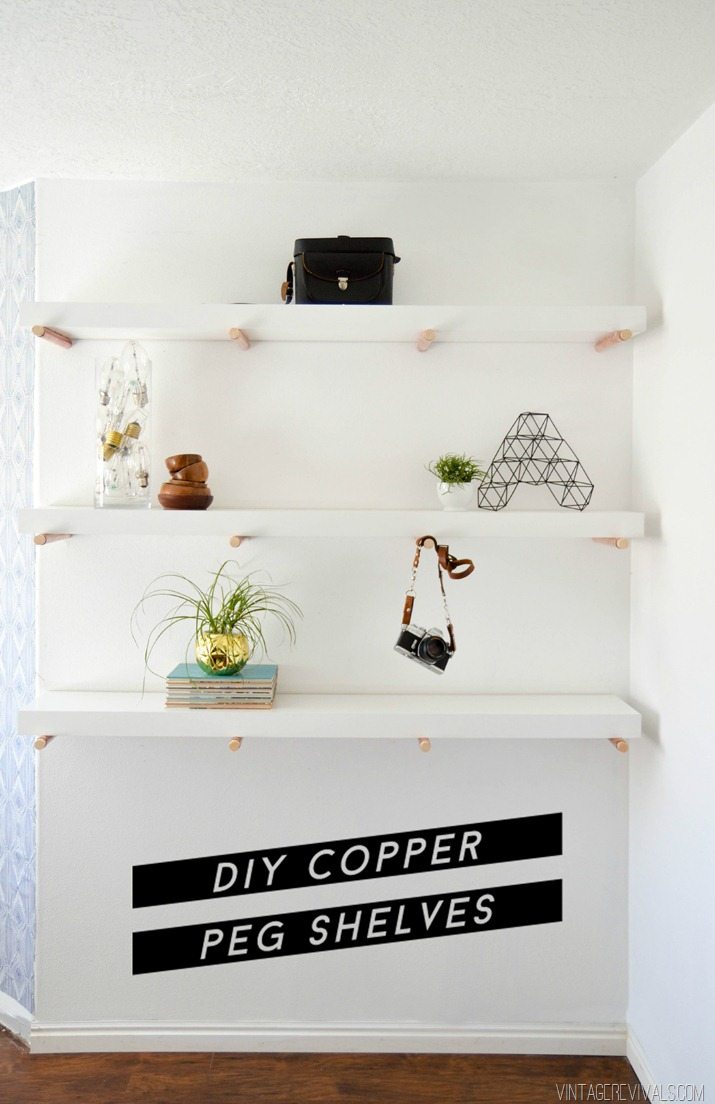
I felt like the shelves themselves needed to be thick and a little bulky. The best option was to create hollow shelves, that way they could be 2 1/2” thick and not weigh 5,000 pounds.
To make this project you will need:
11 feet of 1” copper pipe Cut to (12) 11” pieces
(3) _____”x36” Wooden Dowels (they are the ones that have the dark orange on the end) cut to 12”
(6) 5/16”x 3 1/2” Dowel Screws
(6) 1/4”x 2 1/2” Dowel Screws
(6) 1/4” drywall anchors
(3) 2×2’s the length of your shelves
(6) pieces of 1/2” MDF cut to the width and length of your shelf. Mine are 10” wide by 60” long.
(3) pieces of MDF cut to 2” x the length of your shelf. Mine was 60”
(6) pieces of MDF cut to 2” x the depth of your shelf minus 1/2”. My shelves are 10” deep so these cuts were 9 1/2”
Wood Glue
Wood Filler
Nail Gun
Pipe Cutter
Drill
Sheesh that was a long list right!?
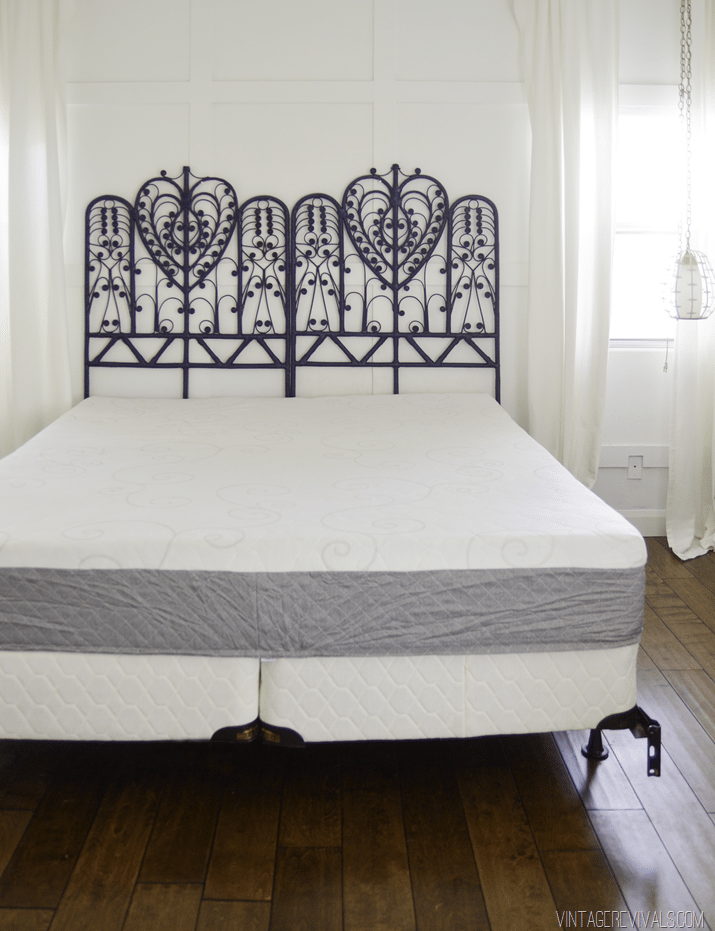
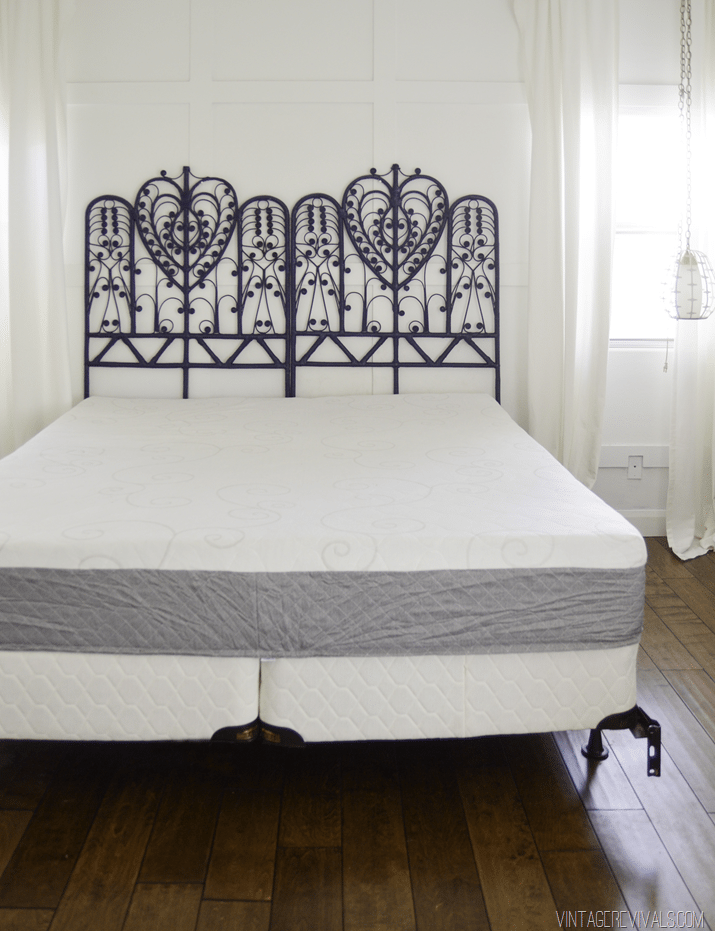
Ok. So first things first you need to decide where you are putting your shelves. In Ashy’s room we put them on the wall that the headboard used to live. I love using painters tape to visualize what I want them to look like. That way I can work out the spacing etc. without doing permanent damage.
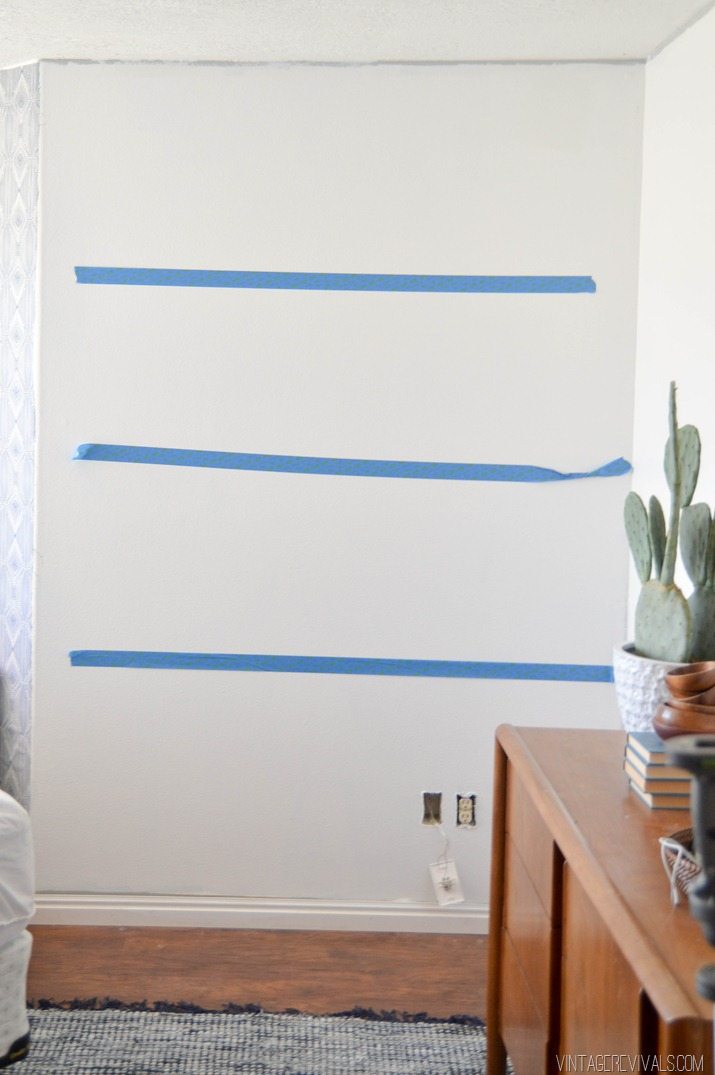
Start by finding your studs and marking the spots that the dowels need to be drilled into them. If you are using 4 pegs per shelf like I did, take the measurement between the 2 studs and divide it by 3 and mark (you are dividing it into 3 sections by using 2 pegs. (for example if the width of your studs is 60”. 60/3 is 20. Using your tape measure mark at 20” and again at 40”. The last mark would be at 60” which is where your stud is.) Make sense?
Most likely your middle pegs will not hit studs, that is totally fine.
Now its time to drill the actual pegs. You should have cut your wooden dowels into 12” pieces. Using your drill, drill a hole down the center of the dowel making it as straight as possible.
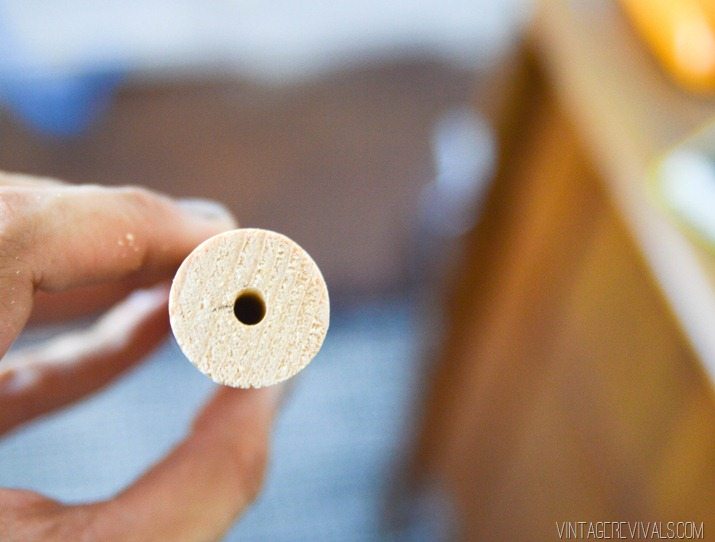
When you have all of your dowels drilled its time for assembly. They have these awesome screws just made for a project like this called Dowel Screws (genius name, I know) Also, you can totally do this part with pliers if you need to, but I used my drill. Pre-drill the holes in to the studs for the end pegs, making sure that they are straight (so your pegs aren’t wonky, but if they are a little wonky like ours were we will show you how to fix that too!)
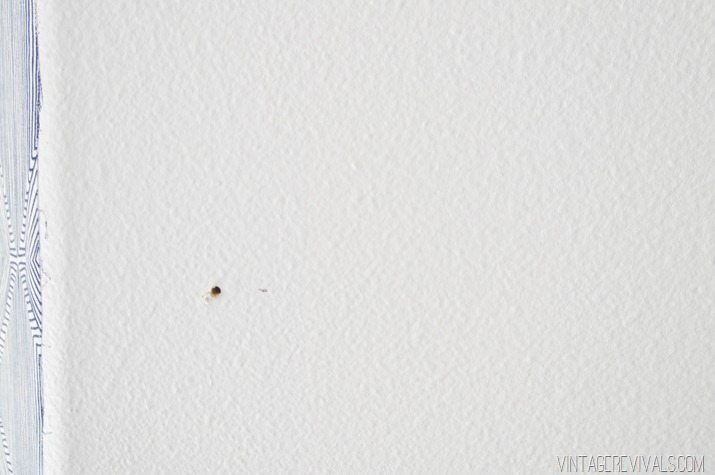
For the dowels that are going into the studs, you will need to set the screws into the studs before you put them in the dowels (because the studs are stronger than the dowel, the screw will just spin deeper into the dowel instead of drilling into the stud as you are twisting it on.)
Clamp your drill around one end of the dowel screw (make sure it is TIGHT) and drive 1/2 of your screw into the predrilled hole.
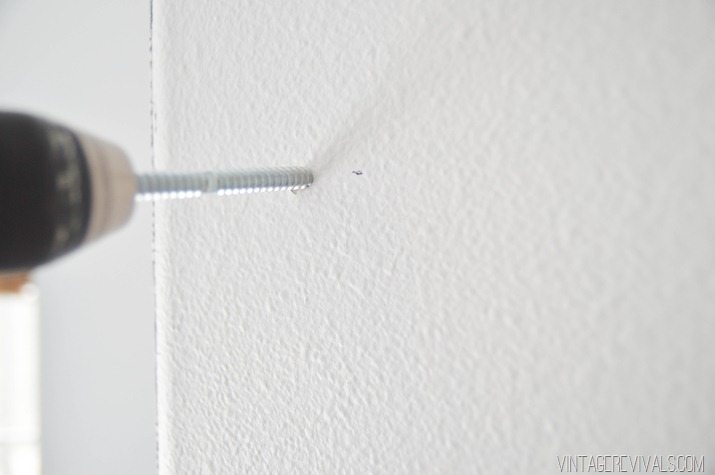
Then unclamp your drill and twist the dowel on to the other end.
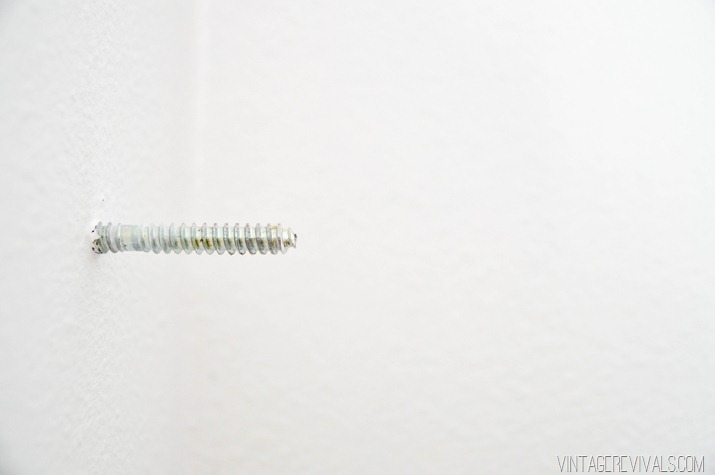
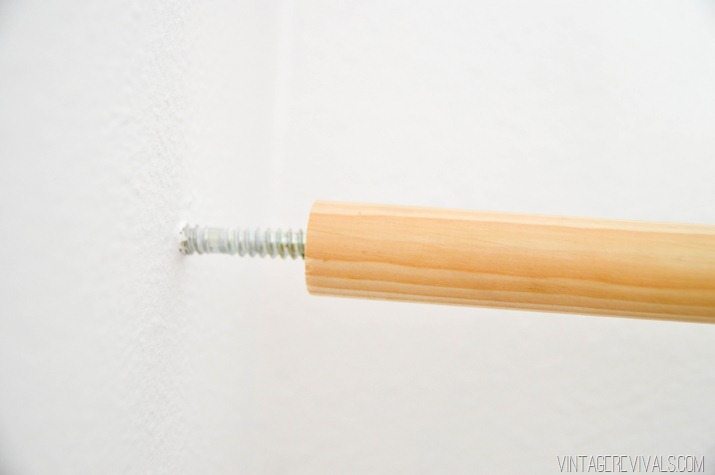
For the center pegs, you can use the same method to drive the screw into the end of the dowel. Its just a lot faster than using a pair of pliers. Hold off on attaching the center pegs for a little bit.
Put the copper sleeves on all of the pegs that are attached to the wall.
For the shelves themselves, we are using a basic floating shelf build, we are just assembling them a little differently to compensate for the chance of wonky dowels. Take your 2” pieces and attach them to one side of the 10×60” boards with a nail gun. (this is going to give you a shelf with a lip around the 2 short sides and one of the long side.)
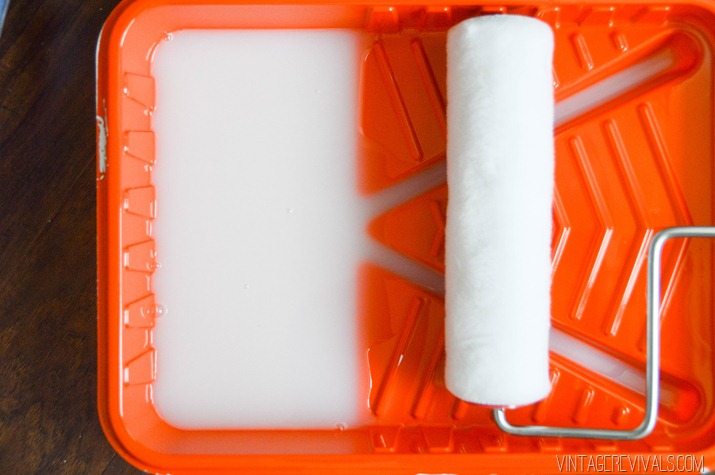
Do this for all 3 shelves. Use wood filler to fill along the seam, let it dry and sand it smooth. Learn from my mistake!! I used drywall putty for this part, and it was pretty impossible to make the seam disappear, so that is why I am recommending wood filler, I just didn’t have any on hand and didn’t want to go to HD again. It is also a pretty great idea to paint at this point. I used Sherwin Williams Pro Classic in Ultra White using this mind blowing technique. I also painted the other 3 10×60” boards that will be the top of the shelves.
When you have all 3 shelves built and painted to this point take them, and the 2×2’s inside, its time to assemble everything!
(Typically when you are building a floating shelf you assemble the entire thing except the back piece. That space is where the 2×2 that is bolted to the studs slides in, but we wanted to be able to straighten any pegs that might be struggling a little, that is why we are assembling it on the spot.)
Put your shelf bottom on the pegs and put the 2×2 against the wall. Screw it into all of the available studs.
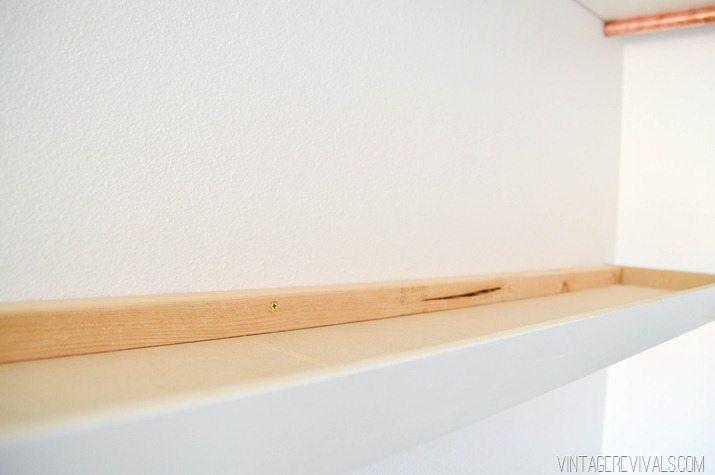
Now its time to attach the center pegs. Drill the holes for the drywall anchors and attach the dowels so that they are sitting flush with your shelf.
Using a small drill bit, drill down through the copper sleeve and into the wooden pegs, then drive a small screw into the hole. This will straighten out your pegs if they are a little off and is an extra security measure to make the shelves sturdier.
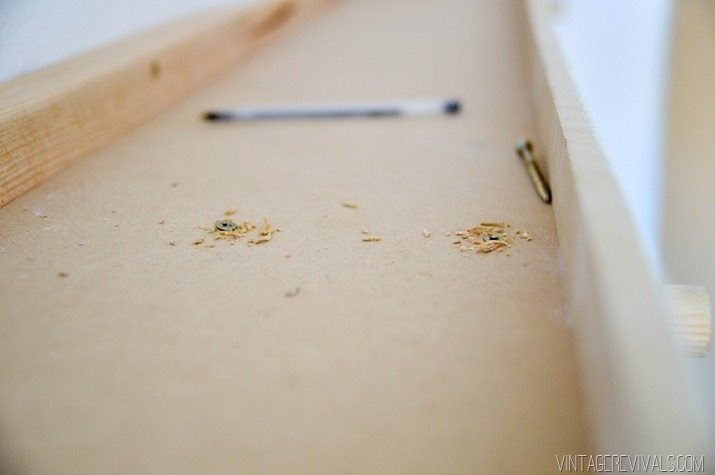
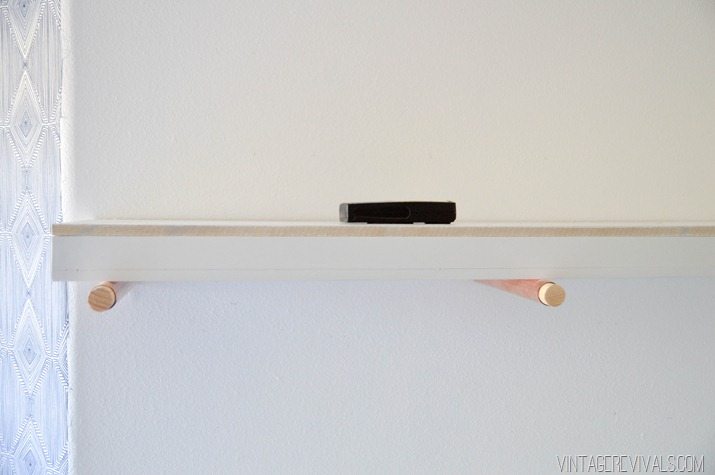
Attach the top of your shelf (including along the back to the 2×2 that is now inside of your shelf) using finishing nails.
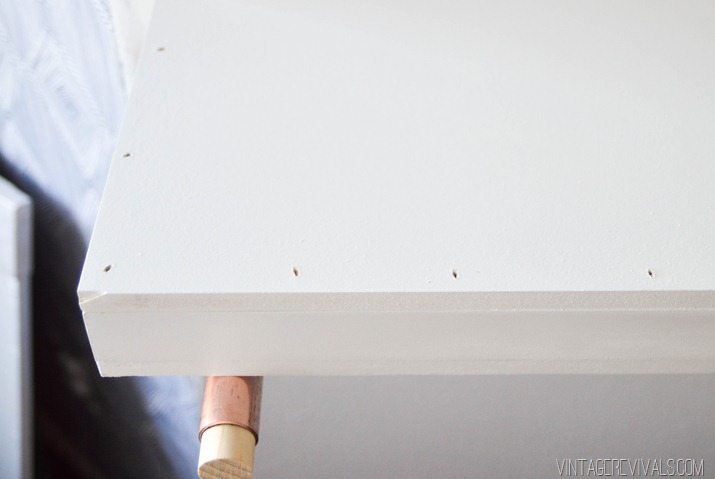
Because I used the wrong kind of filler, I ripped a 1×3 down to 1/8” on the table saw to use as a face plate. I think that using a different filler would have made it so that I didn’t have to do that, but you can always use an additional piece on the front to cover your seams if you need to. Some of you might be wondering why I didn’t just put the smaller piece of MDF on the front of the shelf top and bottom instead of in between them. I was worried that the weight of everything on the shelf would compromise it, if it was being held up by finishing nails, instead of a board that supports the entire perimeter. I may be wrong, but that was the conclusion that I came to.
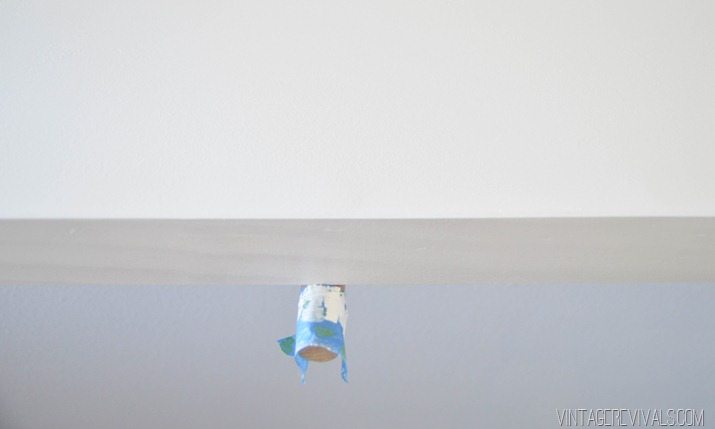
Fill any remaining holes and touch up the paint.
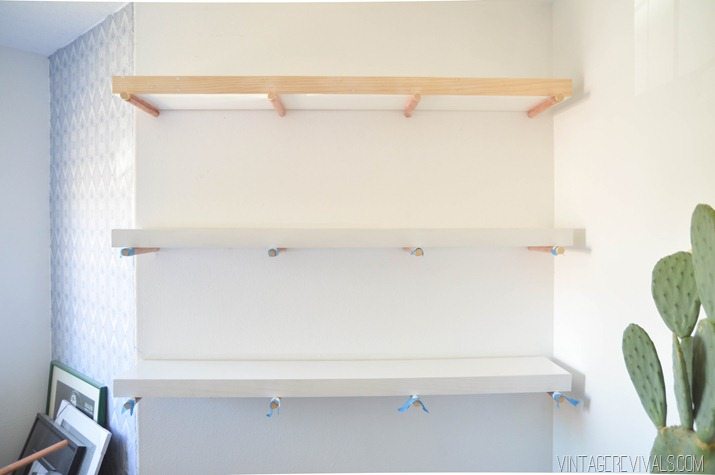
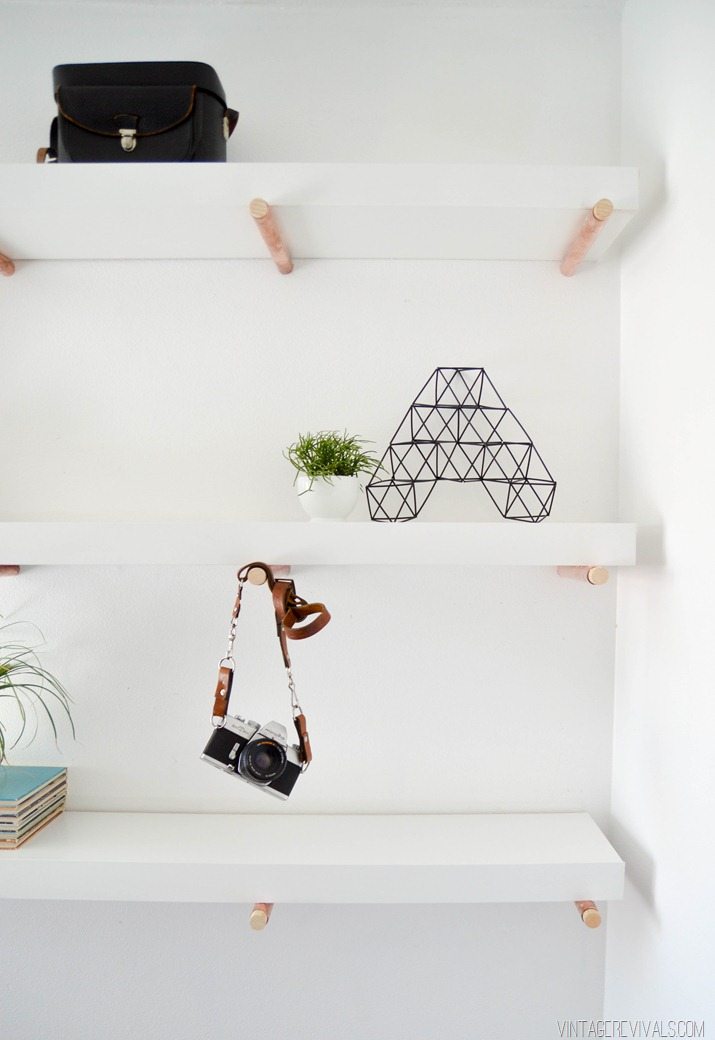
I love the way that the white shelves look against the white wall with the little bit of wood and copper, This is absolutely my favorite shelf build to date.
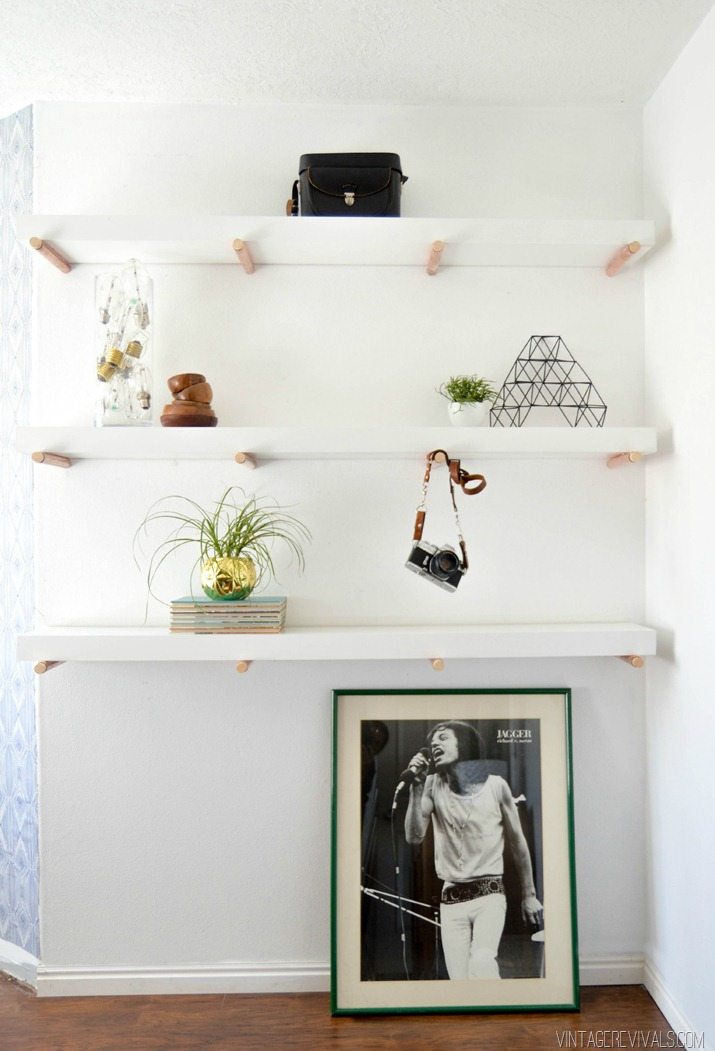
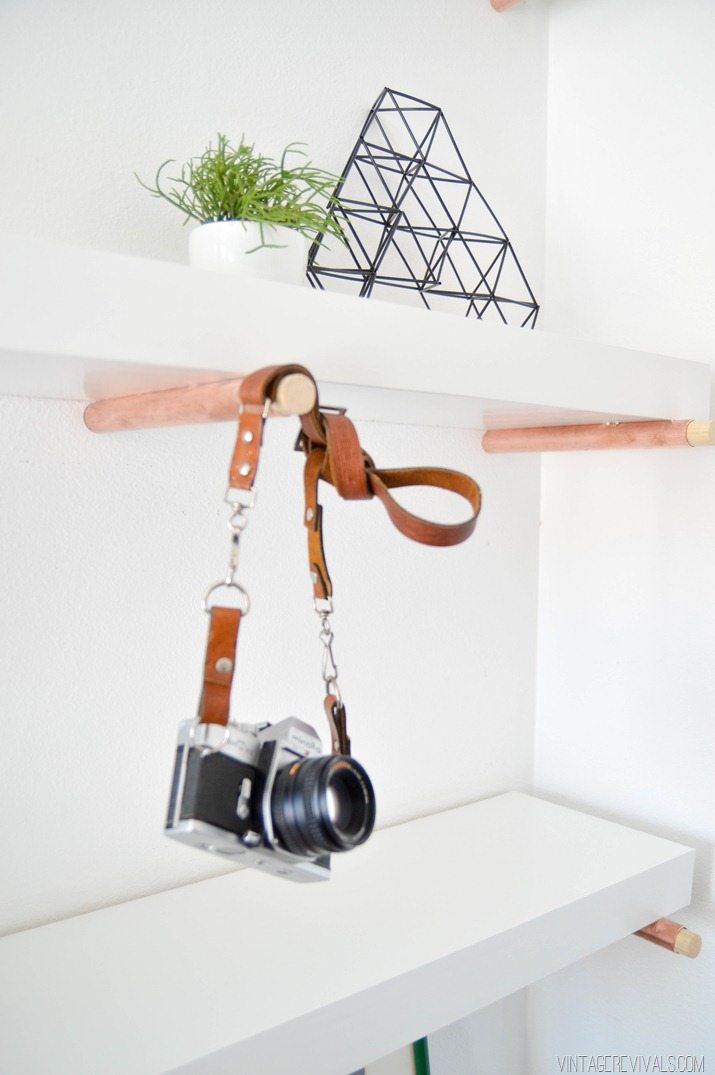
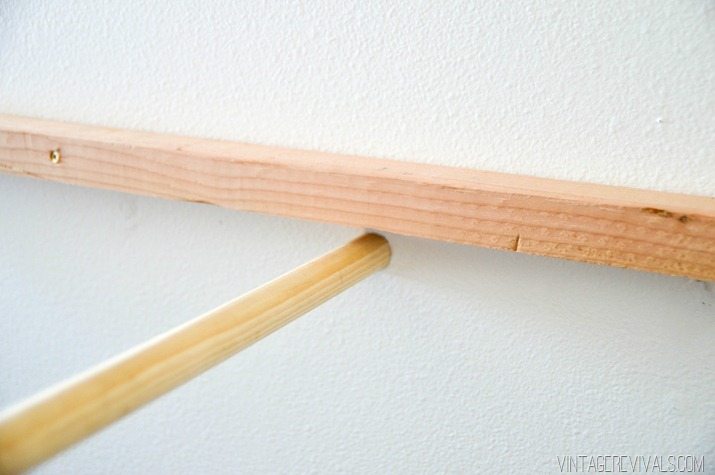
UPDATE! I have had a few emails and questions in the comments about how strong the shelves are, so I thought I would give you a little more info! Usually when I get the same questions its because I didn’t do a great job explaining it (sorry!!) The main strength comes from the heavy duty piece of wood that is screwed into all of the studs on the wall. The hollow shelf fits snuggly around this piece and the shelf is attached to it. This is the standard way that floating shelves are build. Adding the pegs gives it even more stability because the end pegs are screwed into studs as well, and the center pegs are anchored to the drywall. And then the pegs are screwed to the shelf bottom, so it is one giant piece that is (in our case) mounted to the wall in 9 different spots.
This is what it looks like when the shelf is removed. The heavy duty board is mounted to all of the studs in the wall and holds the weight of the shelf. The pegs make it look adorable, and give it extra stability. Hope this clears up any questions, if not, leave them below and I will do my best to answer them!! xo
