When I got home from Home Depot a few days ago, Court was cleaning out the garage. I am obviously a hoarder of amazing things that look like garbage. He doesnt have the vision and frequently throws away treasures. You can image what this does to me.
I flew out of my car and was like “What are you throwing away?! I need it alllllllllllll!! (and possibly an intervention) Court held up a few ugly lampshades that would not work for anyone. ever. to try and prove the point that not everything is worth saving.
Unfortunately for him my best ideas are spontaneous. Bring it. Oh it has been brought-en.
I LOVE a good lamp. The subsequent reality of the situation is that I have about a million ugly lampshades. Every time I look at them I die a little inside. I know they could be something amazing, so I hang onto them, but lets be honest, they are not shooting to the top of anyone’s must do list.
That is, until today.
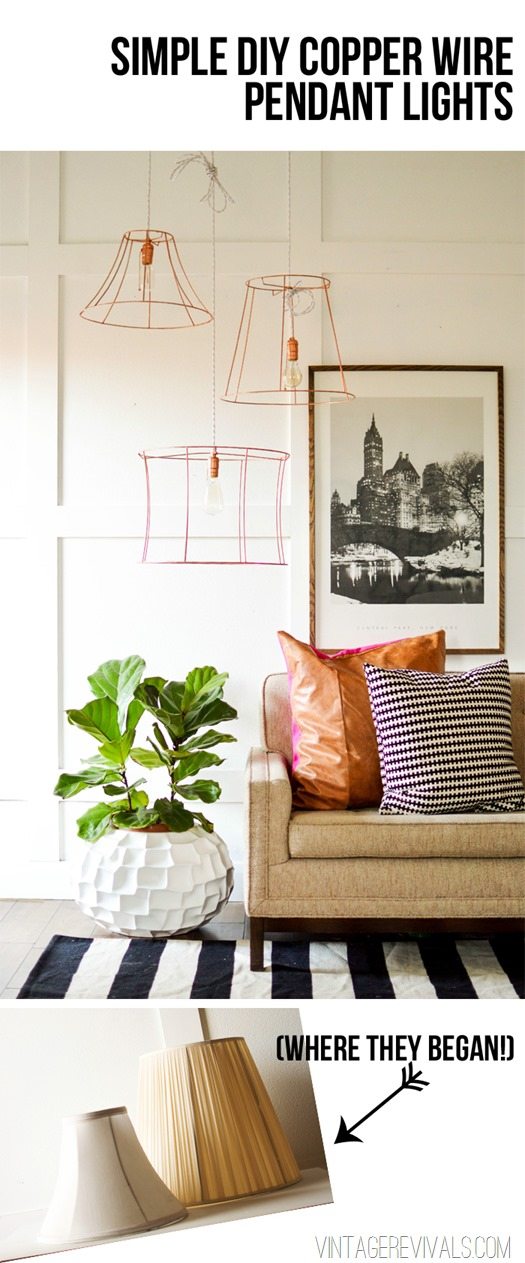
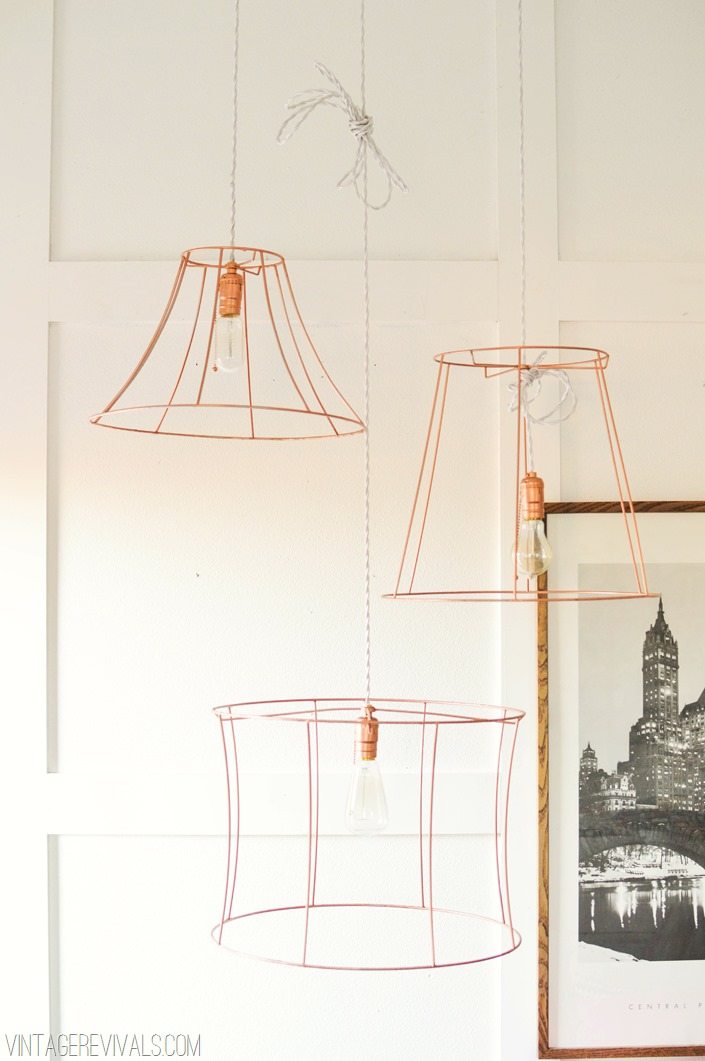
All you need to make these eye popping lights, is an ugly lampshade with a wire frame inside and a few simple supplies. (I posted a picture of the shade on the right on Instagram yesterday and it became immediately clear how much better filters make everything look. It didn’t look half bad, but IRL it is granny…and not in a cool hipster way. In a mother-of-the-bride dress sheathing kind of way.) Sorry to fool you guys with my mad filtering skillz.
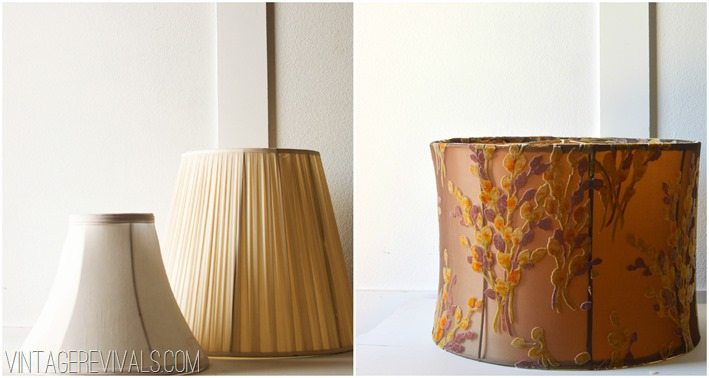
Lets get started!
Cut off all of the fabric and pull off all of the glued on bits until you are left with this:
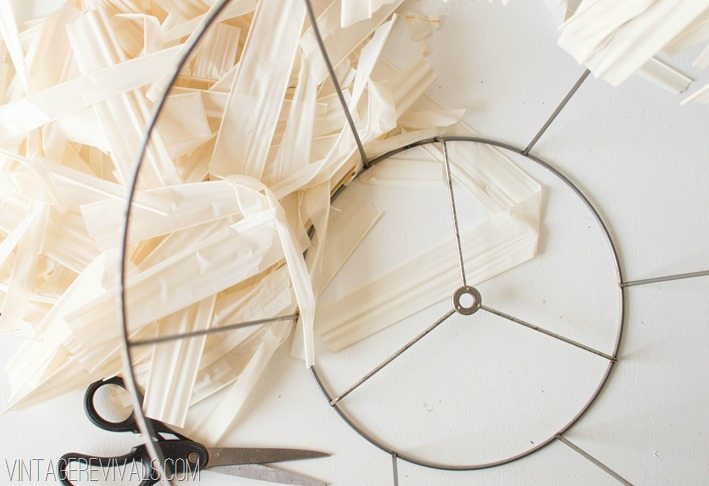
Its is the skeleton of the lampshade! Get it? Skeleton shade?!
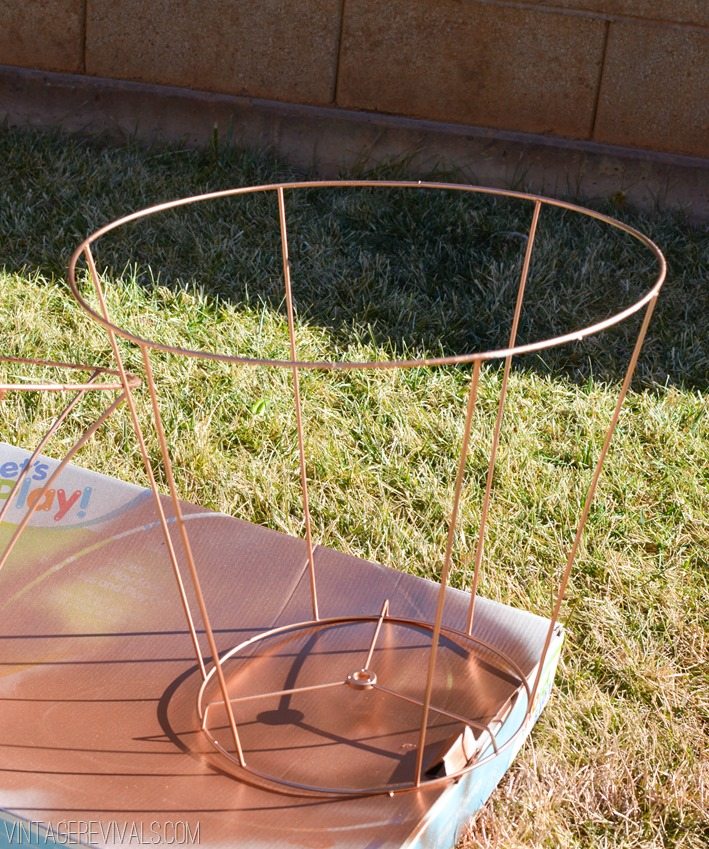
I gave my lamp bones a coat of Krylon Copper Spray Paint .
.
Then I used some lamp wire I had from another project and wired a basic socket on the inside of the lampshade. To do this you will need:
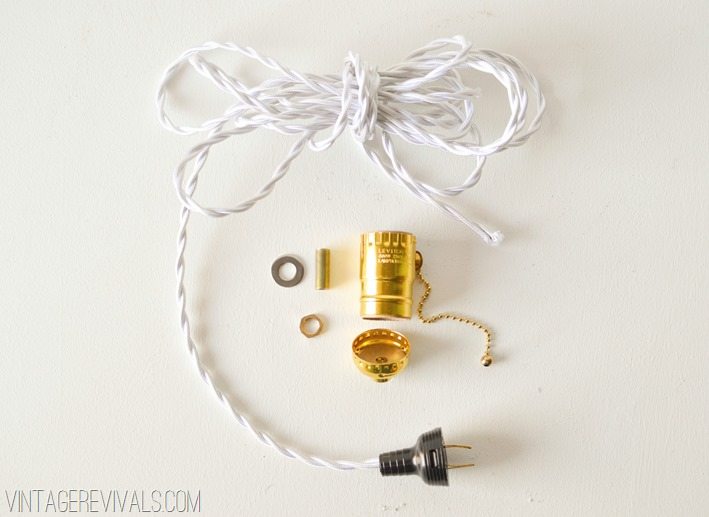
(1) Pull String Light Socket ($3.49) at Home Depot
(1) 1/2” threaded nipple
(1) Washer
(1) Hex Nut
The desired length of Lamp Wire.
* If you are spray painting your socket do it before you move on to the next step!
Start by threading on your cord the hex nut and the washer. Feed the cord through the top of the lampshade.
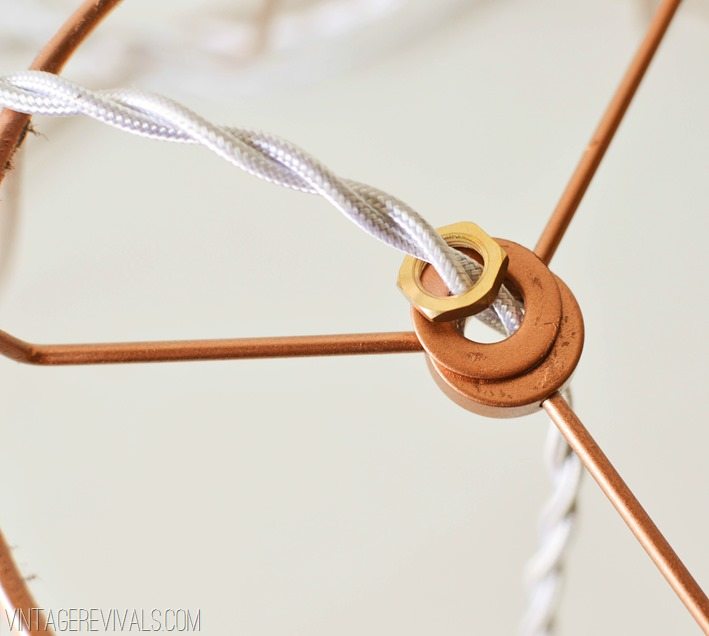
Then thread your cord through the nipple and the base of your socket.
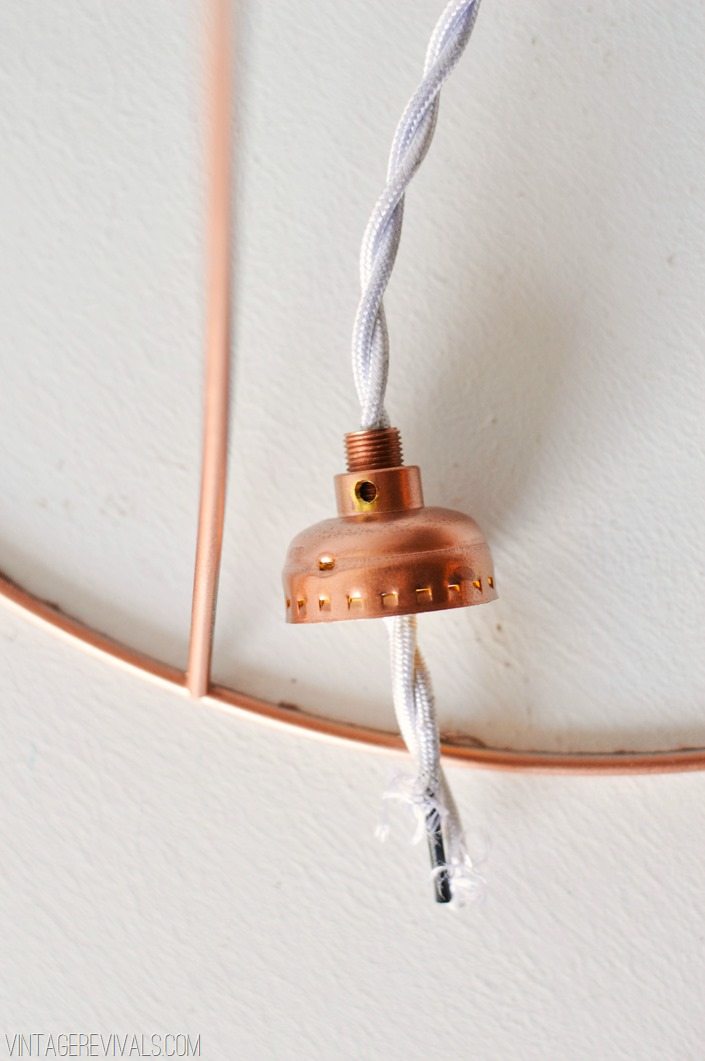
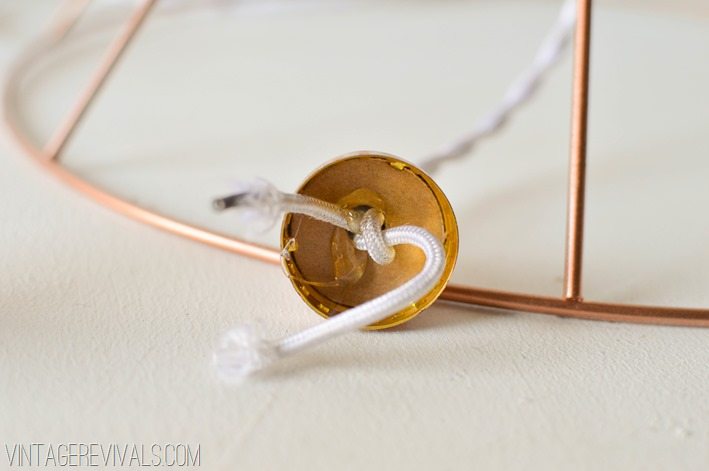
This next step is super important so pay attention! The weight of the skeleton shade is going to be on the socket. Normally you would buy a special tension socket for this, but because our shades are so light we are going to use everyone’s favorite DIY Fix All…Hot Glue!
Tie a knot in your wire and fill it nice and full with hot glue. I like to pull the wire up while I am doing this to make sure that it is inside the nipple too. This is going to take the pressure off of the actual wiring and move it to the entire socket. Also please make sure that you leave enough cord that you can still wire your socket!
Once it is wired push the 2 pieces together REALLY hard. You will hear a soft pop when it is connected.
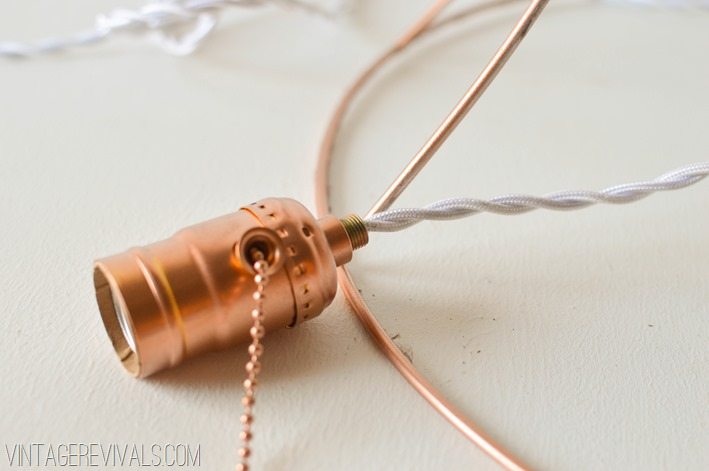
Then just stick the nipple into the top of the shade and attach the hex nut.
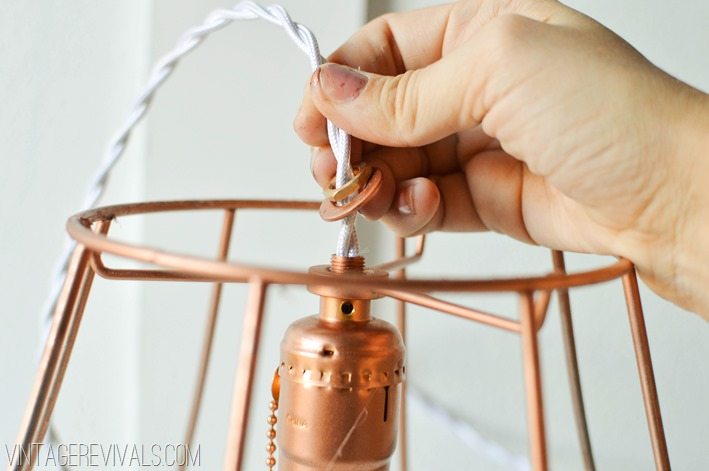
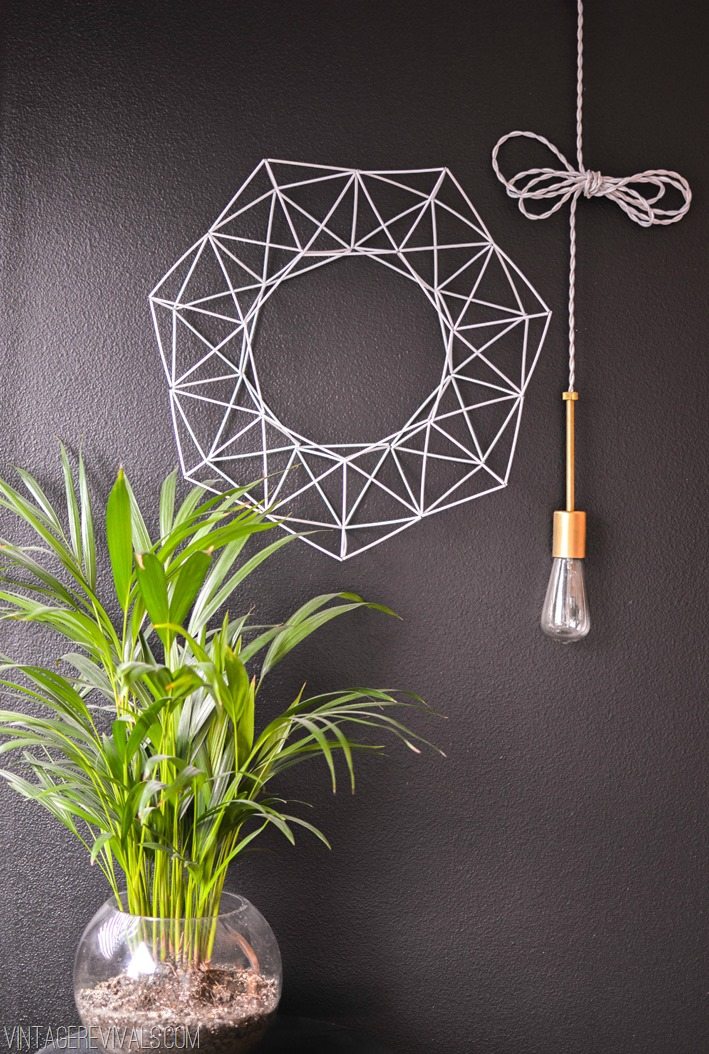
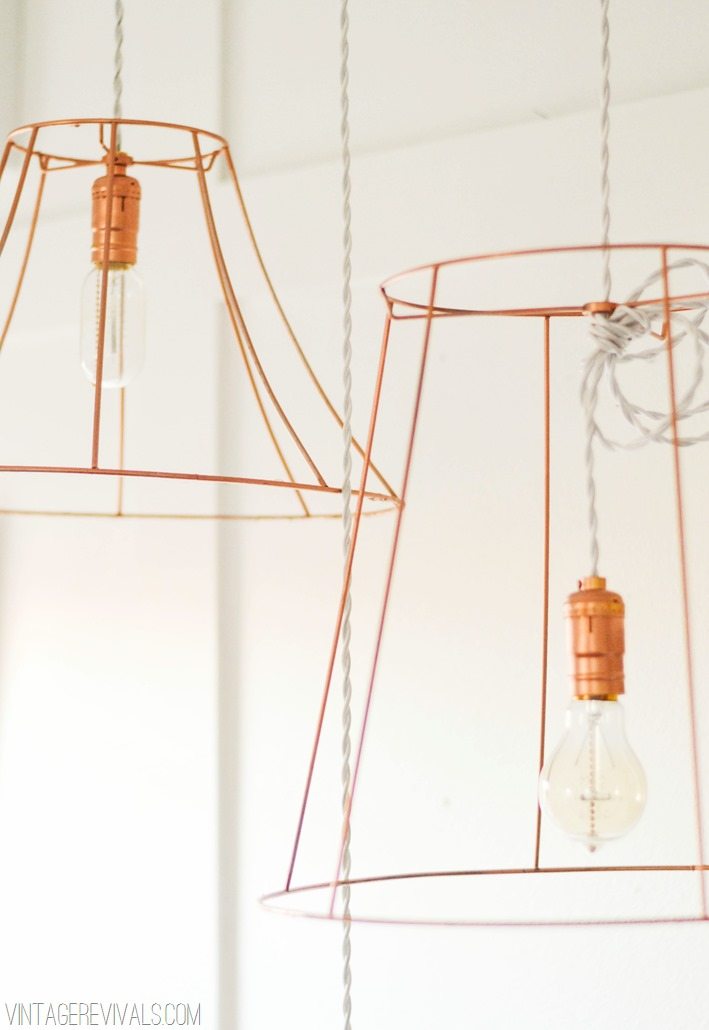
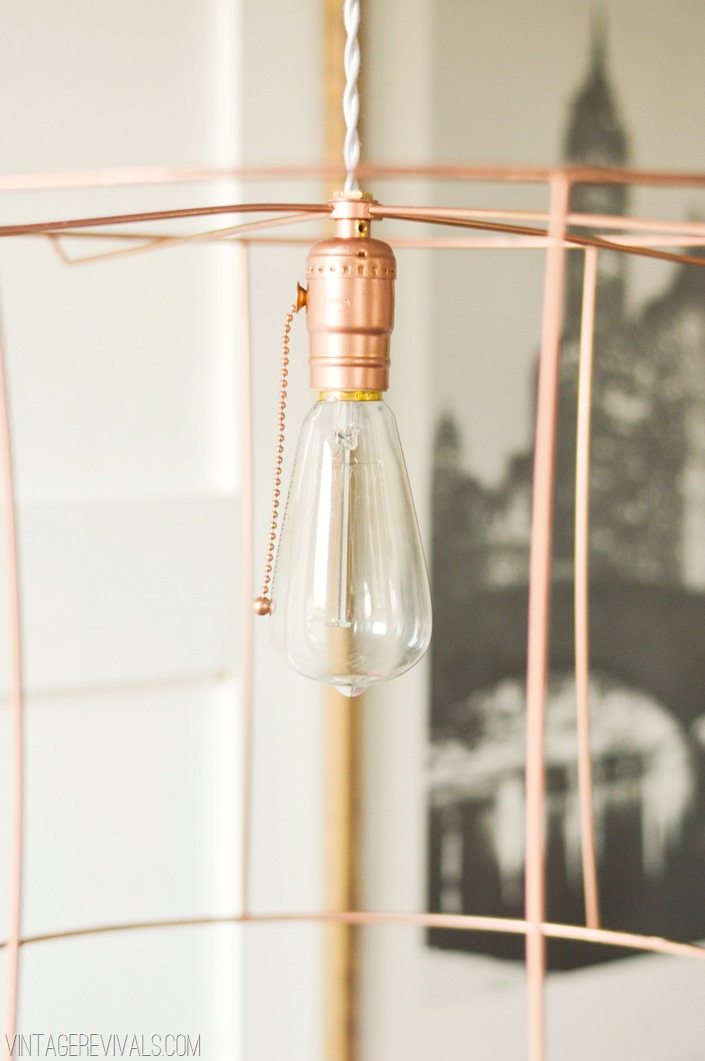
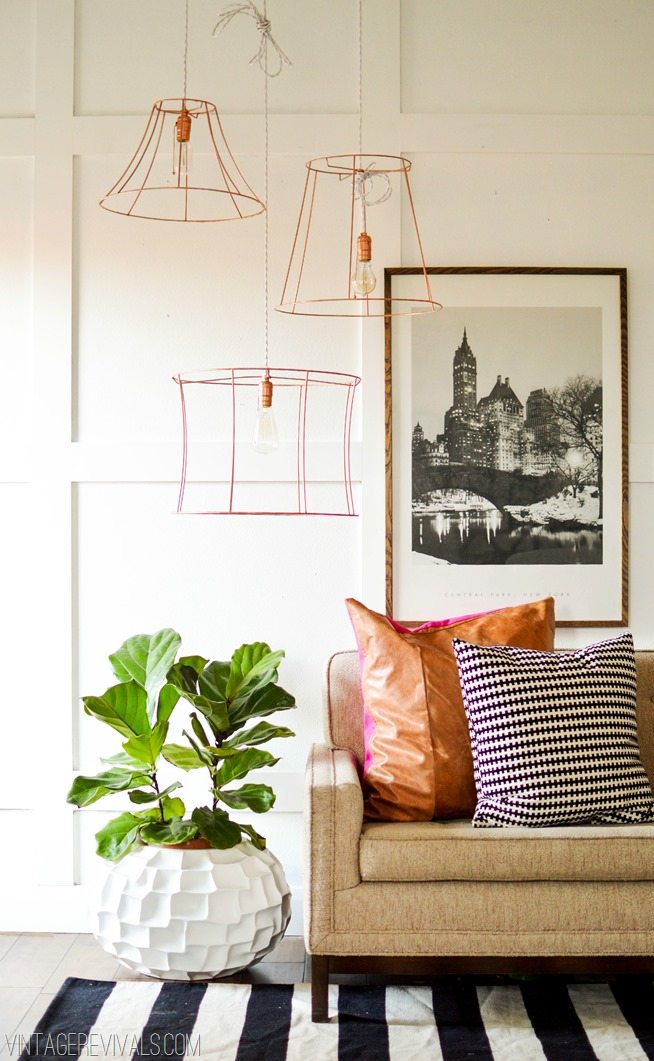
That’s it. Not even 10 minutes later we have these fun and unique light fixtures.
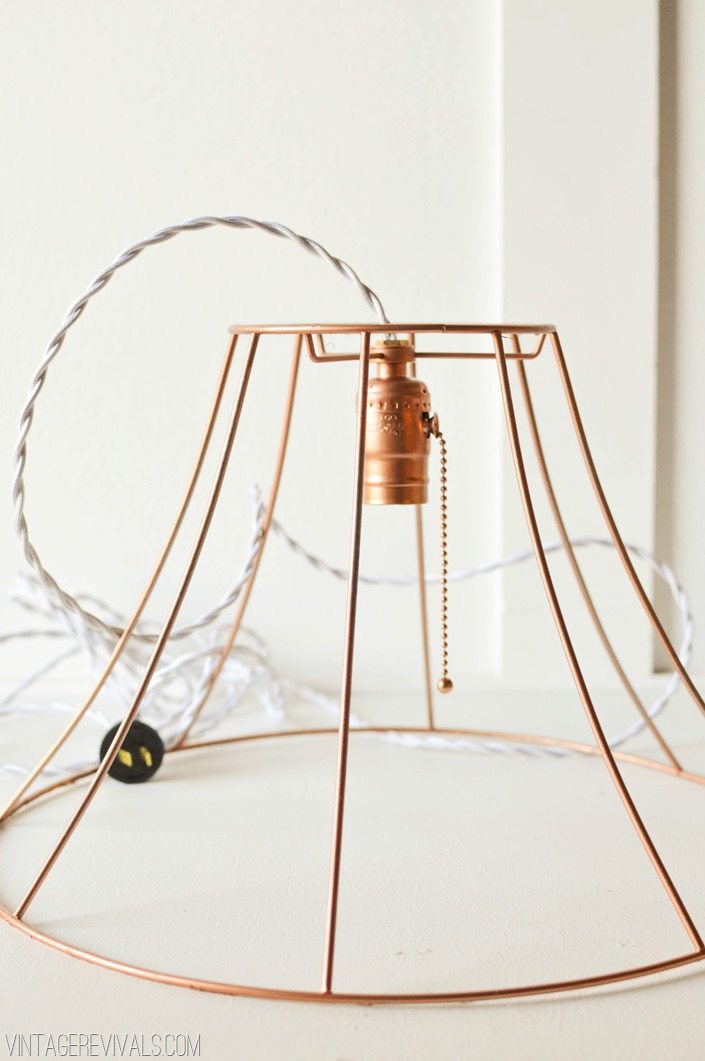
And you can get as creative as you want. I had a lot of extra cord so I tied it up and let the socket hang on this light. It breaks up the monotony a little.
(Tutorial for the leather pillow here) (Need another simple lampshade update? Click here)
I win. Sorry Court.
UPDATE! The light bulbs that I used can be found at Home Depot and Lowes. They are not going to be available once the supplies sell out (because the US is no longer producing or importing filament bulbs) So get them while you can!
I have also had a few questions about where they plug in. I pulled the cords out of the picture, but they run down the wall and plug in behind the couch. They look really cute like that (because of the sweet cords).
Now to the fun part that involves YOU! Whenever I bring a new treasure home Court just looks at me and says “Where are you going to put that?” And then I happily float into the garage and add it to the treasures that are taking up my half. (Ok it is more like two thirds. But who is measuring?)
The problem in this situation is that I have treasures that I have long forgotten about. And who can forget the ever present “But I cant get rid of that, I might use it!” excuse?
So here is what we are going to do. It is a fun thing I like to call MOTIVATION! Once a month we are going to have a Rock What Ya Got party. You can play along on Vintage Revivals by linking up a blog post, or on instagram using the #rockwhatyagotparty hashtag.
Here is the other deal. This link up is for new projects only. I get it, you are excited about that dresser that you painted last June and still want everyone to see it. But this is not that. We are doing NEW projects. New. Like sparkly newborn baby new. Yes? The whole point is to do something new. How about if I throw one more NEW in there for effect? New.
So here are a few things you need to know about our fun new club:
The Rock What Ya Got party will be opening the 3rd Monday of every month and will be open for one week.
Feel free to link up any type of project, as long as it is using something that you already had at home. (You can obviously buy a few supplies to work your magic) The project has to be (say it with me!) NEW!
I will be sharing some of my favorites every month on my social media channels and in the Vintage Revivals newsletter!
If you have any fun fight for the garbage stories, I want to hear all about them!!








 Thats about it.


