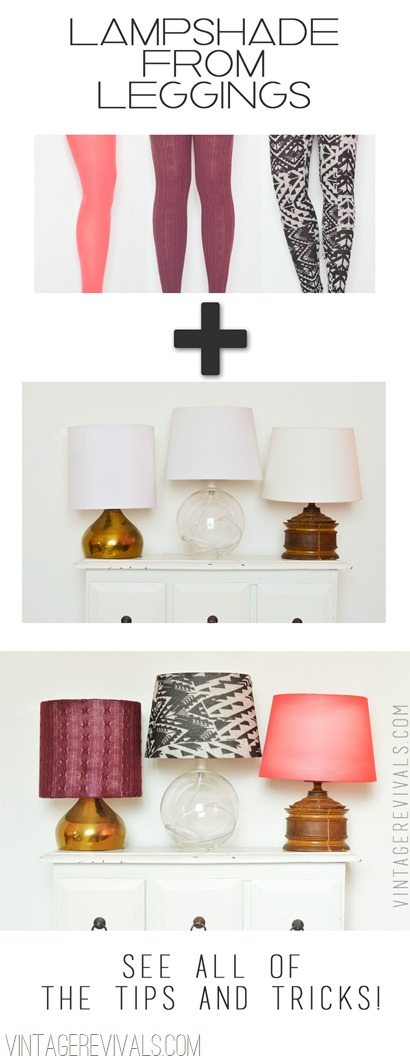
Turn Leggings Into A Lampshade!

By Mandi | 12/13/2013 | 66 Comments

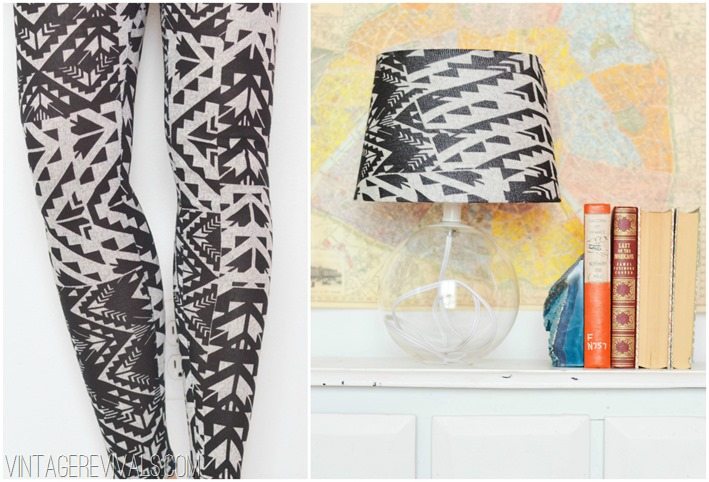
So the other day I was hanging out at Tj Maxx looking at clothes and wishing that they were just fabric on a roll so that I could make something amazing out of them. This happens more frequently than I care to admit…

anyways…

I saw a pair of super cute tribal leggings and thought “Mands, that would be such a cute pillow. Or maybe a lampshade.” Then literally light from Heaven shone down on me I was like “WHAT?!?!?? LAMPSHADE!!! I could use the leggings to cover a lampshade!! Oh my gosh. Has anyone done this before? (insert quick Google search that came up empty) WHY has no one done this before?!” And then I skipped all the way to the checkout line.

I also rummaged through my underwear drawer for a few pair that I was willing to sacrifice for the sake of project mode. Because I am motivated like that.

How To Cover A Lampshade with Leggings

You will need:

Small Lampshade (this one from Target is what I used and it is the perfect size!)

Tights or Leggings in the largest size that you can find (because lets be honest, xs is not realistically going to happen.) If you want some really cute on trend ones check out Forever 21, they have some fantastic patterns!

Hot glue gun

Scissors or Rotary Cutter


Colored lampshades are hard to come by. I mean, you can spray paint one, but have you ever seen what a spray painted lampshade looks like when the light is on? It is not good friends.

But tights/leggings? Freaking fantastic!

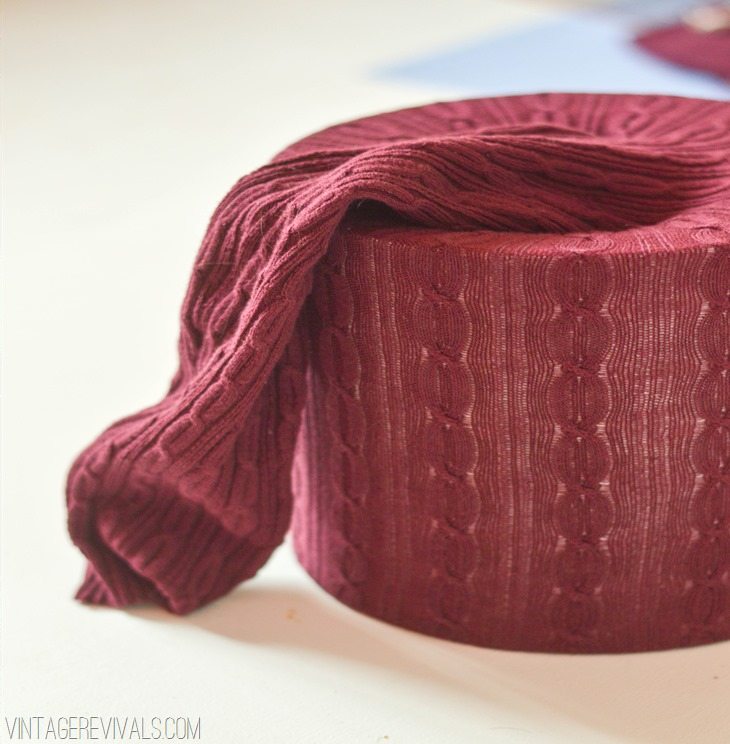
First cut the top of the leg off from the body (use the highest point possible to get maximum width!) put your tights over the lampshade.

How To Cover A Lampshade


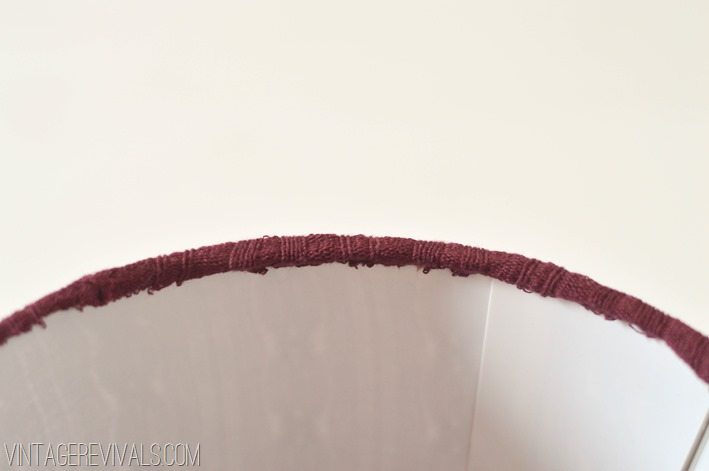
Glue along the edge.

untitled-4-2

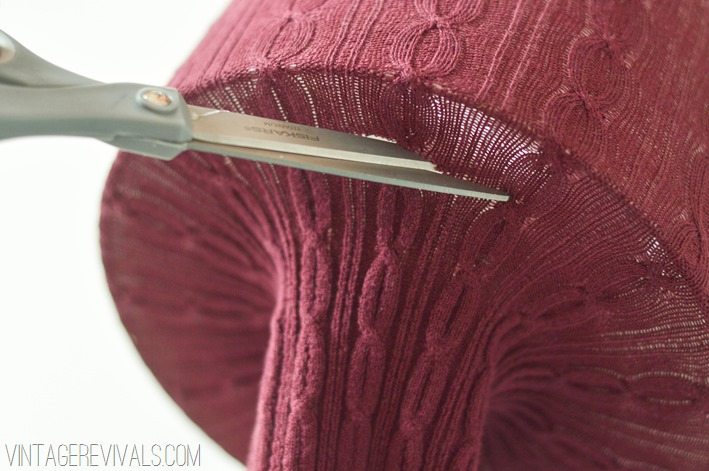
Trim the excess off the top leaving about 1/2” to work with that you can trim off later.

How To Make A Lampshade

Glue along the edge of your lampshade to attach the leggings

Glue along the edge.

Step back, pat yourself on the back because you my friend, are a genius.

So now that you know the process, let me give you the skinny on the leg huggers.

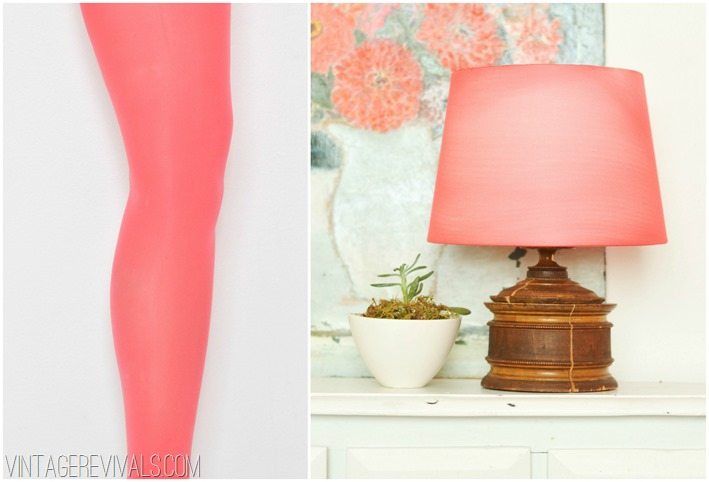
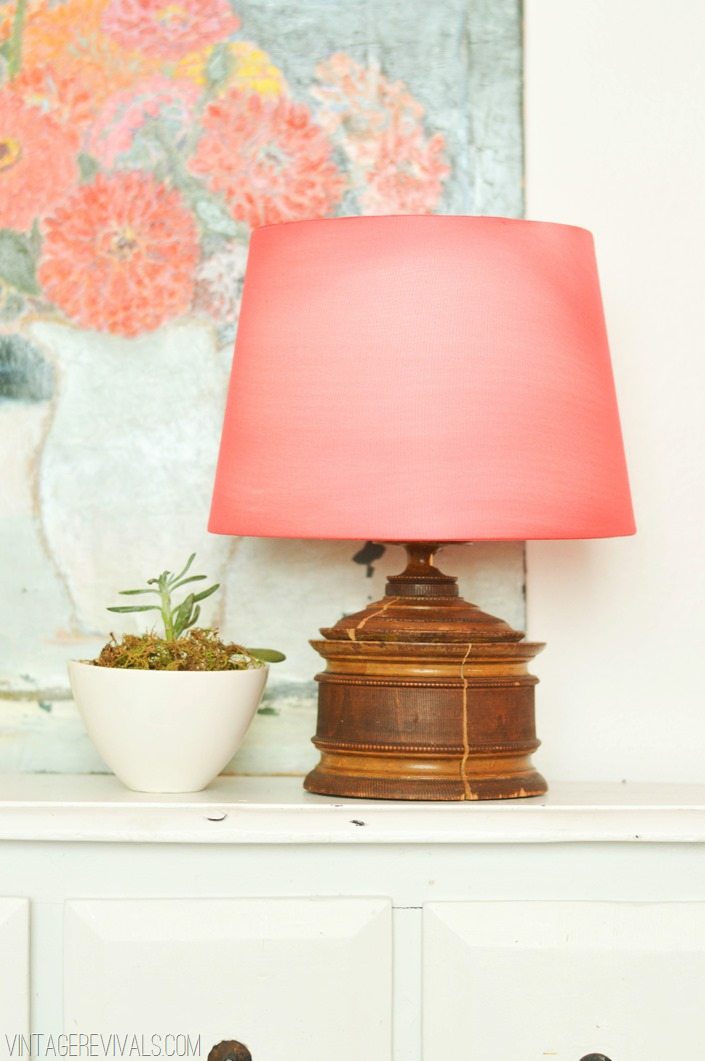
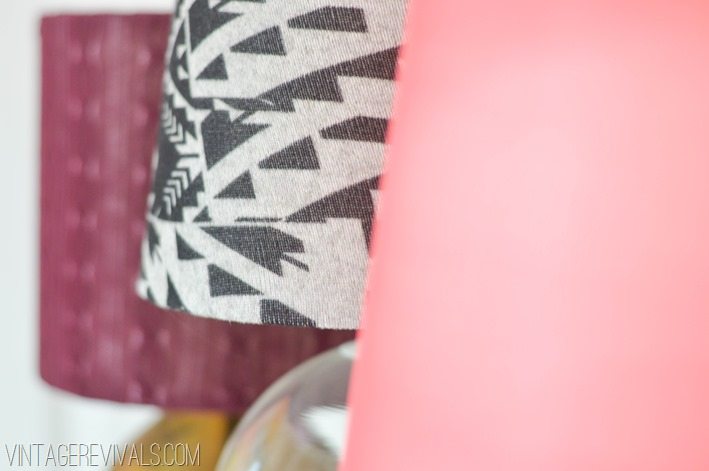
Nylon Tights work AMAZINGLY well. (You can find the tights that I used for $4.75 here the color is Hot Coral) They will stretch like the day is long. You might have a little bit of color variation where some is stretched tighter, but I think it looks cool. To combat it you could run a pencil or something long and skinny between the tights and the shade to loosen the grip up a little bit. To prevent running you need to cut it with a rotary cutter, so stretch it over your shade and mark where it needs to be cut. Then take it off the shade and cut it with a rotary cutter.

Nylon tights turned into a lampshade

Lampshade Made From Tights vintagerevivals.com


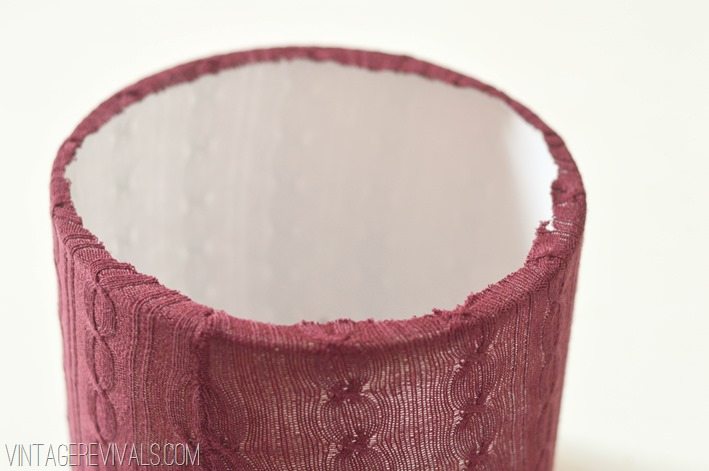
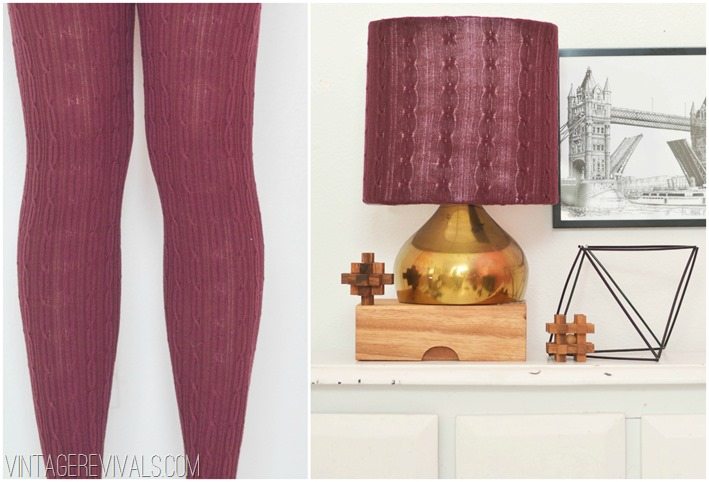
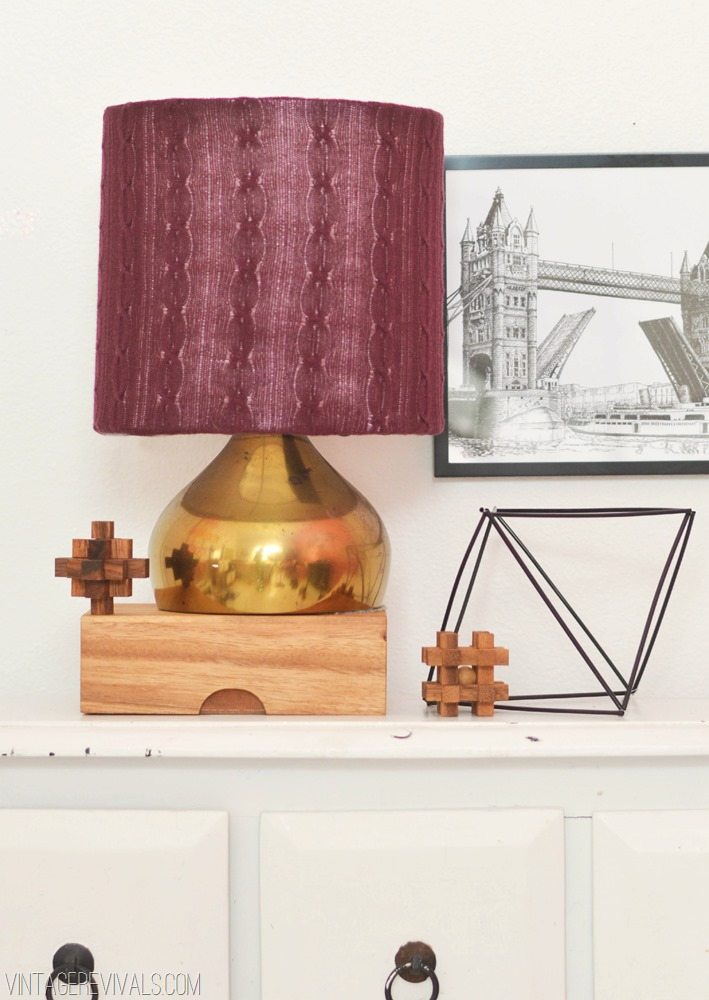
Cable knit tights work really well too. They have SO much stretch. In fact the reason that I decided to use these leggings, is because they get saggy after a few hours of wear, so I knew that there would be zero problem with the stretch.

Cableknit Tights turned into a lampshade

Cableknit Lampshade from tights


Woven leggings are sort of like a Chinese finger trap. When I did this the first time, I measured the length of the lampshade and added 4” to it. After putting the bottom on and about 1/2 of the top,  I was having a hard time stretching the rest of it without denting the shade. It worked so much better the second time around. So learn from my mistakes and put them on the shade, glue the bottom edge down, then cut the excess off and glue the top edge down.

Tribal tights turned into a lampshade!

Lampshade Made From Leggings

A few things that I learned:

Buy the largest size that you can find. I wouldnt go smaller than at least a medium.

Shop the stuff you already have. I mean, dont lie. Everyone has at one time or another bought some funky tights at Forever 21 that you were a little too scared to wear once you got them home and showed your husband. Those? Perfect for this project.

Lampshades covered in leggings

Can you even believe that this is such an easy fix for a boring/ugly lampshade? If Billy Mayes were alive and sold blog posts on infomercials he would be lovin this idea. (Did anyone else love that show as much as Court and I did?)

Make sure you check out the other posts in the Mandilicious Christmas series!
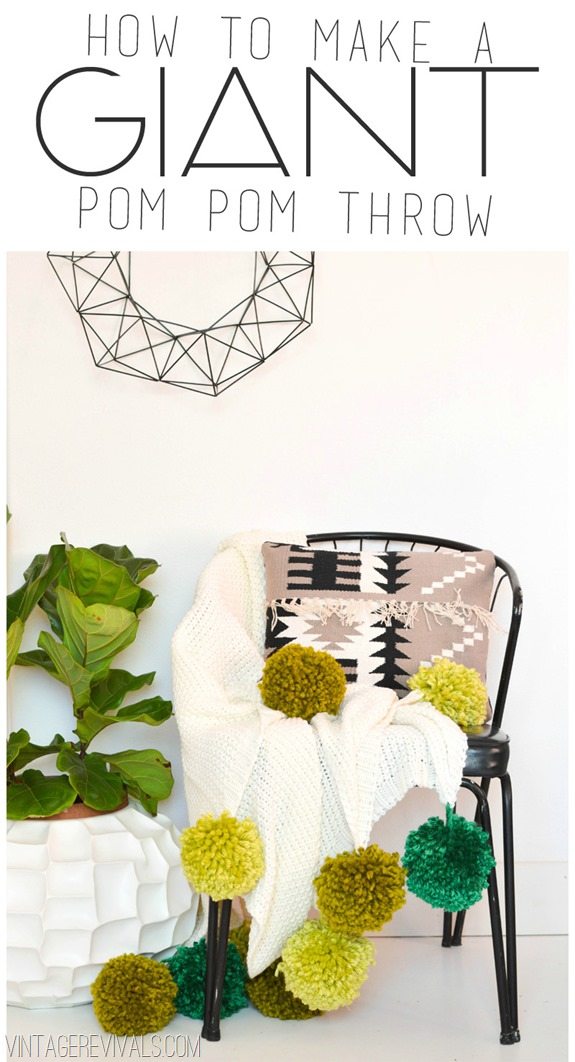
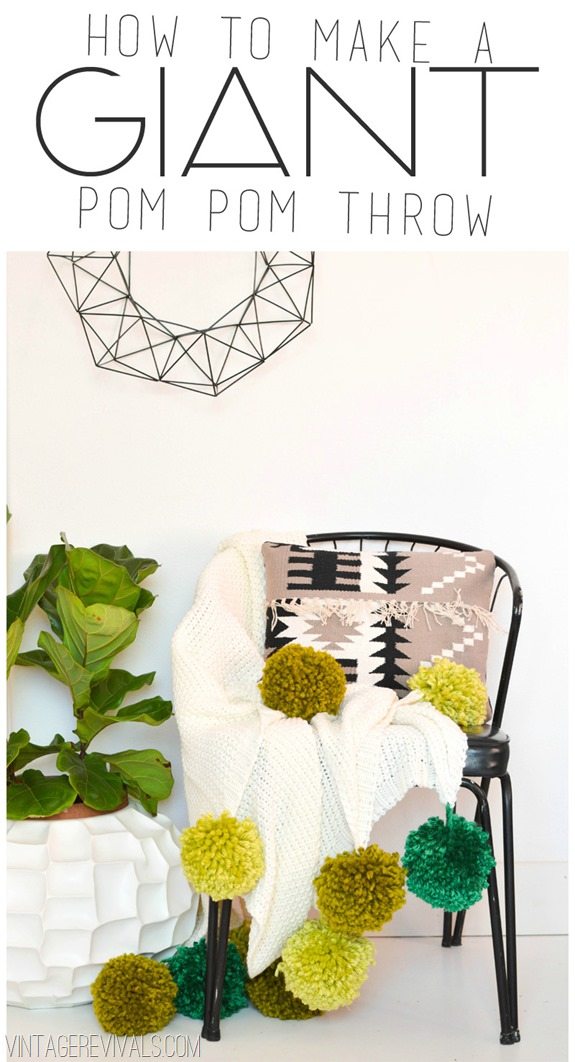
How To Make A Giant Pom Pom Throw vintagerevivals

Leather Scrap Triangle Pillow Tutorial vintagerevivals.com


Love Your Guts

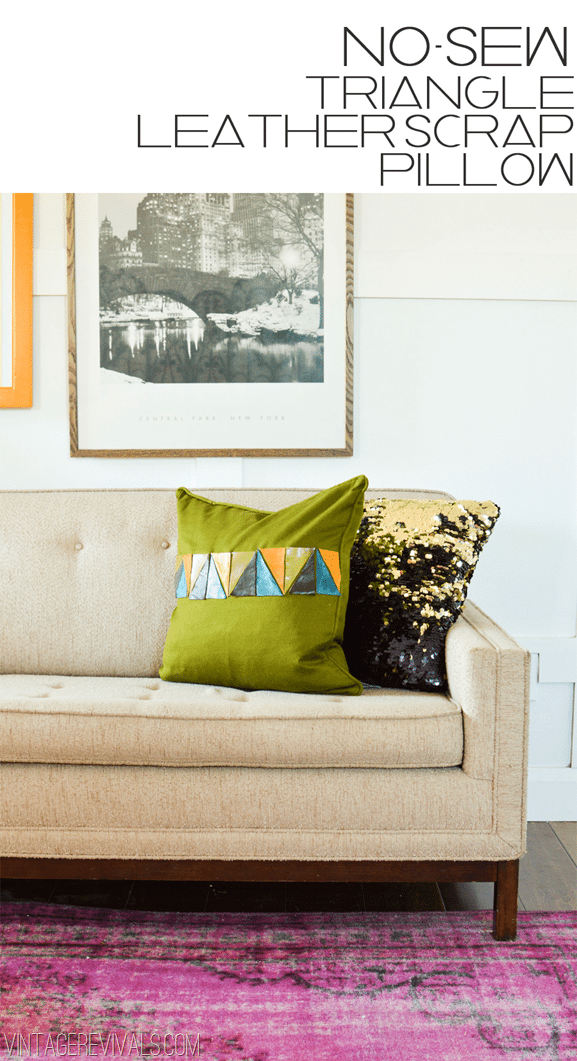
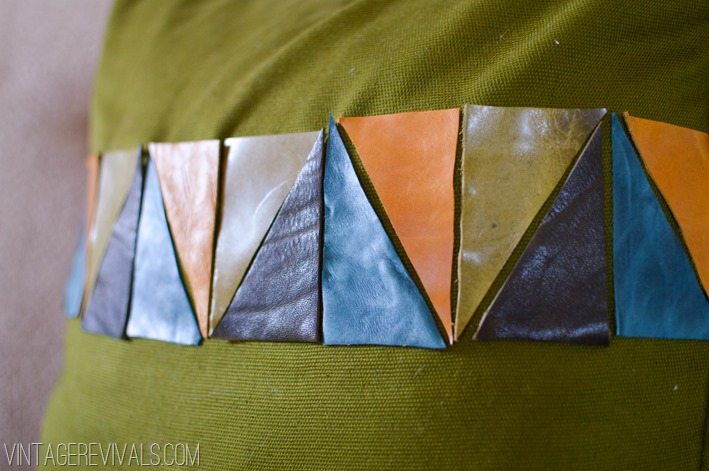
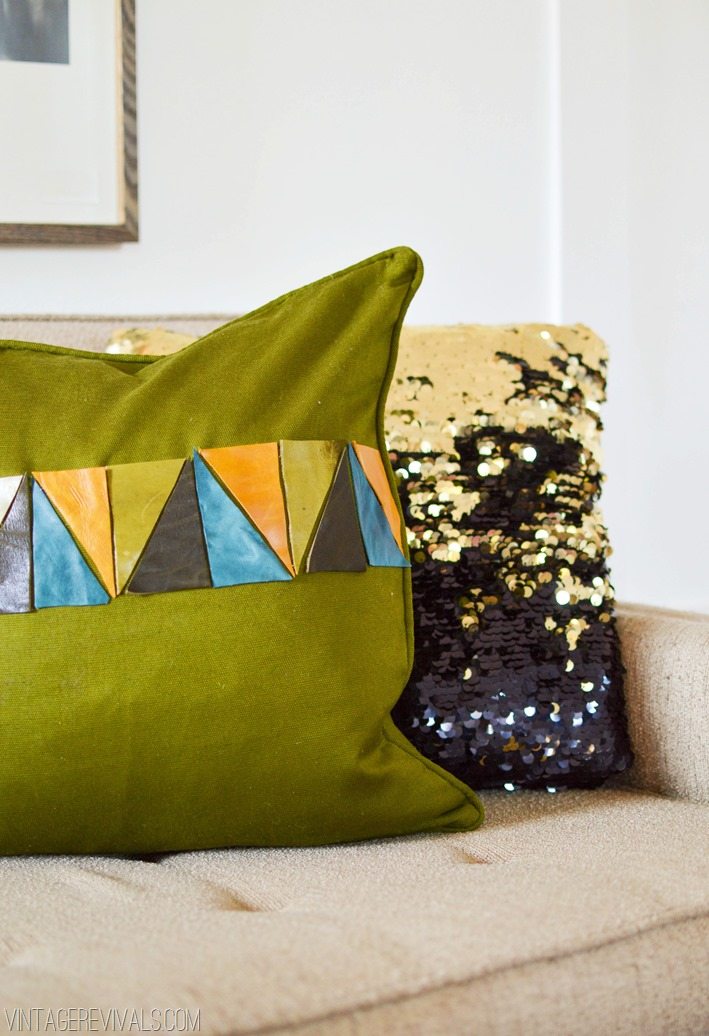
Mandilicious Christmas: No Sew Tribal Leather Scrap Pillow

By Mandi | 12/11/2013 | 21 Comments

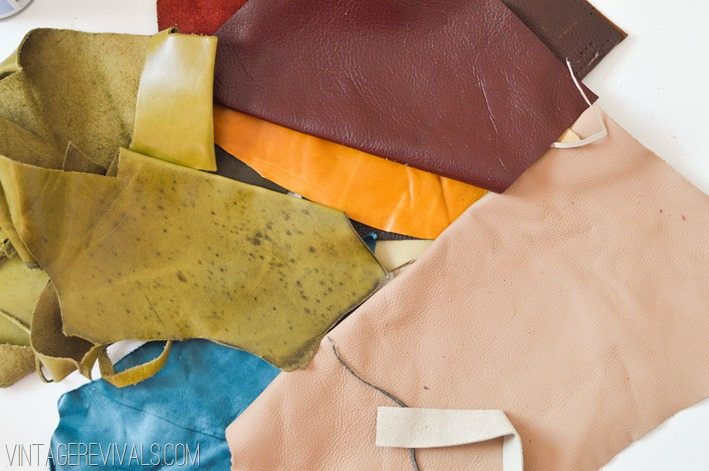
Sooooo, did you know that they sell bags of leather scraps at Michaels?

Because I didnt. So I feel a little bit like I have been missing out on one of the greatest things life has to offer. If you knew this you are one lucky sucker.

For those that are like me, don’t worry, here is the 411.

They sell bags of scrap leather at Michaels! and they are so cheap! ($5.99 each) and it is like opening a treasure box of joy because you don’t actually know what you are buying!

I snagged a bag of Suede leather (they also sell regular leather that is really thick and tough) and who would have known that underneath the beige would have been a bunch of fantastic colors?

Leather Tribal Scrap Pillow Tutorial vintagerevivals.com-9

I knew that they needed to be something amazing. And we haven’t had a pillow fix for a minute, so of course that was the first thing on my list.

No Sew Leather Scrap Pillow vintagerevivals

I found this really basic olive green throw pillow at Target for $25.00. It is on clearance online!! (If you are in the mood for sewing I here is a fail-proof pillow tutorial).

Lately I have been really in love with putting pops of pink everywhere. But I know that not everyone is in love with that, and the colors of leather scraps that I ended up with were more masculine, so I just decided to roll with it.

To recreate this pillow you will need:

4 different colors of Leather. (Mine all happened to be colored, but this would look amazing with different shades of browns and tans!

1 Pillow Cover

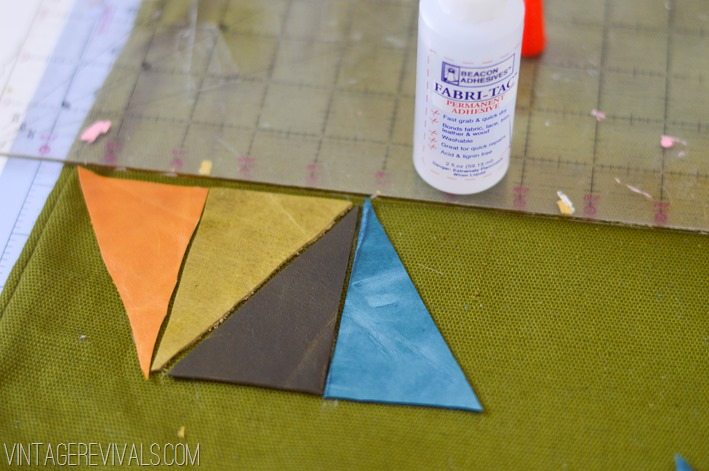
Fabri-Tac

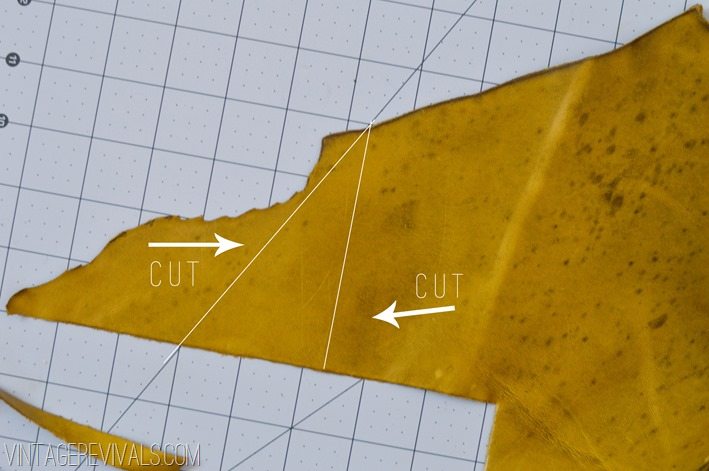
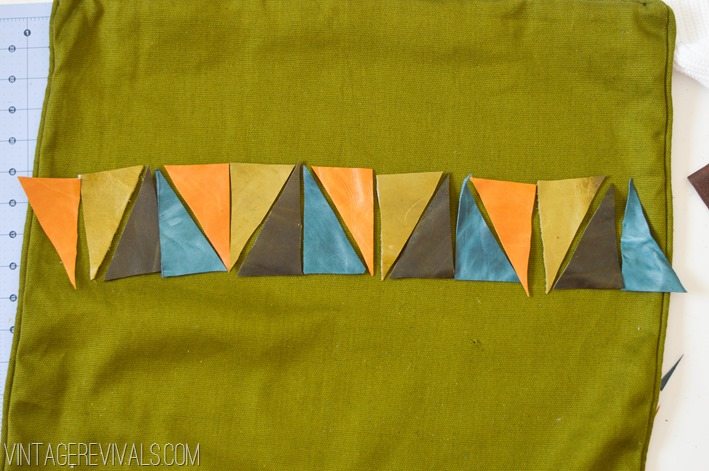
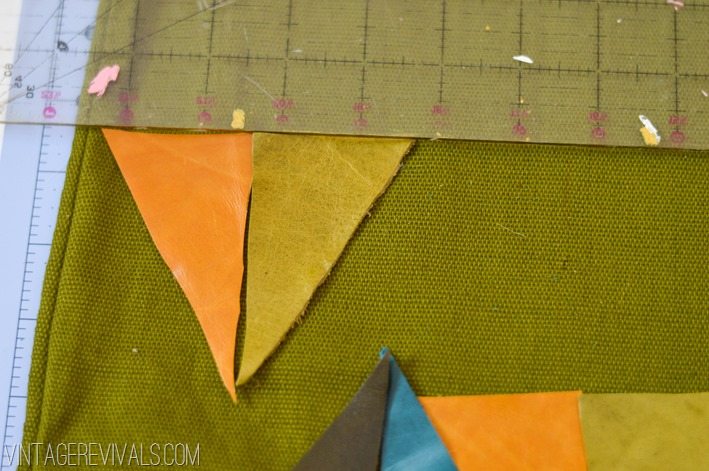
Start by cutting your leather into triangles. There are 2 different ones, so make sure that you cut 2 colors with the longest side on the left and 2 with the longest side on the right. That way they will fit together for this pattern.

Leather Tribal Scrap Pillow Tutorial vintagerevivals

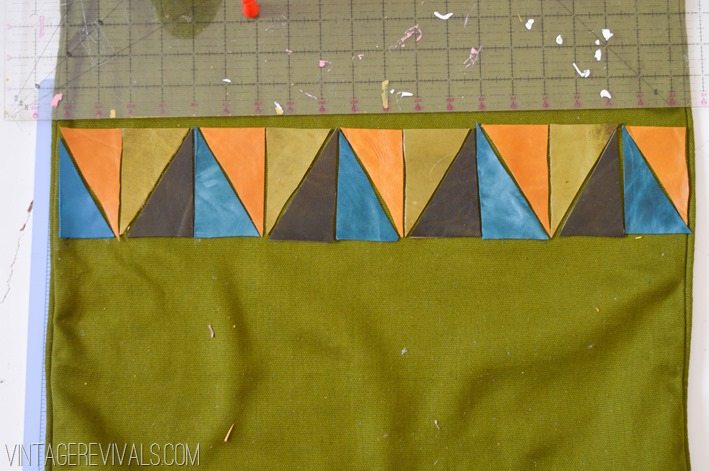
Dry run your pattern before you start gluing it on. That way you can change it up and find out what pattern/color combo you like best.

Leather Tribal Scrap Pillow Tutorial vintagerevivals.com-3


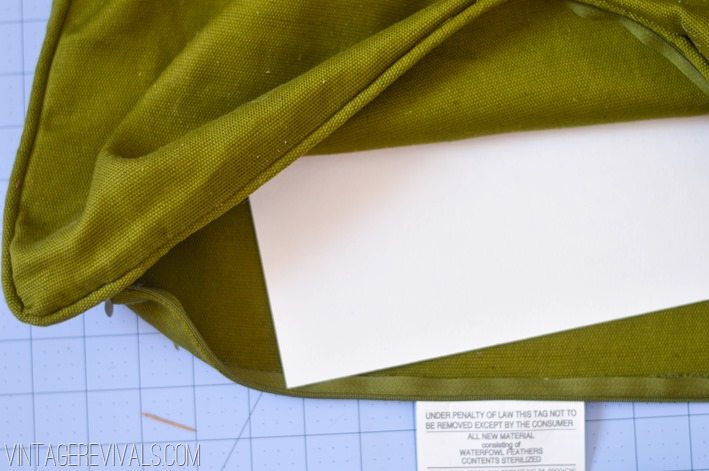
Slide a piece of paper in your cover to prevent glue seepage (no one likes seepage.)

Leather Tribal Scrap Pillow Tutorial vintagerevivals.com-8


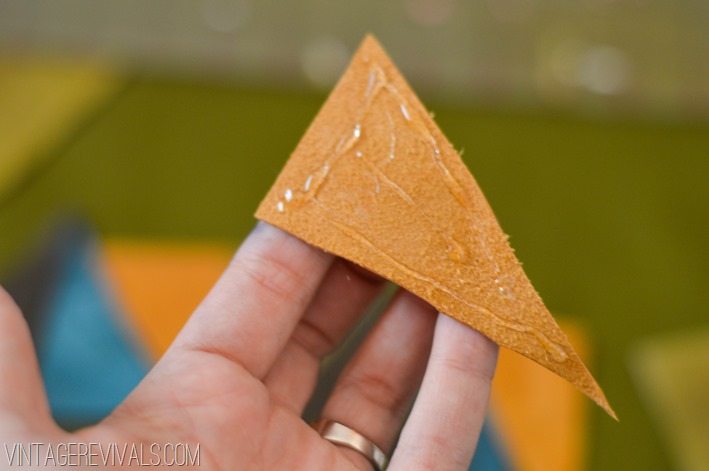
When you are ready to glue, use Fabri-Tac to attach the leather to your pillow cover.

Leather Tribal Scrap Pillow Tutorial vintagerevivals.com-5

Set a guide so that you can make a straight line. I used a cutting guide, but you can use anything with a straight edge.

Leather Tribal Scrap Pillow Tutorial vintagerevivals.com-4

Leather Tribal Scrap Pillow Tutorial vintagerevivals.com-6

Leather Tribal Scrap Pillow Tutorial vintagerevivals.com-7

Let your pillow dry for 30 minutes before you move it.

Stuff with the pillow and you are DONE!

This project took me about 20 minutes to do, and it looks fantastic!!

Leather Tribal Scrap Pillow Tutorial vintagerevivals.com-3-2

Tribal Leather Scrap Pillow vintagerevivals.com


Also did you notice my rug that is the perfect shade of Radiant Orchid (Pantone color of the year 2014)? We will totally be discussing this color soon.

Leather Scrap Triangle Pillow Tutorial vintagerevivals.com


Don’t miss yesterday’s Mandilicious Christmas project:

How To Make A Giant Pom Pom Throw vintagerevivals

Love Your Guts

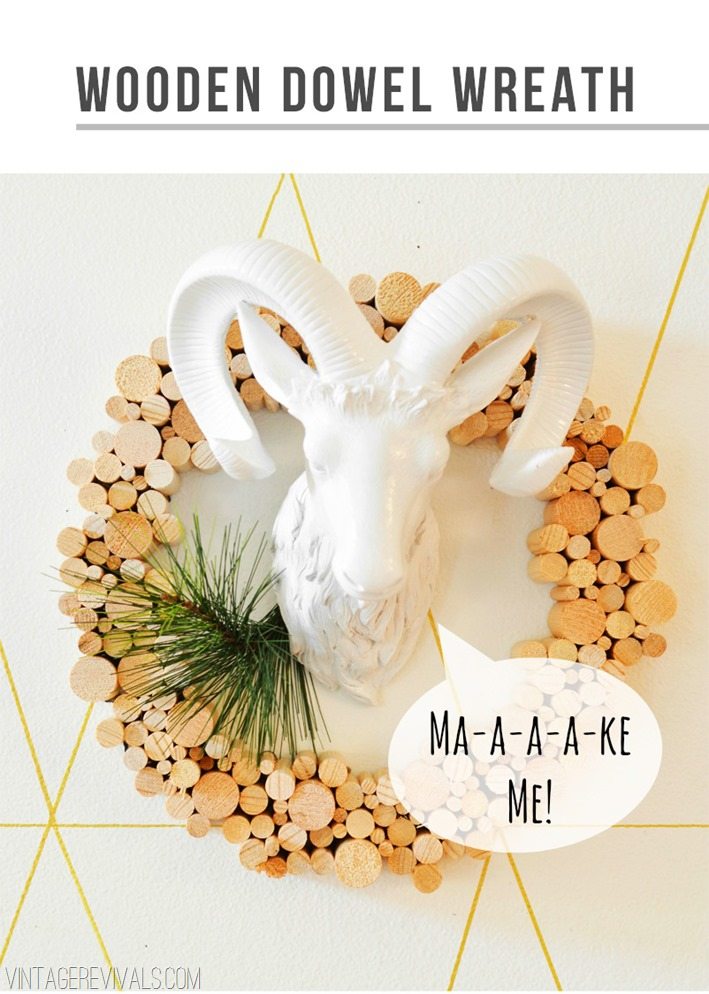
Wooden Dowel Wreath

By Mandi | 12/06/2013 | 22 Comments

I am so in love with today’s project. Like I mentioned in my Christmas post,  I am not a fan of an overabundance of holiday decor that is super holiday specific. I really want to decorate with things that I love so much that I want to keep them up year round.

(Enter dowel wreath stage left)

This is something I want to keep up year round. Possibly hanging on my ceiling, so that it is the last thing I see when I fall asleep and the first thing I see in the morning. Maybe, just maybe he will scare Dylan enough that she will sleep in her own bed. One can certainly hope.

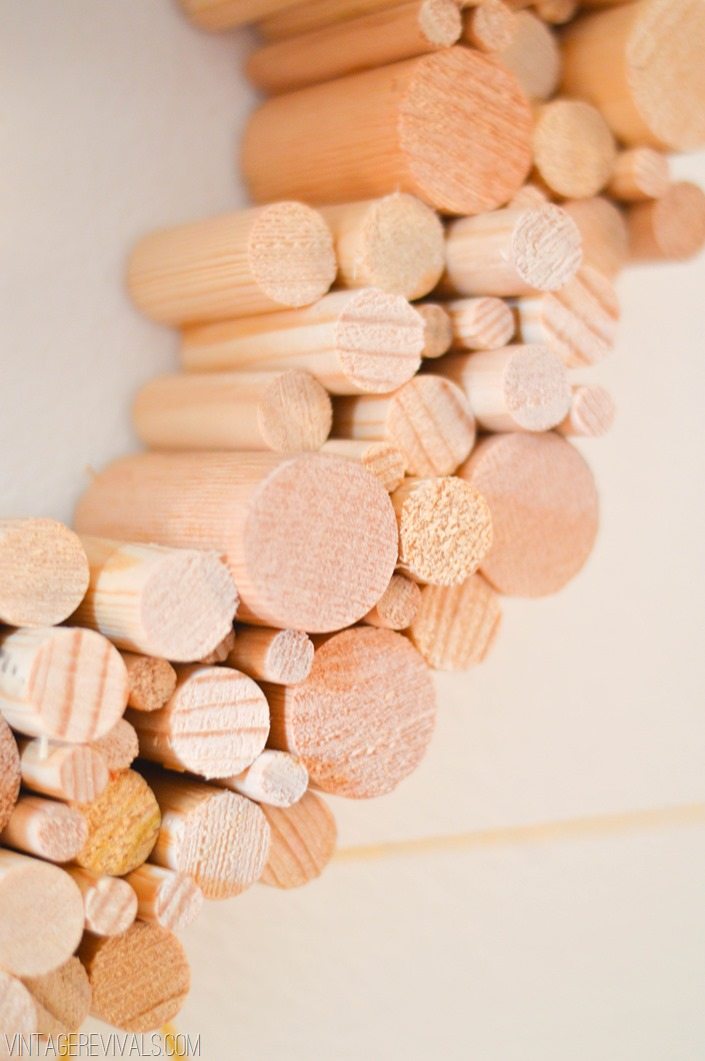
How To Make A Wreath Out of Wooden Dowels vintagerevivals

You guys. It is 2 o’clock in the morning and I cannot stop giggling like an idiot about the goat graphic. It is like the funniest thing of my life right now. Please forgive my 2nd grade humor threshold.

Seriously. Tears streaming. Cheek stretching. Silent laughing. So.much.pain.

(Big sigh) Ok. Lets get to it.

To make this project you will need

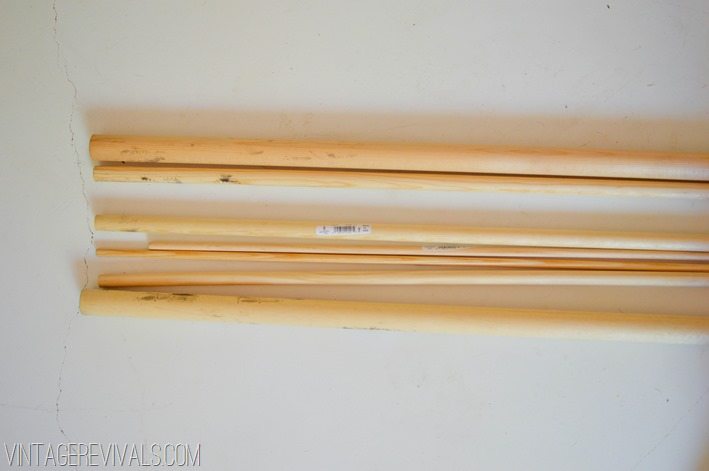
10-15 Wooden Dowels in varying widths. (They are in the molding section of Home Depot and cost between $.89-$4.00 depending on the diameter.)

Wood Glue (I used Gorilla Wood Glue and it worked great!)

ScotchBlue Painters Tape

A 5 Gallon Bucket

Dust Mask and Safety Glasses

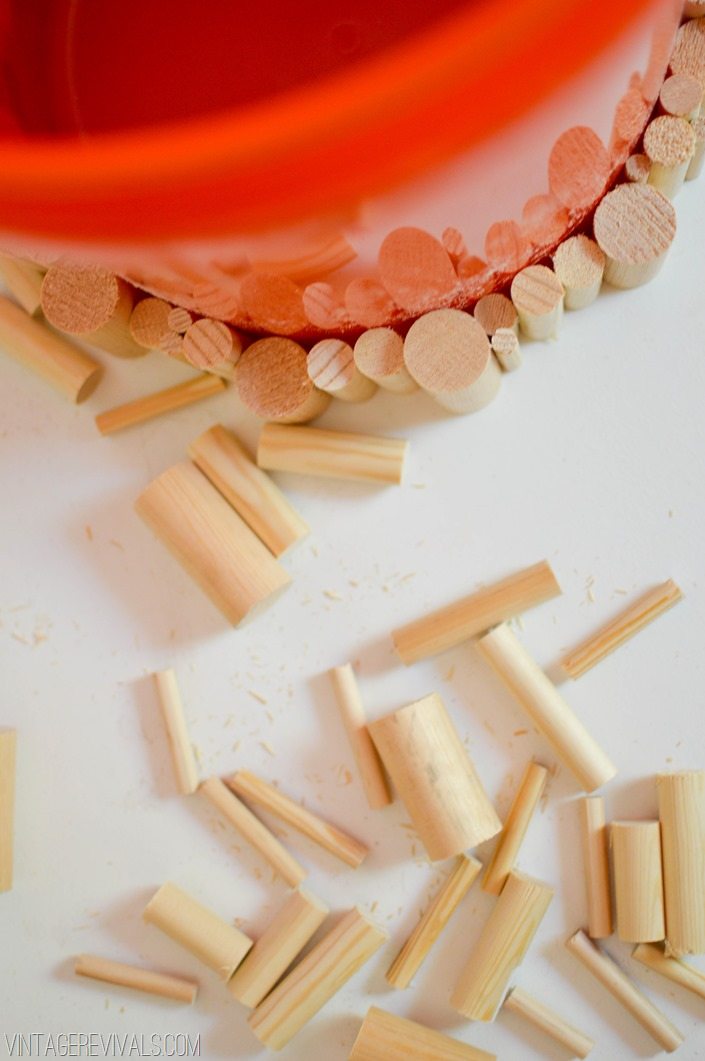
Start by cutting the dowels. If you want them all the same length you can set up a simple jig stop on your saw, but if you want to take the easy/lazy road, go for the intentionally uneven look and it will all work out.

Here are the sizes of dowels that I bought:

Wooden Dowel Wreath vintagerevivals.com

Really, just get a variety (and make sure that they are the pine dowels, not the poplar ones. They are SO much cheaper!)

I used a miter saw to cut them to size, but you can use a Dremel, or a hand saw, or, if you want to really get the lifetime warranty out of your Cutco knives, you can use them.

But please for the love of all that is holy, use safety gear when you are cutting. 3M™ Safety Products like a dust mask and safety glasses are not an option, they are a necessity. Just keep a stock of disposables on hand,  that way you dont have to run to HD when you are in Project Mode.
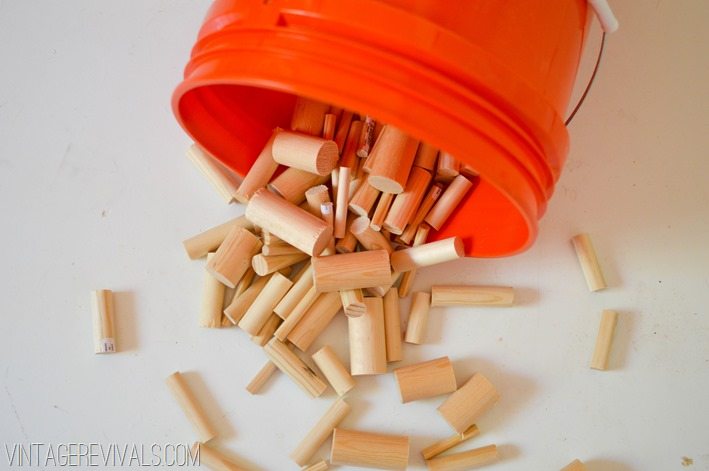
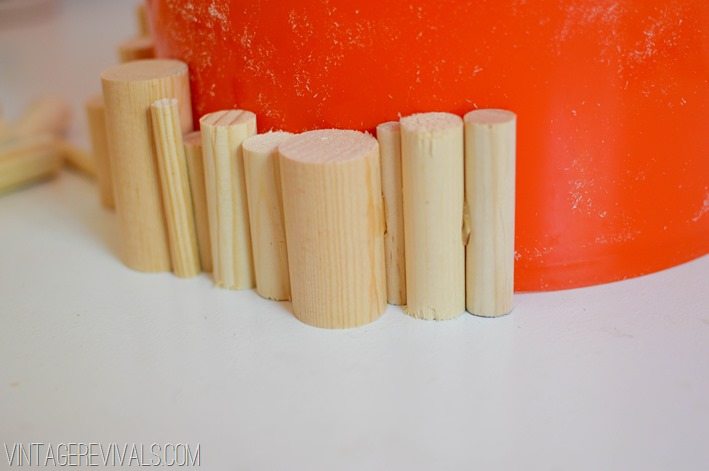
Once your dowels are cut, sand off any splintery edges with a sanding sponge.

Wooden Dowel Wreath vintagerevivals.com-2


Find something circular that will give you the size of wreath that you want. I used a 5 gallon bucket and it worked perfectly. If you want something smaller you can use a bowl, or if you want something bigger you can use a round pizza pan. You are setting the size of the inside of your wreath so plan accordingly.

Start gluing your dowels together. You want it to be nice and strong, so place glue everywhere the dowels touch each other.

I originally used e6000 and was really disappointed at the strength of the glue,  about 1/2 way through I switched to Gorilla Wood Glue and it worked better, but was a lot more runny, so make sure to protect your surface before you start gluing.

Wooden Dowel Wreath vintagerevivals.com-3


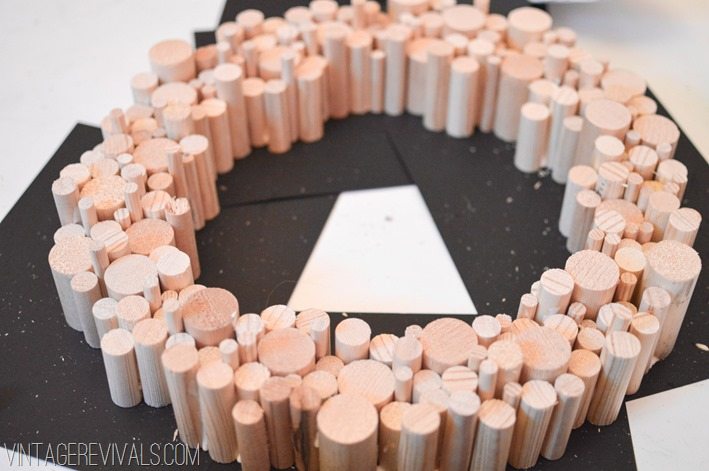
Go around your bucket, filling in the gaps with different sized dowels.

Wooden Dowel Wreath vintagerevivals.com-4


Keep circling until your wreath is 4 or so layers deep.

Wooden Dowel Wreath vintagerevivals.com-5

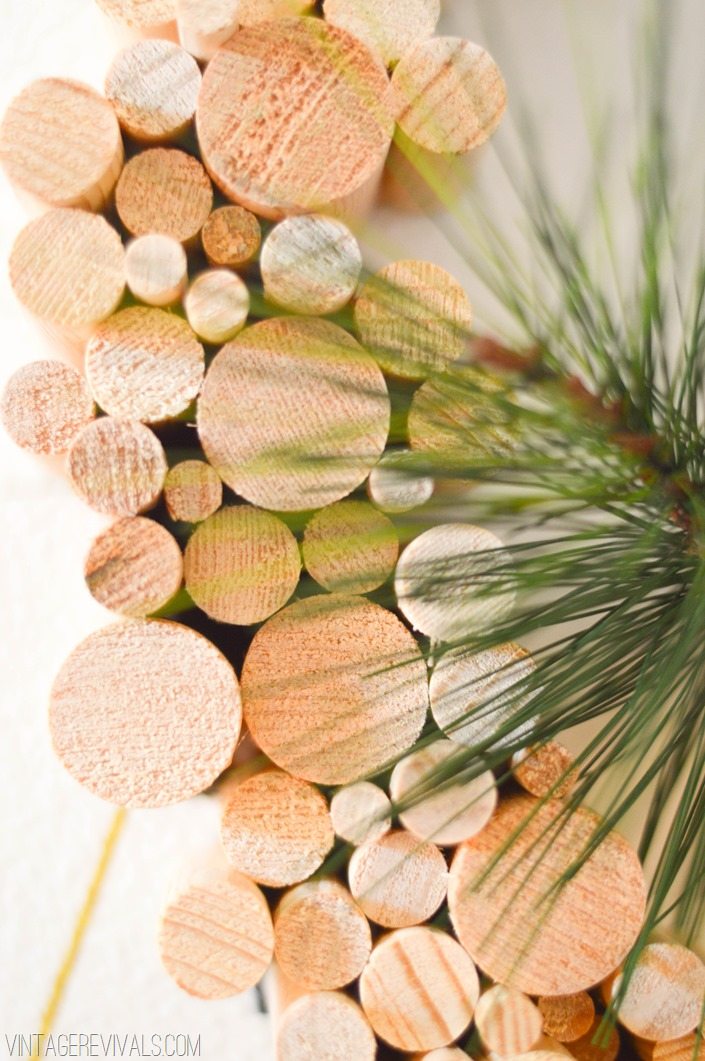
Remove your bucket and to back through and add a few more dowels to the center. Doing this makes the center of your wreath match the unevenness of the outside ring.

Once your dowels are all glued into place, run a piece of ScotchBlue™ Painter’s Tape around the outer edge to hold everything nice and tight while the glue dries.
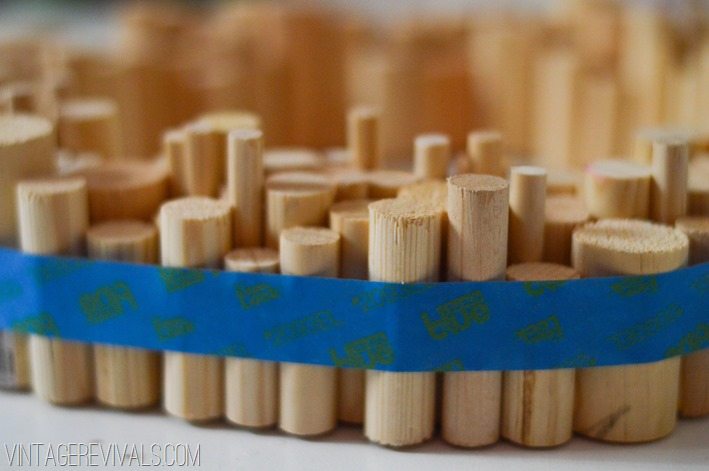
Wooden Dowel Wreath vintagerevivals.com-6

Wait 24 hours before hanging.

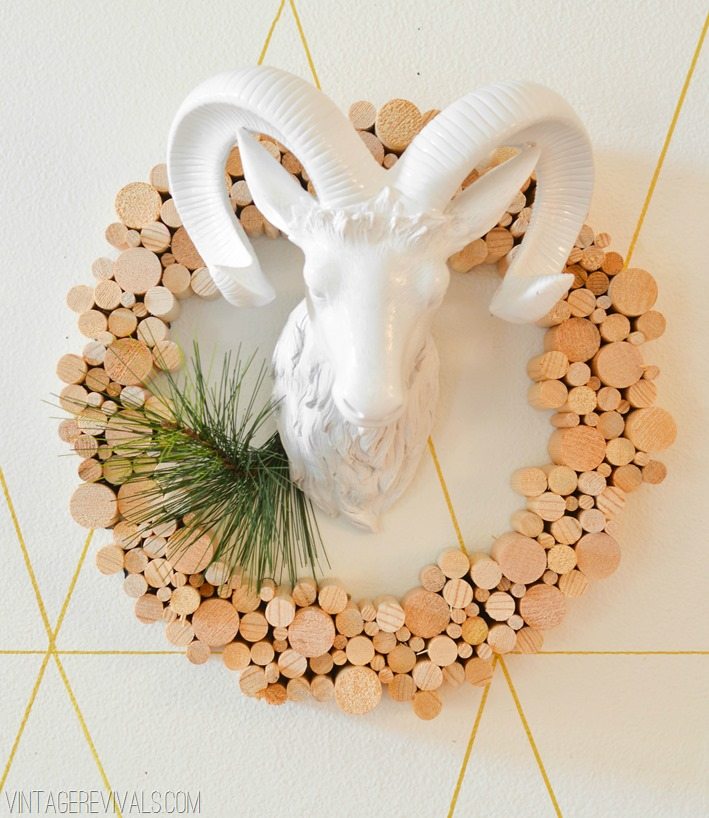
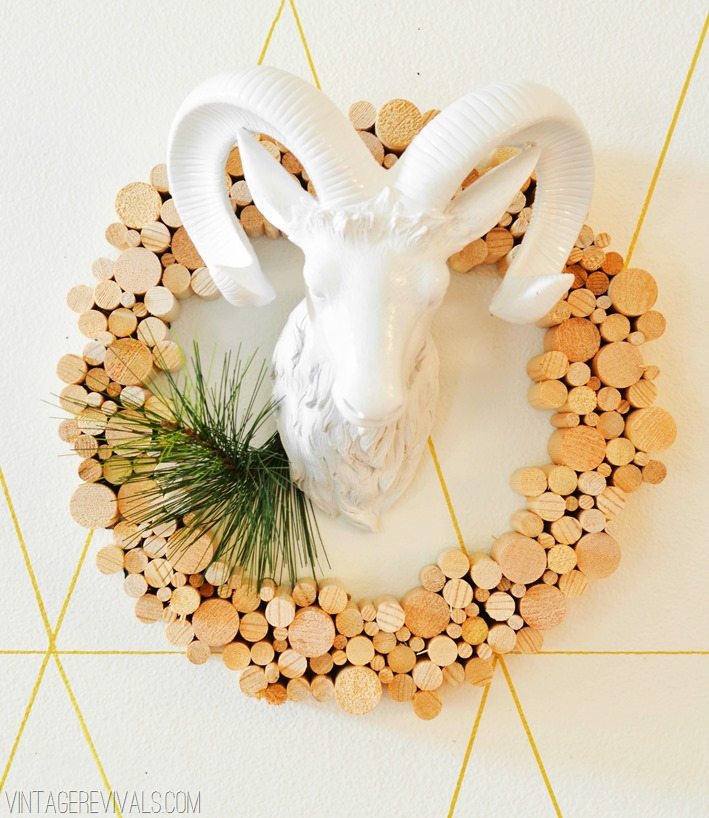
DIY White Christmas Dowel Wreath White Ceramic Ram Head vintagerevials.com

DIY White Christmas Decorations vintagerevivals.com-12

Wooden Dowel Wreath vintagerevivals.com-7

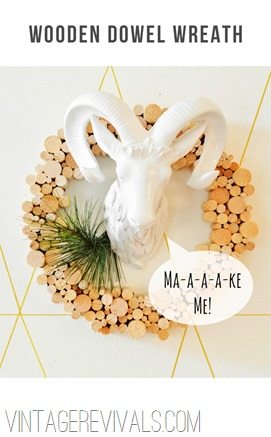
To hang my wreath I used a nail and it fit perfectly into one of the dowel gaps. To hang the Ram head I used Monkey Hooks.

If you are wondering about the Ram, his name is Ned and I found him at Homegoods for $35.00. If you are looking for something similar White Faux Taxidermy has every animal imaginable. Do you know what is at the top of my wishlist? This Bison. I mean. It is a buffalo for crying out loud. THAT is awesome.

I know that so many of you are dying for the Himmeli Wreath tutorial. After I had the post written, I thought that it would be so much easier to understand if I had a video to show you. So. That being said, I will be posting the tutorial and video tomorrow (Saturday). I promise it will be worth the wait!

Love Your Guts


This post is a collaboration with 3M DIY. To keep up-to-date on projects, products and sampling visit 3MDIY.com.

3M DIY Twitter Page

3M DIY Facebook Page

3M DIY YouTube Page

8 Awesome Holiday Hacks

By Mandi | 12/04/2013 | 24 Comments

You. Guys. It snowed in St. George last night! This happens like, twice a year so it is a BIG deal. Because of the giant hoard of furniture in my garage, I have to park outside which is usually not a problem. Today? Big problem. I had to scrape the snow off of my car with a spatula.

I thought that it would be fun to share some of my favorite holiday decorating tips, and answer a few of the FAQ from my White Christmas reveal today!

8 Awesome Holiday Hacks vintagerevivals


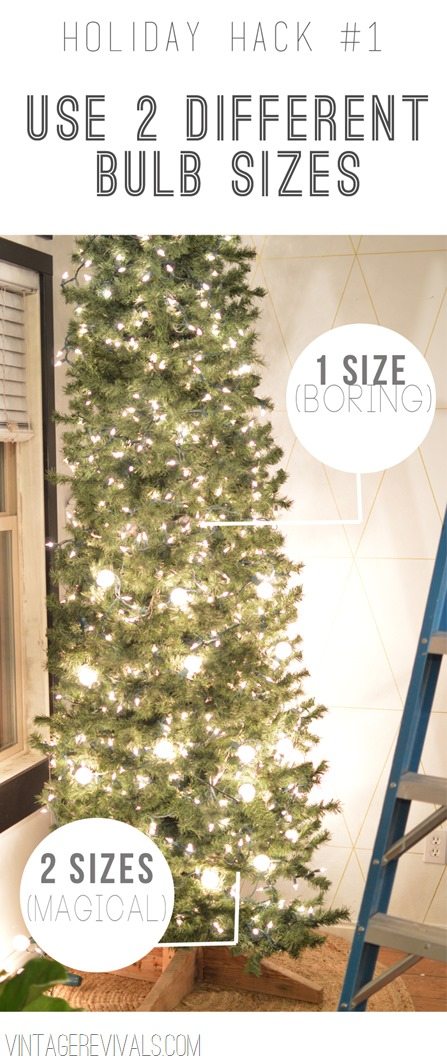
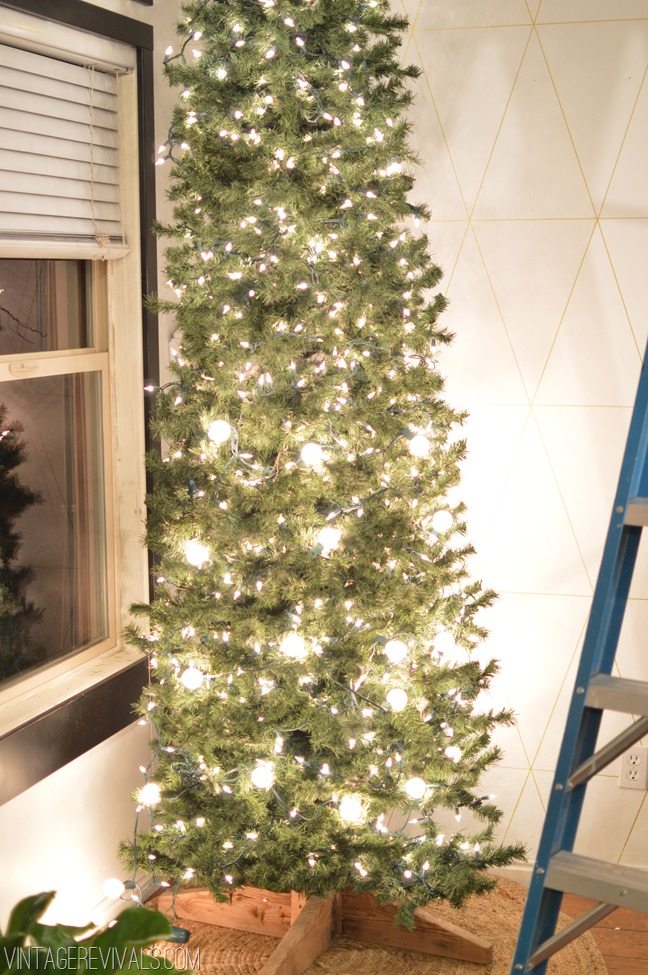
1. I was super surprised to hear that so few of you knew about the 2 different sized bulb trick because I swear I posted about it last year. But after looking through my archives I did not in fact do that. So sorry. First string your regular small twinkle lights, and then go back through with a few strands of frosted globe lights (these ones from Target are THE BEST!)  Check out the difference between the top of the tree and the bottom.

Holiday Hack #1 Use 2 different bulb sizes

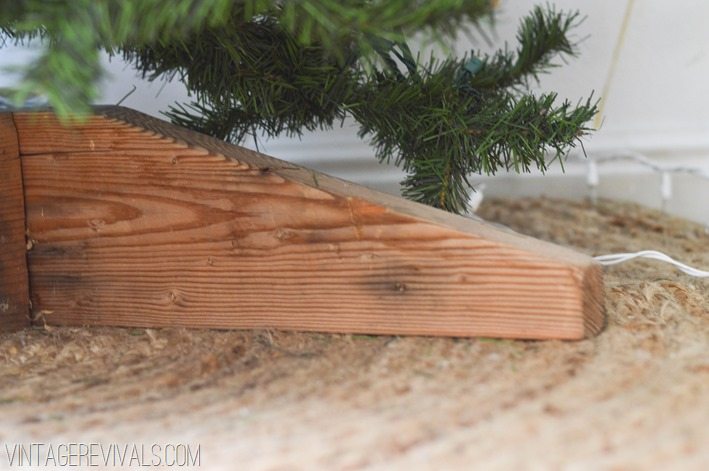
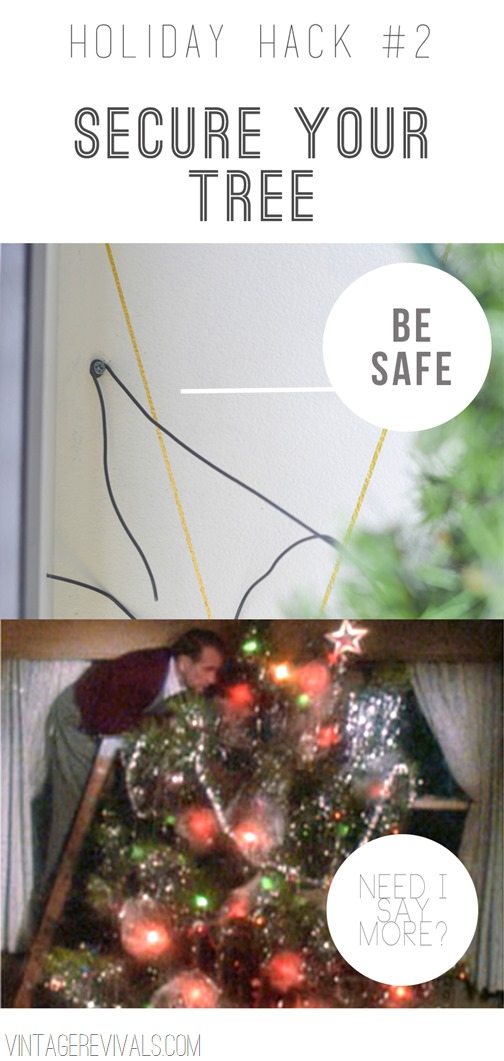
2. The most questions by far came about the tree stand. Which is so hilarious. Our Christmas tree is a hand me down that is 15+ years old. I love it because it is so tall and skinny (a pencil tree). It takes up a lot of space visually but not in real life.

Every year we pull it out this dang tree stand and every year we swear we are going to buy a new one because it is so rigged.

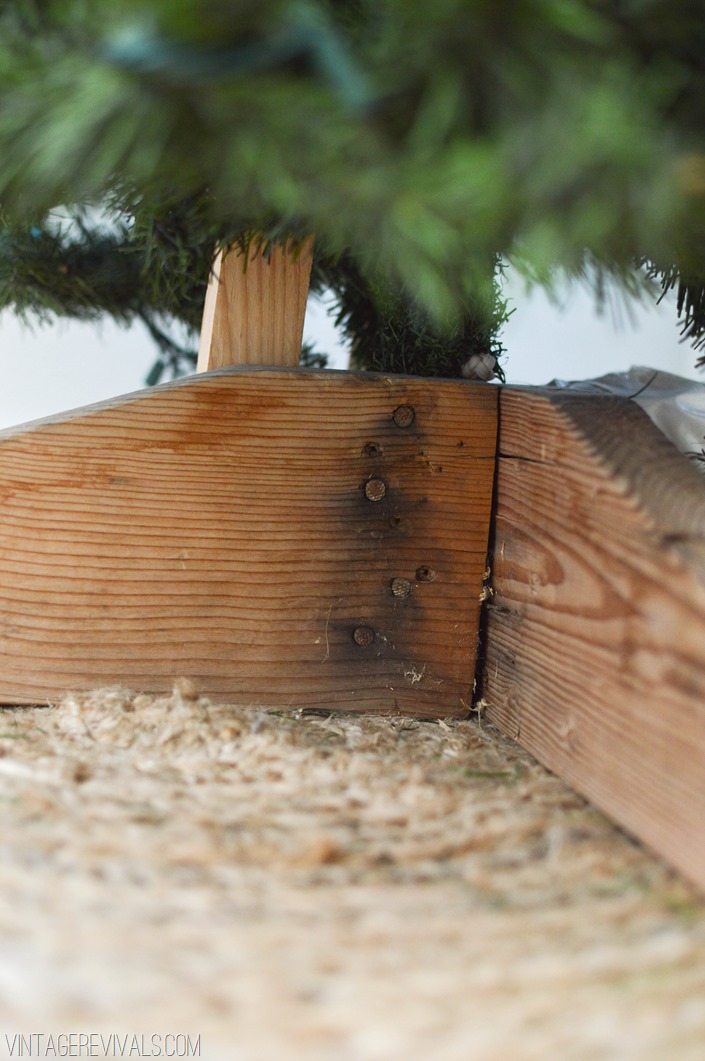
Basically it is 4 pieces of wood that are shaped like this:

Holiday Hacks vintagerevivals.com-6


Nailed together with a hole in the center for the tree base. (The tree was feeling extra leany this year so that vertical board is keeping it in check.)

Holiday Hacks vintagerevivals.com-4


Also? It does a not great job holding the tree straight, so we have to secure it to the wall. Which is not a horrible idea for anyone to do,  you need to be safe with little kids and pets.

Holiday Hack Secure Your Tree and Other Tips vintagerevivals


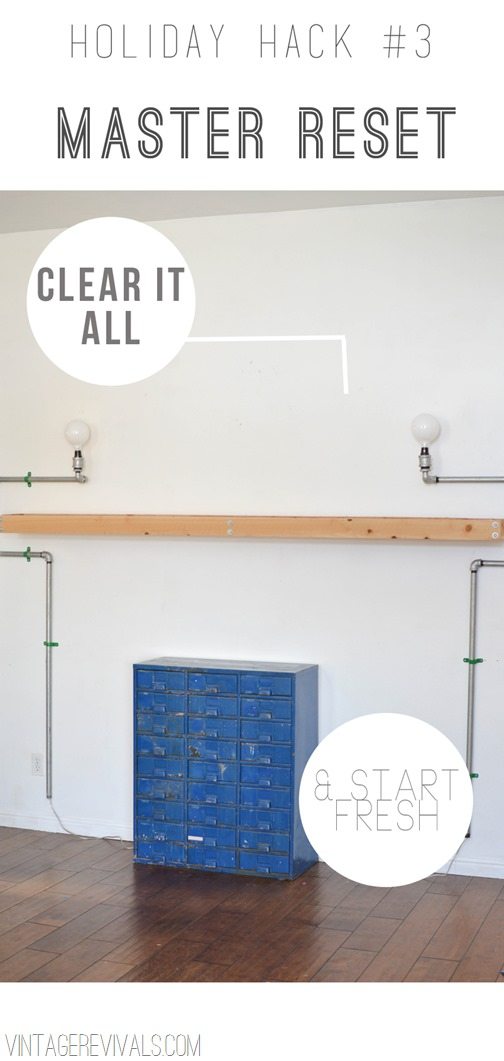
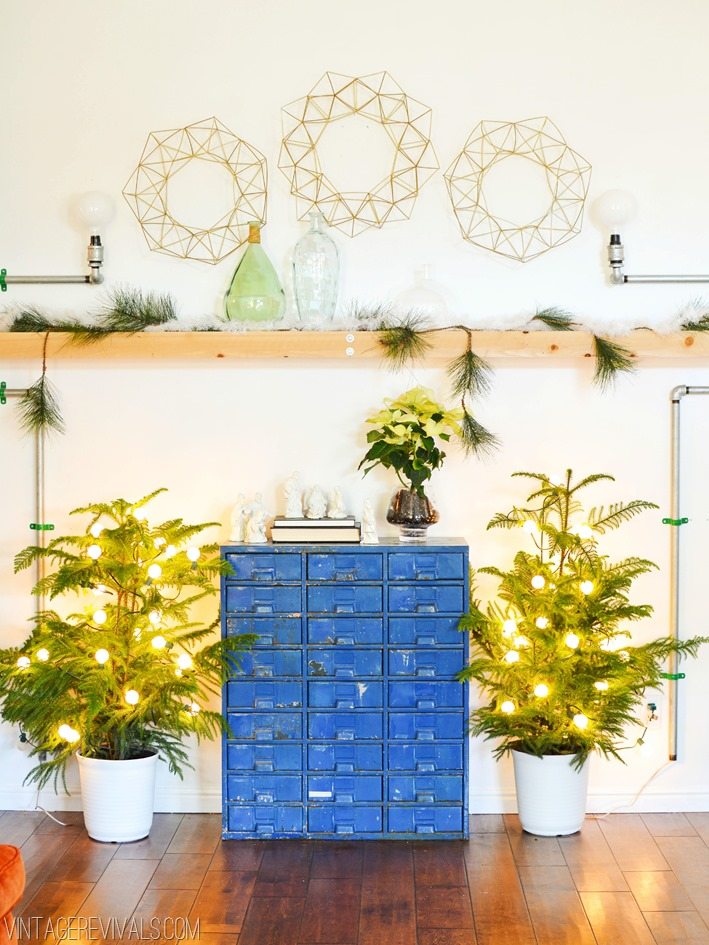
3. I have learned a little secret on the set of a few magazine shoots that was new to me. I have started doing it all the time and totally understand why. Before you decorate anything, pull all of the existing things off of the surface (or out of the room) and start fresh. Even if you are staging it the exact same way,  it will make the space feel more alive. and not so sleepy.

Holiday Hack Clear It All Out and Other Great Tips vintagerevivals

I swear by this process because it gives you a chance to reset your outlook. Start with a clean slate. This master reset is the perfect time to clean (admittedly not my favorite part of decorating,  or life for that matter)  It is so much easier to really do it when things are moved out of your way. Pull out the Swiffer (does anyone else love those “Morty!” commercials as much as I do? Old people are my favorite kind. Court thinks it is really weird.) Give your walls a good wipe down with a Magic Eraser.

Modern Christmas Ideas vintagerevivals.com


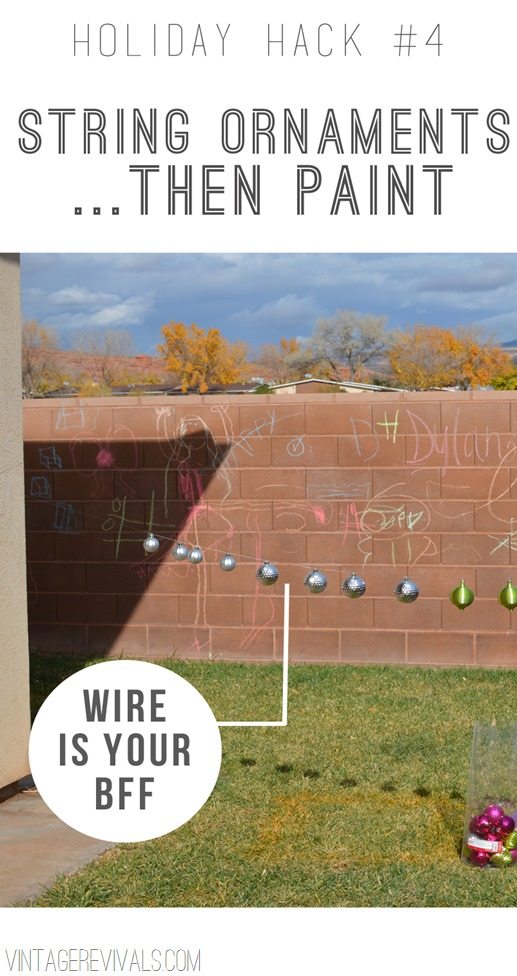
4. String your ornaments on wire before you try and spray paint them. It will totally save your hands and give you a better finish. I have an abundance of floral wire because of my DIY Geometric Ornament obsession and it worked like a charm. Hang it waist high so that you can get above and below them.

Holiday Hack String Ornaments Before You Paint Them


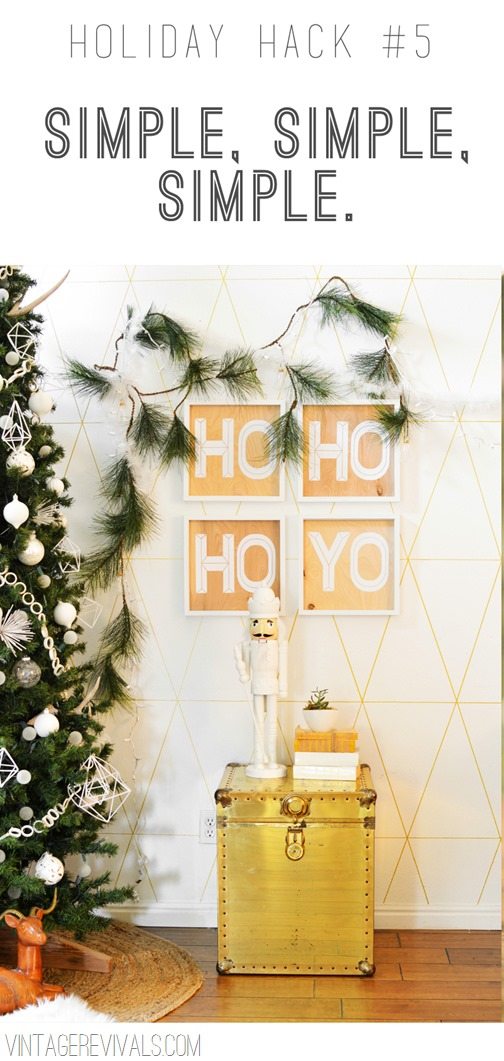
5. I know, I know, this is is sort of like beating a dead horse in the decor world, but buy things that you can use more than once. As much as I love the whole holly berry traditional Christmas vibe,  I am not going to spend $150 on garland that will only vibe with that style.

Holiday Hack Simple Simple Simple


The garland that I used is from Joann’s (it is 50% off this week!). It is simple and can be used in any type of holiday theme.

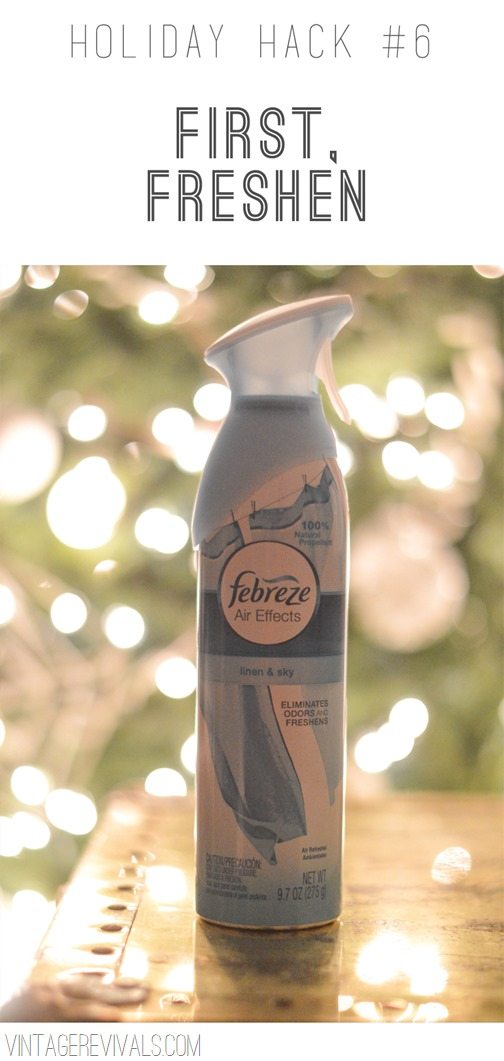
6. Spray Febreeze before you light your favorite Christmas candle. Get rid of all the old smells that are just hanging out.

Holiday Hack First Freshen


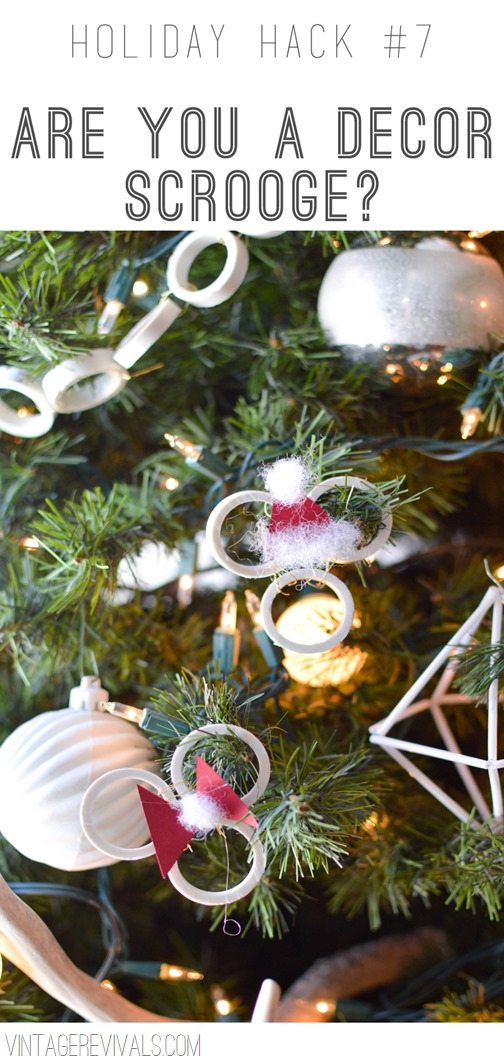
7. No one likes a Scrooge when it comes to your decorations. I get it. Blogland and Pinterest are full of over the top gorgeous Christmas decorations without a finger print to be found. This isn’t my reality, is it yours? Do you even want it to be? If your kids want to add something to your tree, let them. My girls made these Mickey and Minnie ornaments from left over PVC pipe. They are so cute and something that will always remind us of our DIY White Christmas.

Holiday Hack  Are you a decor Scrooge and other tips vintagerevivals


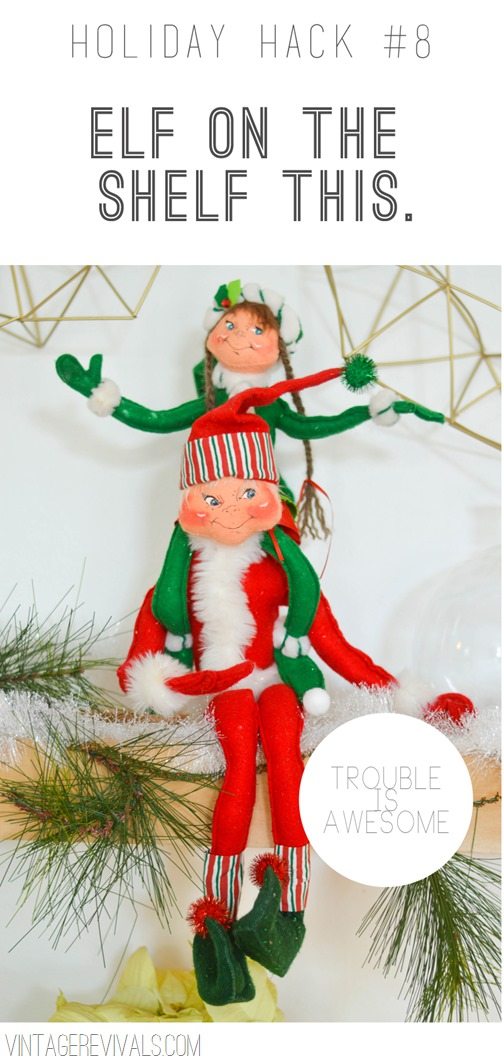
8. Don’t just follow traditions, make your own. Meet Mortimer Mistletoe and Stella Snowflake.

Holiday Hack Elf On The Shelf

They are the elves that started coming 3 Decembers ago to keep an eye on the Gubler girls. The best part is that they are as mischievous as they look. Always playing pranks on us and on each other. In fact, they were a day late coming to our house this year because apparently they were trying to smuggle a Reindeer to our house. Last night they put a piece of clear packing tape across Ivie’s door. A little foggy from waking up she got a face full of tape walking into the bathroom.

Picture perfect holidays are only as wonderful as you give them freedom to be.

Love Your Guts


A big cup of holiday cheer to P&G and The Home Depot for sponsoring this post!

How To Make A Basic Geometric Himmeli Ornament

By Mandi | 12/03/2013 | 29 Comments

When I decided to DIY all my Christmas decorations this year I knew I wanted to kick things off with Himmeli. I have seen mobiles and plant holders around the internets but lets be honest,  they look really intimidating. Unless you are gifted in the knowledge of the spacial sort, it is a headache waiting to happen.

Luckily for you I have passed all 3 Professor Layton games on the Nintendo DS, so I am sort of an expert at this sort of thing.

One of the biggest problems that I was having was the simple fact that I had no clue what it was called. Skinny geometric tubey hangy things? I never would have guessed the name of this type of art.

That is until someone pinned a gorgeous pendant chandelier that was titled Himmeli Inspired Light. And I was all “What is Heeemelllleeeee?” So I googled it.

And then my life changed forever.

And here we are today.

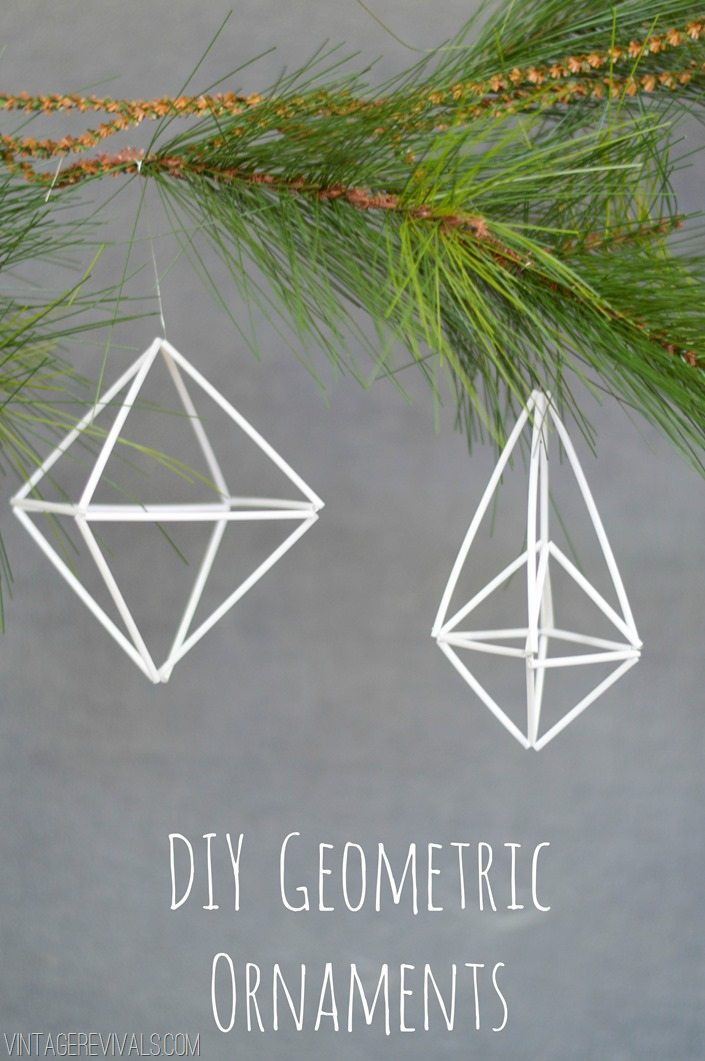
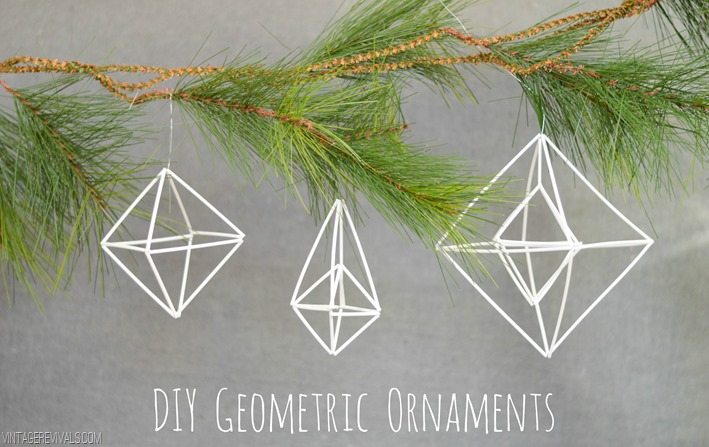
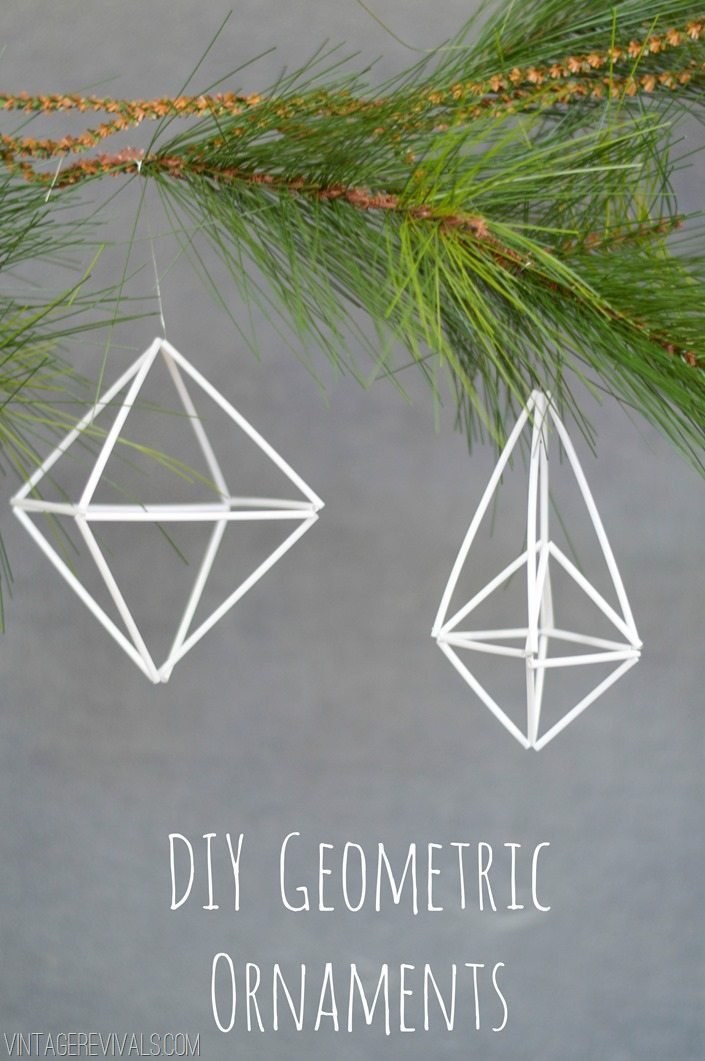
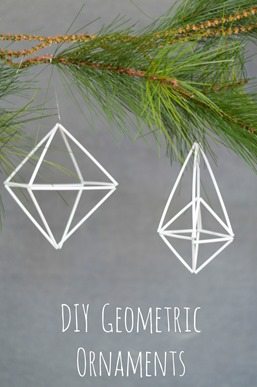
DIY Geometric Ornament Tutorial vintagerevivals

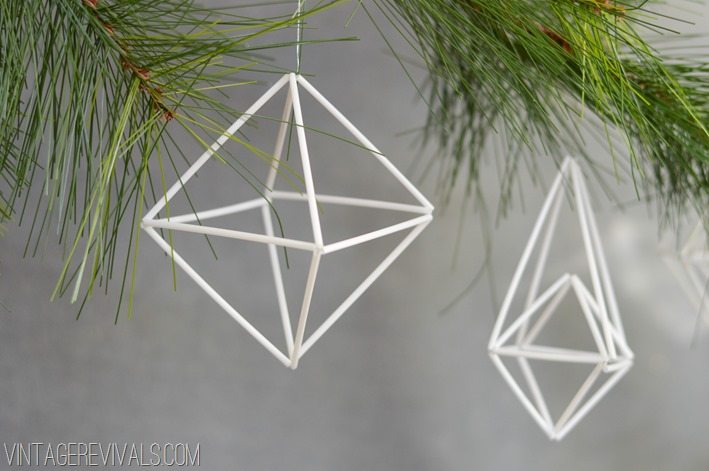
Traditionally Himmeli is made with straw (like the kind that grows out of the ground) and string. Since straw is not readily available I settled for the next closest thing,  cocktail straws. I tried to use string but because I was working with longer lengths of straw the needle was just too short (even the really long ones I bought.)  So I switched things up and used 30 gauge floral wire.

To make a basic himmeli polyhedron is simple.

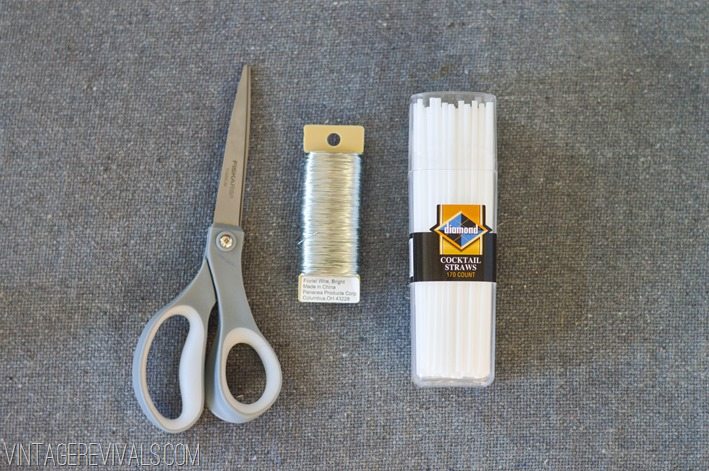
All you need is a package of straws, floral wire, and scissors. I found black cocktail straws at Target and white ones at my local grocery store.

Geometric Himmeli Ornament Tutorial vintagerevivals.com


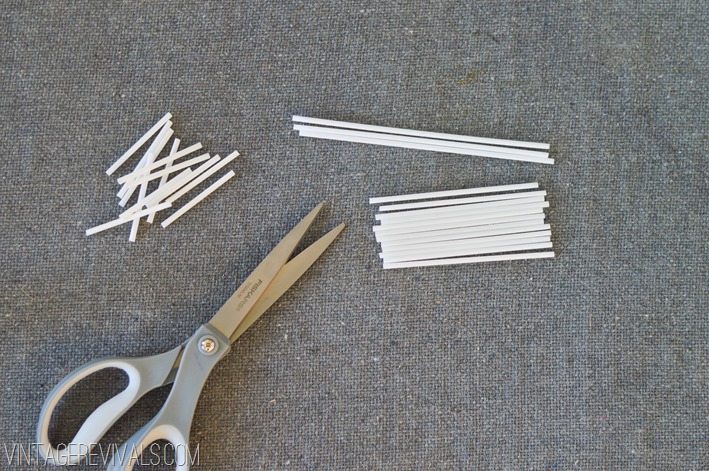
You will need 12 pieces of straw that are equal in length.

Geometric Himmeli Ornament Tutorial vintagerevivals.com-2

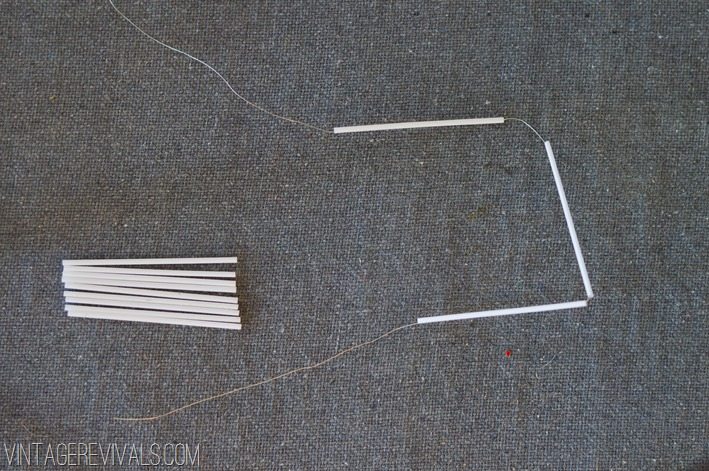
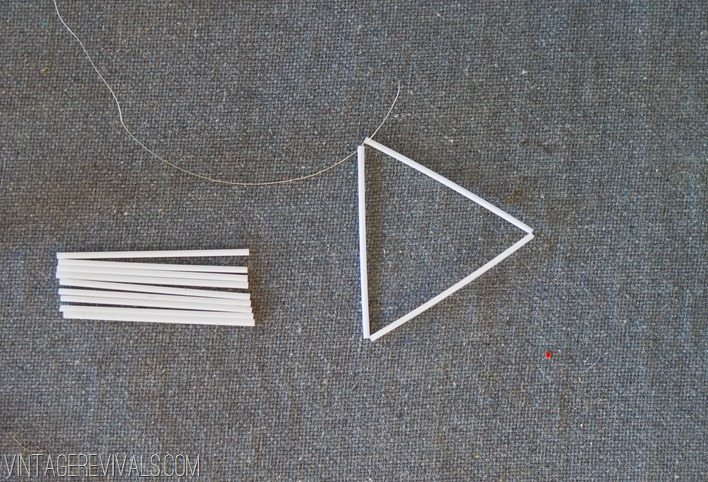
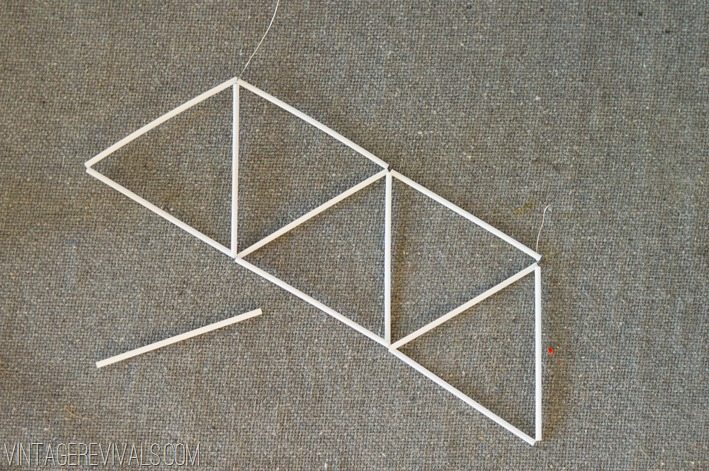
Start by cutting a length of wire that is about 15 times longer than your straw length. So if your straws are 4 inches you will want a piece of wire that is about 60”. It is better to have too much than not enough,  sort of like money. Can I get an amen?

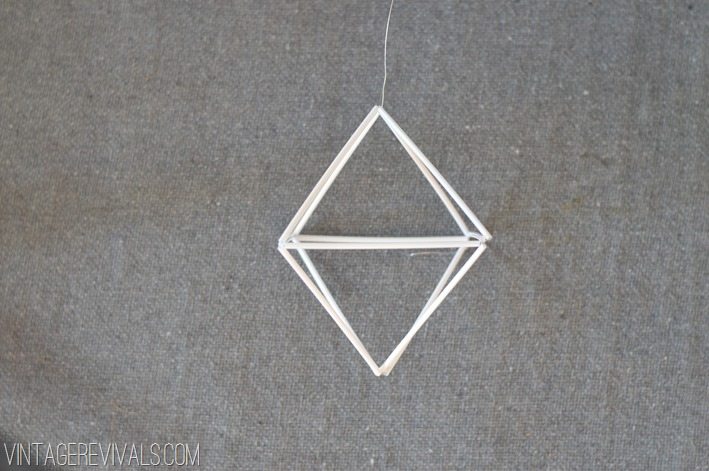
Take 3 pieces of straw and string them on your wire.

Geometric Himmeli Ornament Tutorial vintagerevivals.com-3


Connect the wire at the end of the straws together to make a triangle.

Geometric Himmeli Ornament Tutorial vintagerevivals.com-4


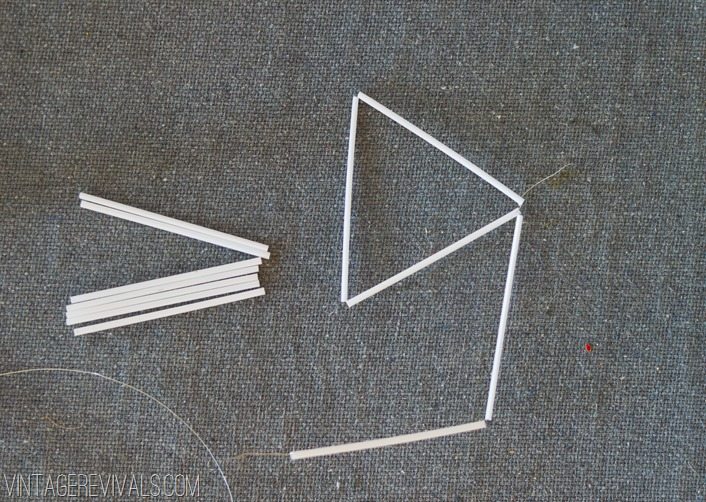
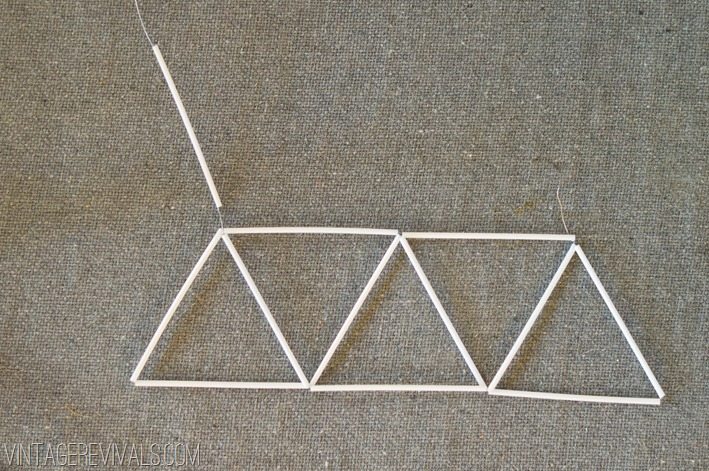
String on 2 more pieces of straw.

Geometric Himmeli Ornament Tutorial vintagerevivals.com-7


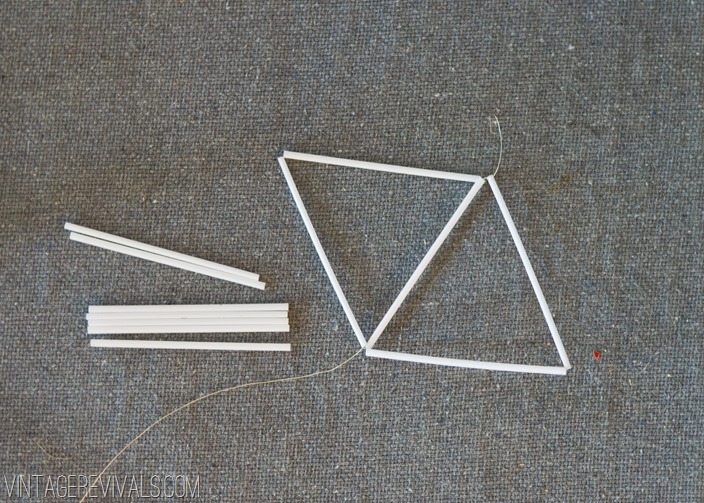
Connect it to make another triangle.

Geometric Himmeli Ornament Tutorial vintagerevivals.com-5

How To Make Geometric Ornaments


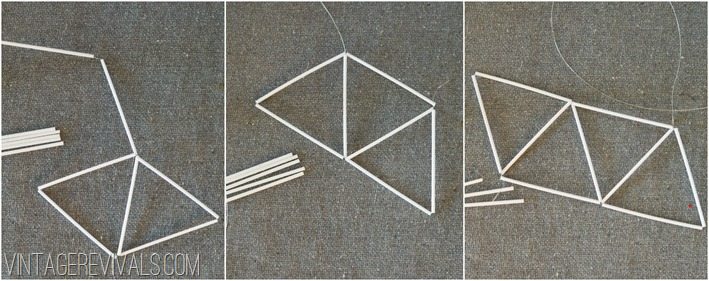
Do this until you have 5 triangles all in a row.

Geometric Himmeli Ornament Tutorial vintagerevivals.com-12


String one last piece of straw on.

Geometric Himmeli Ornament Tutorial vintagerevivals.com-13


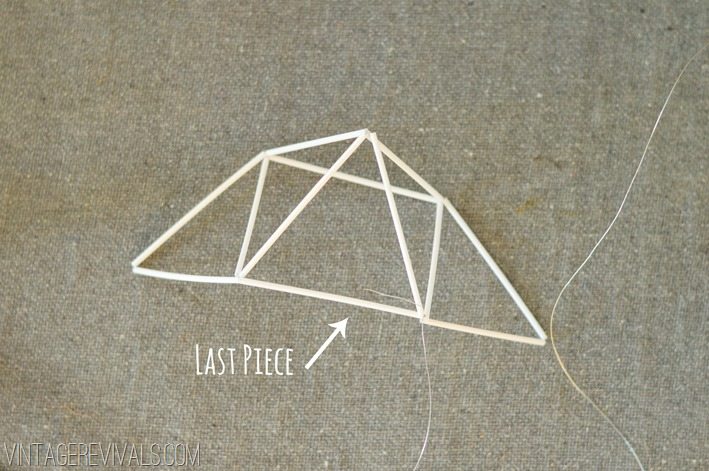
Connect your wire to the beginning piece (you will probably still have a little bit of a tail!)

Step by Step Geometric Himmeli Ornament Tutorial vintagerevivals

Feed your wire through the side of one of the loose triangles

Geometric Himmeli Ornament Tutorial vintagerevivals.com-15


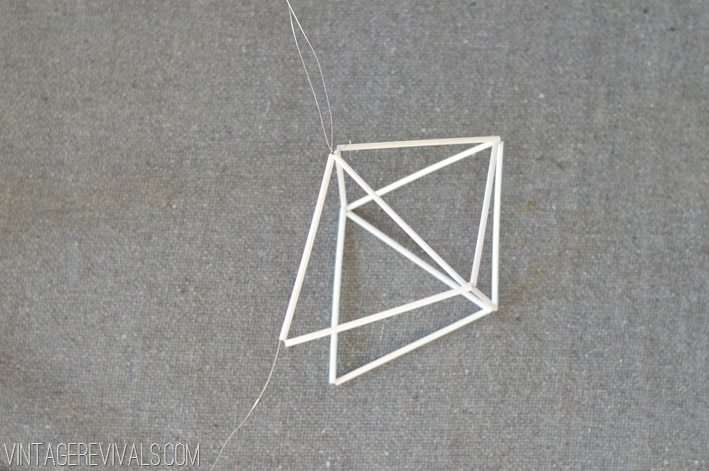
Use it to connect the tops of both triangle flaps.

Geometric Himmeli Ornament Tutorial vintagerevivals.com-16

TA DAAAAA! You did it!! It was so easy right?! This is the fun part where you can add to your design.


DIY Geometric Ornaments vintagerevivals.com


Geometric Himmeli Ornament Tutorial vintagerevivals.com-2-2


Geometric Himmeli Ornament Tutorial vintagerevivals.com-3-2

DIY Himmeli Geometric Ornament

DIY White Christmas Decorations vintagerevivals.com-2


DIY All White Christmas Decorations vintagerevivals.com

DIY Geometric Ornament Tutorial vintagerevivals


Love Your Guts

Its A White White DIY Christmas!

By Mandi | 12/02/2013 | 69 Comments

HAPPY DECEMBER!!! The holidays are my favorite time of the year and they are heeeeeeere! I have been itching to show you guys my Christmas decorations for this year because 1. They are so good. & 2. They are SO cheap!!

I was having a hard time trying to decide what colors to use. I really wanted to do all white, but as you know, I sort of love color as much as I love air. So there was that. I wrestled with it for a few days and in the end I decided that doing all white would be a really fun challenge.

Then I sort of ran into a problem. Do you know how few white tree decorations there are in existence? Like none. I was so surprised that everything was silver, or iridescent, but nothing was just plain white. So I had to take matters into my own hands.

The other bigger problem is that I don’t love to decorate for holidays. I hate spending money on things that I can only use for 1 month out of the year. (For Frosty’s sake I have enough stuff to store with just my furniture hoarding, I don’t need to add holiday hoarding on top of it.)  So if it isn’t something that can be reused, or has been upcycled, I just don’t have a place in my grinchy heart for it.

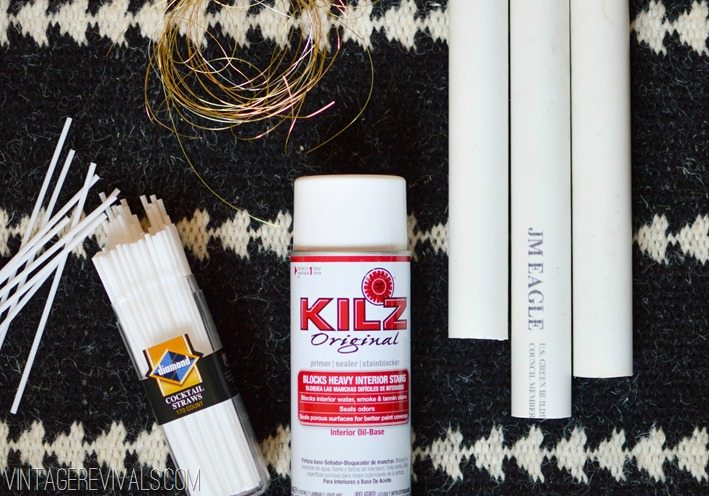
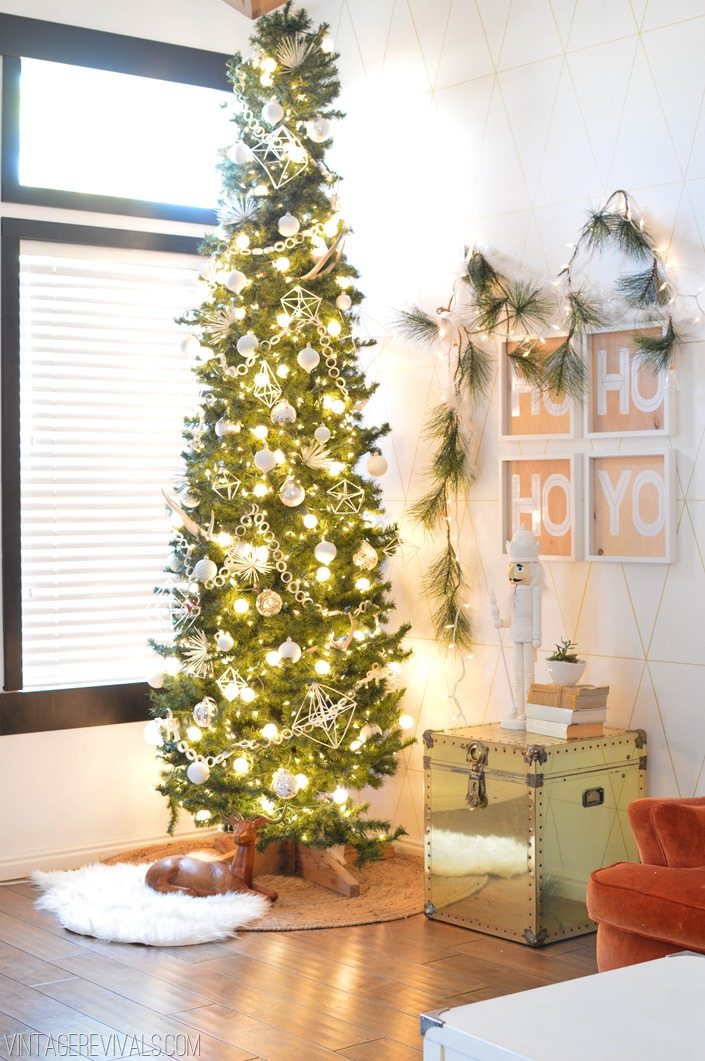
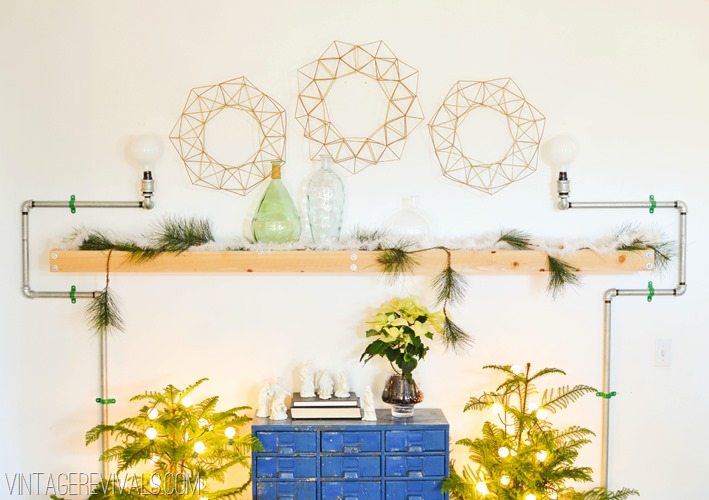
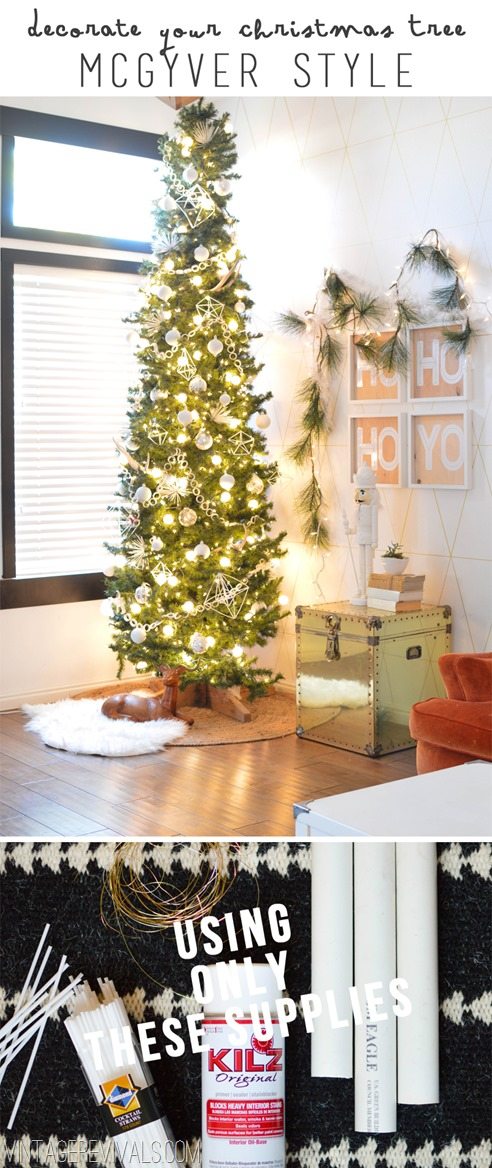
Would you believe that I decorated my entire Christmas tree with Cocktail Straws,  Wire,  PVC Pipe, Kilz Primer,  and old ornaments?


Everything You Need to DIY a White Christmas


Just think what I could have done if I had been on the Christmas Craft Wars episode instead of the dang birdhouse one.

DIY White Christmas Decorations vintagerevivals.com-2-3

Isn’t it pretty?

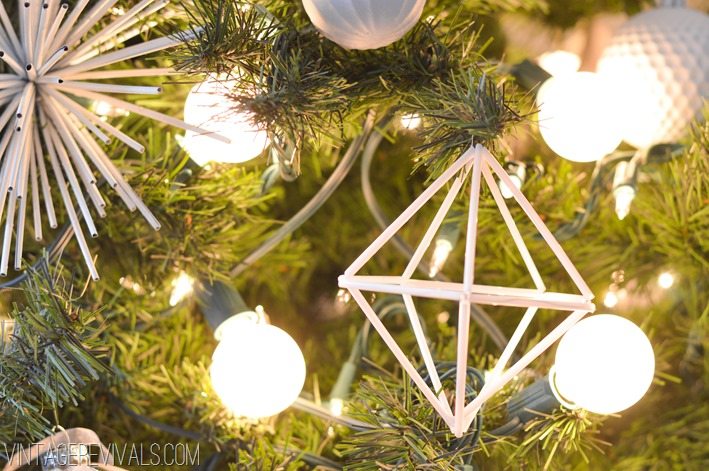
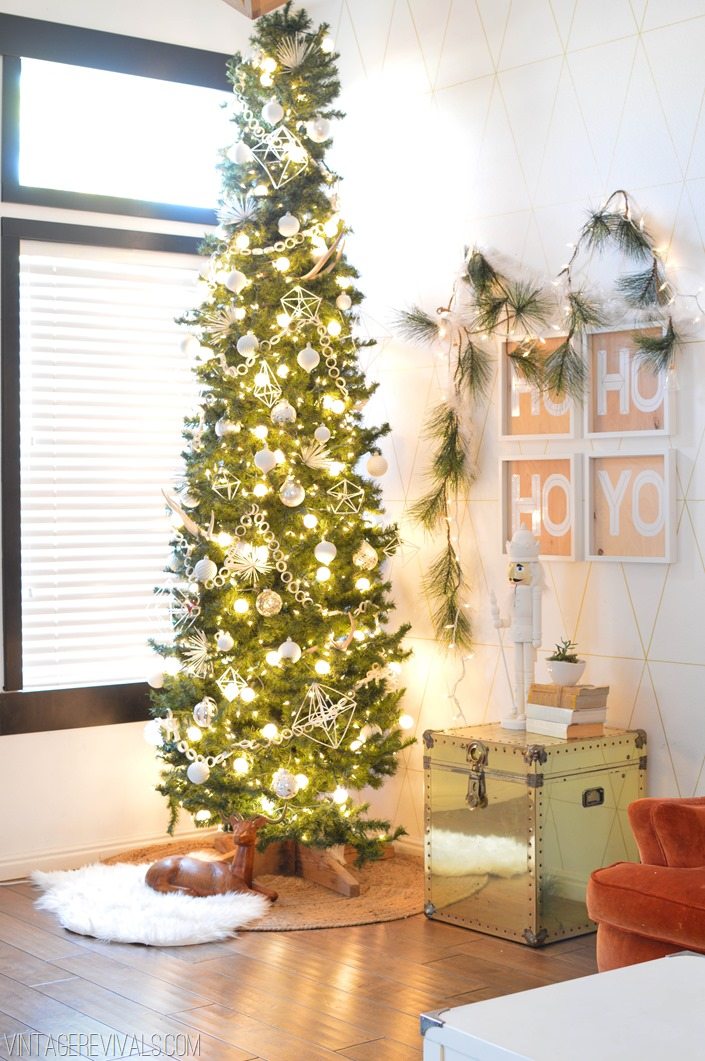
One of my favorite tree decorating secrets is to use 2 different sizes of bulbs. First string your regular small twinkle lights, and then go back through with a few strands of frosted globe lights (these ones from Target are THE BEST!)  Check out the difference between the top of the tree and the bottom.

DSC_0929


The different sizes make it look magical.

Instead of using a tree skirt, I used a small sisal rug that I picked up at Homegoods and topped it with a faux sheepskin. Totally simple and I don’t have to put it away when the holidays are over. In fact, I think I might turn it into this.

The garland is made out of PVC Pipe Rings (just like the ones I used on this dresser!) that my daughters connected together with gold wire.

PVC Pipe Garland VintageRevivals


Here is a shot of the tree unlit so you can see all of the ornament details.

DIY All White Christmas Decorations vintagerevivals.com


The white ornaments were some old cheapies from last year that I sprayed with Kilz Primer.

DIY White Christmas Decorations vintagerevivals.com


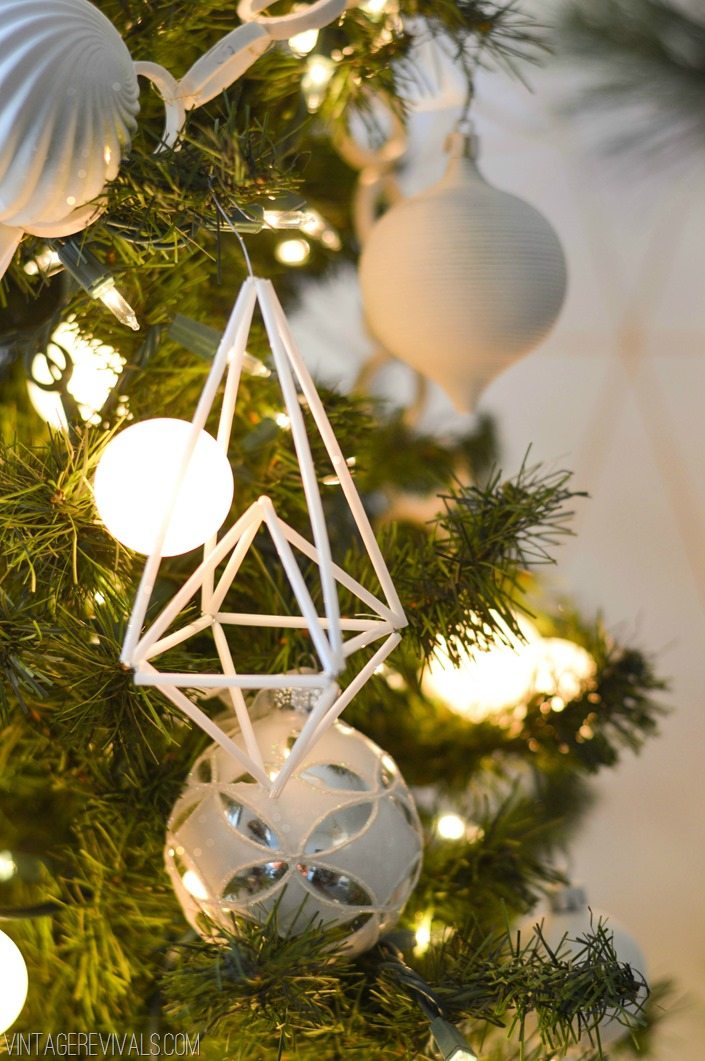
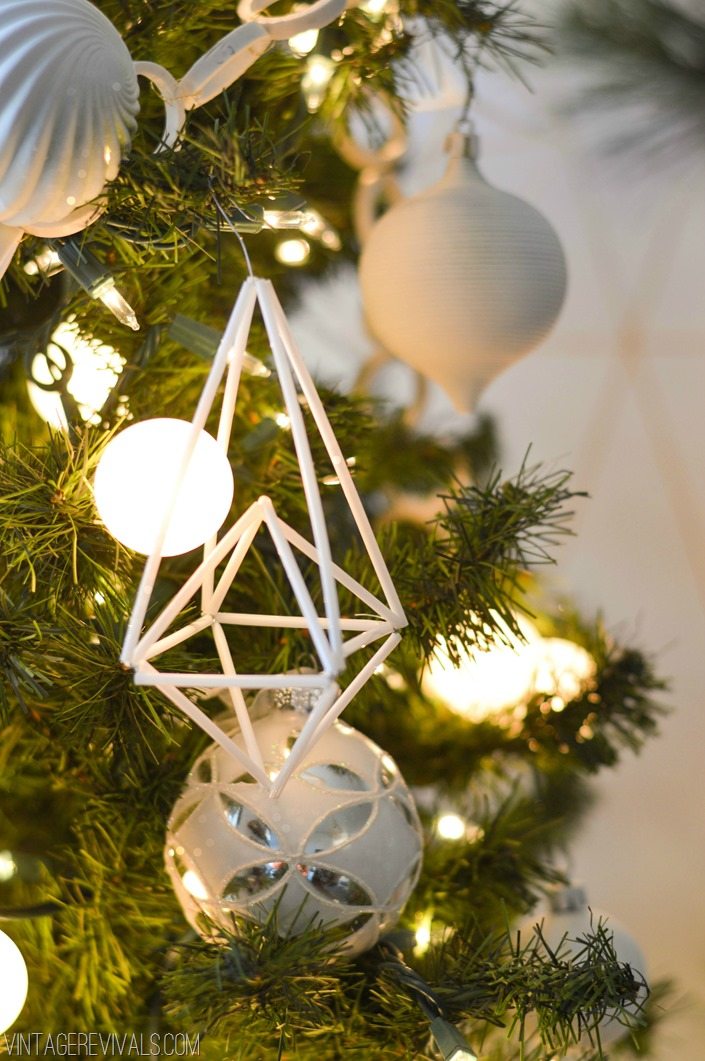
My latest obsession that you are going to be seeing a lot of on the blog is Himmeli. Himmeli originates from Scandinavia and is a holiday tradition that is usually made out of straw and string. It is made to give thanks and promote the next years crop growth. The more detailed the better. I love the openwork geometric shapes that you can make.

DIY Himmeli Geometric Ornament


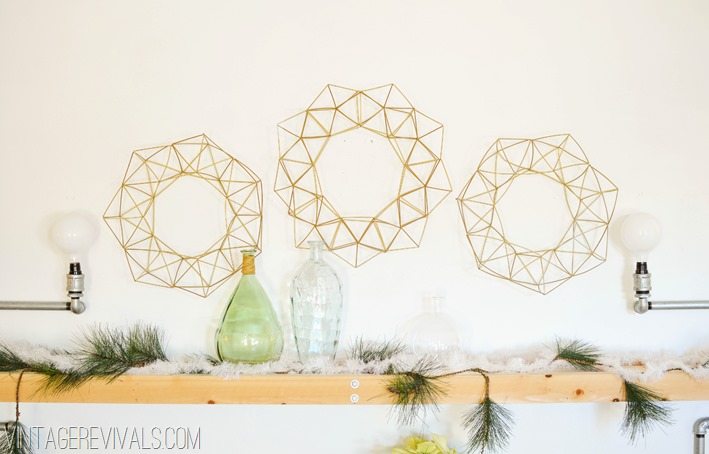
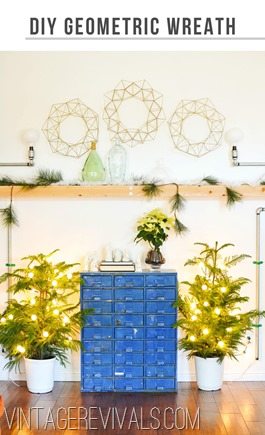
I also became obsessively obsessed with making a Geometric Himmeli wreath after stumbling across this one on Etsy. After staring at it for a long while, and trying my hand at a few different techniques, I came up with a way to make it, and then came up with a new design.

Himmeli Geometric Wreath Project vintagerevivals.com


I cannot wait to teach you guys how to make your own. It looks SO much harder than it is. Ivie my 10 yr old is churning them out like it is her job, and if she can do it, you can do it.

Geometric Wire Wreath Himmeli vintagerevivals.com

DIY Geometric Himmeli Wreath vintagerevivals.com

Just tell me that you are not DYING over them!? Guess how much they were to make? Just guess.

$4.00.

I KNOW!!!

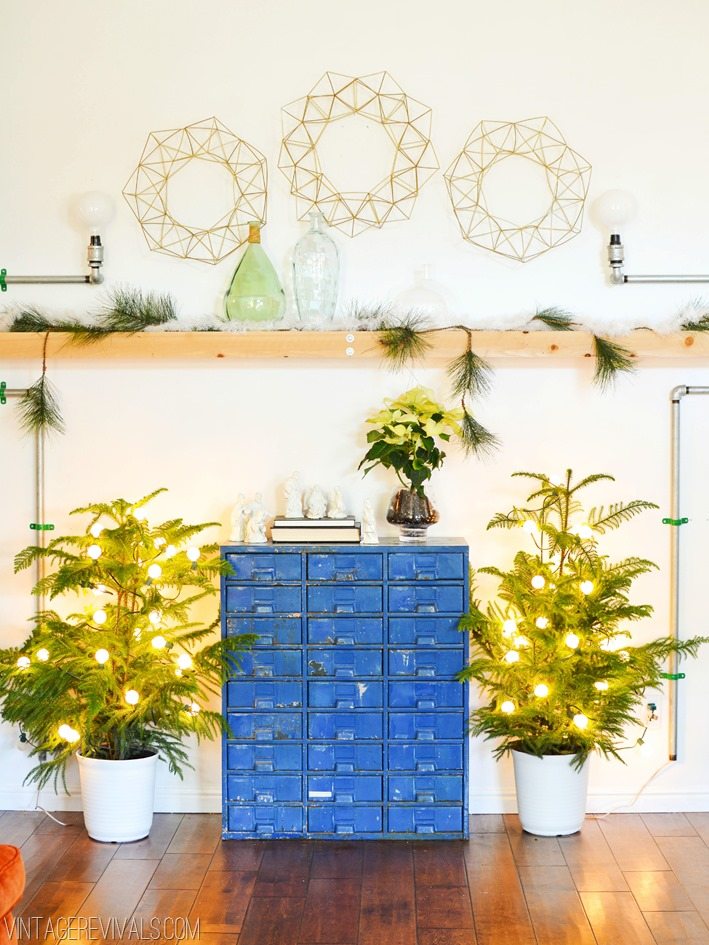
I picked up a few Norfolk Island Pines at Home Depot ($19.00 each) for some live greenery, and I am planning on not killing them so that they can live with us forever. We will see if I have the skills to pull that one off.

To spruce them up a little I wrapped them with the same frosted globe lights that I used on the Christmas Tree and painted the burgundy plastic planters with primer. (I am extremely obsessed with the matte finish right now, and there is no spray paint on the planet that can touch the coverage that Kilz has. So I just primed everything.)

Modern Christmas Ideas vintagerevivals.com

I also replanted a white poinsettia in a glass vase and learned a little lesson. Do you know why they always use cellophane around the planters that they come in? Well its not just to make it look pretty. It is because they are very frageeelay and any stem that is not lightly supported will break off from the main stem from the weight of the flower. So now you know, and if you are replanting expect that to happen to some of the lower hanging flowers.

A few weeks ago I found this awesome ram’s head at Homegoods and dubbed him Ned the Christmas Ram. He needed to live inside a wreath and so I whipped this one up with wooden dowels. (Tutorial coming this week!)

DIY White Christmas Dowel Wreath White Ceramic Ram Head vintagerevials.com


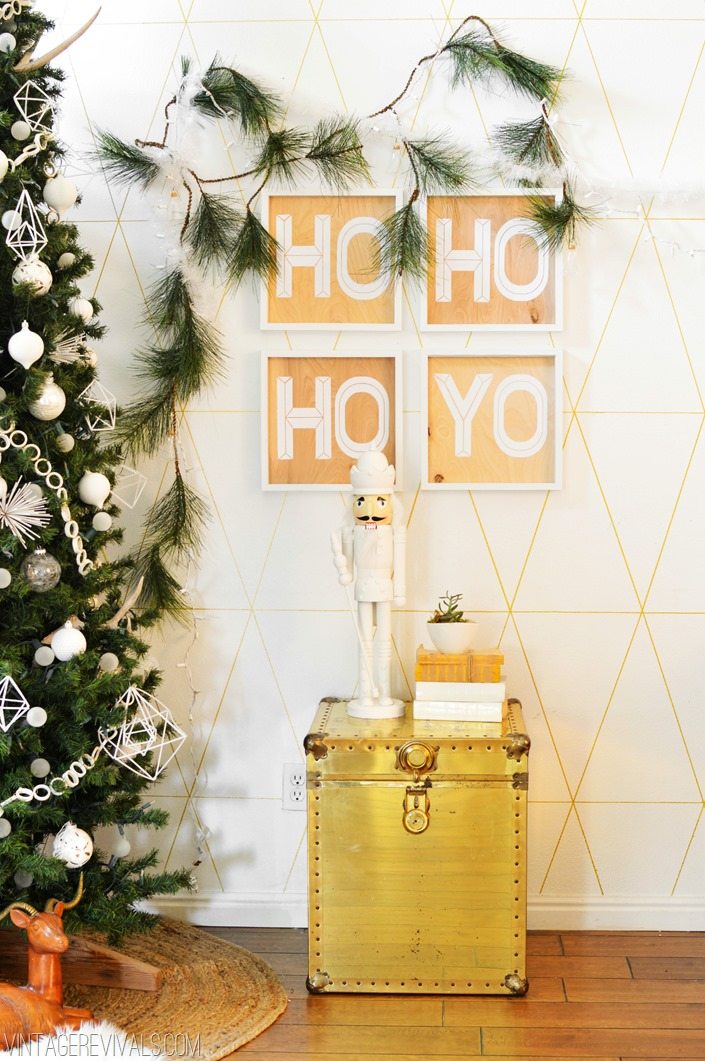
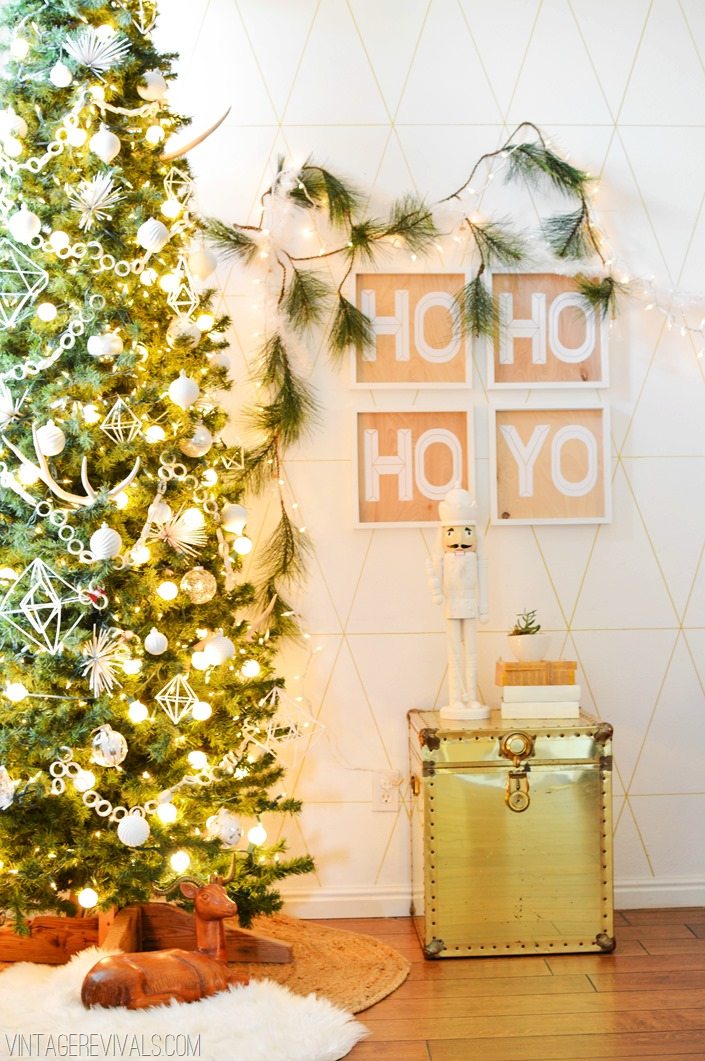
And I ask you, what Christmas would be complete without a little bit of Mandilicious humor? I used the shadow box frames from this project and made the Ho Ho Ho Yo sign.

DIY White Christmas Decorations Ho Ho Ho Yo Signs vintagerevivals.com

DIY White Christmas Decorations vintagerevivals.com

The gold chest is just one of the treasures from the best thrifting day of my life.

Nothing is safe from the reach of my Kilz. I will Kilz your guts. The nutcracker was on clearance at Ross. His red and green paint was chipped and he needed some love. So I ripped off his hair and taped off his face and gave him a coat of primer. Then I glued his hair back on and gave him a walnut for being so brave.


DIY White Christmas Nutcracker


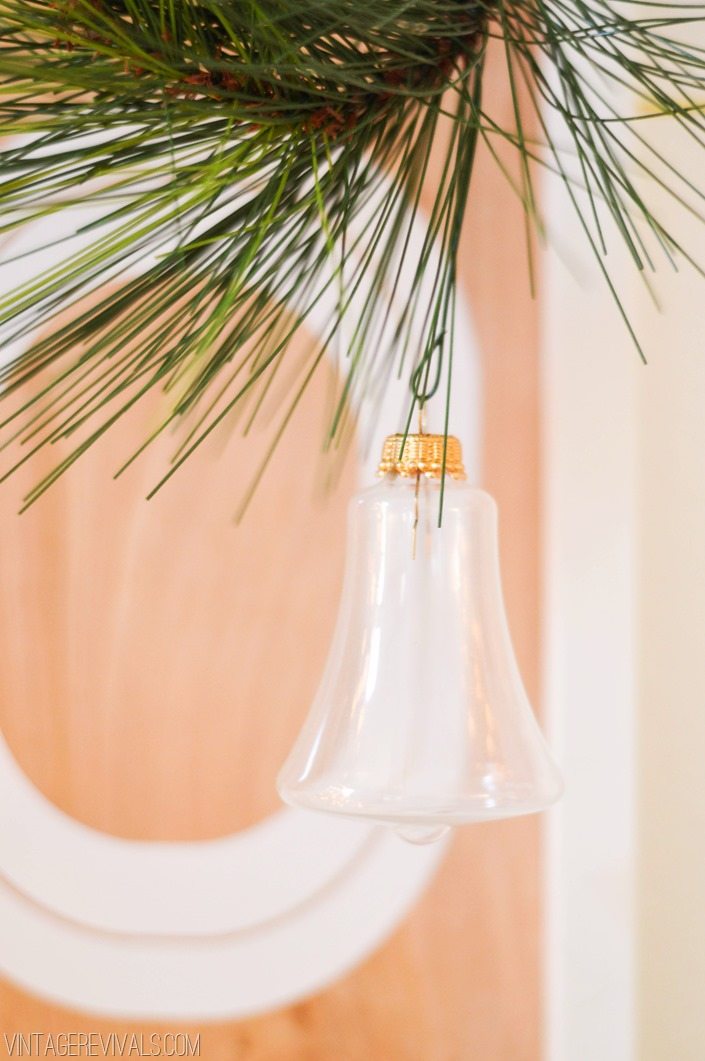
I love these vintage glass bells that I found at the thrift store for $1.00. I wish that there were more than 4 because they are just so sweet.

Vintage Hand blown Glass Ornament


My favorite part is that this is such a handmade Christmas. You can spend all the money in the world on decorating for the holidays but spending time working on these projects with my girls trumps ALL of it.

DIY White Christmas Decorations vintagerevivals.com-2-3

DIY White Christmas

This week I will be posting tutorials for all of the projects, so we have all of those fun dates coming up. You bring the hot chocolate,  I will bring the motivation.

And then next week kicks off another year of Its A Very Mandilicious Christmas with a week of DIY Gifts that you can make for your uber favorite people! (Check out last years gifts here!)

(Psssst! Love the wall pattern? I used a Sharpie!! Here is the tutorial!)

UPDATE:  Tutorials are live! Check them out below!

DIY Geometric Wreath Tutorial

How To Make A Wooden Dowel Wreath

DIY Geometric Ornament Tutorial vintagerevivals

Holiday Hack Elf On The Shelf

Love Your Guts

Favorite Thing FOR ETERNITY: Maskcara’s IIID Foundation

By Mandi | 11/29/2013 | 17 Comments

So there is this thing about me that you may have picked up on.  Or maybe not if you are a skimmer.  Whatevs. When I love something I LOVE it.  Like I might need a tattoo,  tell everyone I know (lucky you!), forsaking all others love.    So I thought, with the Christmas season upon us it might be fun to share some of my favorites.
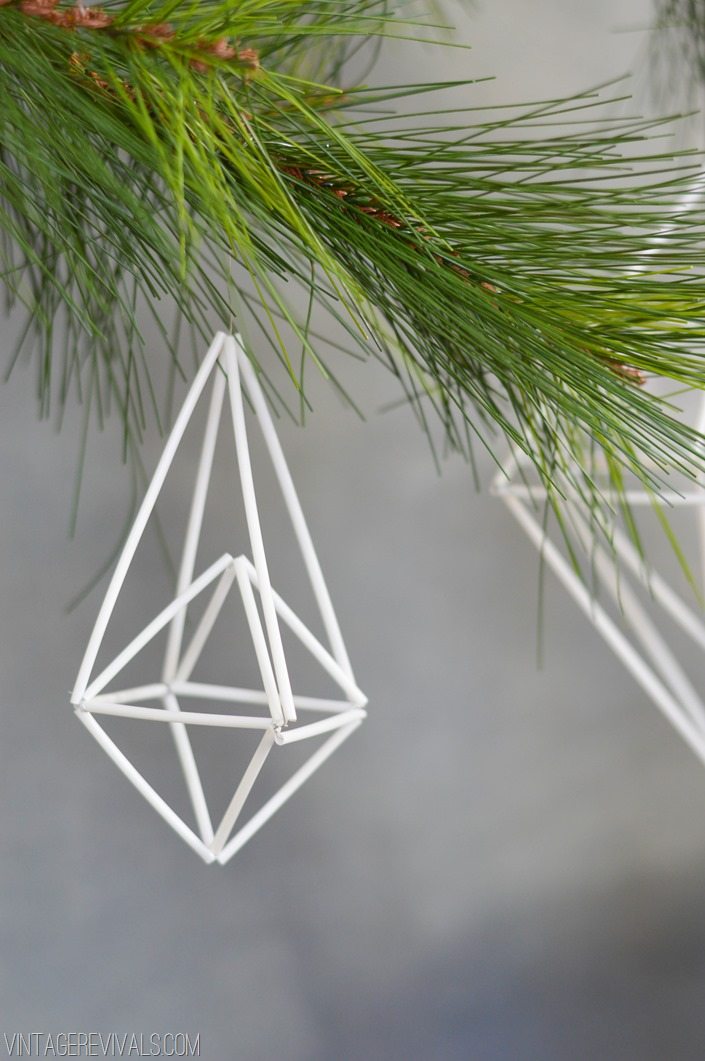
It is no secret that Cara from Maskcara is in my top 3 favorite people in the world (along with my hubs and Jesus.)  The talent and genuine kindness that this girl has is unlike anything that you will find elsewhere.  She is the definition of the Real Deal.

I would know, I spent the entire summer making over her office, remember?

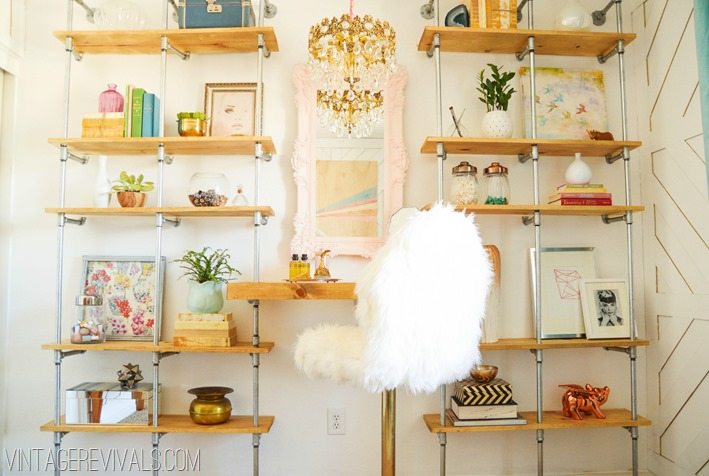
Build In Pipe Shelving  Maskcara Office Makeover vintagerevivals.com

Removable Geometric Wall Treatment  Maskcara Office Makeover vintagerevivals.com


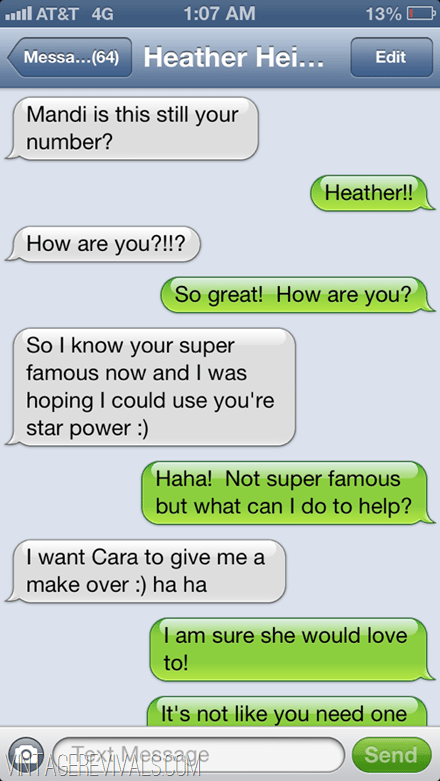
In fact.  I am convinced that the only reason that I even have friends is because they think I can hook them up with Cara.  No lie, this is an actual real life thing.  I have proof.  (Heather if you are reading this you know I love you, it was just too funny to not share!)

IMG_3059

So funny right!?

Now here is the really cool part. 

For 2 years she has been developing a product to fill a huge gap in the cosmetic industry.  If you want to read the whole miracle filled story you can read it here.

When I had my Maskcara Makeover in June I was literally the lottery winner of the year.  Cara gave me a tester of her product and I scraped that thing DRY.  Tears were shed when it was gone.  Now? I just dont wear makeup, because everything else comes up short.


So what is this miracle product that will make us all look like super models?

hapac

It is called IIID Foundation and it is a foundation system that highlights, contours, covers and illuminates your face.  In your HAC Pack (HAC stands for Highlight and Contour FYI) you will get 2 full sized foundations, one to contour and one to highlight,  a cream blush and an illuminator.  Cara teaches you EXACTLY how to use it here,  so if you are a little nervous, dont be.  It is so easy I promise!

This product and the lesson that Cara gave me has COMPLETELY changed the way that I do my makeup.

New things can be scary,  especially when it is on your face,  but you guys know that I would never tell you about something that I didnt love and this is the kind of love that makes you believe in unicorns.
I tell Cara every time I talk to her that this stuff is going to sell out instantly (hopefully not before I can get mine ordered!) So if you too want to look like you are a super model, join me friends.  On team IIID.  I mean, I feel like we should make shirts or something!
You can find out exactly how to contour for your specific face shape and buy IIID Foundation here. (and pssst!  Jem is my favorite blush color!)

You guys know I love your guts already, but now I can love your perfectly contoured faces too!  Win win!!

Love Your Guts