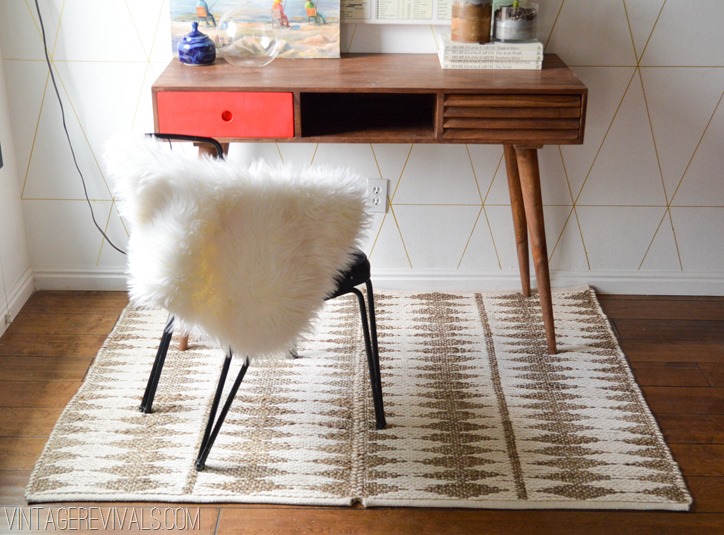
MaskCara’s Office Makeover Reveal

By Mandi | 09/19/2013 | 179 Comments

This is the best day of the whole summer, right here, right now. 

2 months, 6 trips, and 100’s of life stories later,  my girl Cara has a brand new makeup oasis.  Today is the day that you FINALLY get to see it!

I love working with other people and their design parameters.  In my house I can experiment to my hearts content, but when you are designing for someone else, they have all their own ideas that you get to work with (that is one reason that Dyl’s room turned out so fantastic!)

When I asked Cara what she wanted her room to feel she immediately answered with welcoming, calm, creative and glamorous. (she obvs thought about it long and hard.)  Creating a space based on feelings is my favorite.  Because so many of her readers come over for makeovers, Cara wanted the room to be a destination,  somewhere totally special and beautiful.

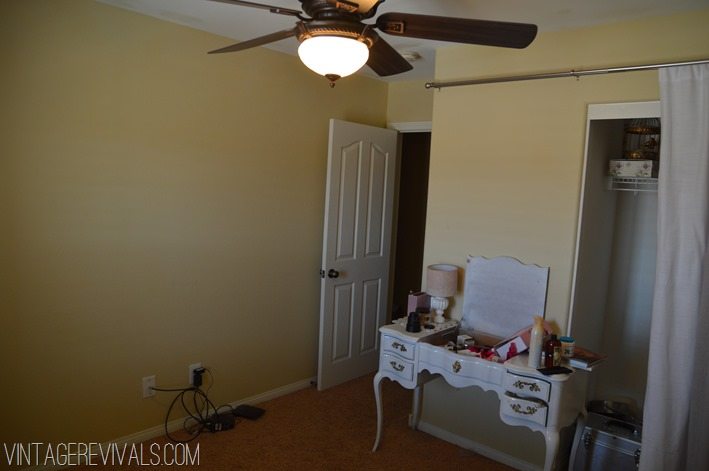
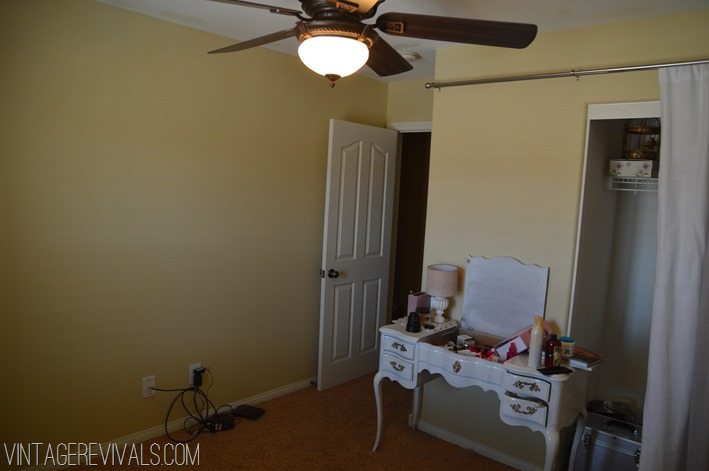
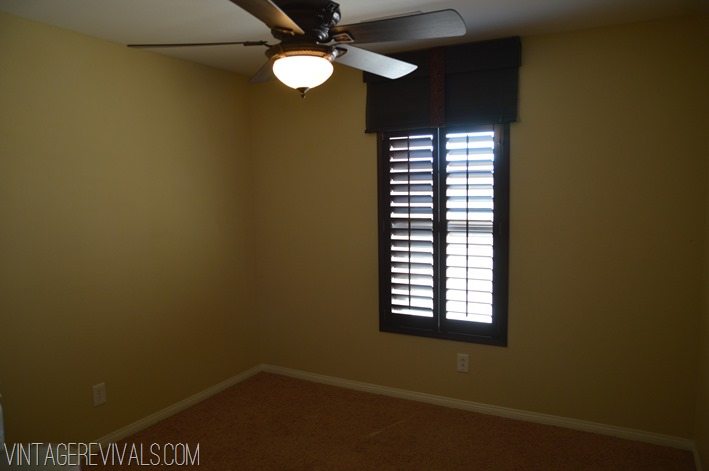
Here is what it looked like before.  It was totally not functional for what Cara needed it for.  Imagine trying to shoot beauty videos in a dark,  mustard-y beige cavern.  There is a fantastic chance that you will look like you are in liver failure.

Liver failure…that is what we started with.
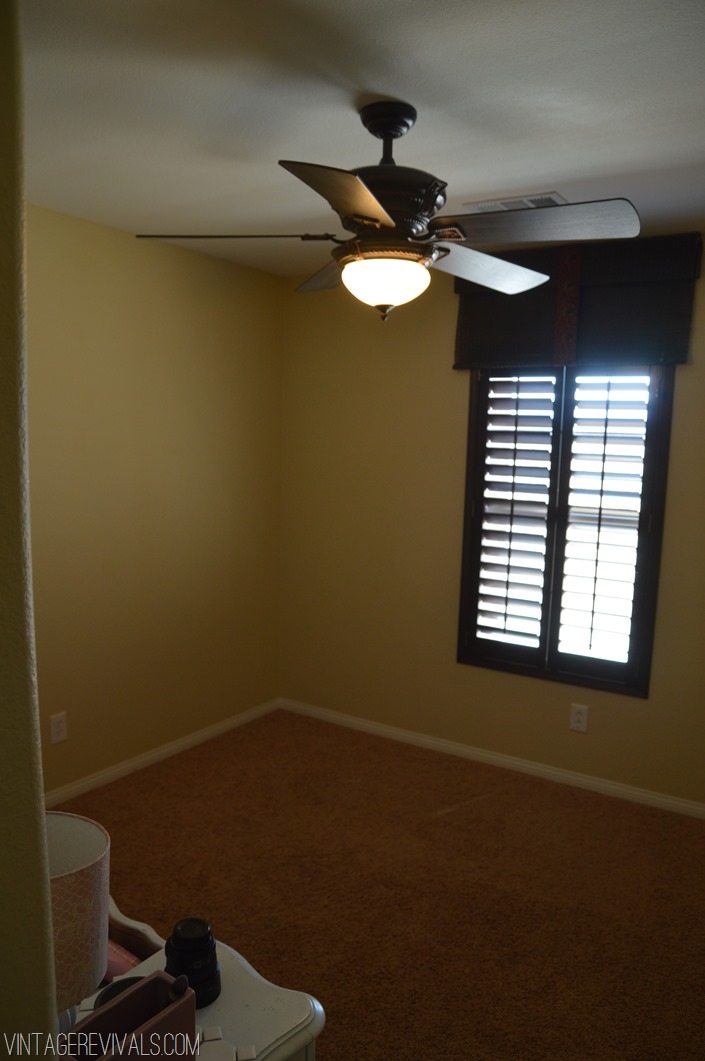
DSC_0803 DSC_0808

This is what I turned it into:

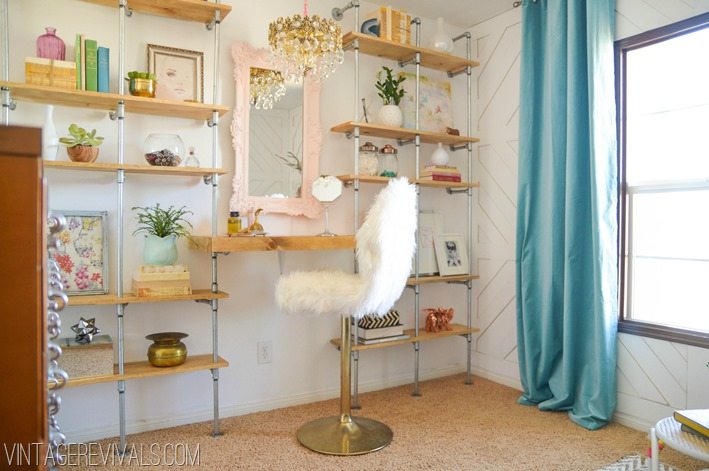
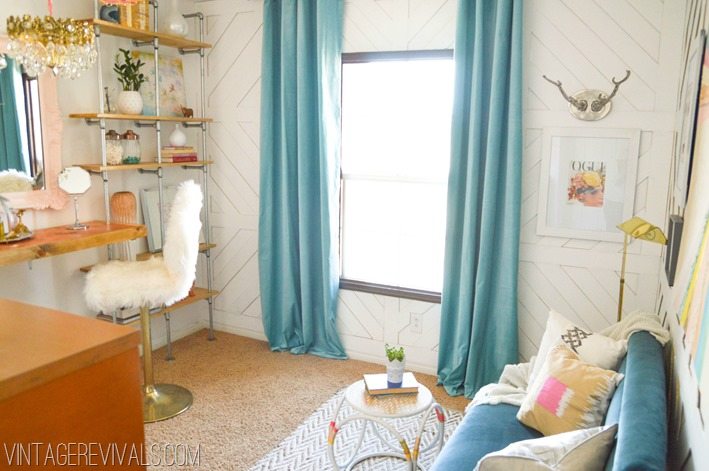
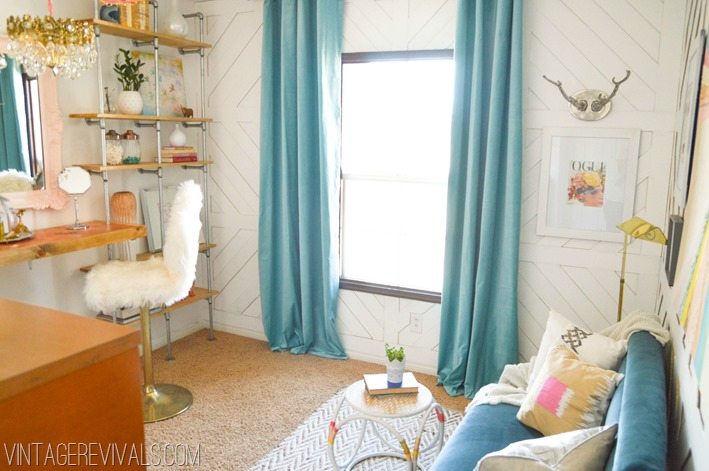
Maskcara Office Makeover Pipe Shelving vintagerevivals.com

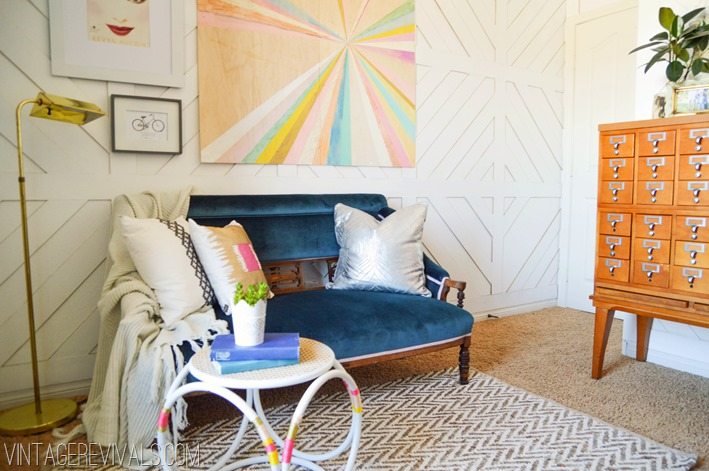
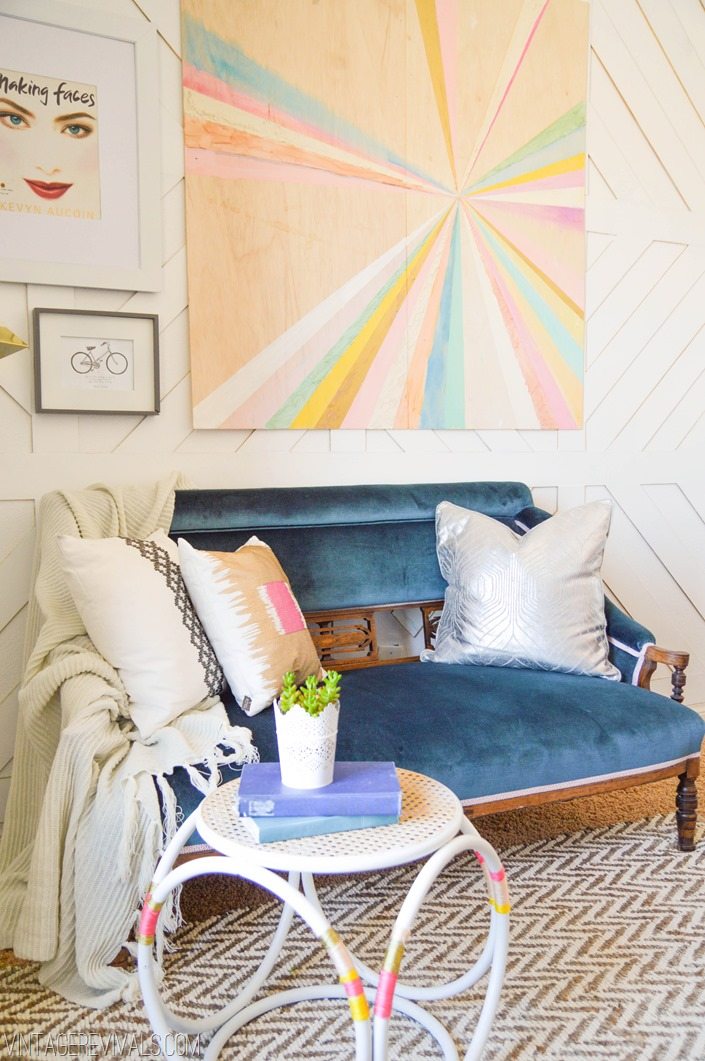
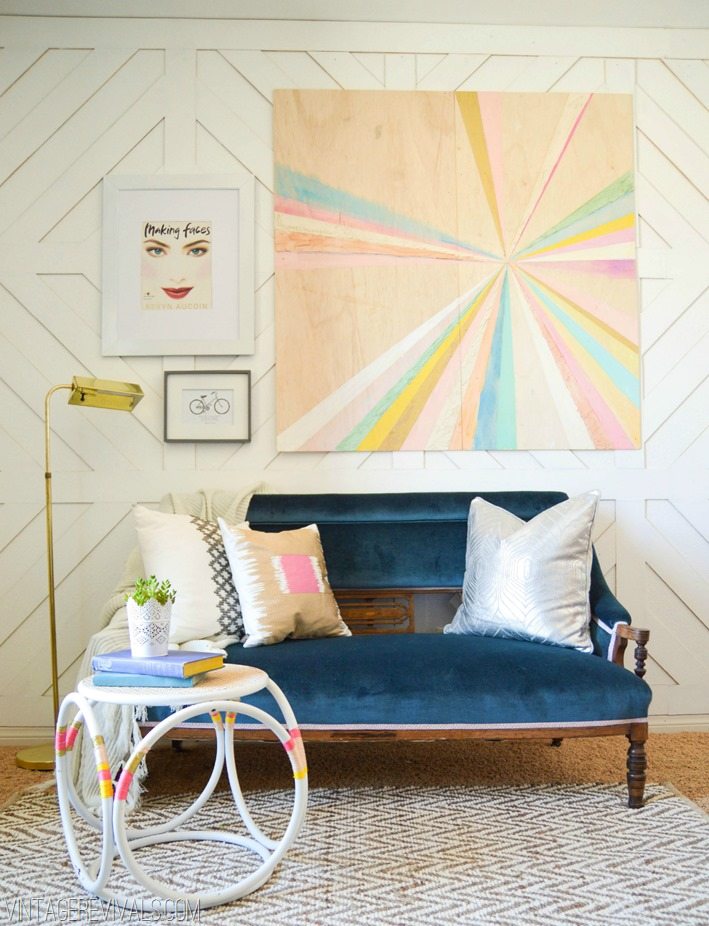
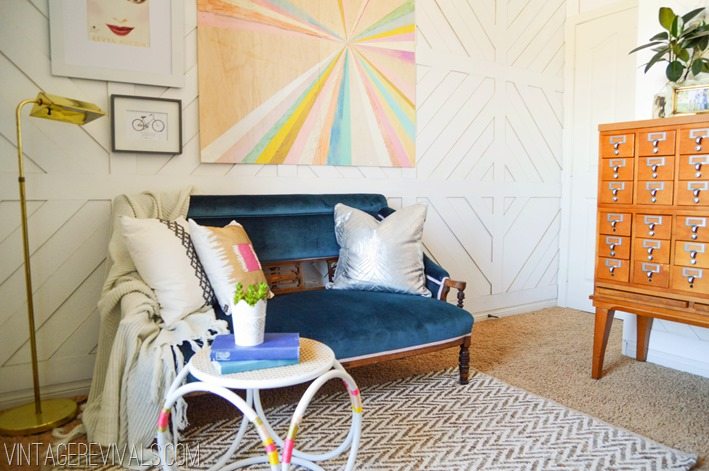
Blue Velvet Settee  Maskcara Office Makeover vintagerevivals.com

One of the big hurdles in this space is that Cara rents (as do so many of you).  Now before you go all Hildy on a room make sure that your landlord is ok with it.  Rental agreements are different everywhere.  That being said.  We all know what it feels like to not love a room.  You know where you make excuses when people see it, or in Cara’s case, it is just not functional for what you need?  Why not make it amazing and then when it comes time to move out, spend a few days putting it back the way you found it? 

People are freaked out about patching small holes, when in all reality it is not a big deal at all.  My advice when you are working in a rental is to make sure that everything you do is reversible.  Take our wall treatment for example.  It was painted beforehand and not caulked.  Each board has 2 tiny finishing nails in it, and can be pulled off the wall without damage.  Spend a few hours filling holes and its like it never happened.
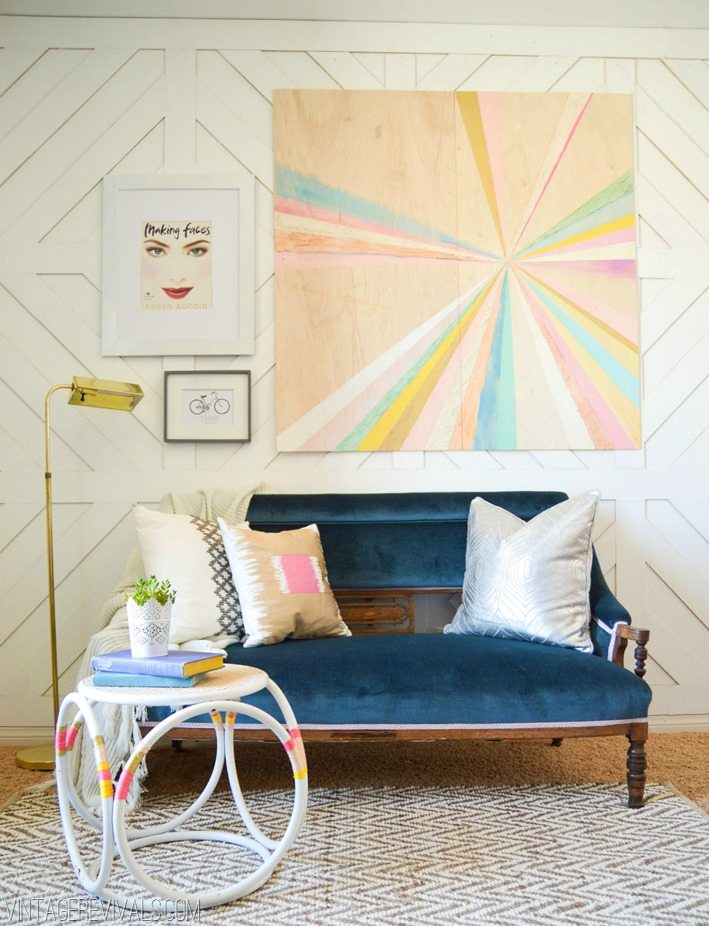
Removable Geometric Wall Treatment  Maskcara Office Makeover vintagerevivals.com


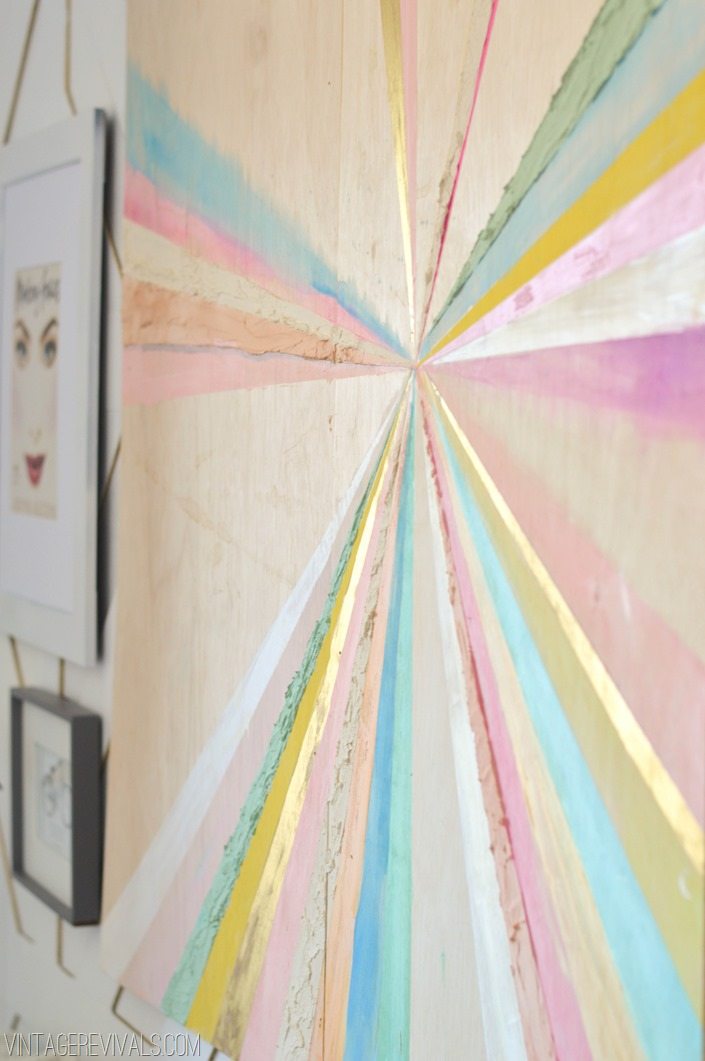
The art was inspired by a piece that I spotted in HGTV Magazine (they are my fave).
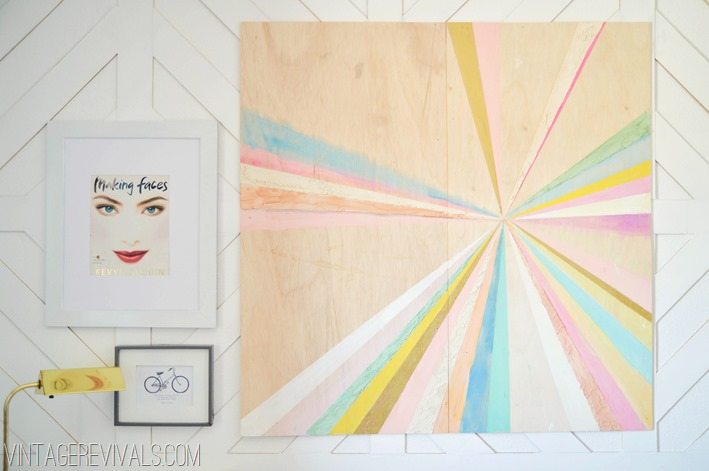
Color Wheel Art vintagerevivals.com

Color Wheel Art vintagerevivals.com-4


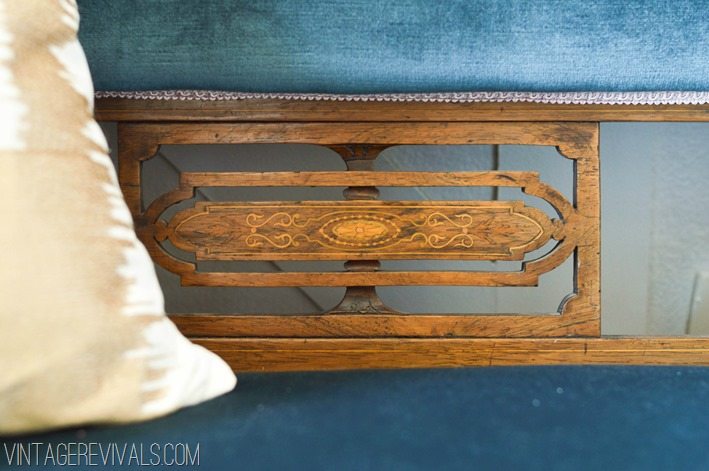
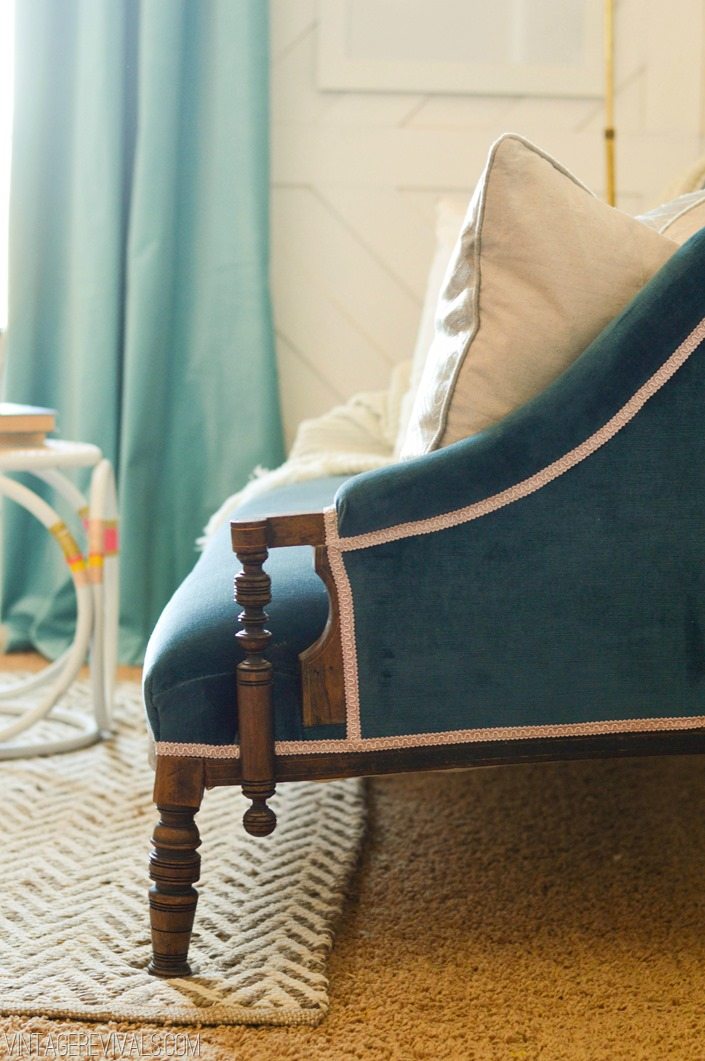
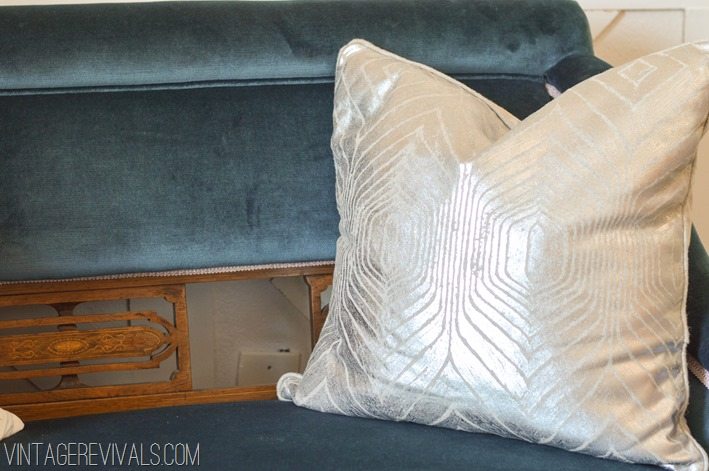
The amazing antique velvet settee is the stuff that dreams are made of.  Literally.  The blue velvet is in perfect condition, and it is trimmed out with pale lilac.  Who does that?  My guardian angel,  that’s who.
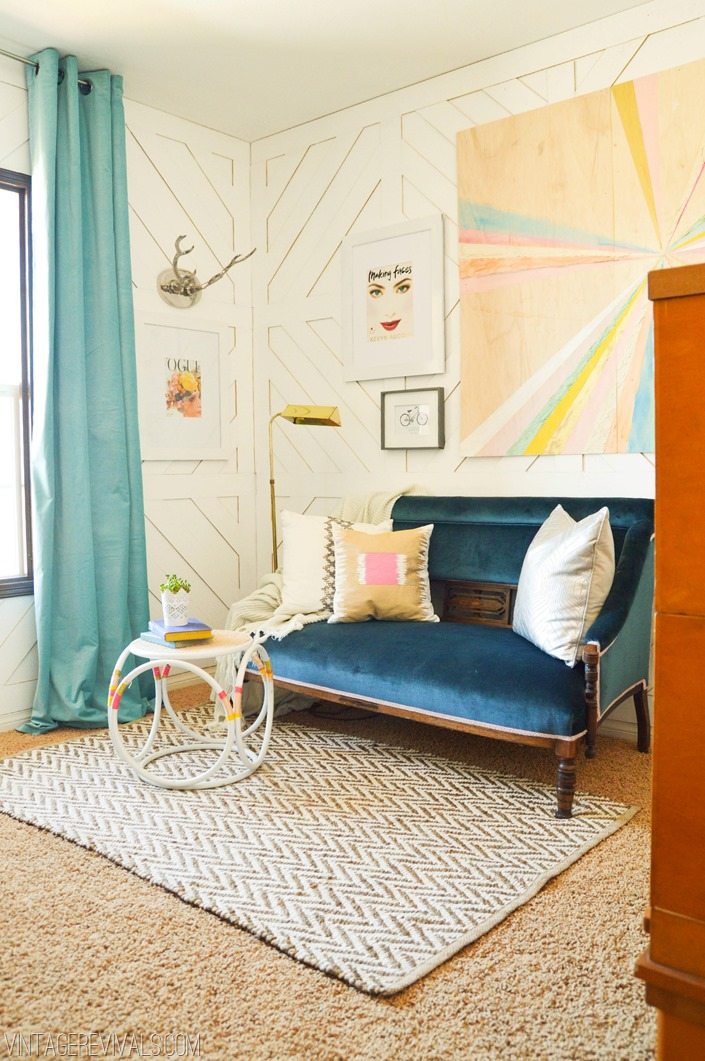
Antique Velvet Settee Maskcara Office Makeover vintagerevivals.com

Antique Wood Inlay Settee  Maskcara Office Makeover vintagerevivals.com

Antique Settee  Maskcara Office Makeover vintagerevivals.com

Maskcara Office Makeover vintagerevivals.com-17

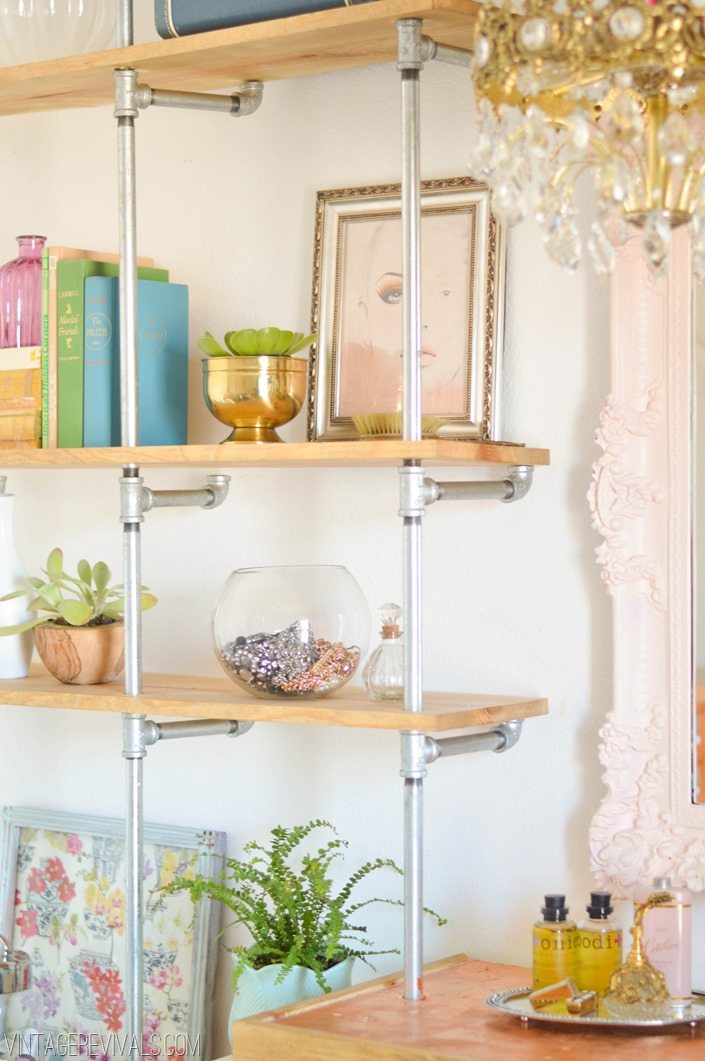
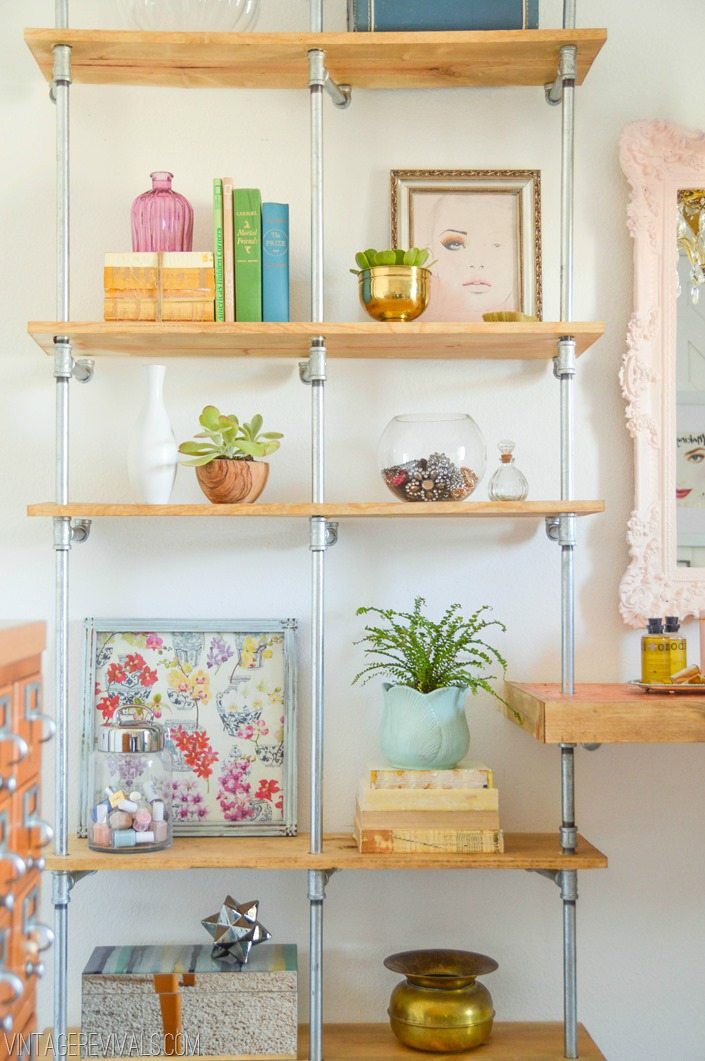
More than a beautiful room, Cara needed a space that was functional.  I am talking major storage and somewhere that she could actually work her beauty making magic on.  So transforming this idea I created a custom shelving unit that rocks the industrial glam hard.   I cant wait to tell you all about the stool…his name is Miracle (for reals) and he has a little secret under his pretty white coat.
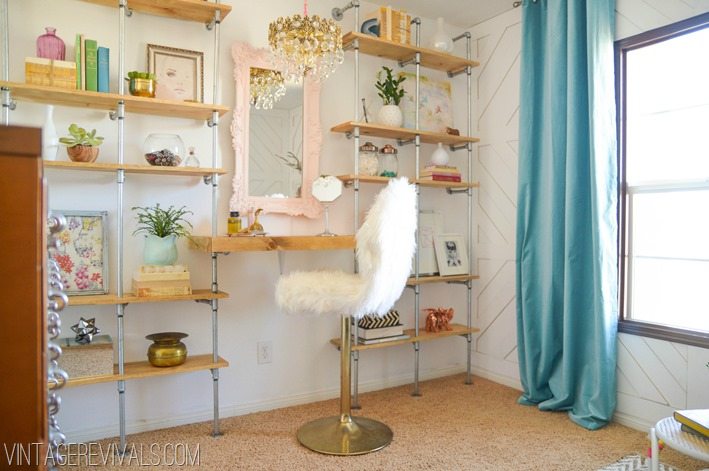
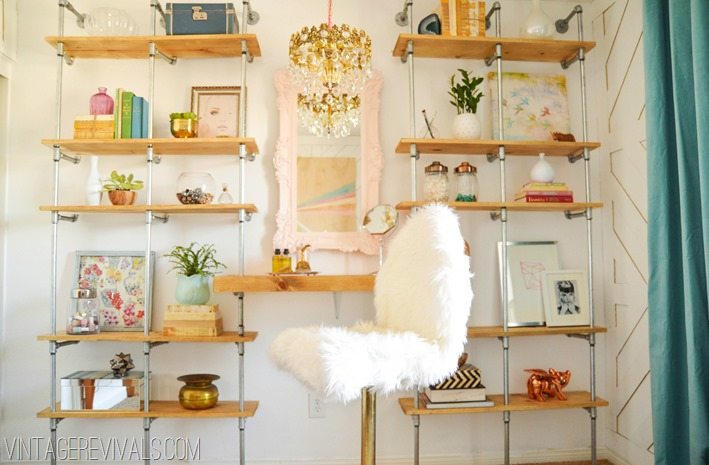
Maskcara Office Makeover Pipe Shelving vintagerevivals.com

Wood and Copper Work Station Maskcara Office Makeover vintagerevivals.com

The ginormous ceiling fan HAD to go.  In its place is an antique crystal art deco chandelier.   Because the room is on the small side we were able to swag the light over the table and not worry too much about light displacement.  That my friends is called a win win win.  Also this is the part where I stop talking, because I know you just want to look at pretty pictures anyways…
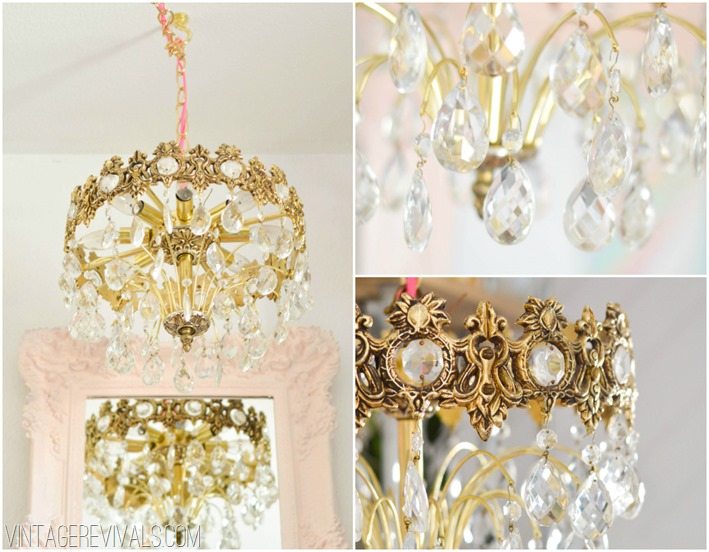
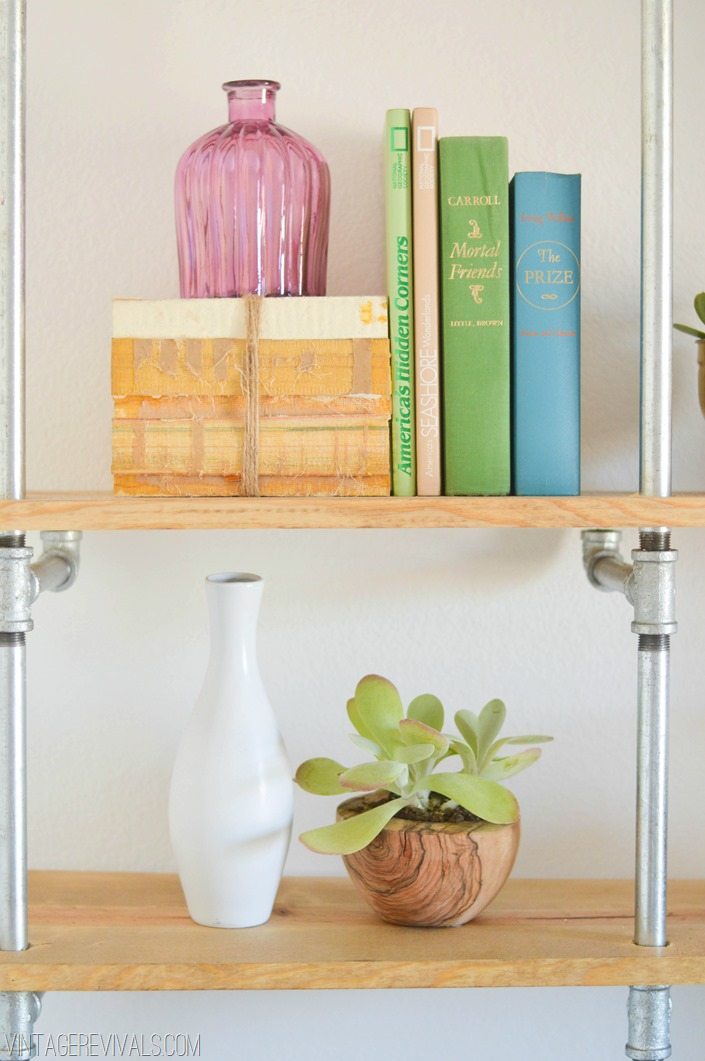
Crystal Chandelier Maskcara's Office Makeover vintagerevivals.com

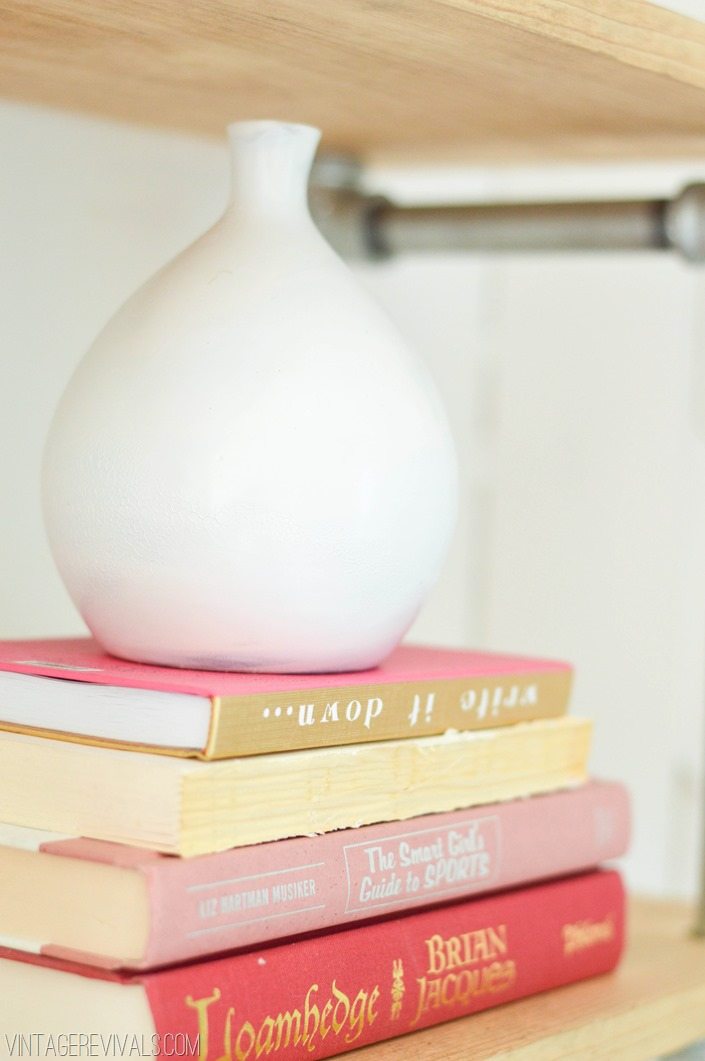
Vases and Books  Maskcara Office Makeover vintagerevivals.com

Beautiful Bookshelves Maskcara Office Makeover vintagerevivals.com

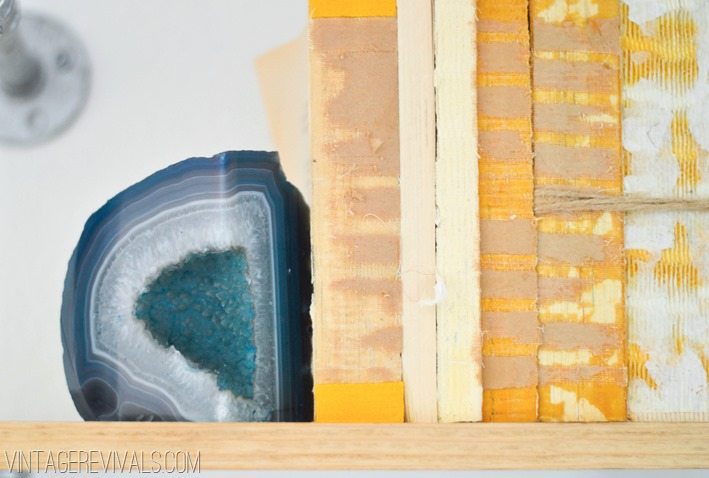
Geode Books  Maskcara Office Makeover vintagerevivals.com

Conduit Pipe Shelving  Maskcara Office Makeover vintagerevivals.com

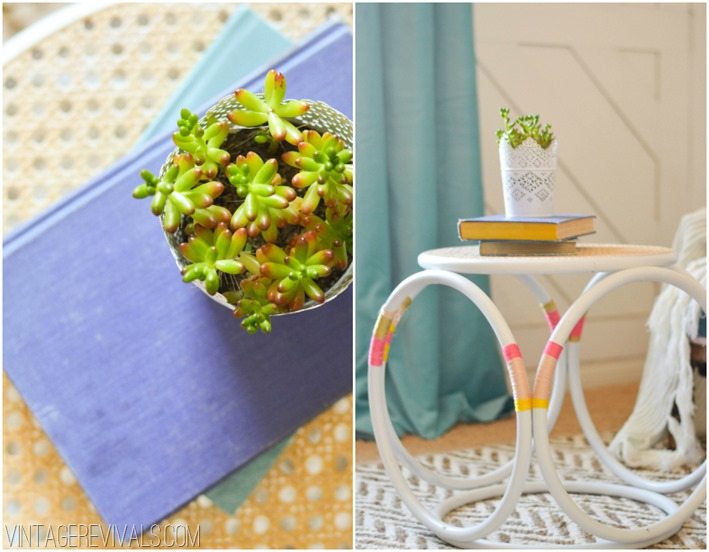
Bentwood Wicker Table Maskcara's Office Makeover vintagerevivals.com

Maskcara Office Makeover vintagerevivals.com-6

Maskcara Office Makeover vintagerevivals.com-15

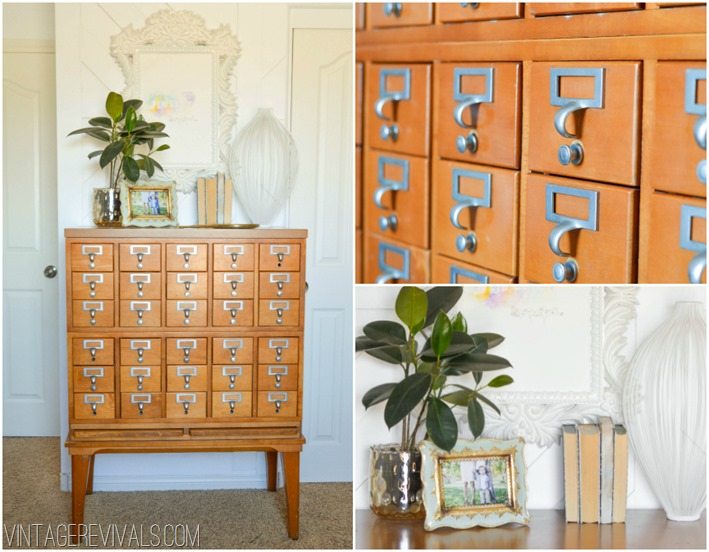
Vintage Card Catalog Maskcara Office Makeover vintagerevivals.com

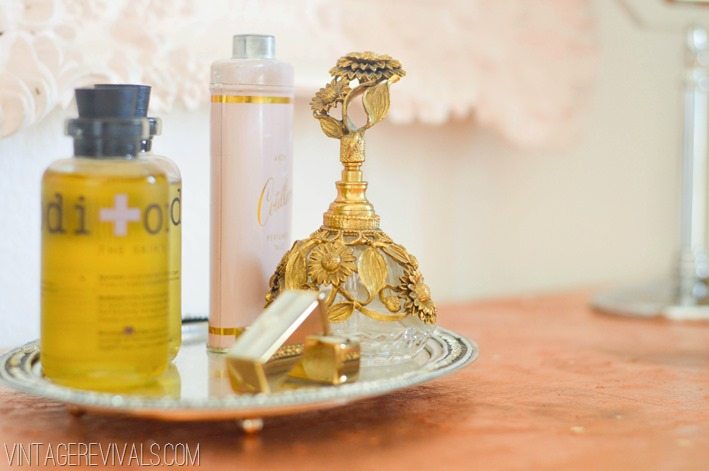
Maskcara Office Makeover vintagerevivals.com-9 Vintage Perfume Bottle  Maskcara Office Makeover vintagerevivals.com

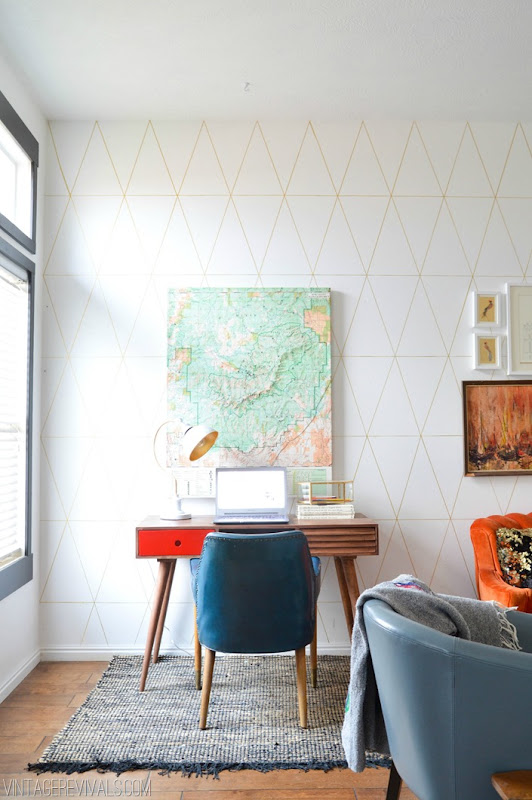
Maskcara Glam Office Makeover vintagerevivals.com

Removable Geometric Wall Treatment  Maskcara Office Makeover vintagerevivals.com

So good right?! 

As amazing as this room is though, the best part was finding a bestie for life.  Miss Cara I love you!

Next week begins the whirlwind of sources, step by step tutorials, and behind the scenes mishaps that went into creating this space from the ground up.

Ok now.  Lets be honest.  Dont you want to take a little bit of this room home? 

EEEK! I want you to be able to take a little bit of this room home too! 

I am doing something that I have never done before.  I am giving away MaskCara’s Office in a Box to one lucky reader.  It is a box chock full of treasures to create your own industrial glam oasis.  Complete with pillows, rugs, art, and tchotchkes galore.  I am going to be sneak previewing all of the goodies on Facebook and Instagram throughout the weekend, so make sure that you are following Vintage Revivals in both places!  On Monday the giveaway post goes live!  So make sure that you come back then!

And just for fun,  lets look at the before and after again…
DSC_0797

Maskcara Glam Office Makeover vintagerevivals.com

DSC_0808

Blue Velvet Settee  Maskcara Office Makeover vintagerevivals.com 

pssst newbies!  Want to see more room reveals?  Check them all out here.

And we are dying to know,  what is your favorite part of Cara’s new room?

Love Your Guts

Geode String Art

By Mandi | 09/18/2013 | 38 Comments

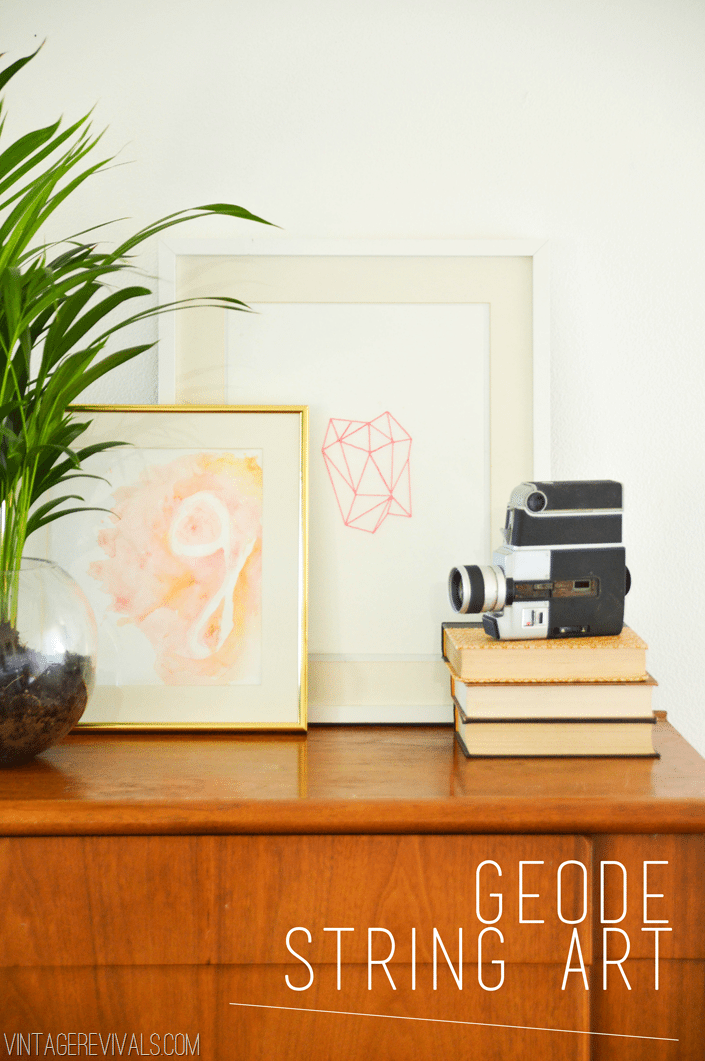
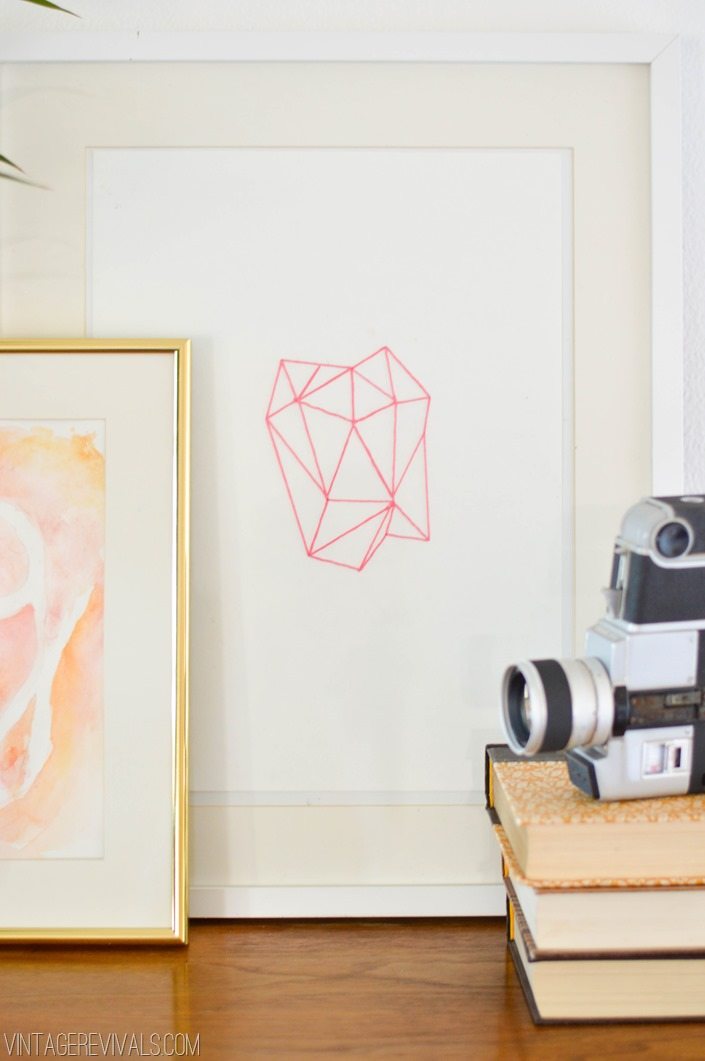
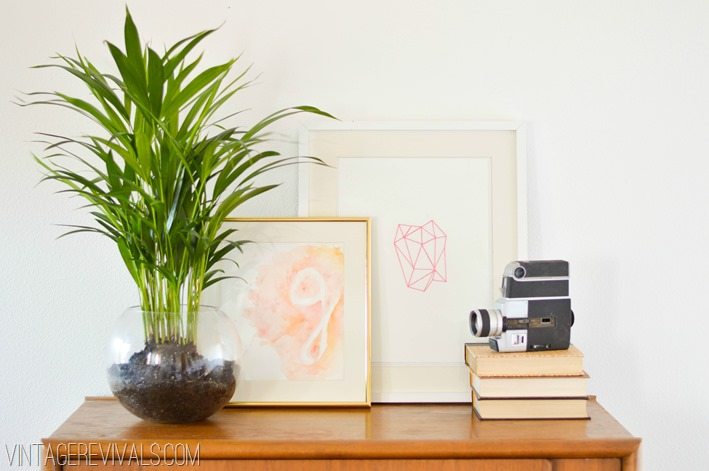
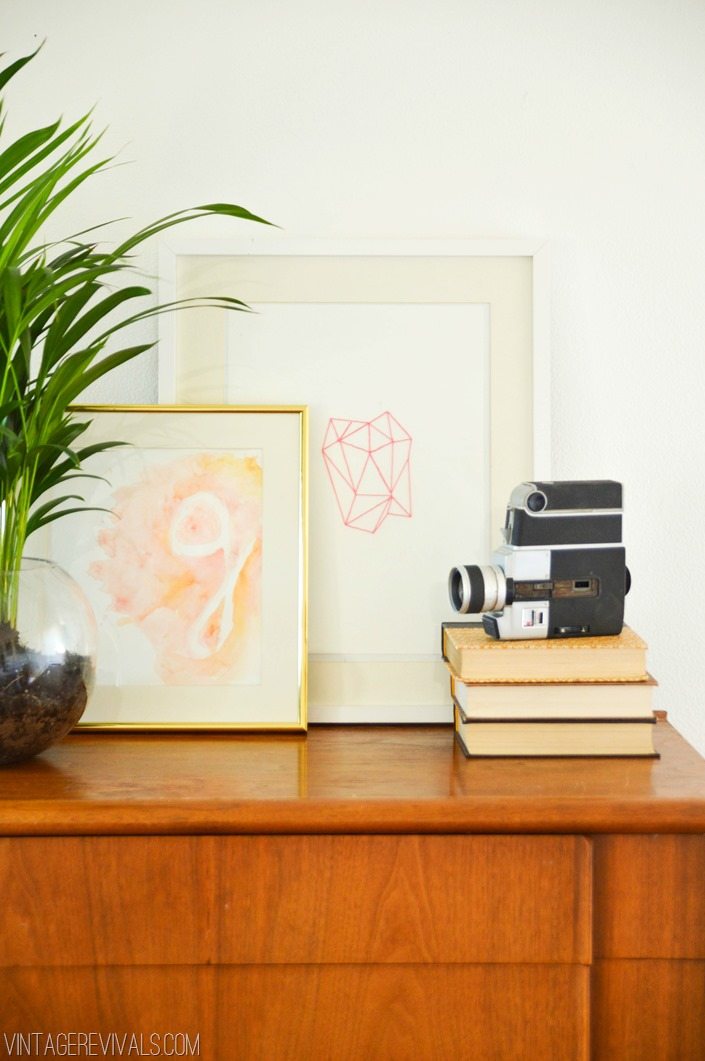
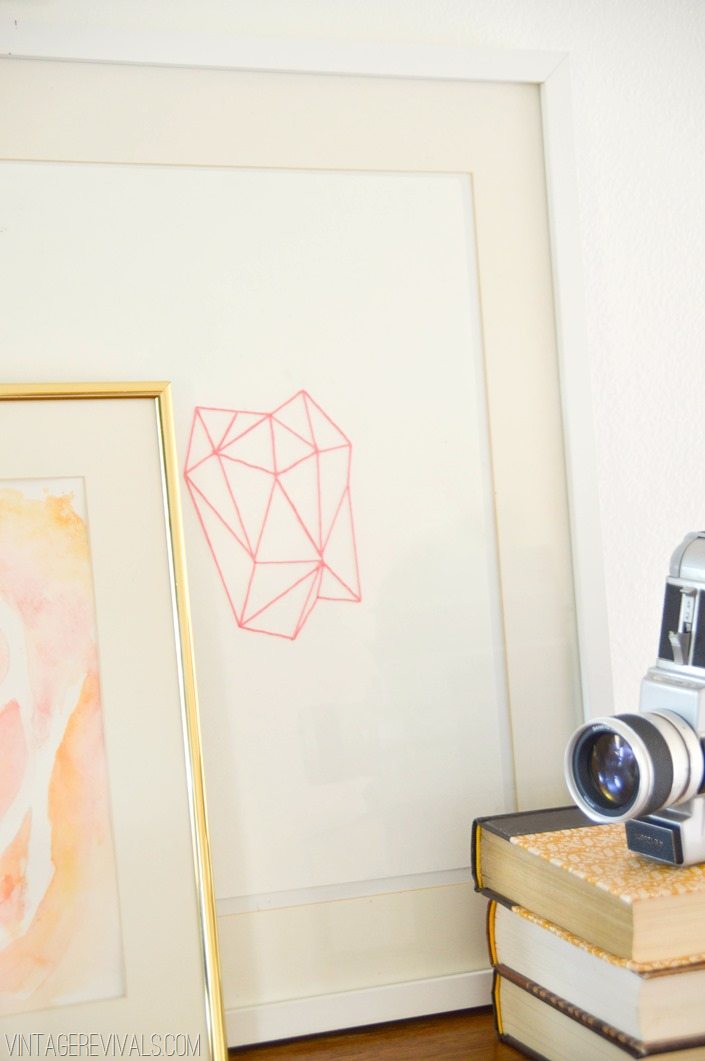
Hot Pink Geode String Art Tutorial vintagerevivals


So excited for today’s project! I have caught the crystal fever,  not the kind where you become so obsessed that you blow millions on them like our good friends Speidi (did you know that they are still married?!) but obsessed enough that I want the design everywhere.

Finding affordable,  inspiring art for your house is somewhere that a lot of people (myself included) come up short. It seems like time and again you have the option of unique and inventive art that is uber pricey. Or boring and well…boring and is readily available.

Creating art for your house with elements that inspire YOU, is one of the best ways to build your creativity. And the good news? Its not permanent, so if you have rapidly changing design hormones, you can change it up as often as you need.

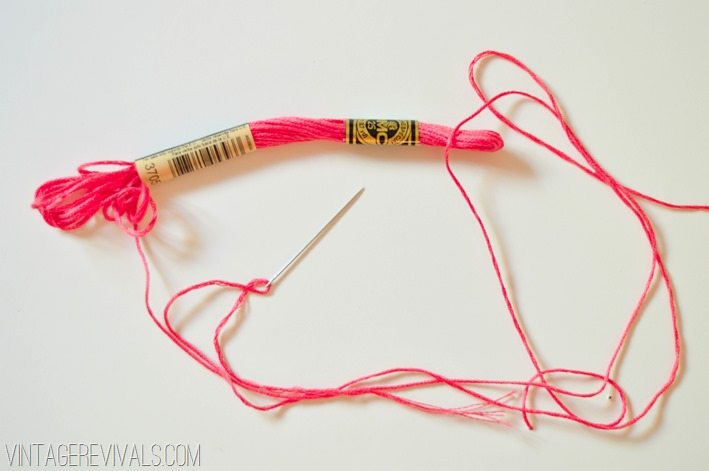
Supplies for this Geode String Art project cost a meager $1.59. That is what I spent on a roll of Embroidery Thread. Everything else I had on hand. Sometimes great art does not have to be expensive.

Geode String Art vintagerevivals.com-14

When you are rockin a project like this, you want to make sure that you are using really thick high quality paper. I used Watercolor paper because it is what I had on hand and I am mildly obsessed with the texture. If you want though, you can totally use poster board, foam core,  or even fabric.

Start by finding an image that you love. This is mine. (Thanks Jamie!!)

Geode Art


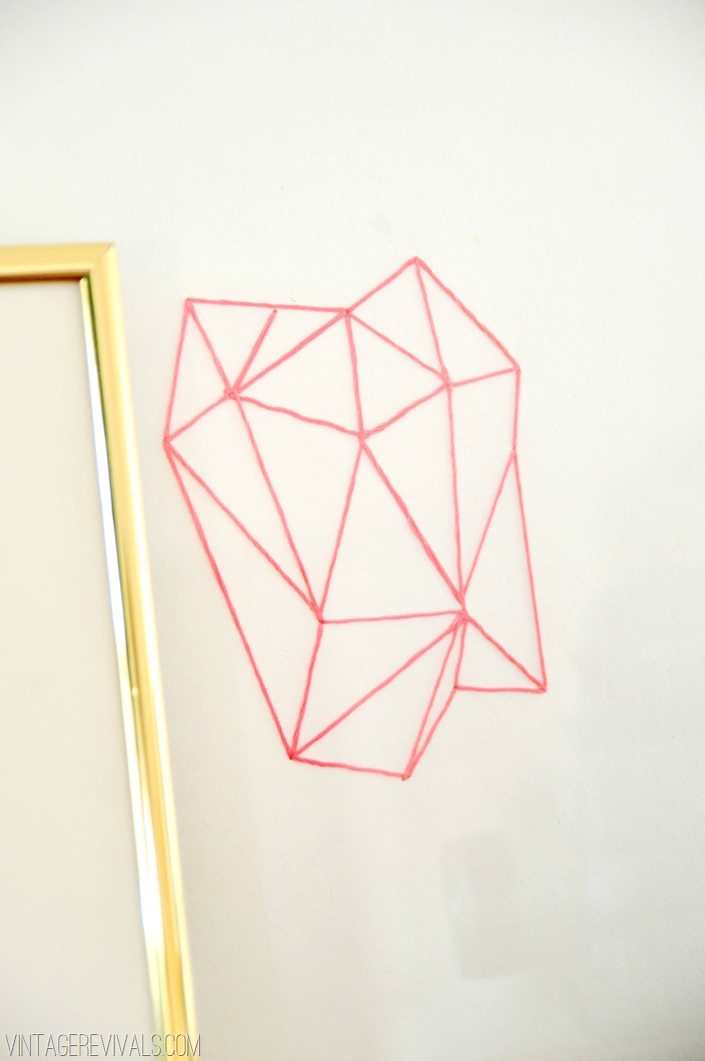
Notice that there are only a few points that all of the lines meet. This is what gives it the crystal structure design. If your lines are all over the place with no rhyme or reason,  it just doesn’t have the same effect.

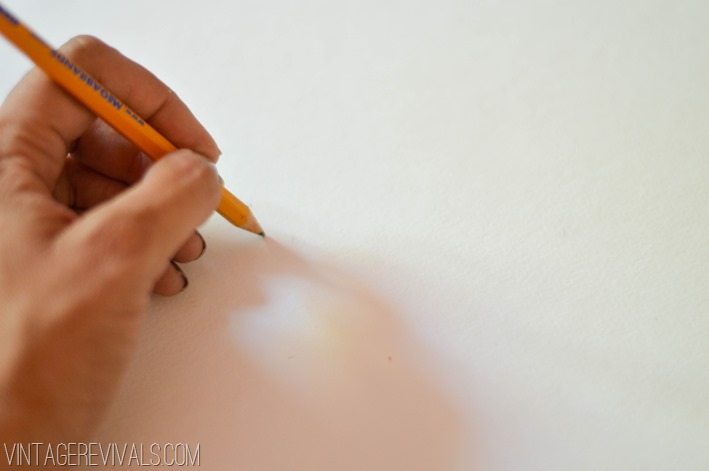
Start by marking where your intersection points are. It doesn’t have to be perfect,  you can absolutely free hand it.

Geode String Art vintagerevivals.com-11

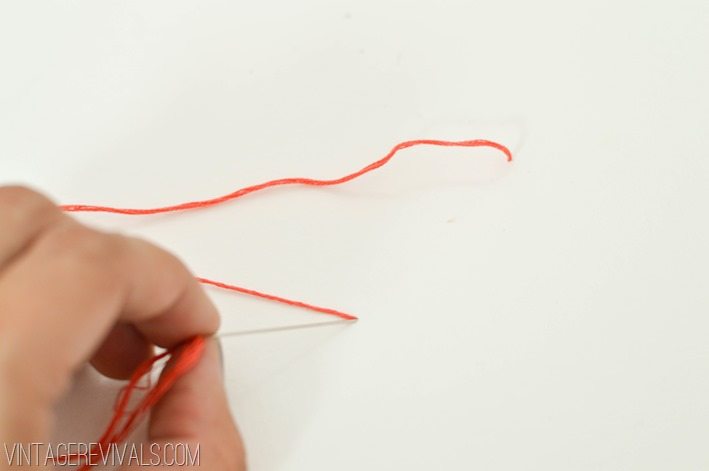
Poke a small hole in each of your marks with your needle and then start threading your design.

Make sure that the thread only crosses each line on the front once,  you can overlap as many times as you need to on the back of your project, but keep the front beautiful.

Geode String Art vintagerevivals.com-13


This is a great project to do while you are catching up on, oh…something like Breaking Bad for instance. I am only on Season 3 and everyone in my life is telling me to hurry and watch it so we can discuss.

Geode String Art vintagerevivals.com-2-2

Geode String Art Tutorial vintagerevivals.com

Geode String Art vintagerevivals.com-5

Hot Pink Geode String Art

How To Make Geode String Art vintagerevivals.com


Now for the REALLY good part.

Have you ever fallen down the blogging rabbit hole? You know where you click somewhere and it takes you somewhere else, and then that takes you somewhere else and so on, until your kids are screaming at you because they are starving? I know that personally, I have gotten into the habit of living in the DIY bubble and don’t regularly read blogs outside of this niche. Everyone that I chatted with about this phenom is in the same boat. So one night (really really late) I got to thinking. I was thinking about all of these amazingly talented people that are queens of their own respective niches and how much I loved what they were doing. And how people just didnt know. Then it hit me like a wall of bricks (rainbow of course)

What if everyone came together with a common element?

An element like color.

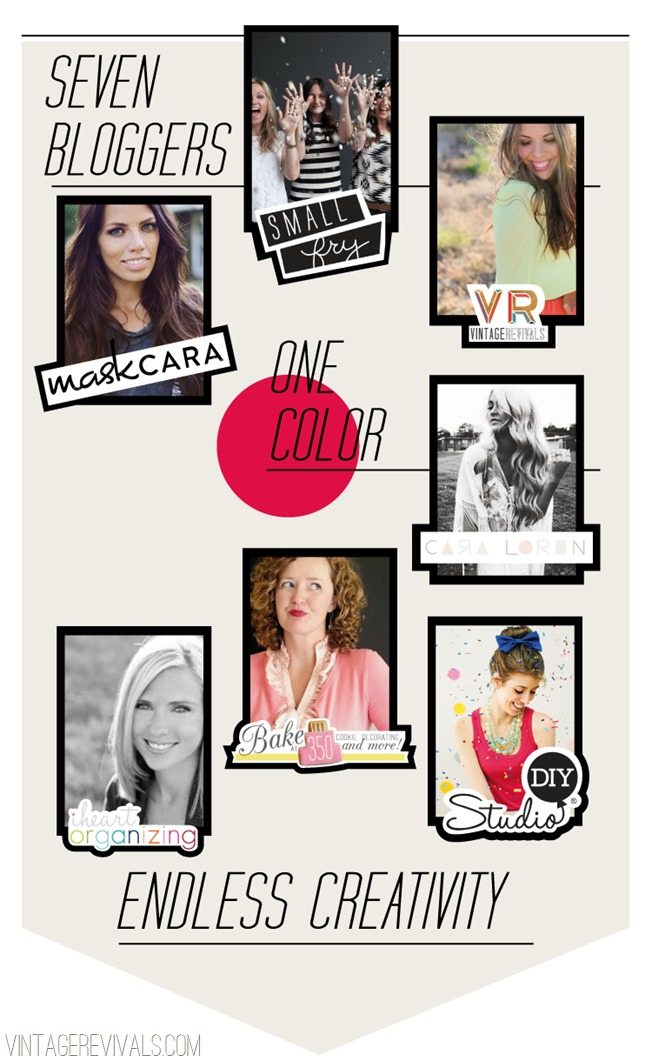
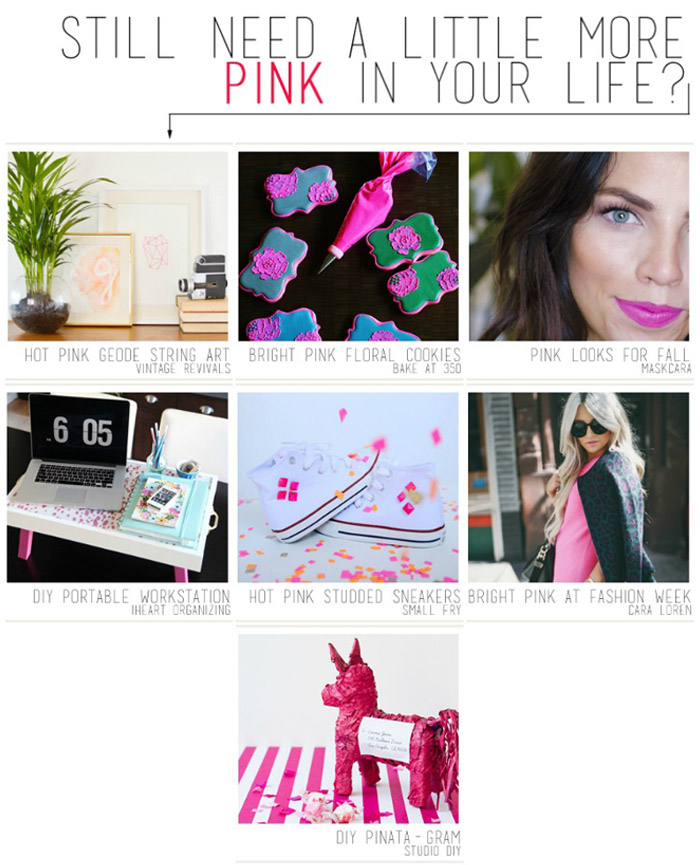
Introducing the quarterly Color Challenge. Dun dun dun duuuuun!! 7 amazing bloggers working their respective magic with one specific color. Then it is all prettied up and delivered right to your keyboard. Everything from parties (Studio DIY) to makeup (Maskcara), and cookies (Bake at 350) to kids crafts (Small Fry). And of course fashion (Cara Loren) to furniture (yours truly) to organizing (iHeart Organizing).

I am so excited about it I cant even contain myself.

Color Challenge

It is like Christmas with a big fat pink bow. Pink because it is the color for this quarter. More specifically Hot Pink. Hope you guys find inspiration for every aspect of your life.

Oh, and please enjoy the rabbit hole. You have my permission to not do laundry today.

Image Map

Love Your Guts

Thanks For Hangin’ Yo.

By Mandi | 09/16/2013 | 11 Comments

Happy Monday!!

Thanks so much for all of the feedback about the blog redesign!  You guys are the best! 

I have been getting emails left and right from readers who are wondering what the freak is going on with the blog,  so I figured that a handful of you might be wondering the same thing.  I just wanted to pop in and let you know that, yes I am still alive.  And no, the blog is not dying.  Life is all about learning your limits right?  Well the last couple of months, I have learned that simultaneously rocking 3 room makeovers (one of which is more appropriately titled a reno) amongst everything else that life has to offer,  is just taking it a little to far.  2  I can handle, 3 makes me want to possible give up on life for a few days. 

But the good news is that we are at the light at the end of the tunnel.  I am heading to Cara’s today to shoot her office and will have the reveal a little later this week, and I have a fun giveaway that goes along with it. hint:  Its Cara’s Office Makeover in a box. So fun right!?.

So anyways,  sorry for the silence on the blog front.  I have sort of decided to take the “if you dont have something of value to say,  dont say it at all” approach.  Which equals silence sometimes. 

Have a great Monday friends!! xo

Love Your Guts

An All New Vintage Revivals

By Mandi | 09/12/2013 | 63 Comments

I am so excited! After a long few months of redesigning the blog to make it WAY more user friendly,  we have finally given birth. I say we because this was totally a team effort,  mostly with Amy doing all of the heavy laboring and me saying “You know,  this hospital ice tastes really weird.”

image

My favorite girl Jamie is the genius behind all of the design. There is something to be said for giving someone creative freedom and just letting them create. Jamie rocks my world with every single project that I see and I am so grateful to have her as one of my friends.

But the best news is that it is finally done!! Feel free to click around,  there are still some bugs, but I would love your feedback (for reals!! Just keep it constructive!)  I really care what you guys think (please note the shiny no truncation…ooooh ahhhh!)

Grateful every single day for you!

Love Your Guts

#colddeadfingers

By Mandi | 09/09/2013 | 21 Comments

Yo yo!

I was reawakened to the state of my garage at the end of last week. The tile for the kitchen was delivered and I had to make room for it. There were a handful of treasures left over from the Hoard Sale (and unfortunately a handful of furniture is not the same as a handful of rice, or of books, or of well, anything representing less than 1/2 of a garage.)

As I was moving things out and back in I had a come to Jesus with myself about them. Most of it is stuff that is really great, but not my style anymore, or something that I really like but I am not going to take it to the grave.

Would you believe that in a garage full of treasures there are only 3 things that I will carry with me for as long as it takes to find their perfect home?

These are my Cold Dead Fingers pieces.

Want to see them?

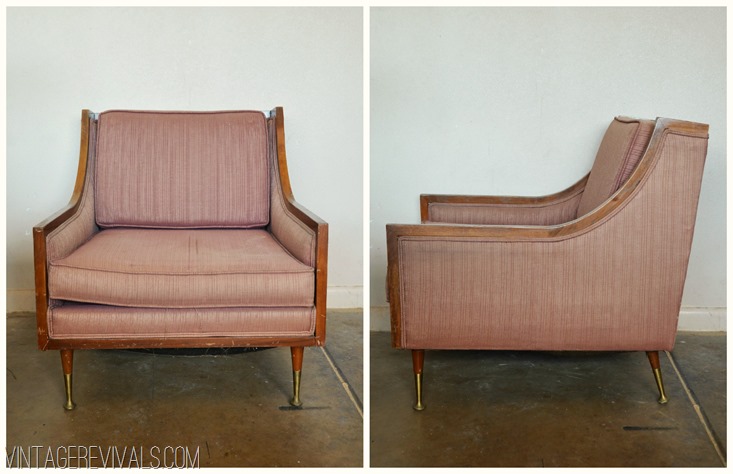
Up first is the favorite chair of my life. It totally needs to be reupholstered, but MAN it is so good. I dont have a spot in our house right now, but I care,  it is not going anywhere. I bought it from my friend Amanda for $25 and I am pretty sure those cute little legs were created out of my dreams.

Vintage Chair


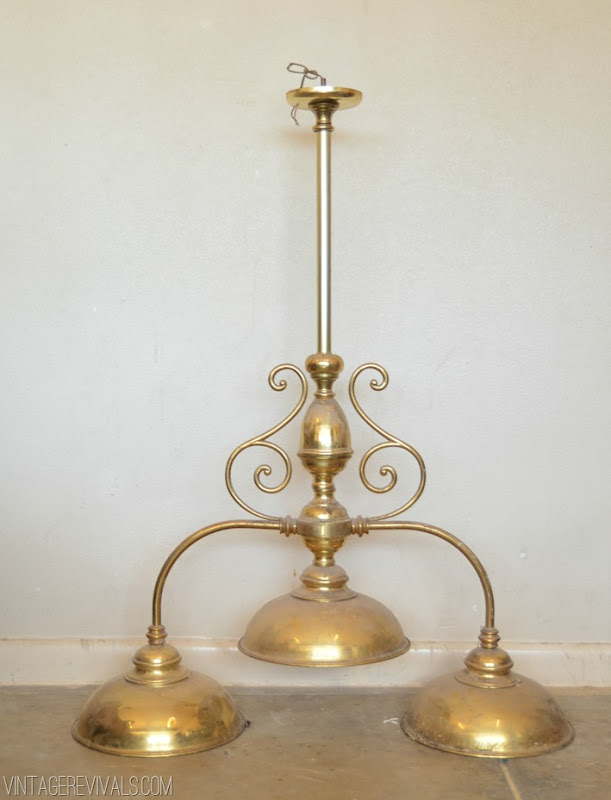
Next is a old brass billiard light. I bought this baby a year and 1/2 ago and I still love it just as much as the day we met. I am hoping to put it in my kitchen, the problem is that my ceilings are so tall, that it looks too short. Oh and the builder didnt center the light in the eat in area of the kitchen on anything…so the junction box needs to be moved. Court is excited about that. So I am still working out the logistics, but I am not ready to give up yet.

Brass Light


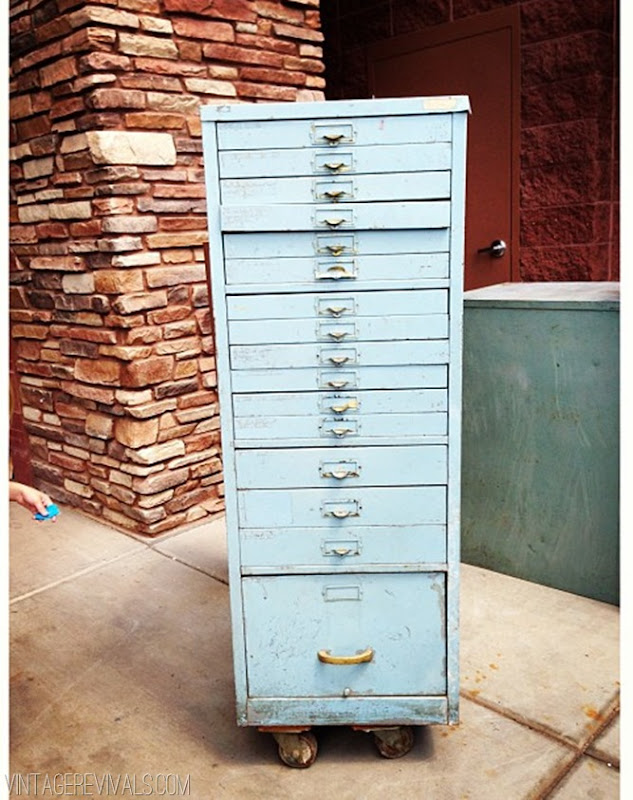
Last is a recent ReStore find. Last week I stopped by for a quick run through. As I was pulling out, their truck was pulling in. Latched to the back corner I saw something that was the best vintage powder blue, I knew it had to be life changing. So I flipped my car around and went to check it out. Originally they were not going to sell it, but I passed along my phone number and said if they wanted to I would buy it in a second. Later that day Tat sent me a text letting me know it was avaliable. At $79 it wasnt the cheapest thing that I have ever purchased, but it is just SO amazing, I knew I would kick myself for years if I passed it up.

1238841_575789712477812_515692103_n


Now is the really fun part. If you are on Instagram snap a picture of your most treasured piece(s) and tag it with #colddeadfingers. I LOVE seeing what your favorite things are and I know everyone else does too! In a week or so I will do a wrap up post and share my favorites!

Love Your Guts

Saving My Marriage, One Light At A Time.

By Mandi | 08/29/2013 | 12 Comments

Please tell me that I am not the only person on this earth that unintentionally makes my husband curse my name.

It is a given that if Court comes home from work and the garage light is on, he is not going to be happy about it.

IMG_2311

For 3 reasons.

1. If the garage light is on, it means that I have been inside…which only happens if I am buying furniture.

2. The light has probably been on for a few hours.

3. I have no idea that it is on, which means when he asks me about it,  it is a dead giveaway that I had no intention of turning it off.

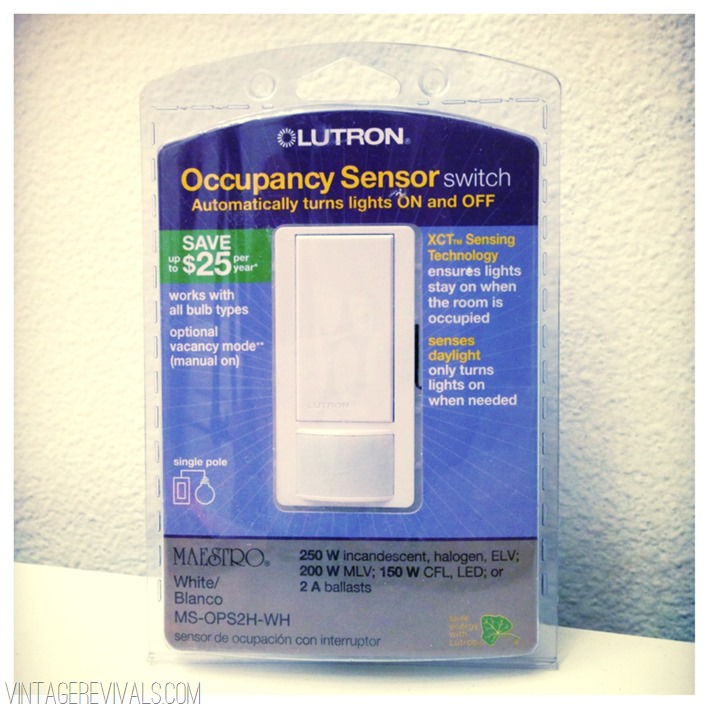
When Lutron asked if I had a place in my house to install their Occupancy Sensor light switch, my garage was the first place that came to mind.

IMG_3631

Look at you Lutron, making me look like I am not still hoarding things and being all ecologically responsible. We are now in love.

Installing a light switch is actually extremely simple. I made you a video. Because it is just that easy.

“;” alt=””>


Now,  because life isnt all roses and spray paint, I just want to give you a heads up. These programmable light switches need to come with um… a word of warning.

I installed one in my Master Bedroom and had it programmed wrong. To the tune of every time Wallace jumped off the bed, or Dylan sat up,  the freaking light turned on (this was uber frequently because she was still trying to adjust to the giant cast from her broken arm). By the next morning I was ready to rip it out of the wall and HURT someone with it.

So I emailed my girl Britt, and I was like “Dude. I know that something is wrong, because this is not a good business model. People need their sleep.” She explained that when the light is in a high traffic room, you need to set it to Vacancy Mode (which is Manual On and Auto Off) so just be aware of that little ditty,  unless of course you enjoy being a raging sleep deprived zombie. Then keep it on Occupancy Mode. And stay far far away from me. Now that mine is reprogrammed I love it.

I will update you guys in a month and let you know if the light in the garage situation has made Court’s undying love for me even stronger.

If you are interested in your own Lutron Love Switch make sure you use the coupon code wholeftthelightson to save 25% and get a free wall plate at LutronStore.com

Love Your Guts


This post was a collab with Lutron,  all opinions are 100% mine.

Basic DIY: How To Make A Rug With A Paperclip

By Mandi | 08/28/2013 | 58 Comments

Alternate Title:  Your new name is (insert first name until after the first syllable and then add Gyver to it.)  You are caught in the biggest design dilemma of your life. With no way out. You have to save an entire room design with a single paperclip. This is what you do.  I mean, it may be a little long, but it totally would work right?!

If your name is Mandi your McGyver name is MaGyver. Coincidence? I think not. (I will thank you later Mom!)

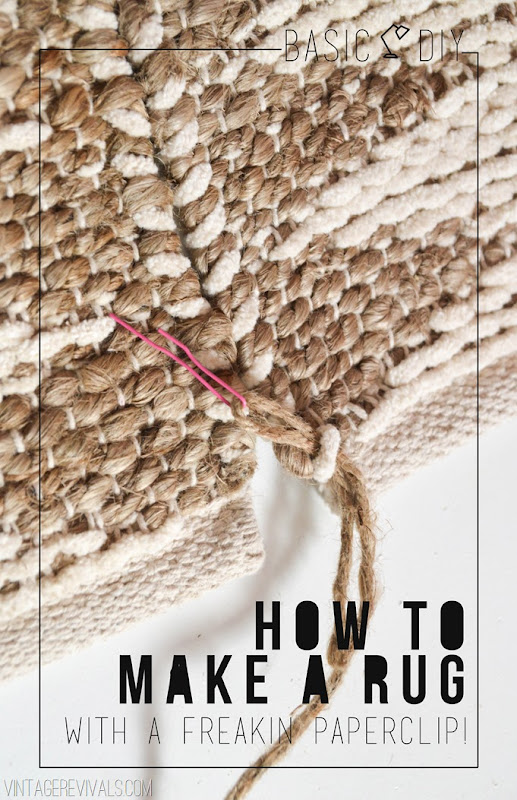
Basic DIY How To Make A Rug


You may be wondering why making a rug is a Basic DIY. The good news? We are not talking major rug making. (if you are feeling extra motivated check out this post on how to really MAKE a rug.)

We are talking, you have a funky size requirement, or can’t find a rug in the size/color/pattern that you are dreaming of, or want to be cheap.

Or if you are feeling extra unlucky all 3.

I dont know about your Homegoods/TJ Maxx but every one that I seem to visit have the same situation going on. Big rugs? None. Small Rugs? 5 zillion. Those are not good odds my friends. And living in Southern Utah, where my options are HG or Target, sometimes you have to let your inner McGyver duct tape his way into your heart.

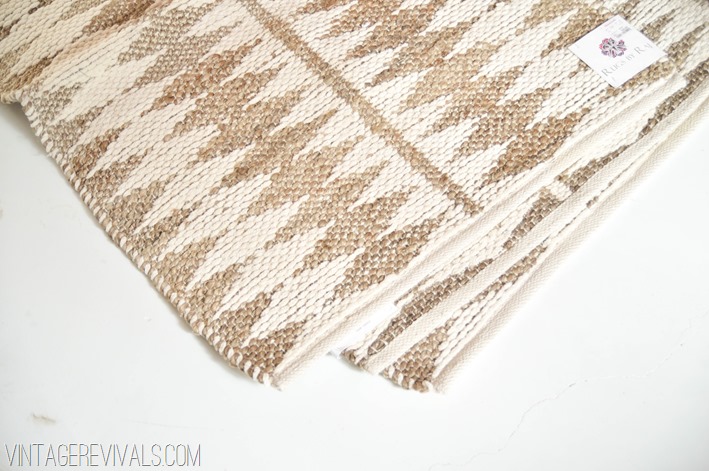
To make a rug you will need at least 2 smaller rugs, but up to as many as your little heart desires. If you have a large area to fill then you will need more.

How To Make A Rug vintagerevivals.com

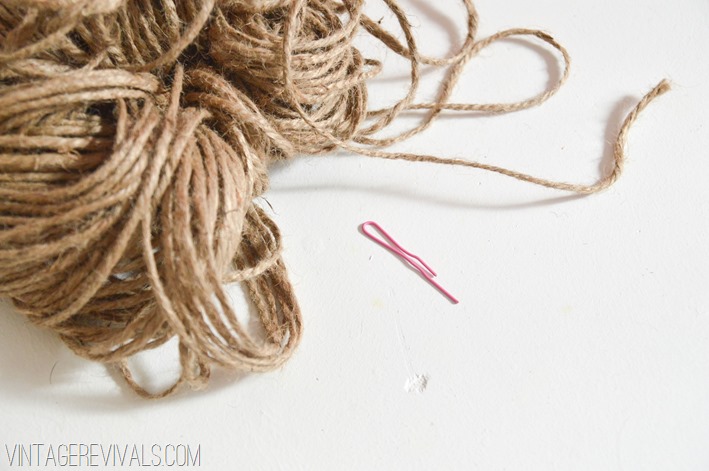
1 roll of heavy duty twine

1 small paperclip bent in 1/2

How To Make A Rug vintagerevivals.com-8


The best rugs for the job are ones that are flat woven. They make this project much easier. And they are reversible, so all is not lost when your kid *cough* husband spill something on it.

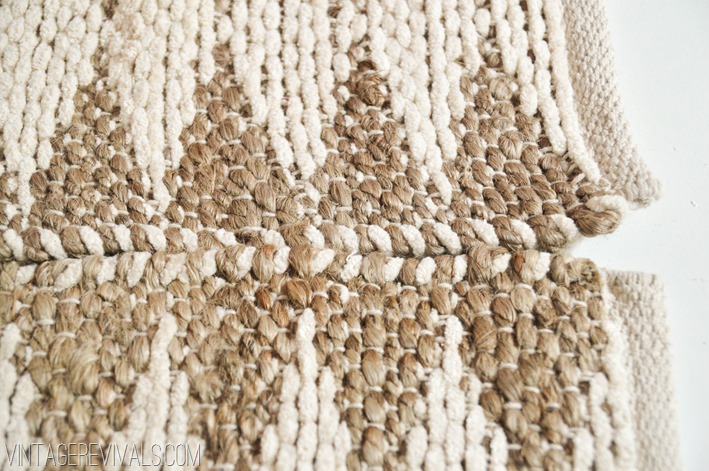
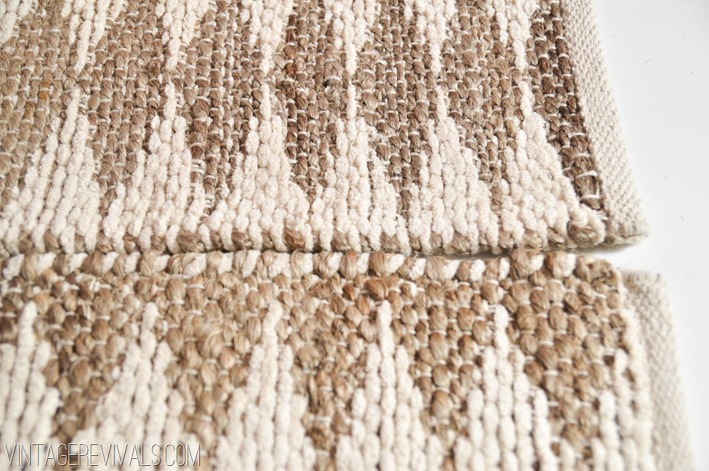
Make sure that your pattern lines up and that you are using the same side of the rug if you are going for a continuous pattern.

Like this:How To Make A Rug vintagerevivals.com-3

Not like this:

How To Make A Rug vintagerevivals.com-6


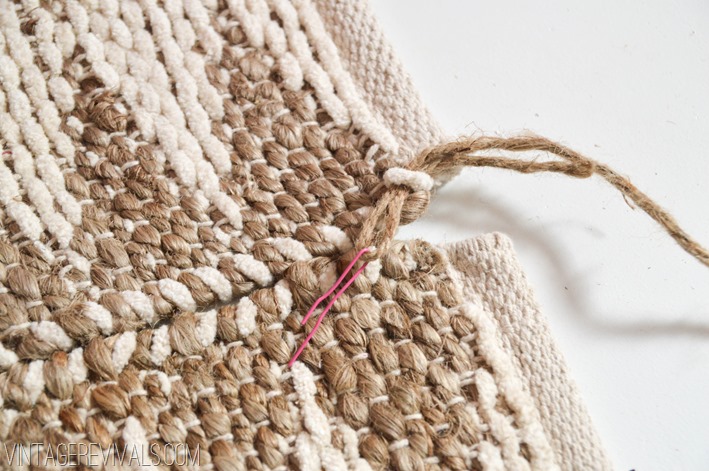
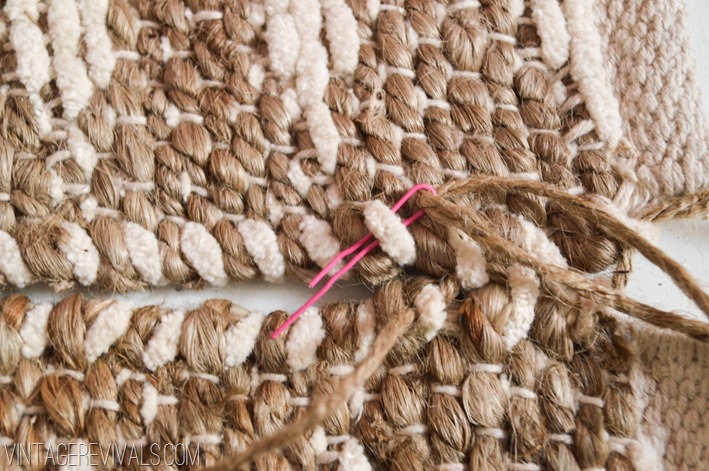
“Thread” your paperclip with the twine. Push it through one of the end loops of your rug. Pokey ends first. *If you have a knitting needle that will absolutely work too. But for my life, this is what tends to happen.

How To Make A Rug vintagerevivals.com-9

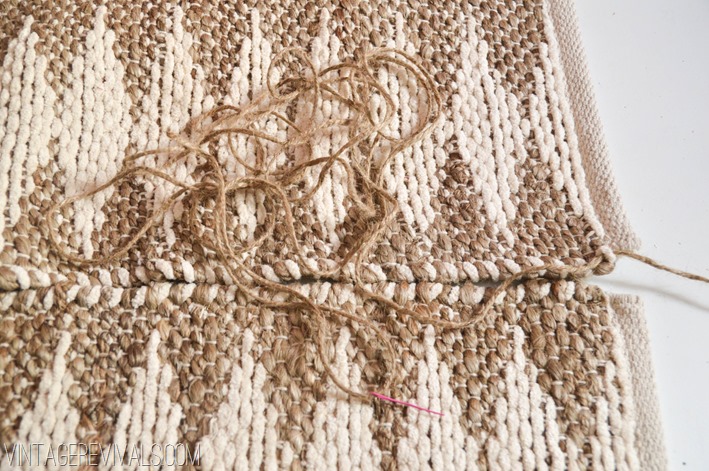
Pull enough of the twine through the loop that you will be able to stitch the entire length of your rug. Its much easier to do this now than to try and coax it through 39 loops.

How To Make A Rug vintagerevivals.com-10

Feed it through a loop on the other rug. Keep it uniform and pretty,  it looks better and is easier that trying to skip around. I did mine through all of the white cotton loops.

How To Make A Rug vintagerevivals.com-13

This is a great project to do while you catch up on your fave tv show or all of the news coverage about Miley’s Twerking fiasco.

To finish it off just knot it a few times and cut your twine.

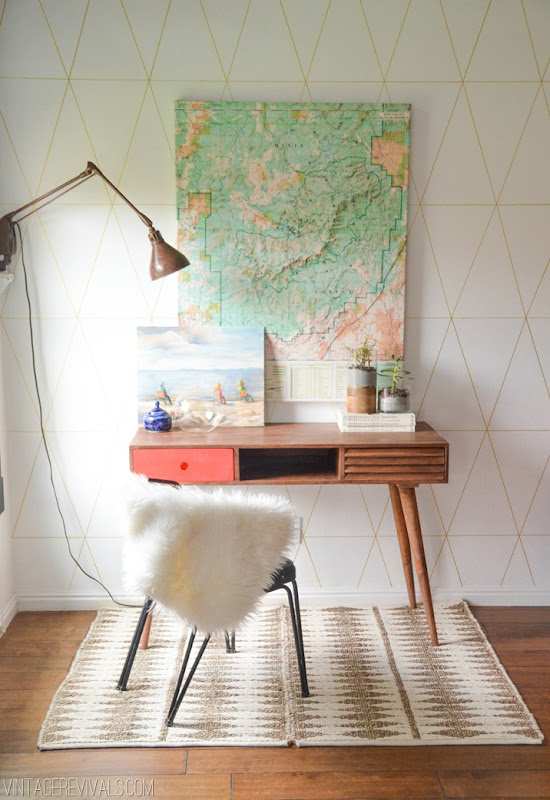
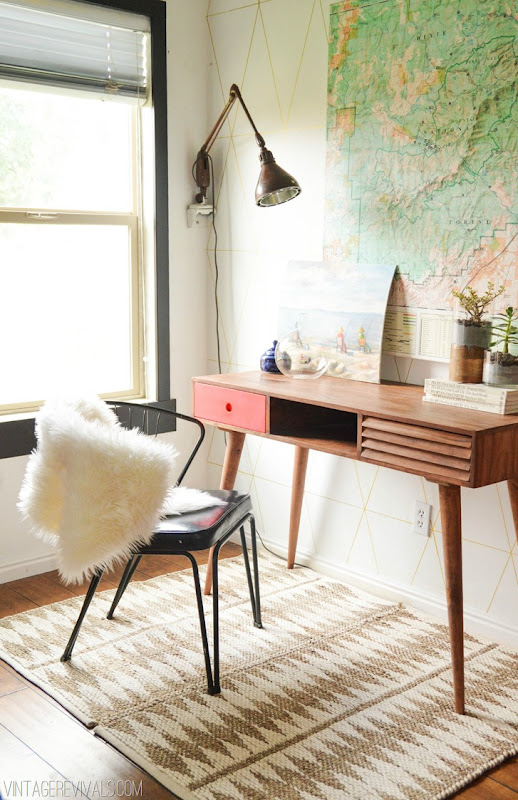
I made my rug to fit this hard to fit space in my living room.

How To Make A Rug vintagerevivals.com

How To Make A Rug vintagerevivals.com

It totally brightens up the corner, compared to the last one that I had there.Geometric Wall Living Room Makeover @ Vintage Revivals

How To Make A Rug vintagerevivals.com

Each of my rugs were 2.5×4 so my finished rug size is 4×5 and it is just the right size.

And the other good news? You now have a McGyver name. Which basically means that you are cooler than roughly 79% of the population.

#congratulations

Love Your Guts