This project is sponsored by The Home Depot
This may come as no surprise, but do you know what one of the realities of living in an old Mercantile store is? People still thinking it’s a store! Hahaha!!
Ok, now hear me out, I GET IT. It’s an unusual situation and I have zero hard feelings about it. But over the last 3 years I’ve struggled to find a way to make it clear that our parking lot isnt a public parking lot, and that our property isn’t a photographer’s dream free-for-all. Every one I’ve ever spoken with has stated the obvious “Put up a sign” but I needed to find a way to make it not aggressive, not ugly, and still super clear. So I’ve wrestled with it. Finally I figured out the right solution.
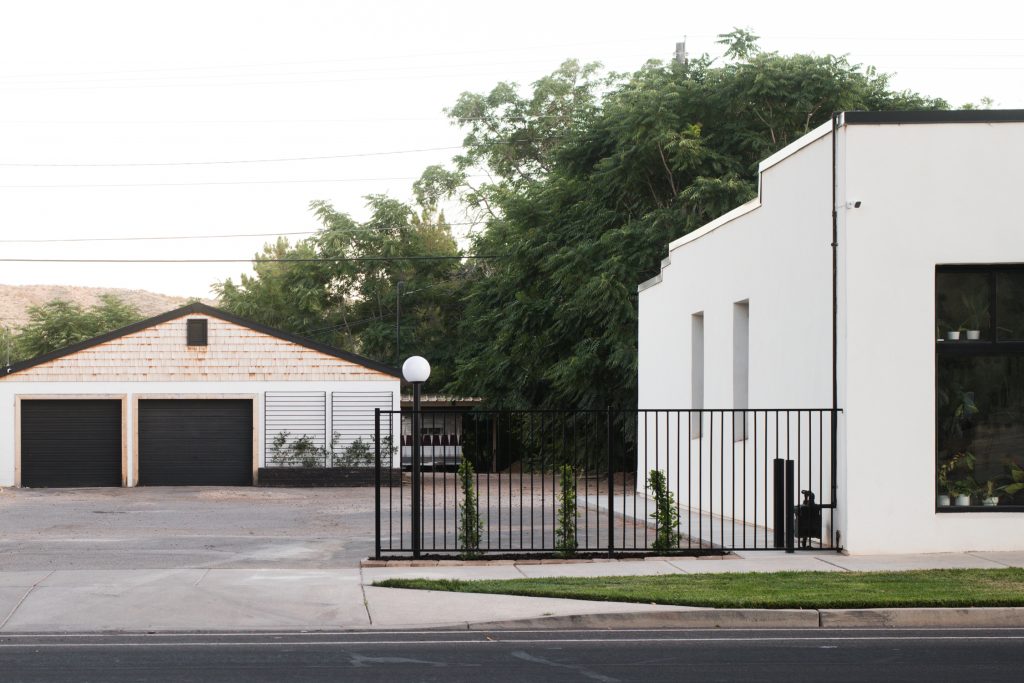
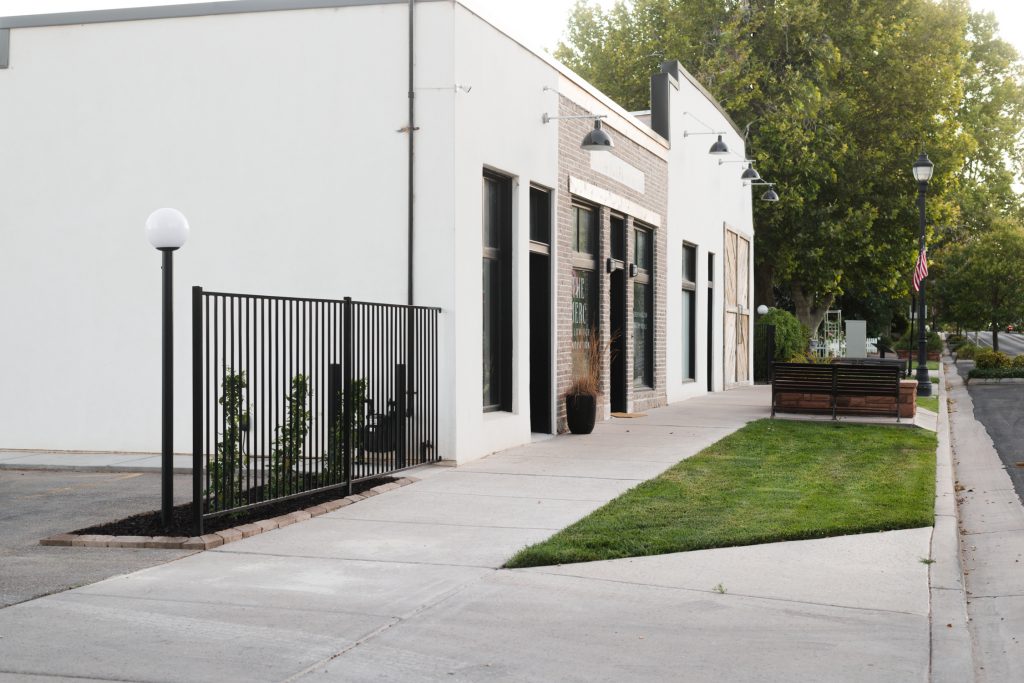
When you are looking at the space, you can see that the grass on the other side of the sidewalk extends pretty far into the parking lot.
The idea of visually closing that gap with a fence felt like it was making the parking lot less expansive and inviting. It also gives me somewhere noticeable to put a sign and lighting! Oh and plants, always plants.
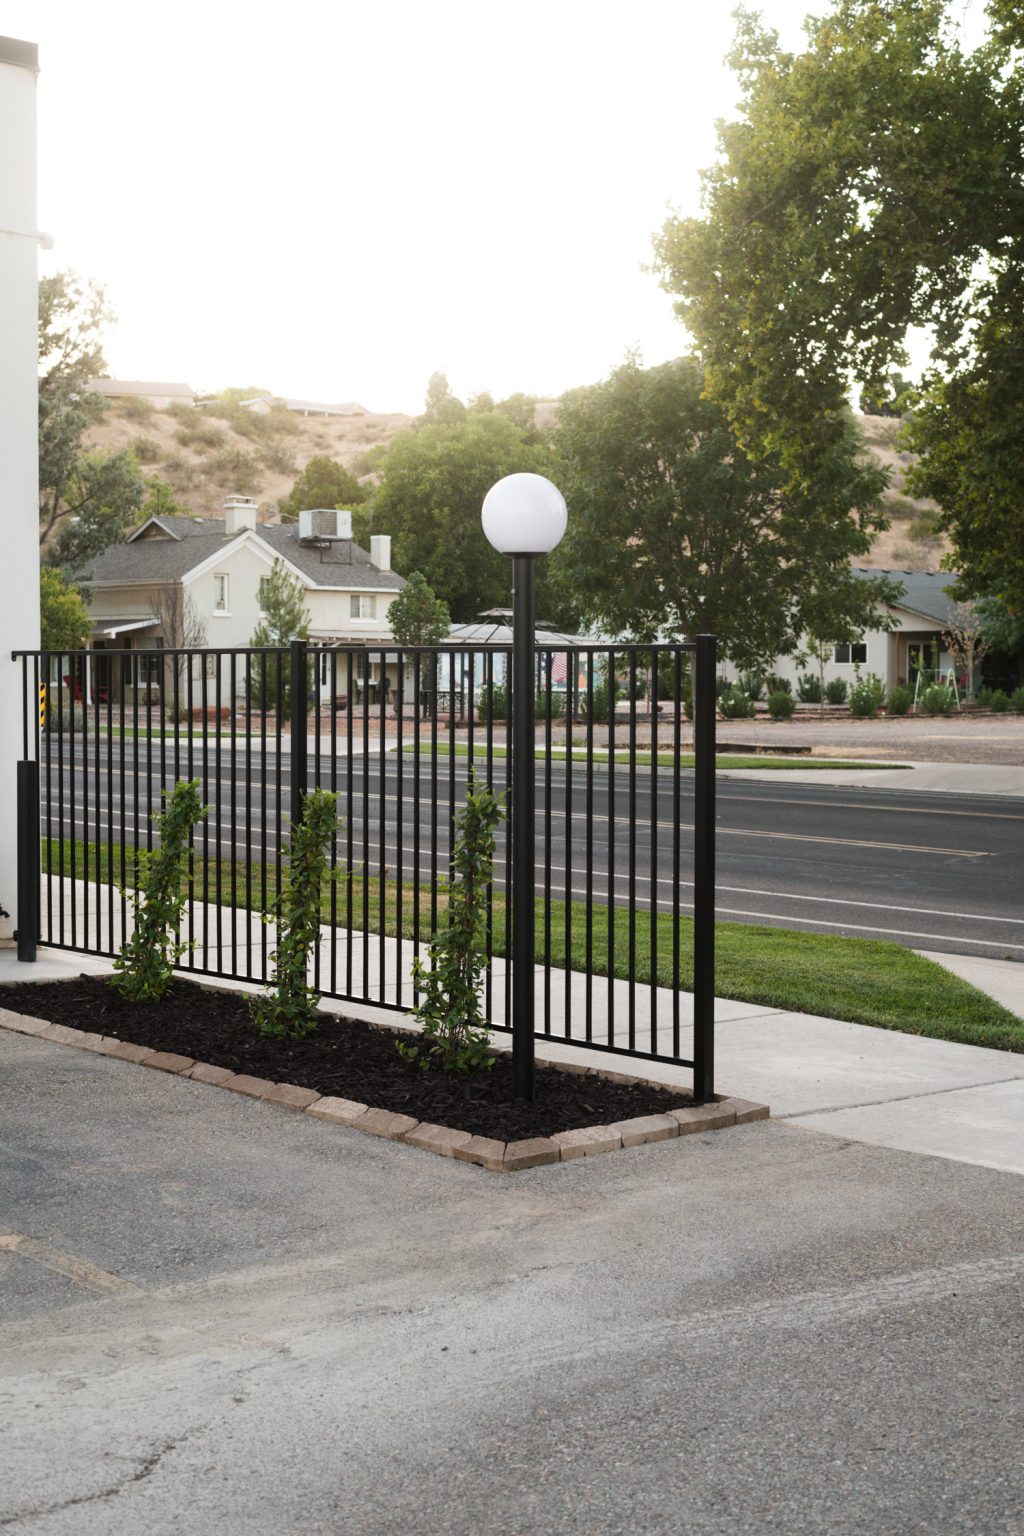
This is where the privacy fence planter bed came to life!
I am BEYOND obsessed with the black steel fence panels that are frequently in stock at Home Depot, you can check to see if your local store has them here! We used them at the Granary to fence off that portion of the property, for the loft in our playhouse, and we’ve even hacked them into modern trellis planters for our climbing plants. Naturally they were the obvious choice for this project. They are modern, classic, simple, and absolutely perfect for any style of house. Not many things are as versatile as these fence panels, they are like a perfect black t-shirt that goes with everything!! If you are on the fence (pun intended) about the right fence for your property, this is my eternal recommendation!
So let’s get into this project!! I have this whole thing saved in a highlight reel on Instagram if you want to check that out! Part 1 and Part 2
Cutting and Removing Pavement
You’ll need:
Chalk line
Concrete Saw
Pick Axe
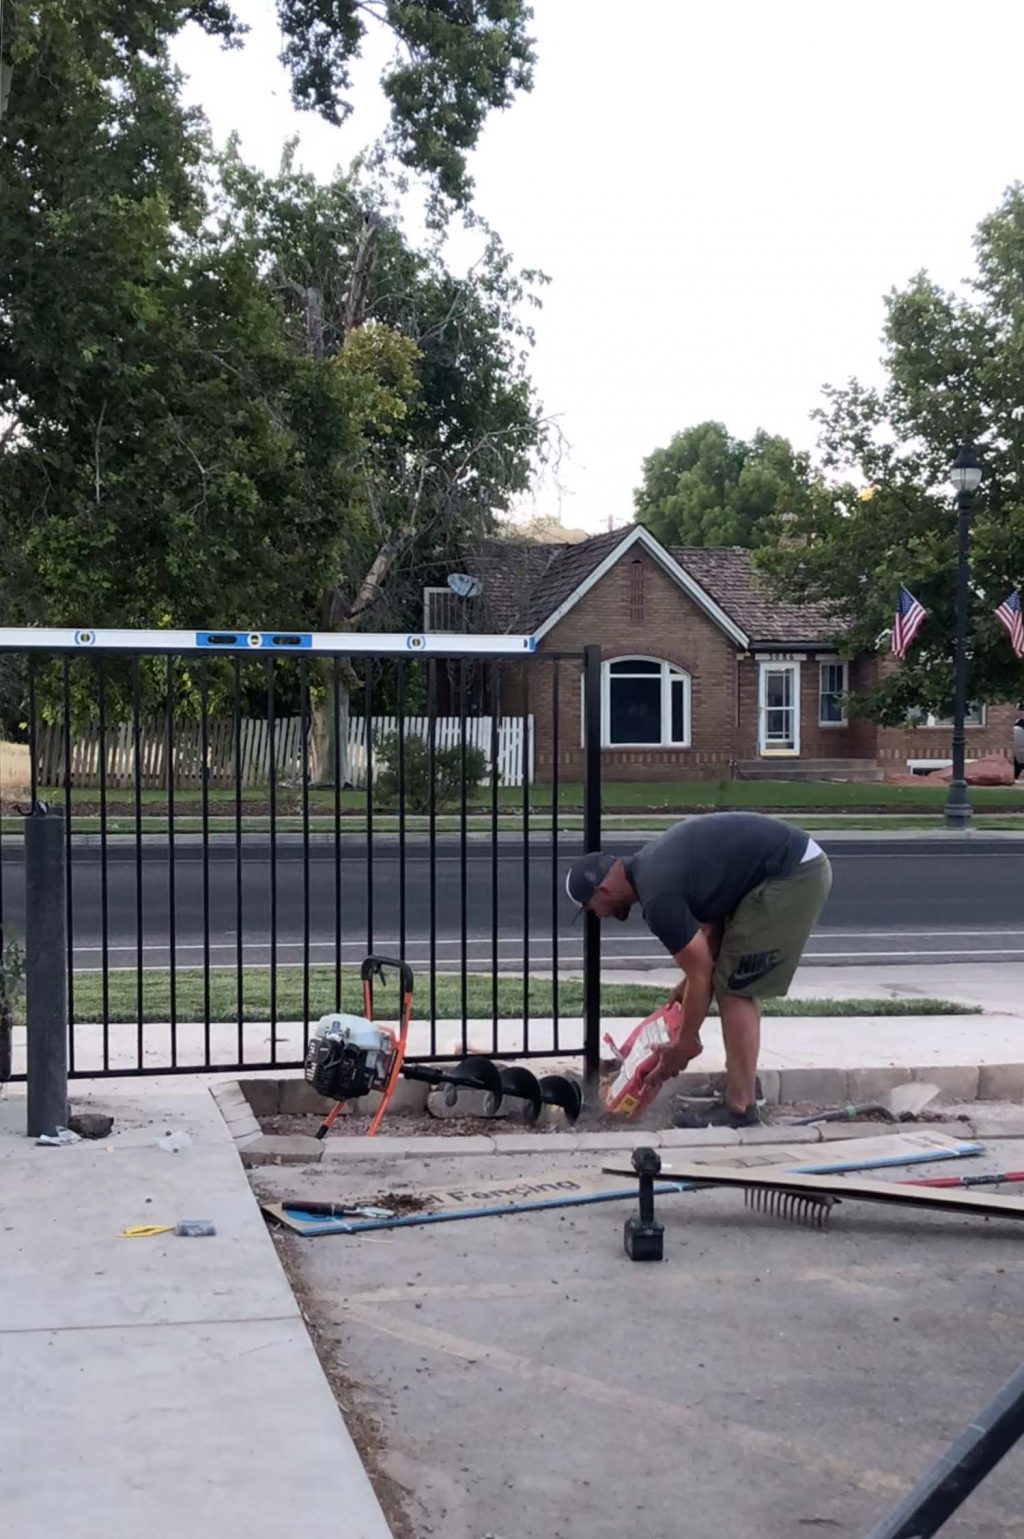
First thing was to remove the pavement in the planter area. Guys, I dont know why Court is still married to me. It was SO HOT the week we were working on this project (110+) and yet, he goes along with the hair-brained ideas. Man, he’s the best!!
Tool Rental
For this project, we used a handful of unusual tools that arent something most people need to have on hand. If you are lucky enough to live by a Home Depot that has tool rental, you can find anything there, including a concrete saw and Auger (aka the post digger)
We started out by marking with a chalk line (and later a piece of tape because the chalkline washed away! 😂) The size was based on the planter beds at the Granary, I wanted the lamp post to have the same spacing as the ones at the Granary.
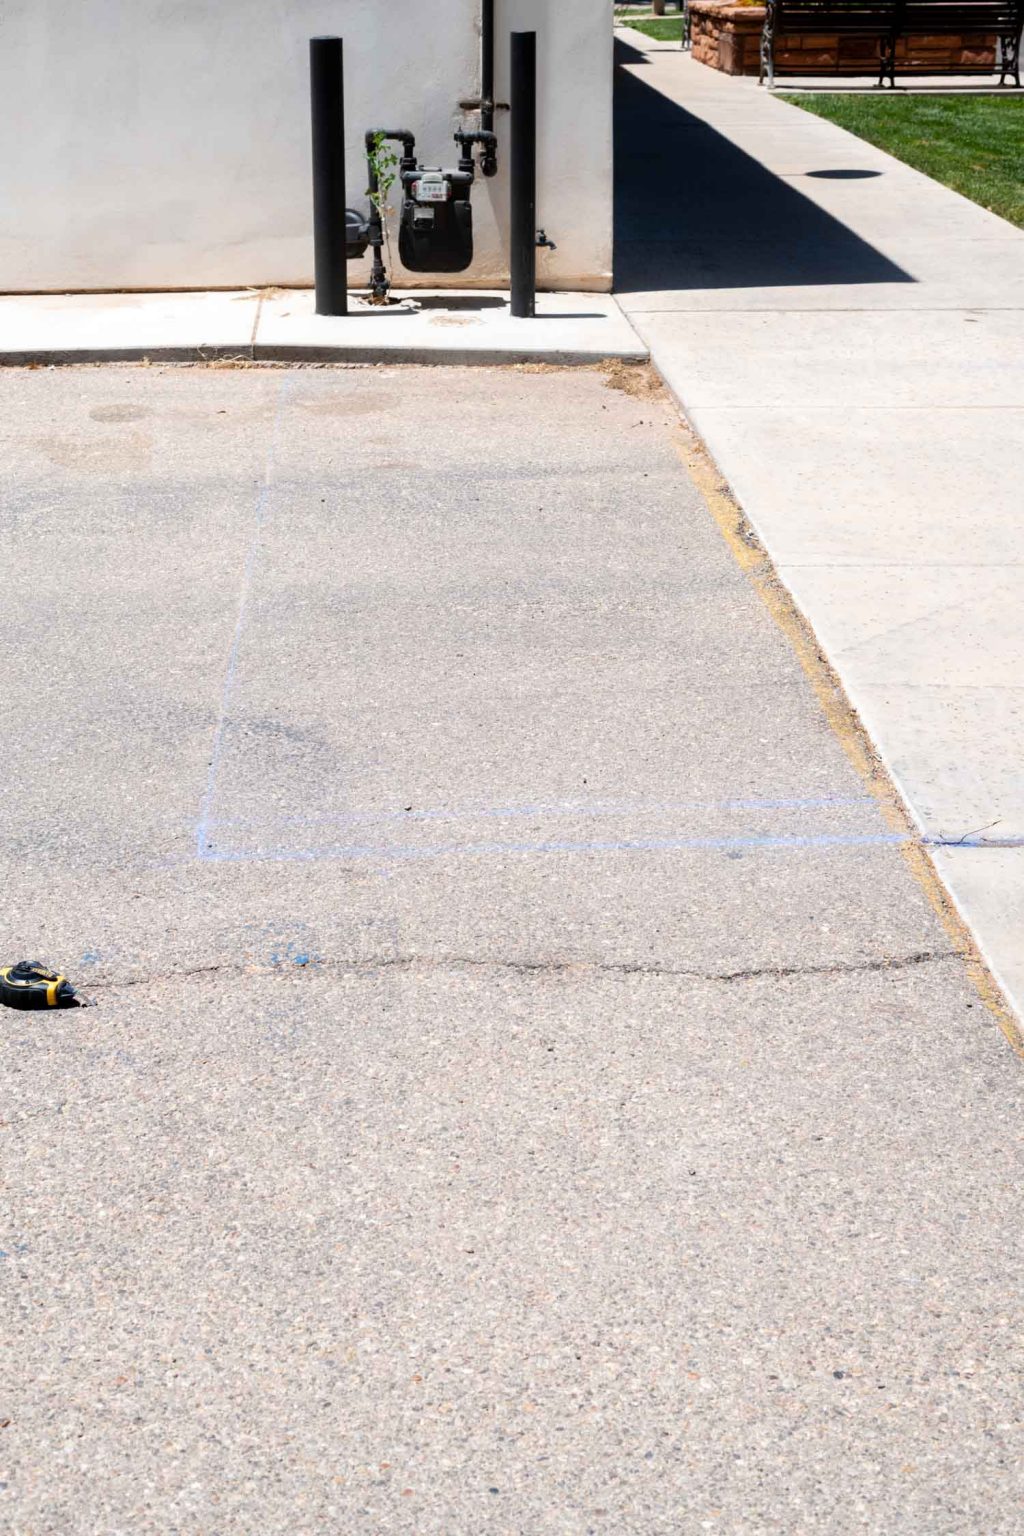
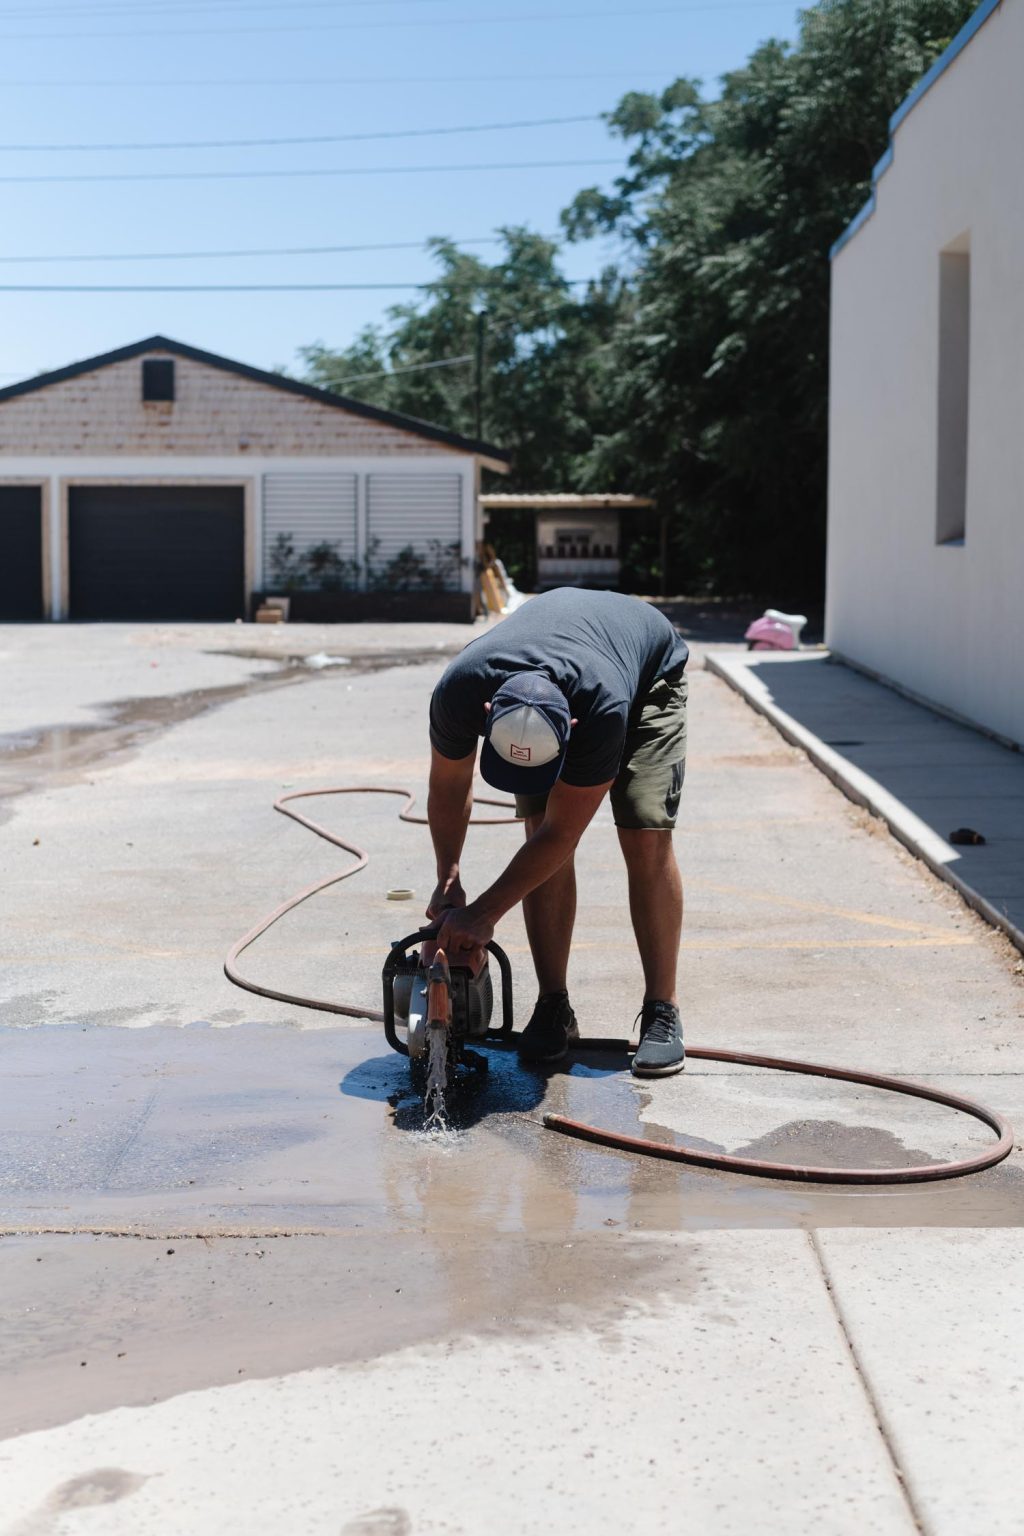
After the chalkline was marked, Court scored the perimeter with the concrete saw (this makes it so much easier to make deep cuts because you dont have to worry about chalk/tape washing away!)
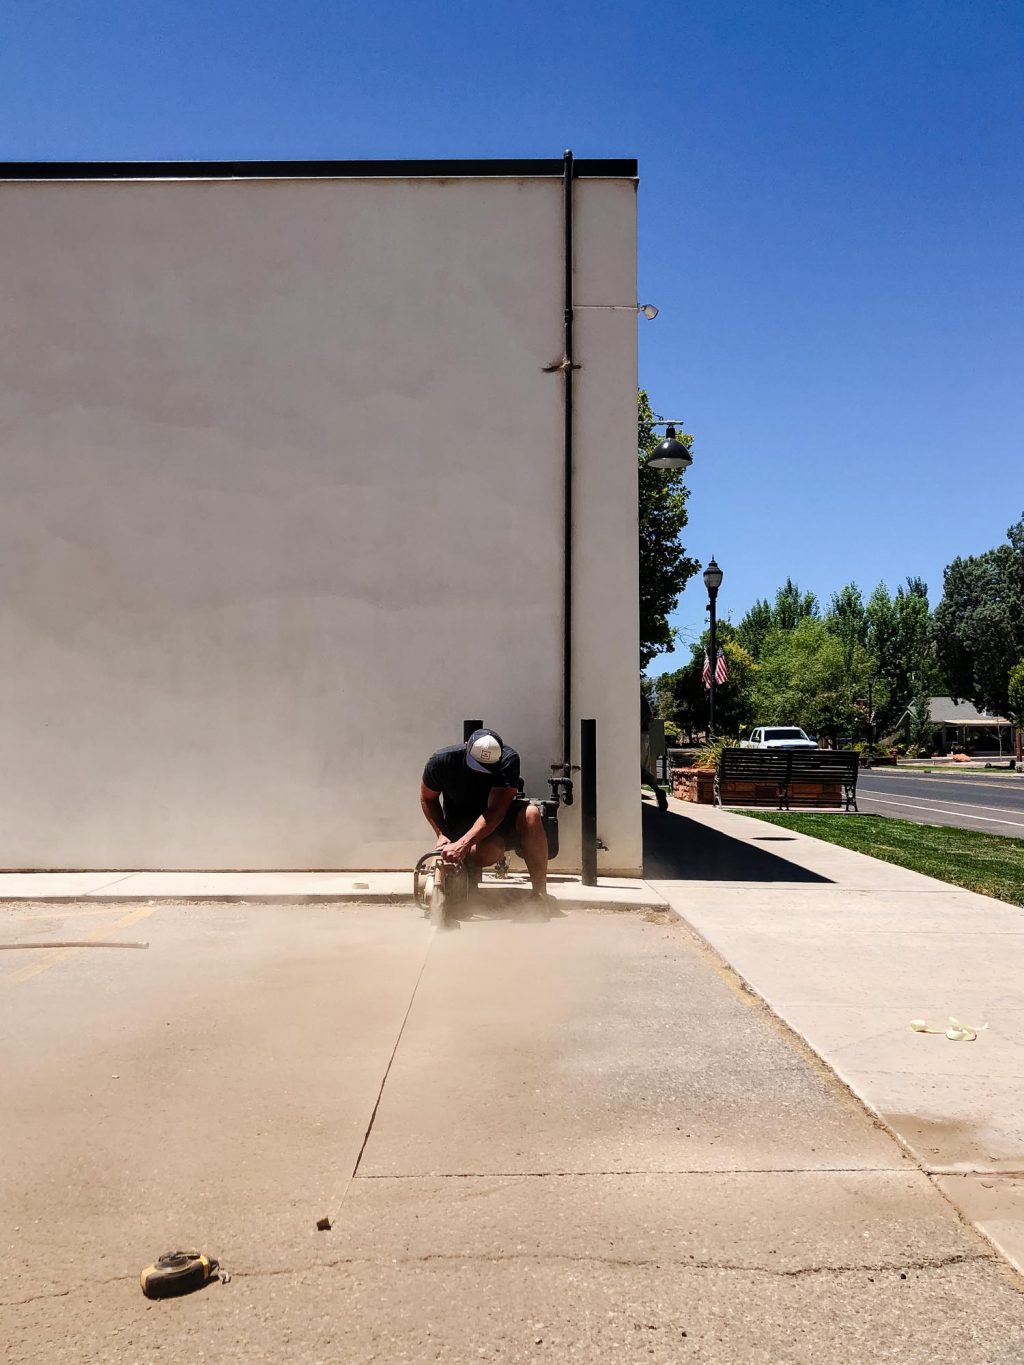
Once the perimeter was cut, Court cut a smaller grid into the pavement so we could easily (they were still super heavy!!) remove small sections. Think chocolate bar style. Always use water when you are cutting concrete, it keeps the dust away and makes it so that your saw blade lasts longer!
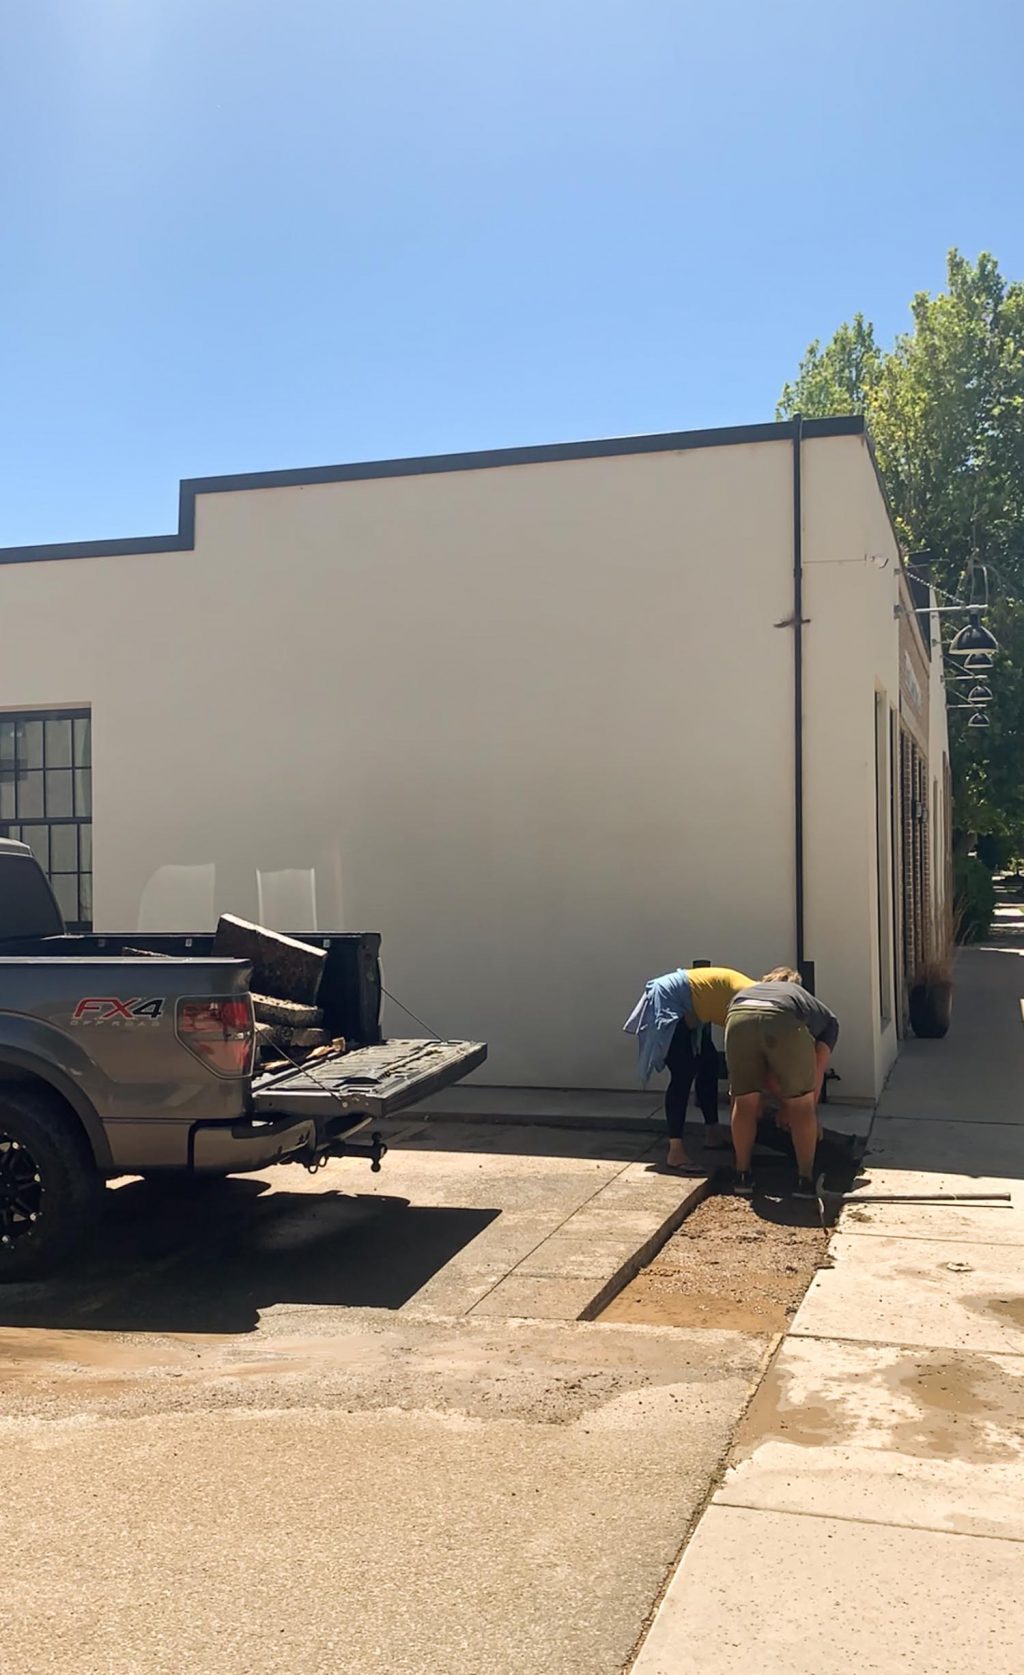
Installing Edgers
You’ll need:
Edgers (these are the ones we used!)
Concrete Saw
The next step was installing our edgers. We used the same ones we put in at the Granary last summer, they are Pavestone Rumblestone Edgers in Cafe. You can see the whole paver install process here!
When you are installing edgers (or pavers!) an important part of the job is to make sure that the dirt is compacted. Luckily for us the dirt was almost as hard as the concrete! We decided to place the edgers before digging it out and replacing it with soil.
Installing the Fence
You’ll need:
Fence Panel
Brackets
Post
Post Digger/ Auger
Level
Fast Setting Concrete
A project like this is perfect for Home Depot’s buy online pick up in store program (they even have curbside delivery at select stores!!) Mostly because there was no guesswork (you guys know sometimes we head to Home Depot with a general idea and work out the details there😂) Our supply list for this project was cut and dry, so I ordered everything we needed on the Home Depot app and they brought it to our truck!!
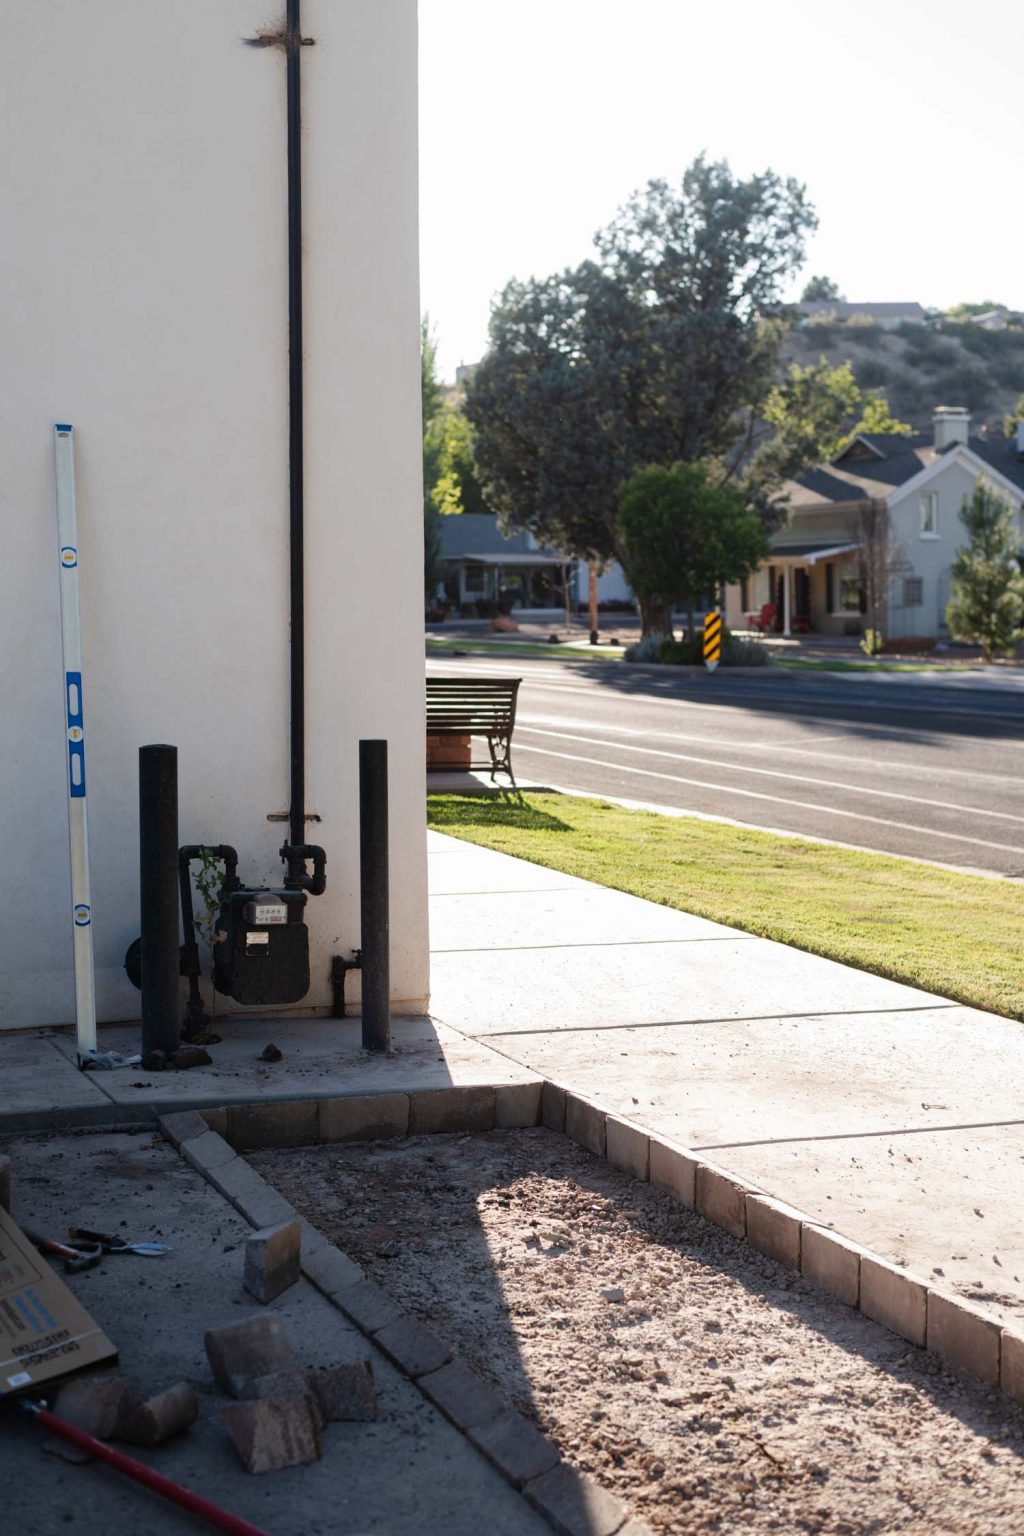
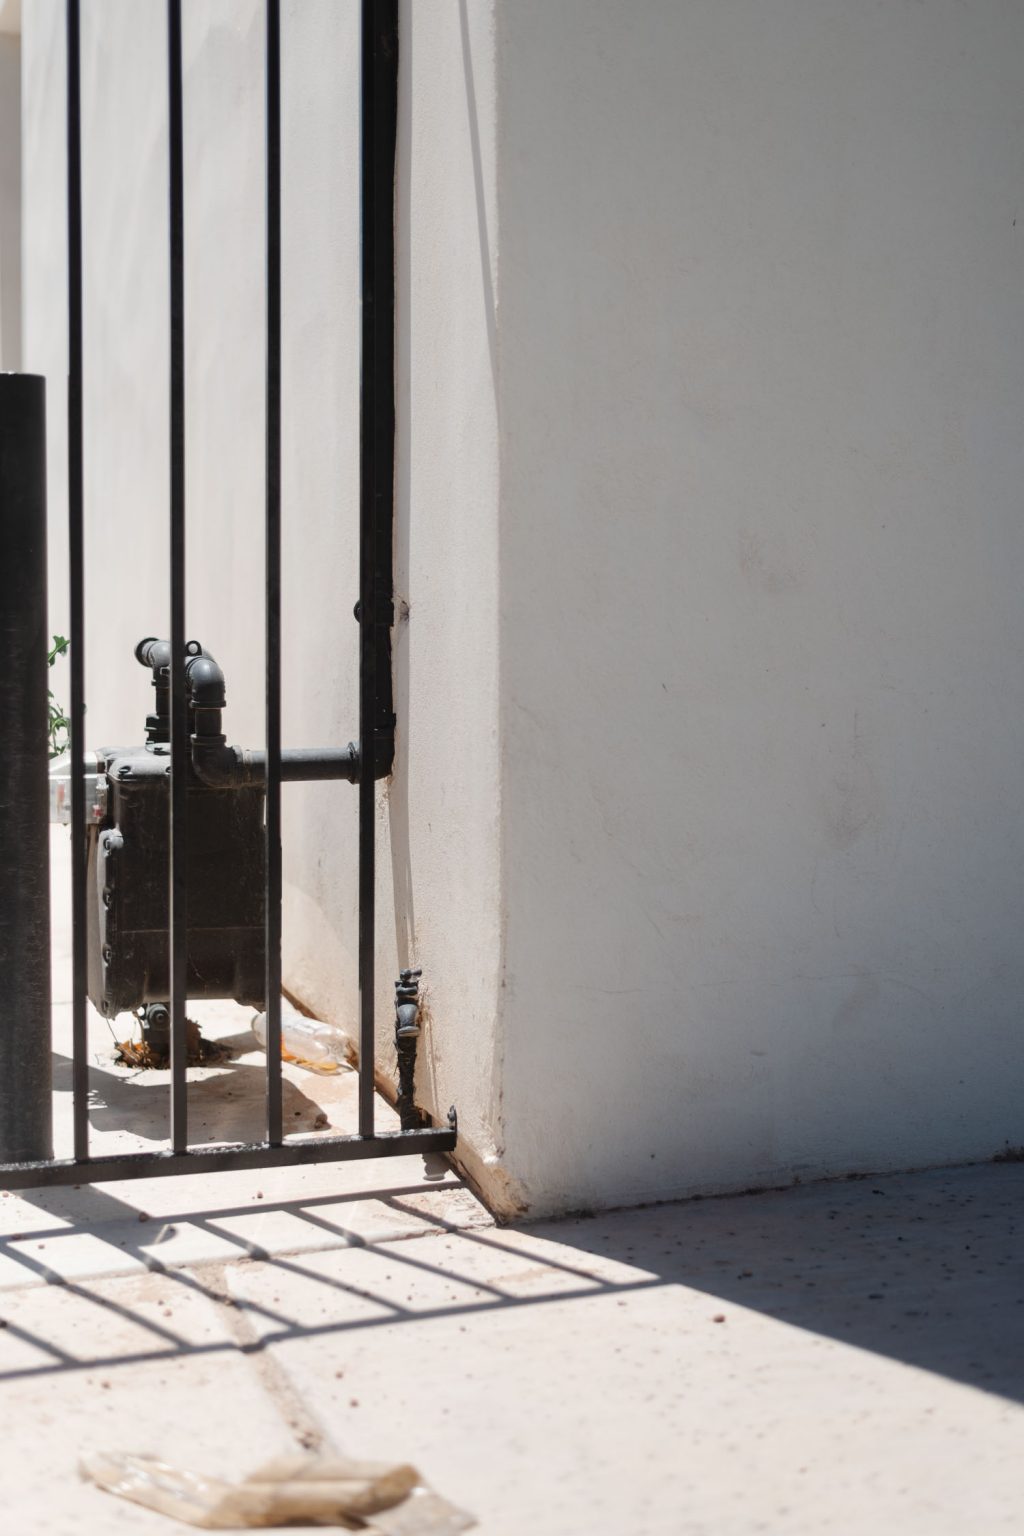
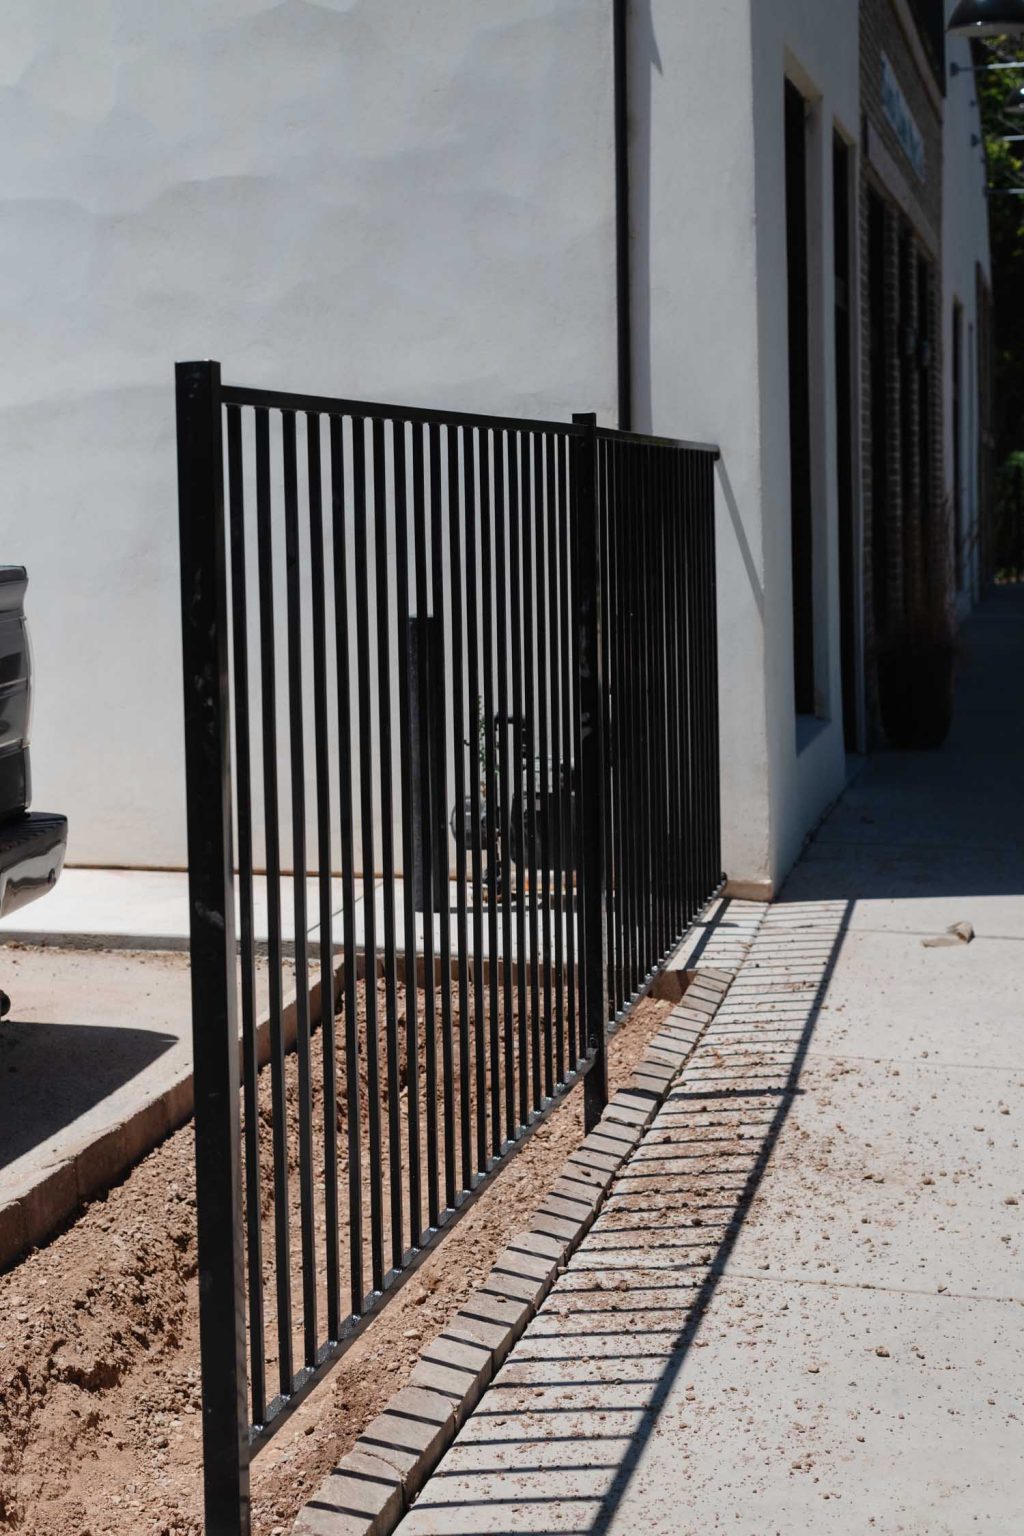
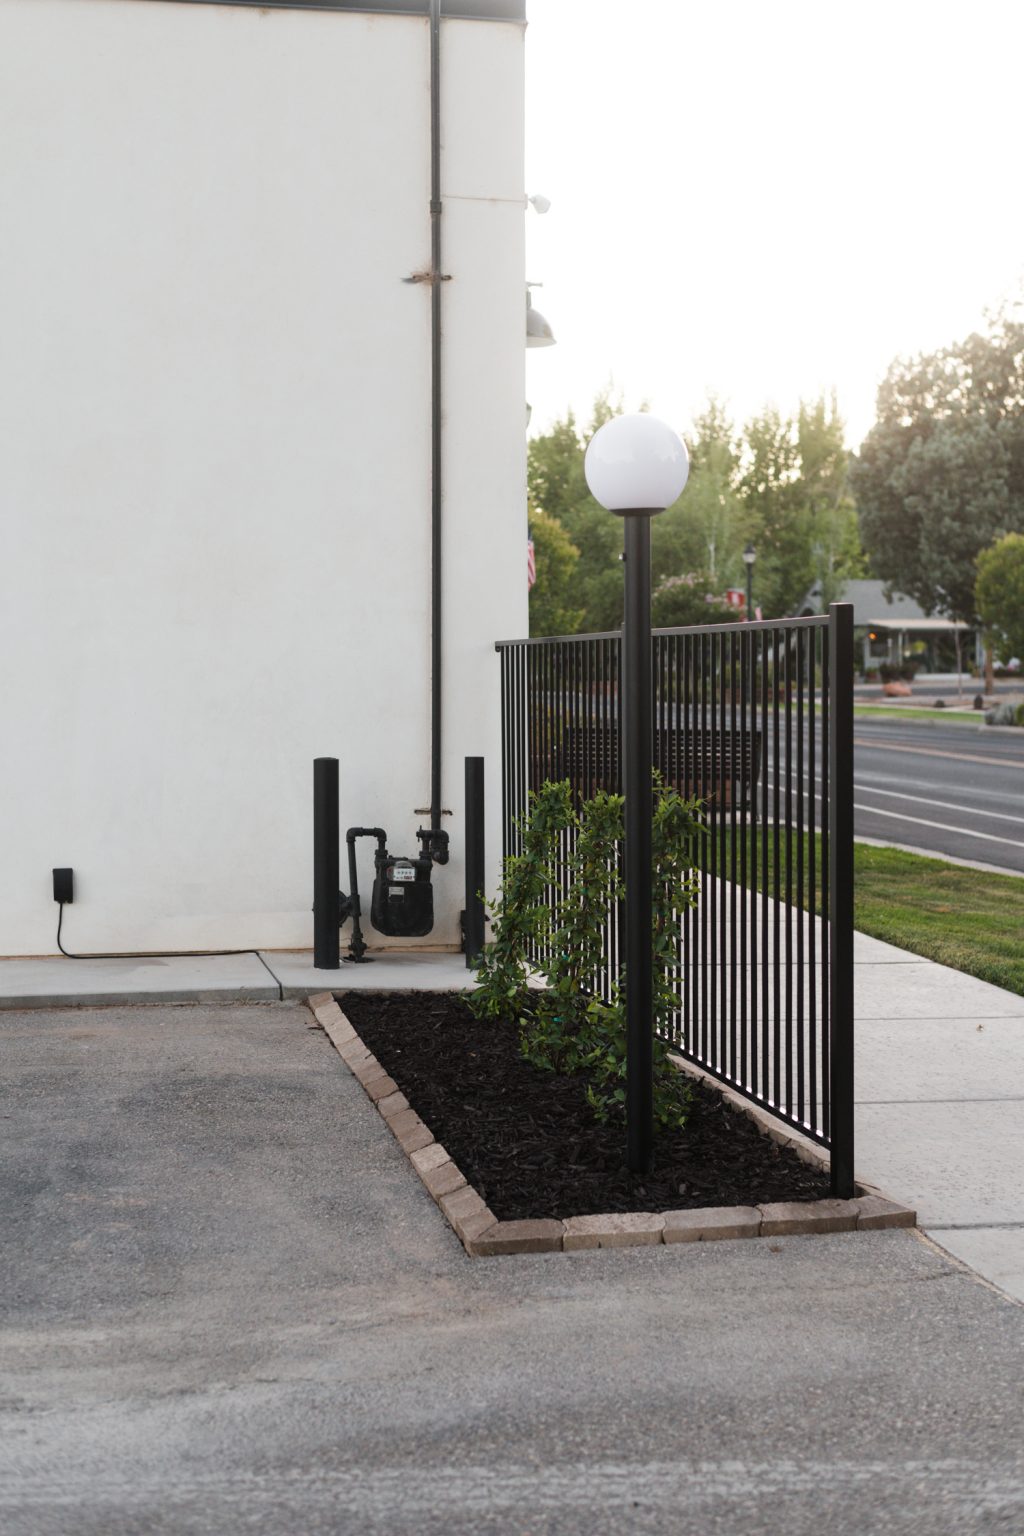
Installing the fence panels came with a few design dilemmas. The sidewalk slopes down, away from the Merc. That means that I had to decide if I wanted the fence panels level across the top, or if I wanted them to be even spaced from the bottom of the sidewalk and match the slope. I have really strong feelings that things should always be level at the top and that the bottom doesnt matter near as much. If you look at the picture below, you can see how the gap grows from about 3″ at the building to just over 10″ at the end of the fence.

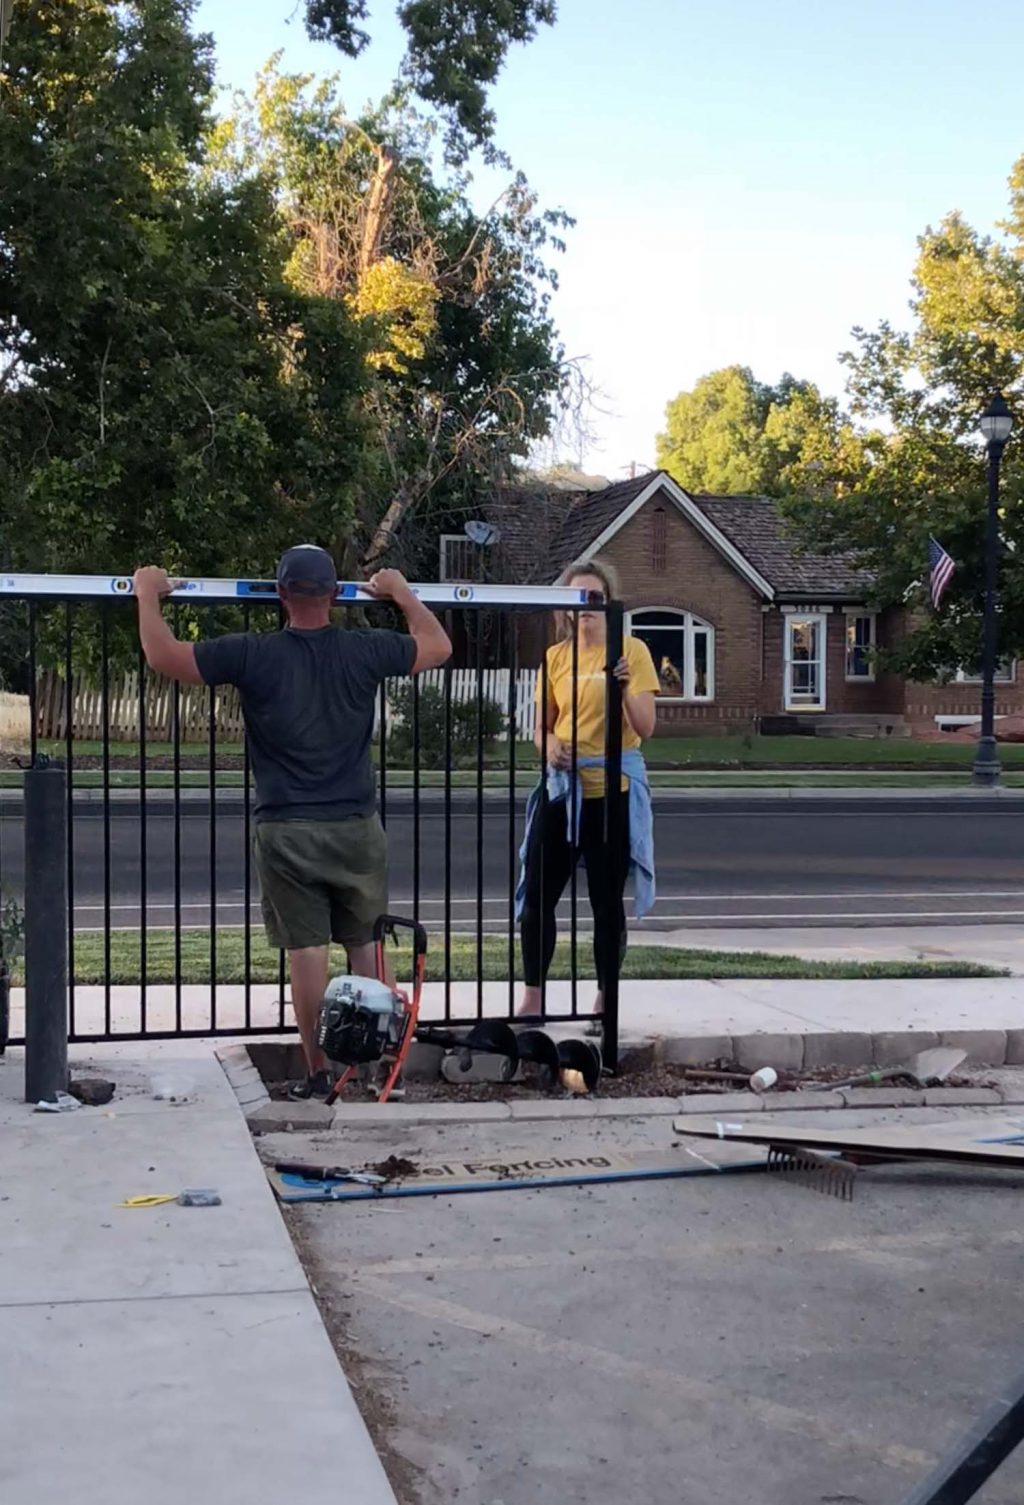
We started by measuring where the brackets needed to be installed on the side of the building. The brackets are sold in packs of 4, one for each corner of the fence. We measured and used the post digger to dig a hole where the fence post needed to be installed, but because the ground slope, we needed to temporarily install the fence panel so that we could level it and set the post to the correct depth.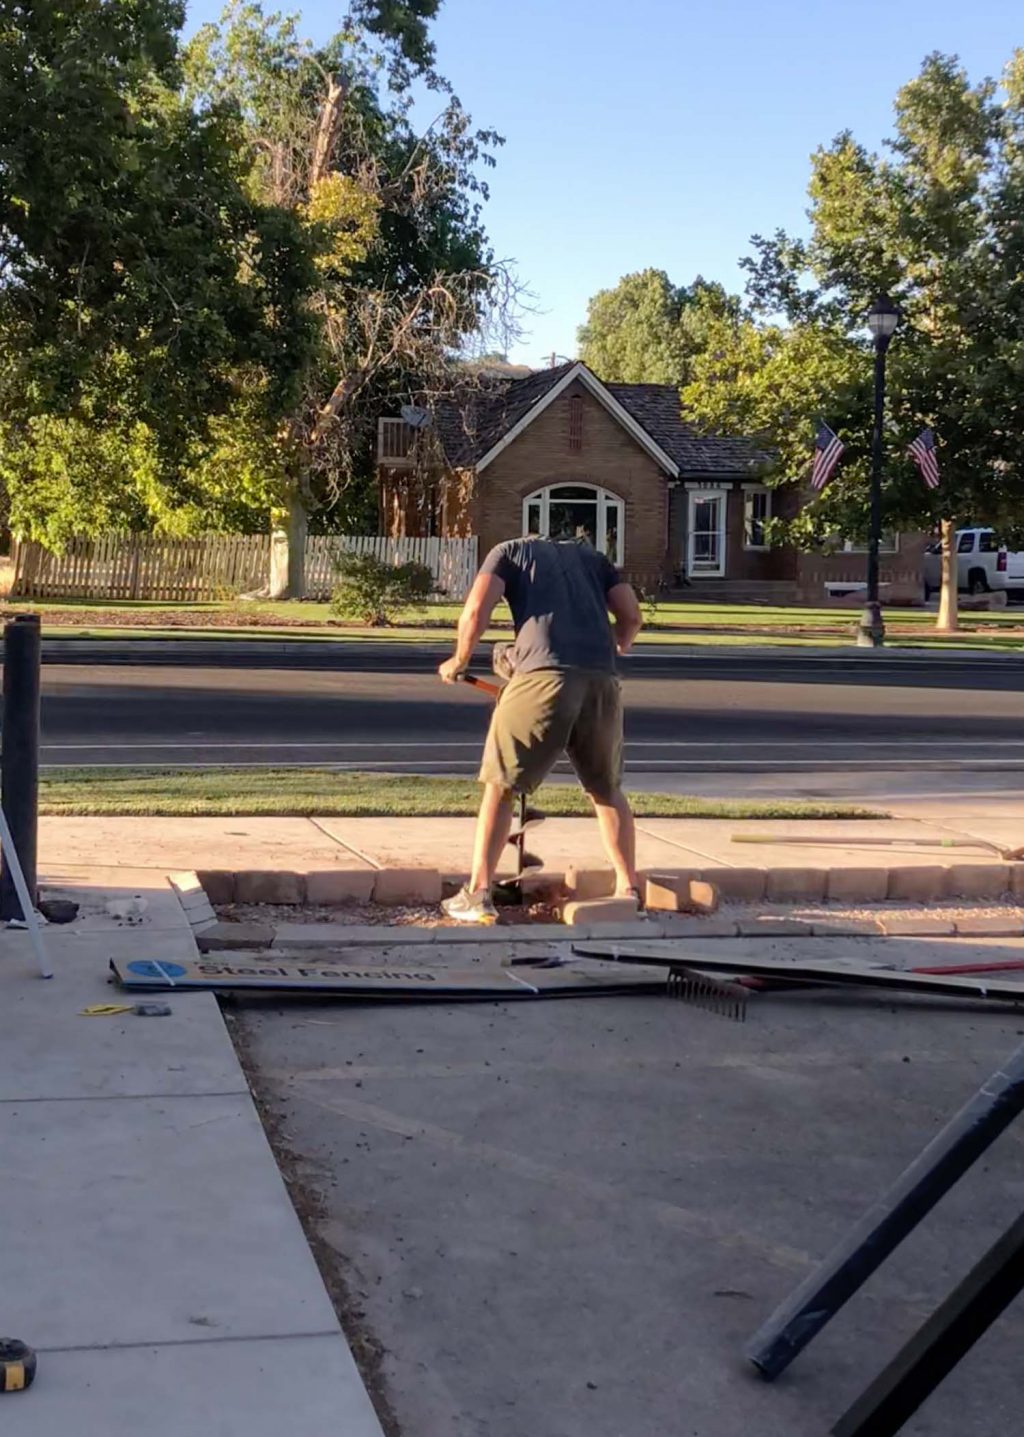
We used extra pavers to support and level the panel (otherwise I would’ve been holding it the whole time! No thank you!!) The magnetic level we used was a game changer!
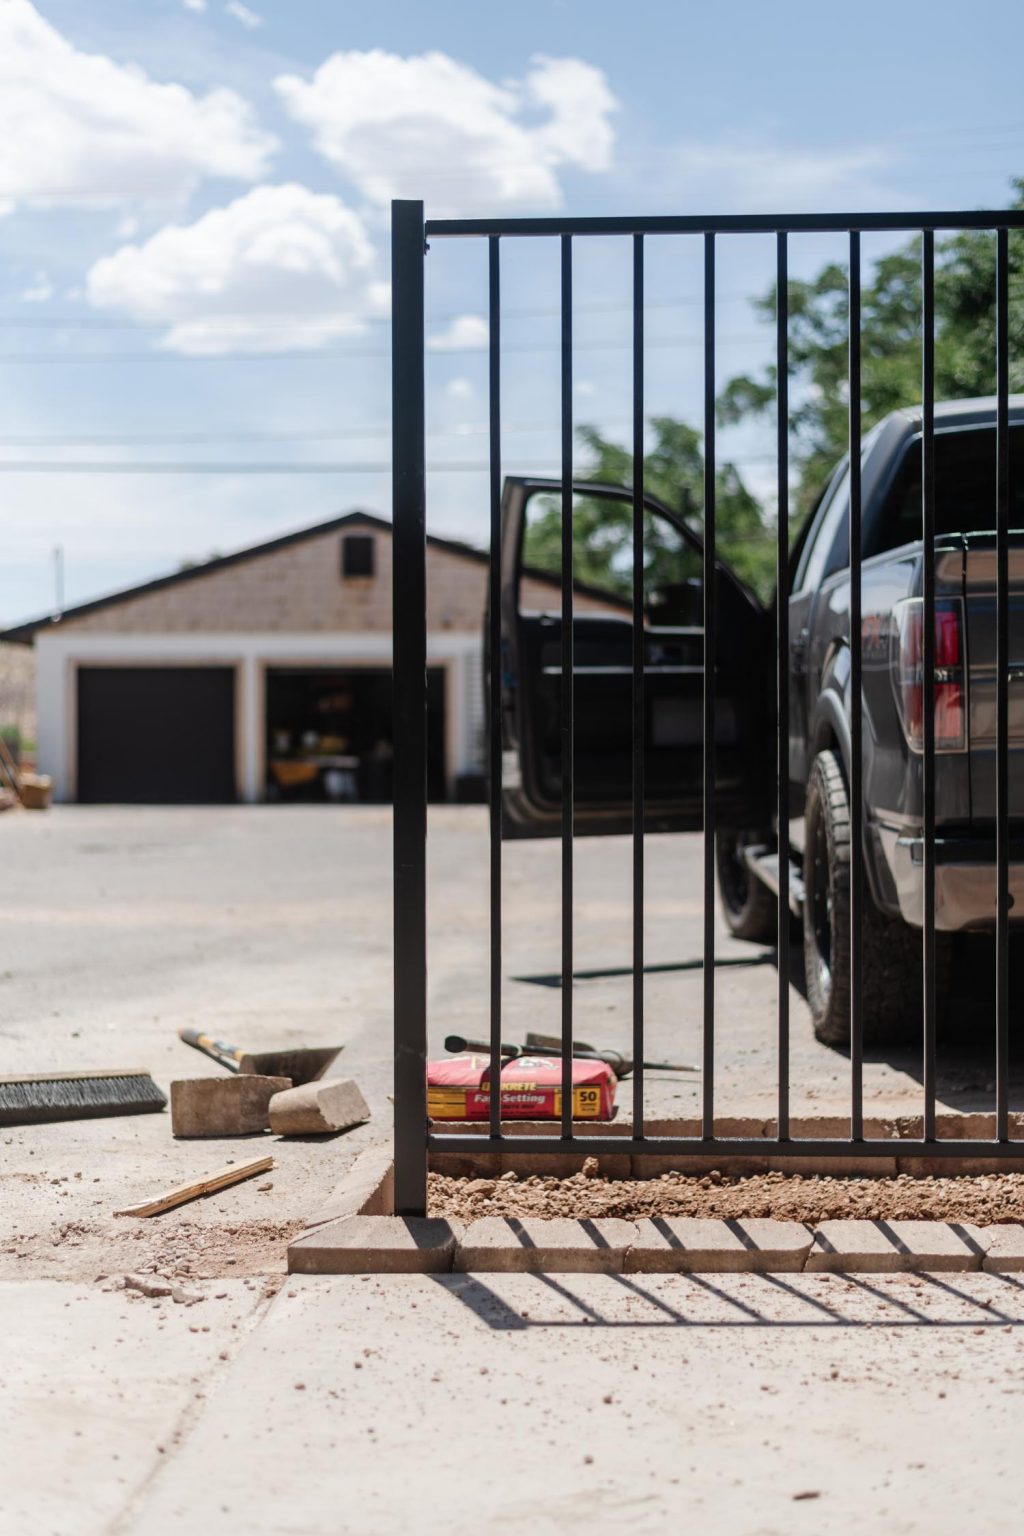
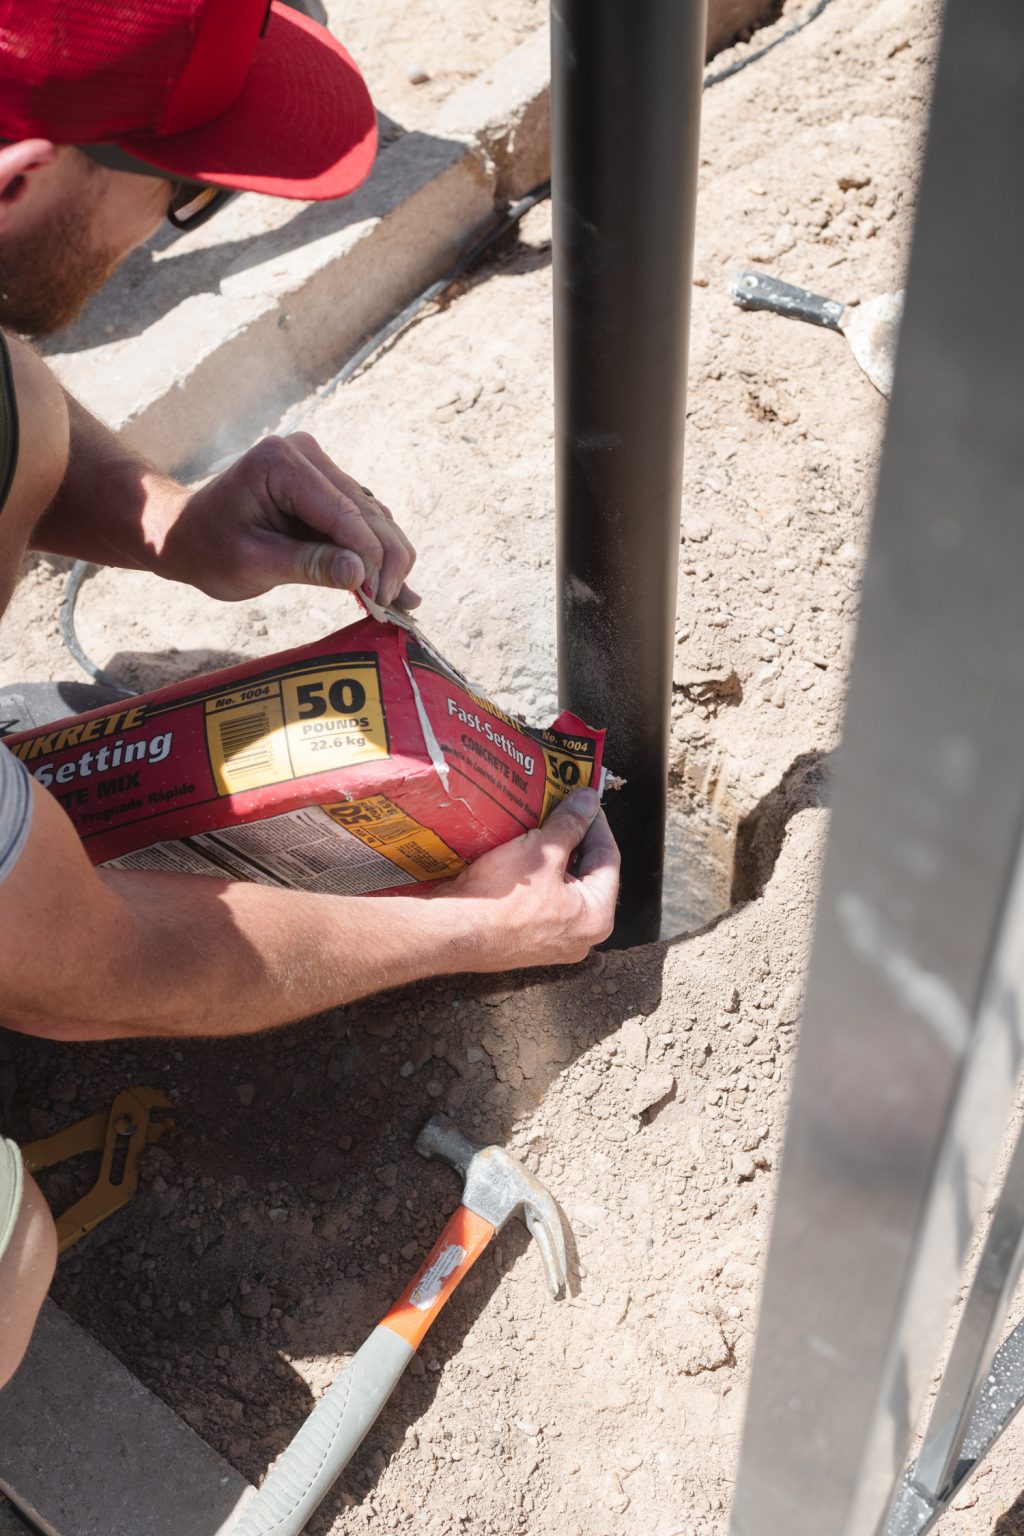
Before setting your post make sure that it is both straight and plumb! Once the post was in the right spot, we set it with Fast Setting concrete (it’s the one in the red bag!)
The next panel was installed the same way, with the brackets being hung on the new post and extra pavers leveling the panel before the second post was installed.
Installing the Lamp Post
You’ll need:
3″ Lamp Post
Globe Light + Base
PhotoCell (optional)
Electrical Wire
Wire Stripper
Auger/Post Digger
Fast Setting Concrete
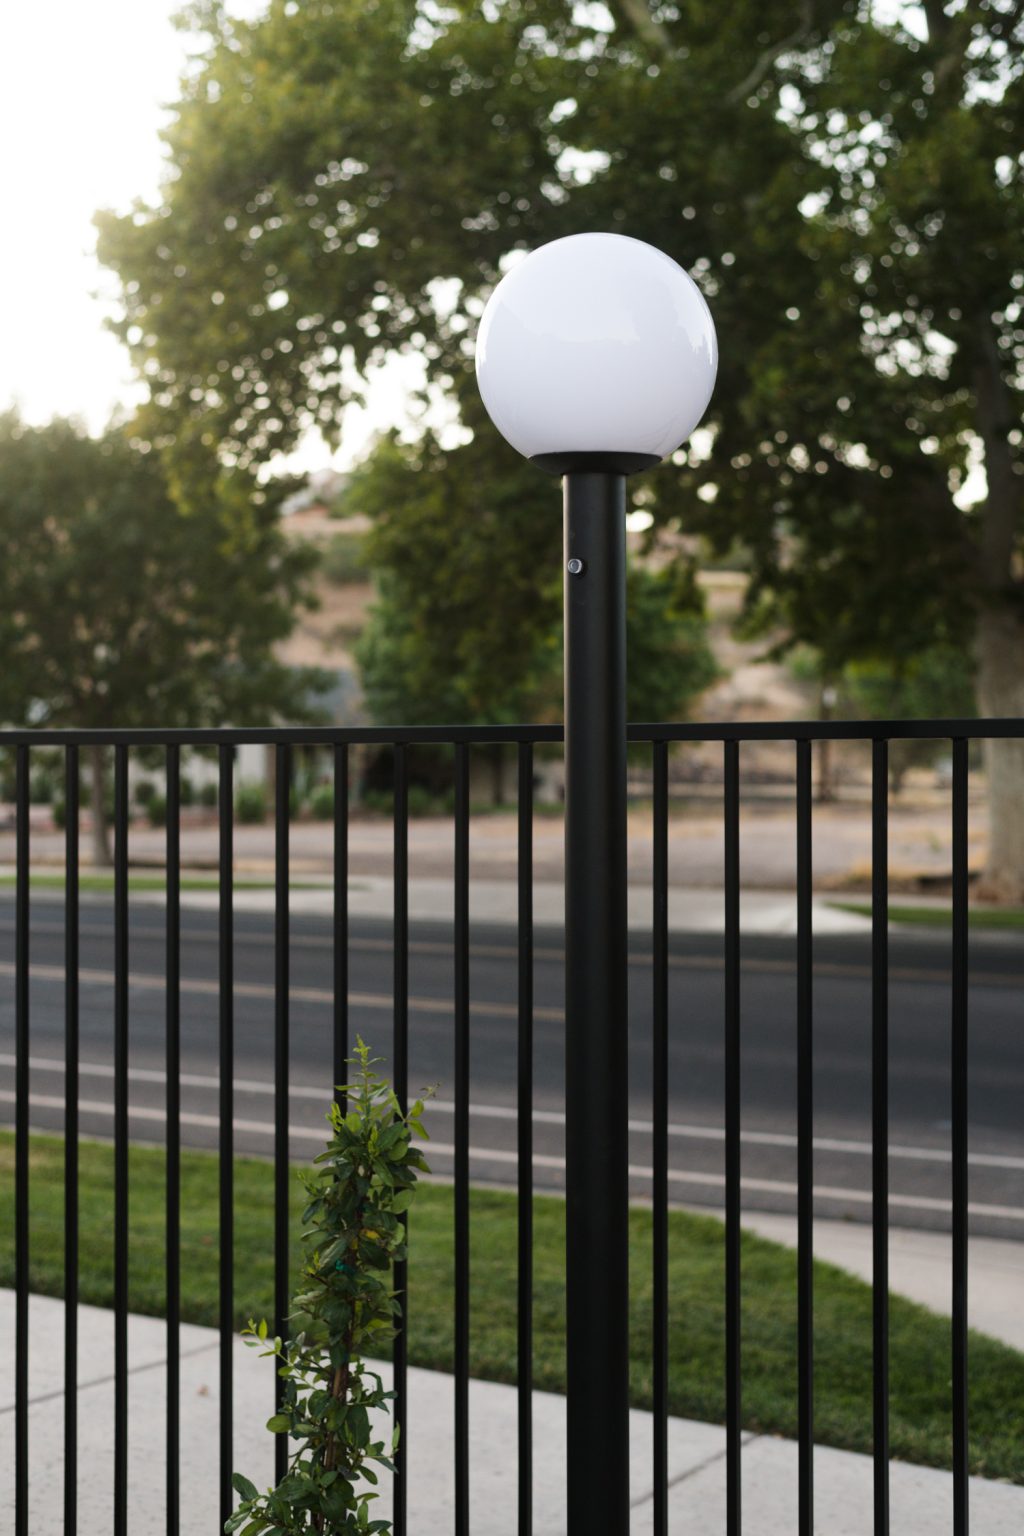
Next mini project was to install our lamp post. I LOVE them so so much. There is something about having the same lighting on both sides of the Merc that just make my heart feel like we’re actually making progress! With a marathon renovation, sometimes it’s the little things that make you feel like you’re inching toward a completed goal 😂
Because we dont have any electricity on the exterior of the building, we decided to piggyback an interior outlet and install a new exterior one. Is it ideal? Nope. Are we going to dig up our parking lot for one wire? Also no.
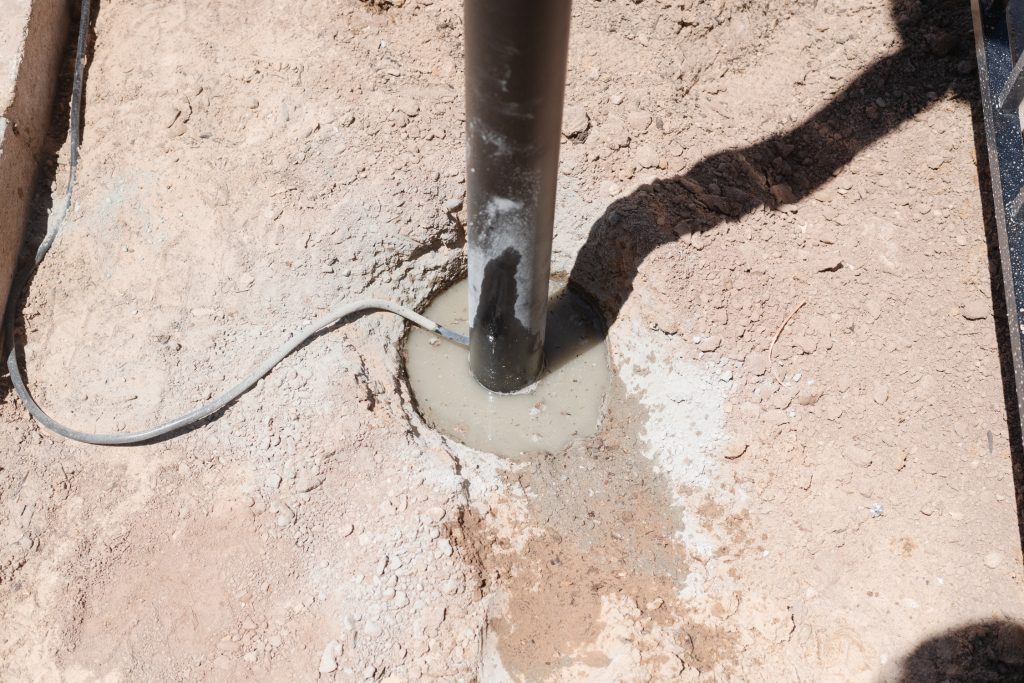
The actual installation of the lamp post was pretty straightforward. We used the post digger to dig a hole for the post. Once the height was set we used a 1/2″ drill bit to drill a hole about 6″ lower than the top of the soil.

Then we pulled the whole thing out to easily feed the wire through.
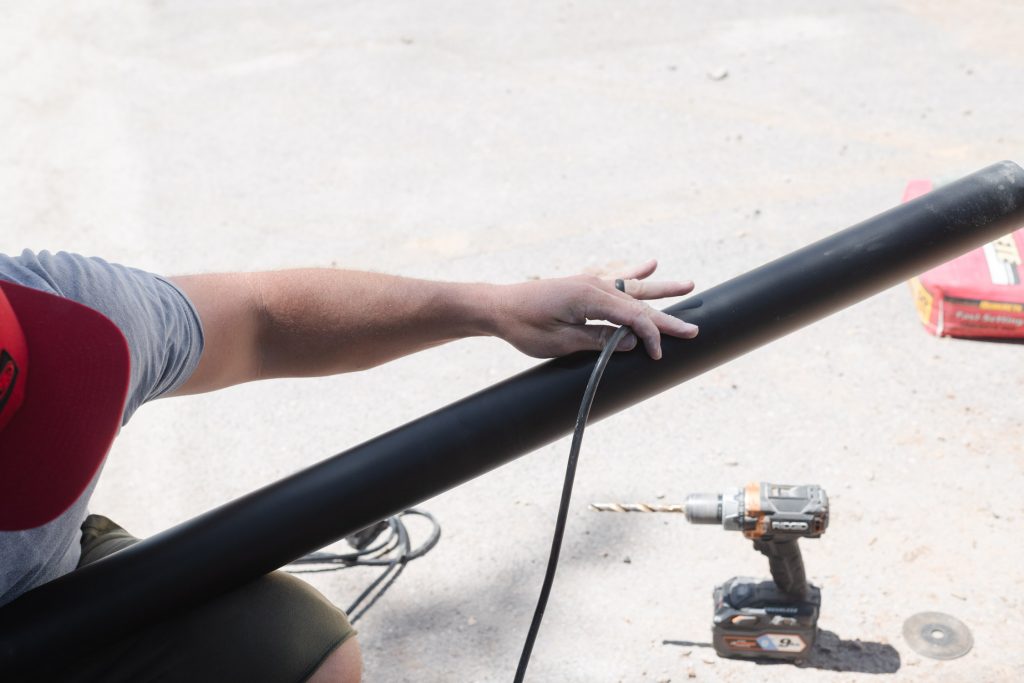
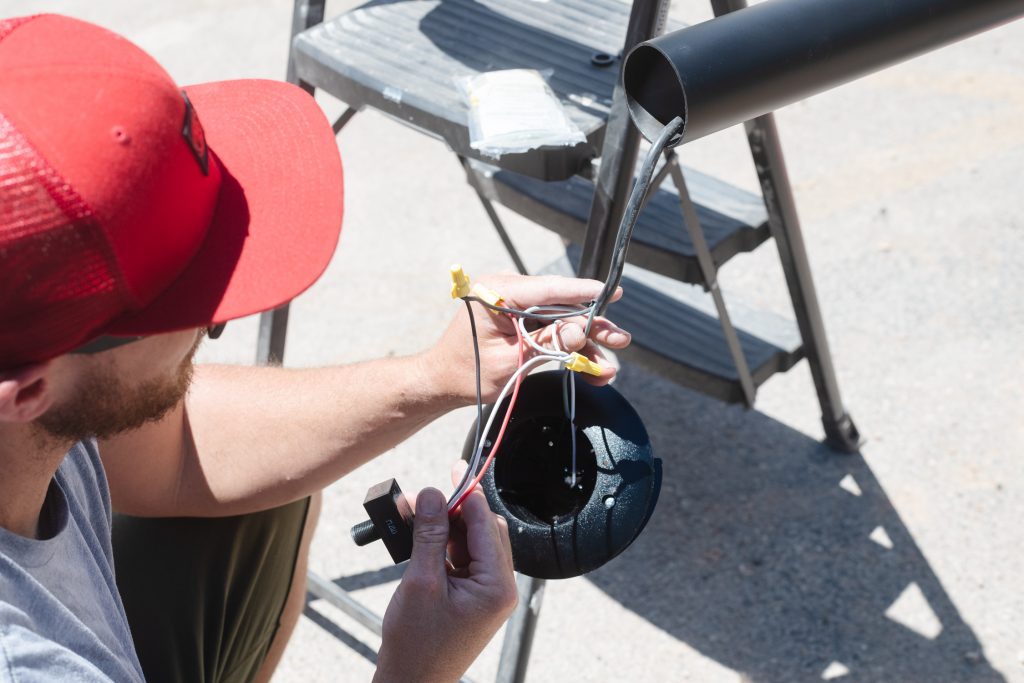
It runs the length of the post and out the top where it is wired to the lamp base.
Once everything was wired and ready to go, we cemented the lamp post in place. RapidSet concrete is SO EASY TO USE. All you do is pour the dry mix into the hole and add the recommended water on top of it. No mixing, no stirring, just pouring and waiting!
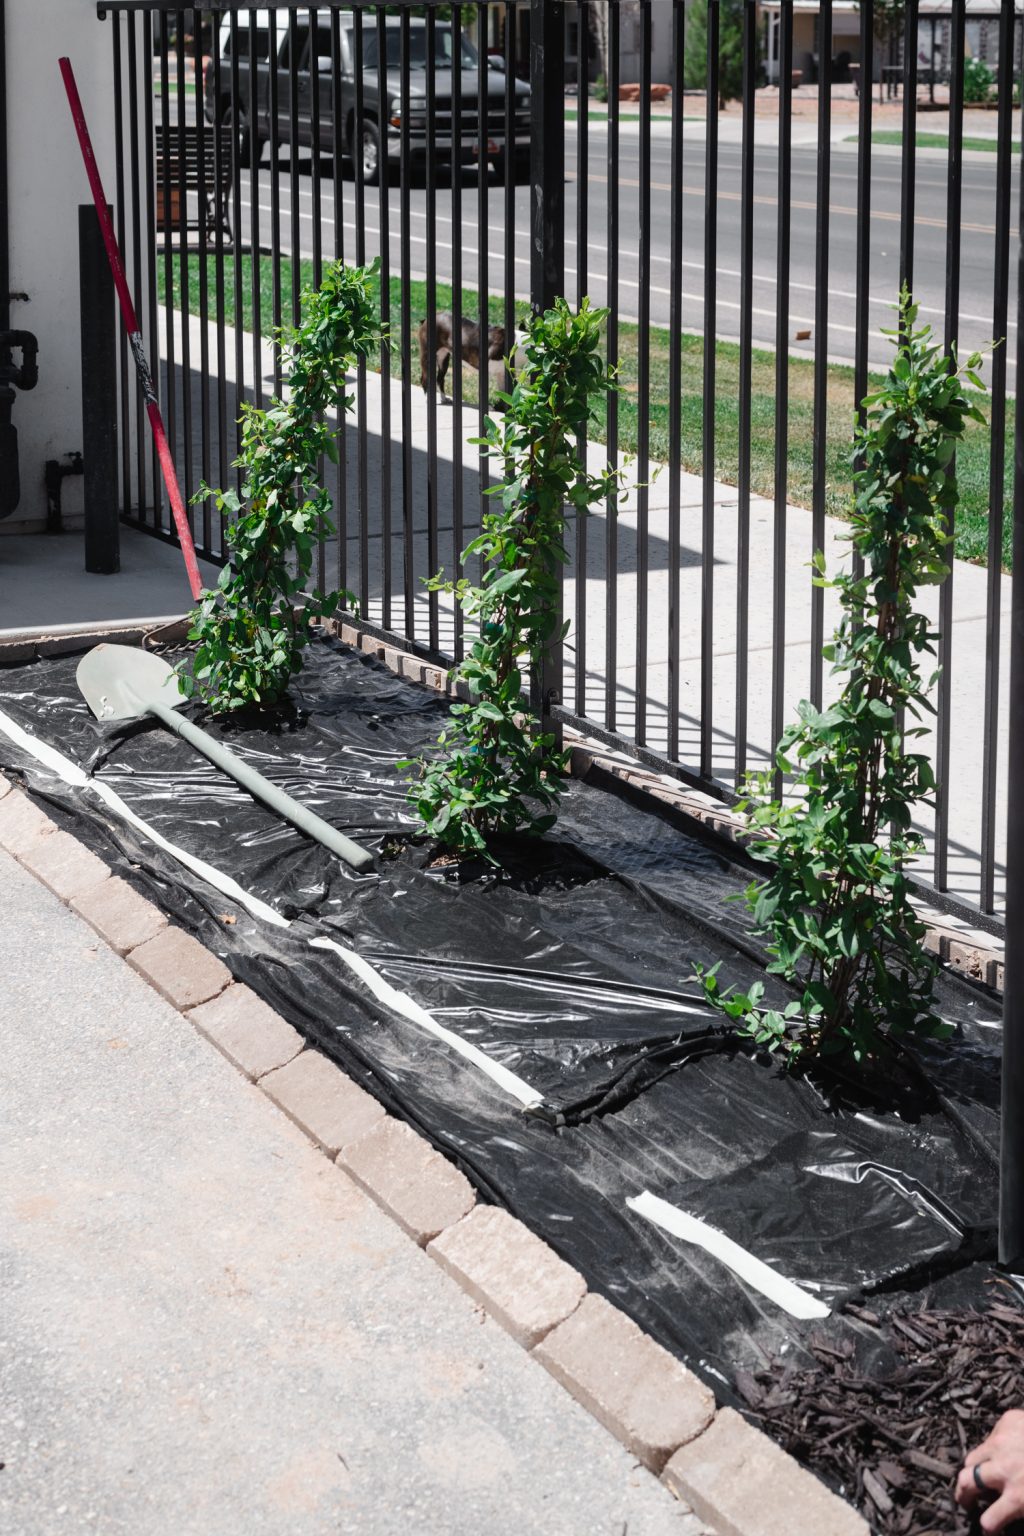
Planting the Garden Bed
When the panels were installed it was time to dig out all of that compacted dirt. We saturated the entire space and dug out a 18″ deep section where the plants would be going.
We filled it with top soil and added some Vigoro planter soil mix to enrich the new soil more. Then we covered it with weed barrier to keep the weeds out and the moisture in the soil as much as we can! It’s hot out there after all!
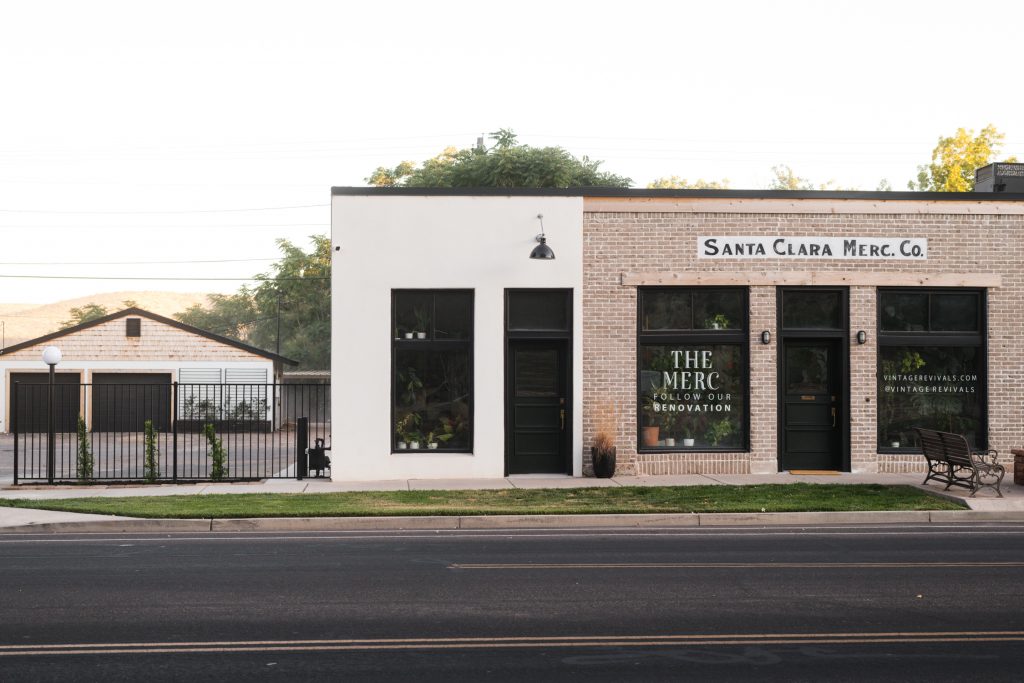
And now look at it!
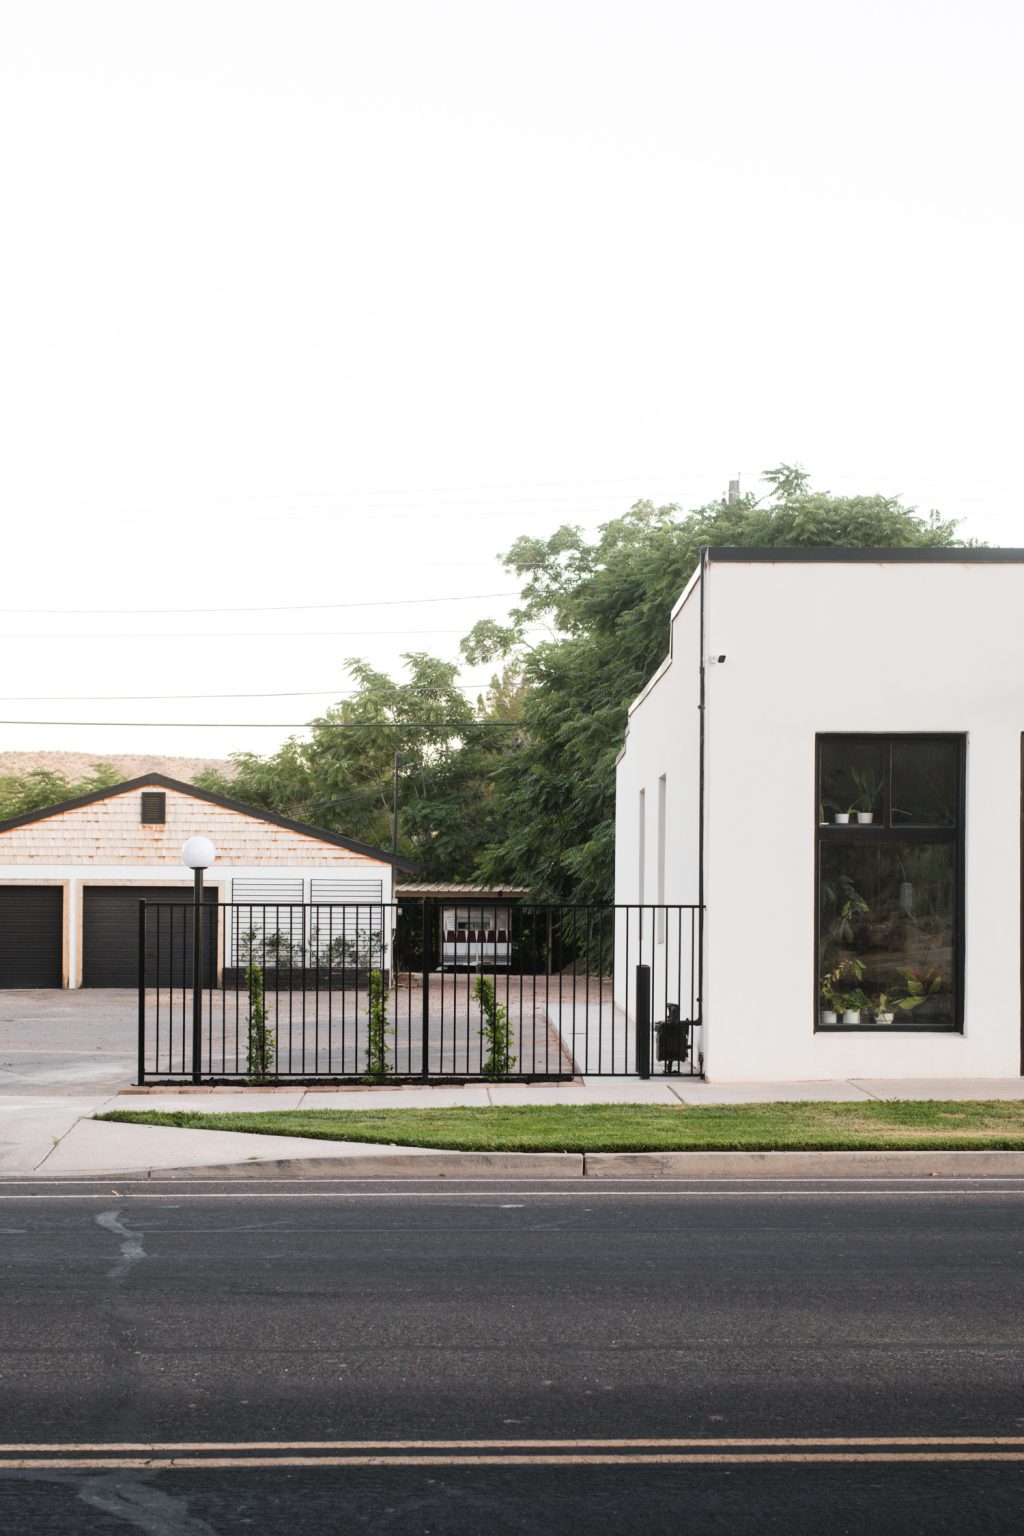
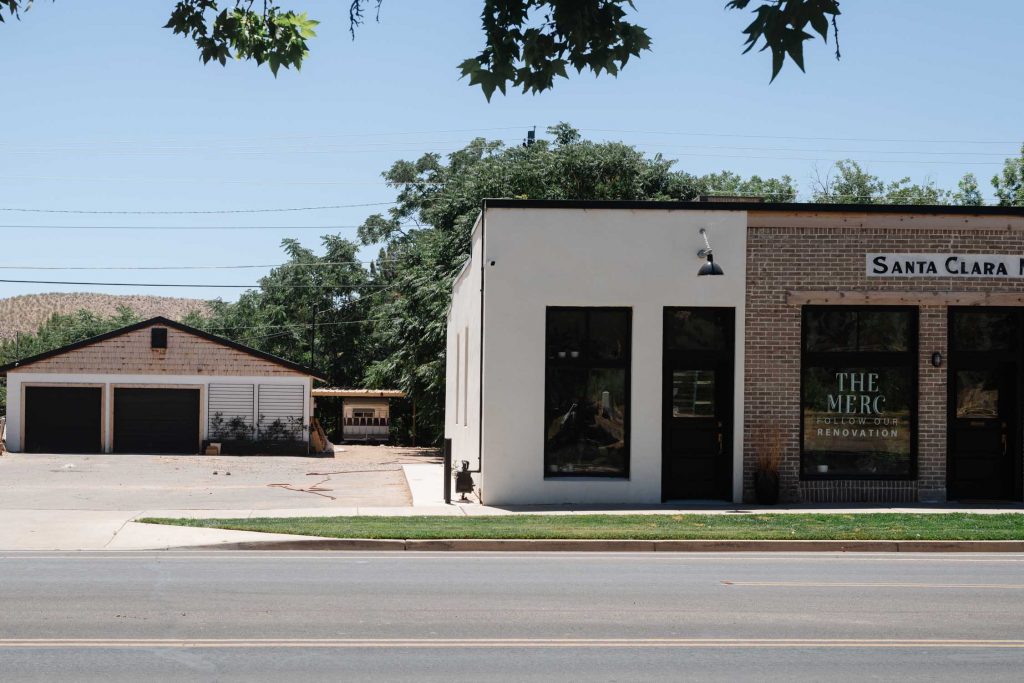
And just for the most amount of fun, here is a true before and after! This is what the Merc looked like when we started our renovation 3 years ago!
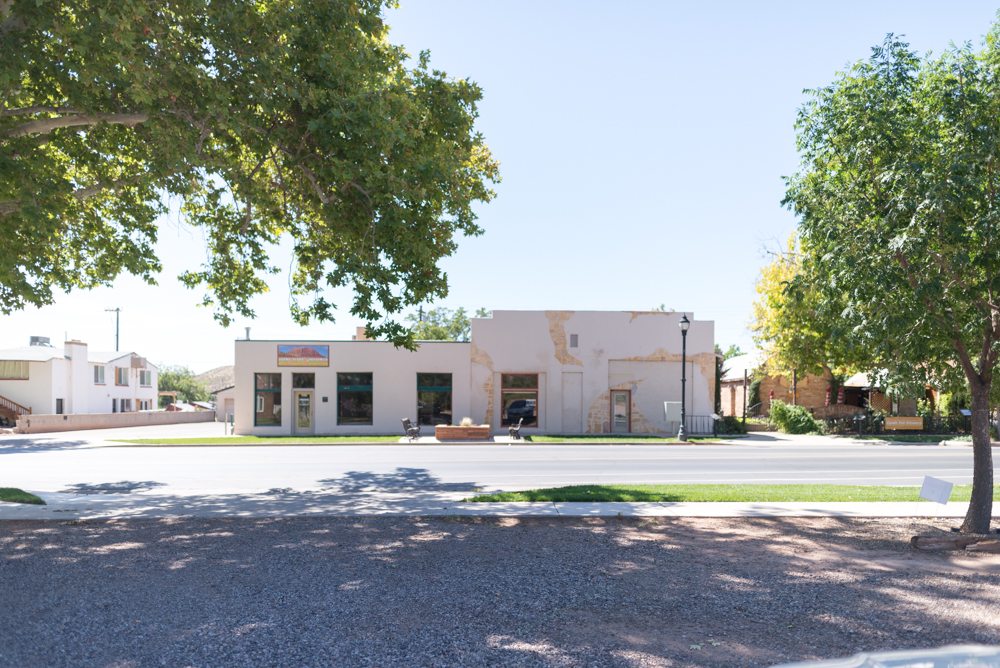
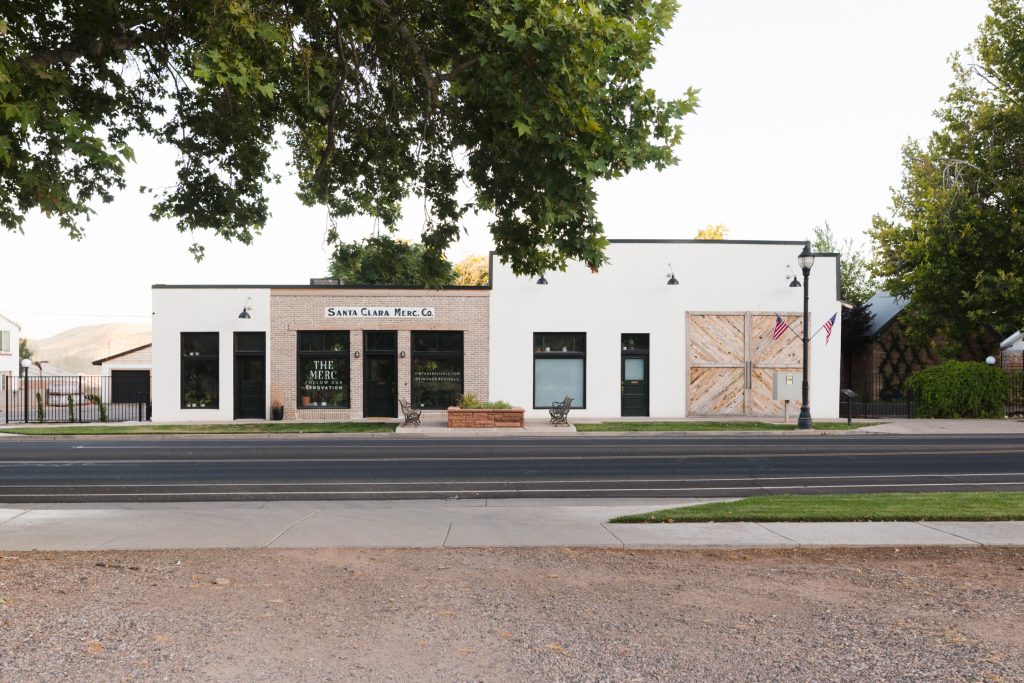
Pretty freaking incredible.
I’ve put together an easy shopping list of all the goodies we used for this project! Did you know that you can buy any of these on the Home Depot app and they’ll bring them to your car?! Check with your local store to see if Curbside Delivery is available!
WOW! Thanks for adding the before photo. What an amazing transformation you guys have done. Absolutely beautiful. (My back hurts looking at your photos doing the fence/concrete. 😮
Fabulous, as usual! Have you considered adding a gate across the driveway? (Maybe even an electric one) It would have the added benefit of keeping kids and dogs (if you got any) safely contained.