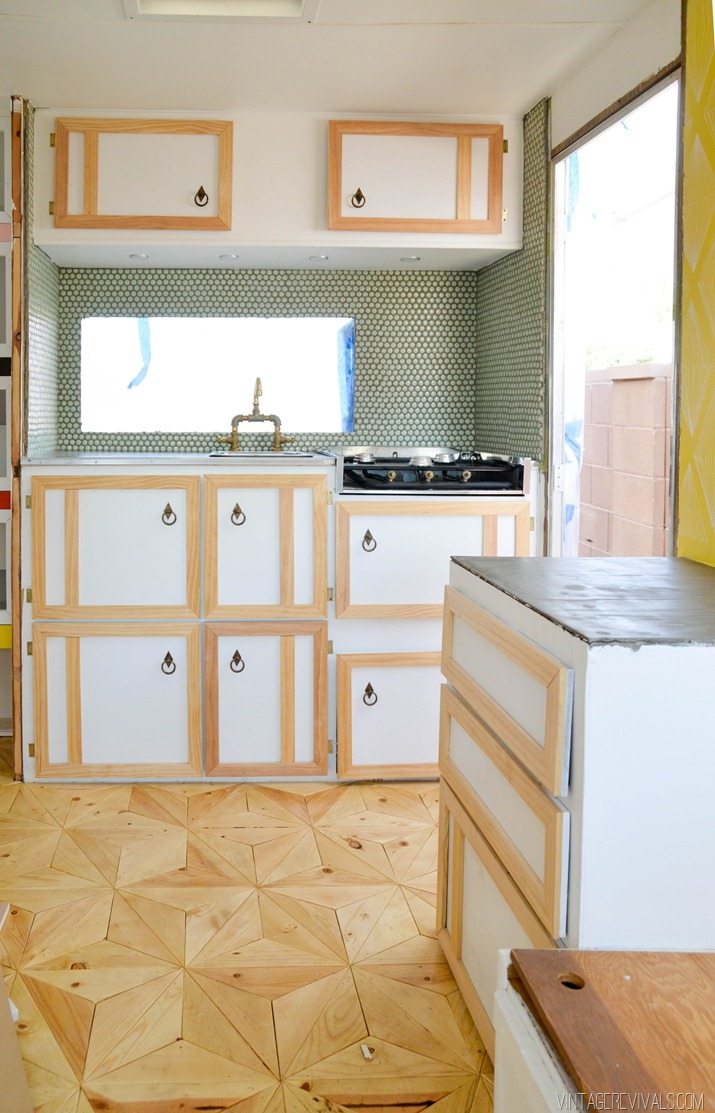
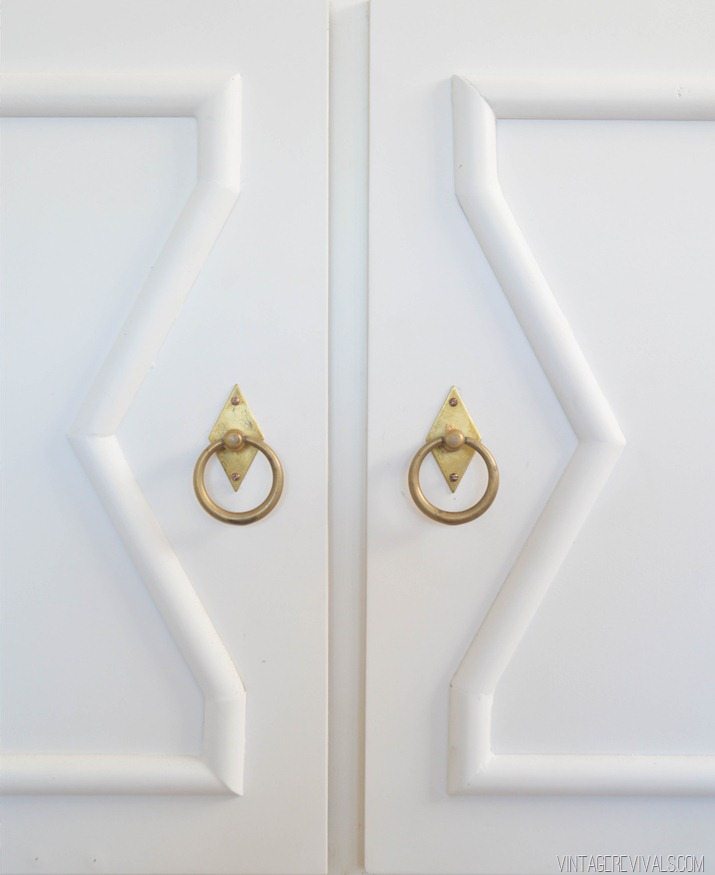
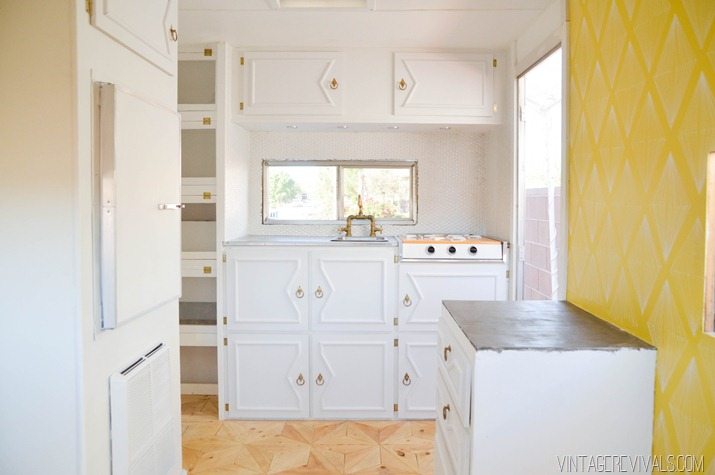
Dudes! We are overhauling a 1972 Bell Travel Trailer! Follow the entire series from the beginning here!
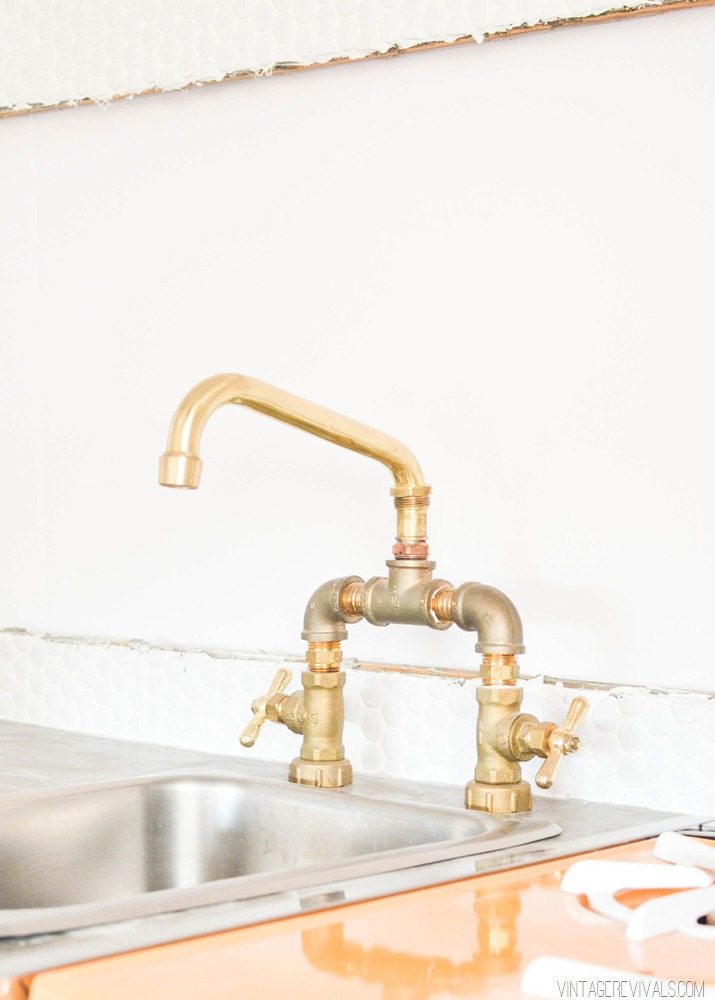
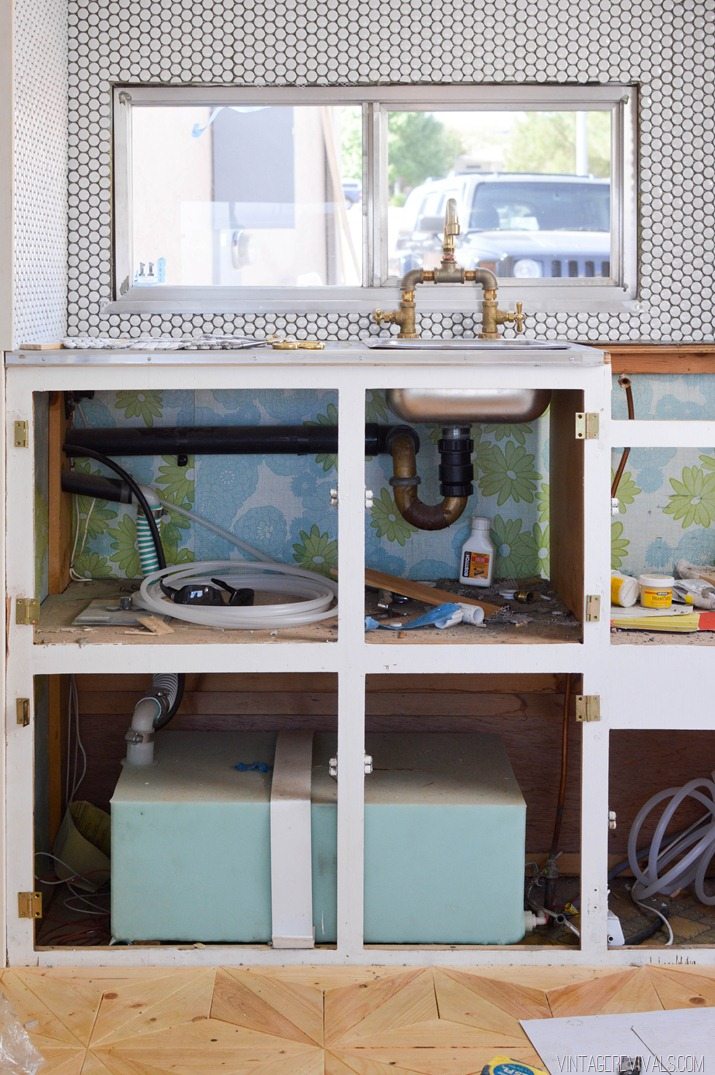
When we bought our little vintage trailer, we were lucky enough to have not one, but two glorious faucets. The original faucet was a hand pump that had stopped working and had been connected to a small electrical pump that pumped the water from the small water tank that lives under the sink. The other faucet was connected to a copper pipe that ran to the outside water hook up. I am pretty sure that changing out the faucets was the first thing I touched on when we were talking about fixing up the Nugs.
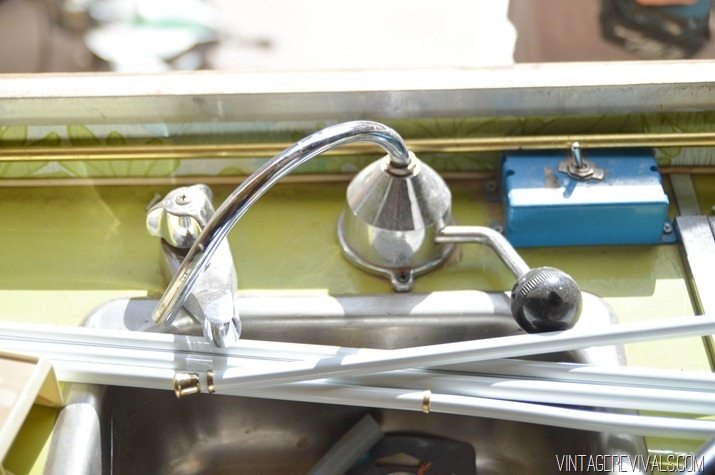
My original thought was to just have one faucet (the sink is SO teensy) that connected to the water tank and not have one for the outside water hook up. There was just no way that I was going to put 2 faucets back in.
In the middle of the night I woke up to (what is most likely) a very obvious solution, that I just didn’t see. A faucet with 2 handles can utilize BOTH water pipes. But instead of being hot + cold, it would be outside + inside. So the hunt for a great faucet began. I had one requirement. Brass.
Have you ever shopped for a small brass faucet that isn’t hundreds and hundreds of dollars? It kind of doesn’t exist. After looking for a few days, I narrowed down my search to a bridge faucet which unfortunately increased the price. Whyyyyyyy?!!
There was no way that I was going to spend more on this faucet than I spend buying the entire trailer. That just doesn’t seem like the smartest move.
So I did what I do in every situation where I want something that just doesn’t seem to exist. I went to Home Depot.
There I found a few things, a laundry faucet that had a brass neck, and John, the master plumber that worked there. I explained to him that I wanted to build a faucet and he was AMAZING and spent the next little bit coming up with solutions for the problem.
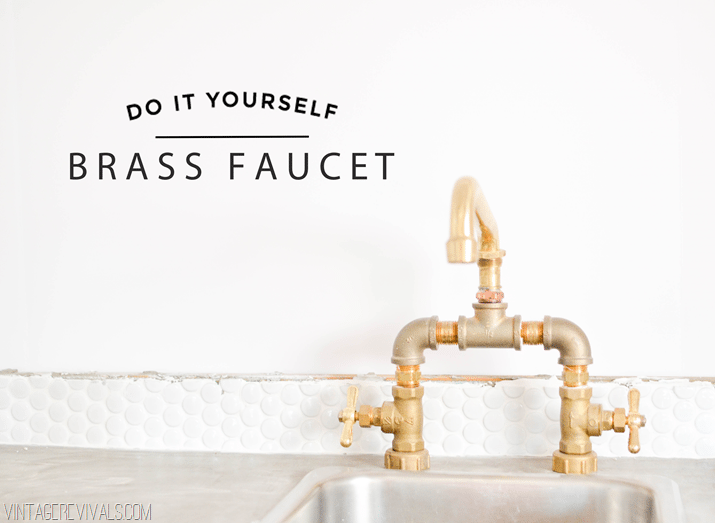
So here is the ingredient list.
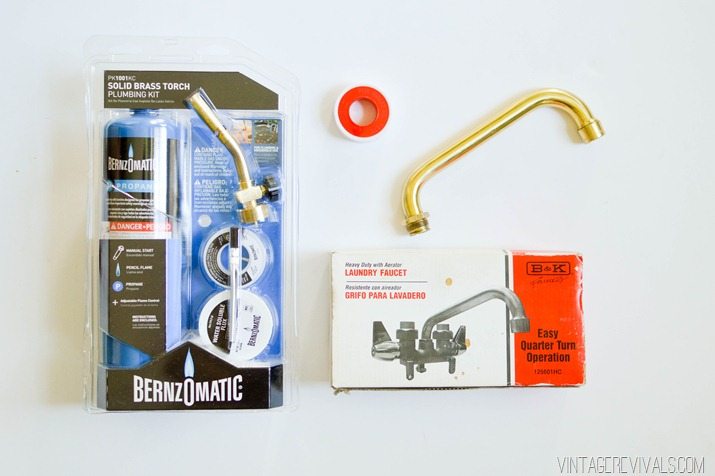
(1) Laundry Faucet
(1) Soldering Kit
(1) Roll of Thread Seal Tape aka Teflon Tape
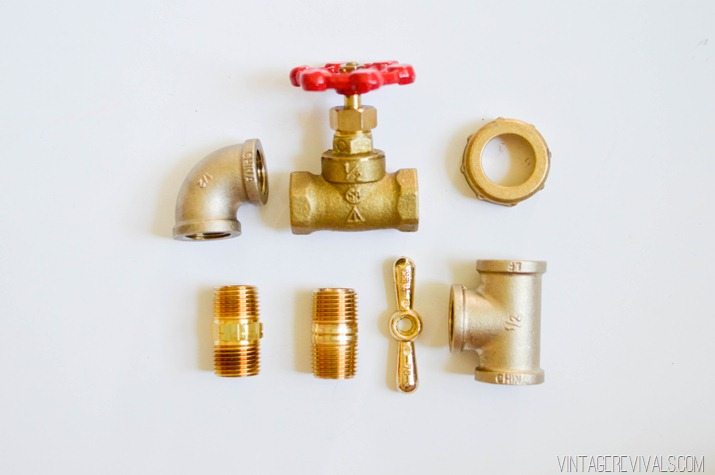
(2) 1/2” 90 degree elbows
(2) 1/2” stop valve
(2) Washer Caps
(2) 1/2” brass pipe hex nipple
(2) 1/2”x1-1/2” brass pipe nipple
(2) handles
(2) 1/2” T’s
Not Pictured (1) 1/2” copper male adaptor
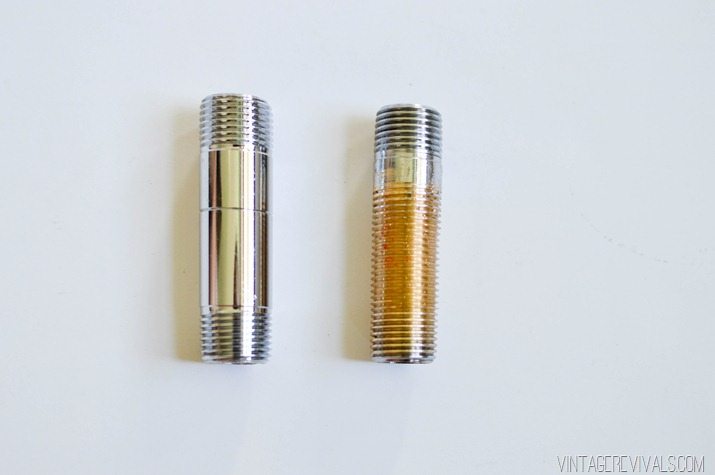
(2) 1/2”x3” Chrome Brass Pipe Nipple **Have the employee at Home Depot thread these pieces as pictured above, that way, whatever the thickness of your countertop, you will be able to tighten the faucet down.
Assembly is really simple.
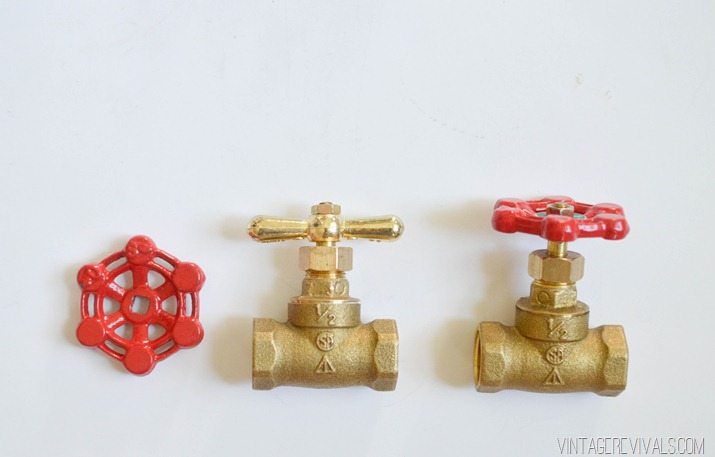
Start by replacing the handles on your Stop Valves. I used a little bit of 5 minute epoxy to make sure they stayed on really well.
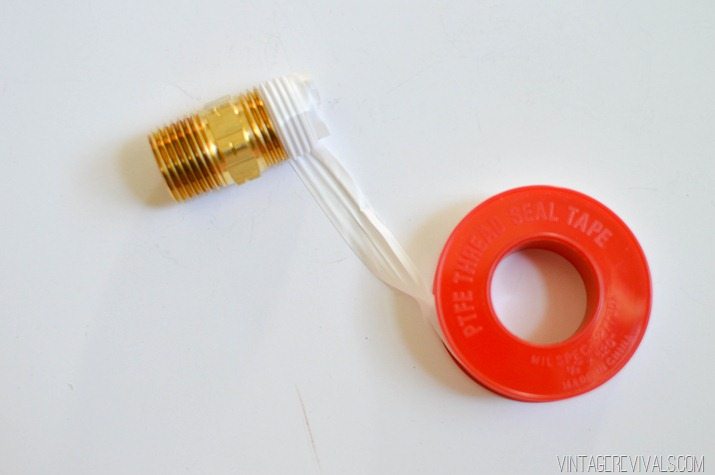
Each of the nipples need to be wrapped with teflon tape before attaching them to their components.
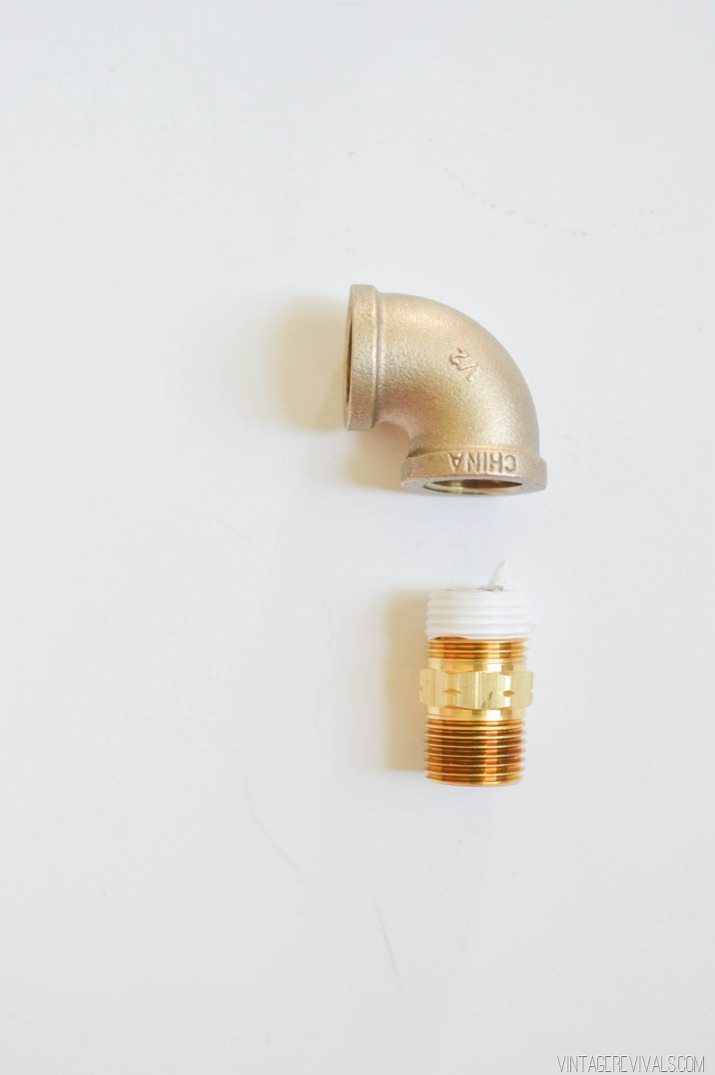
The Hex nipple will attach to the bottom of the elbow.
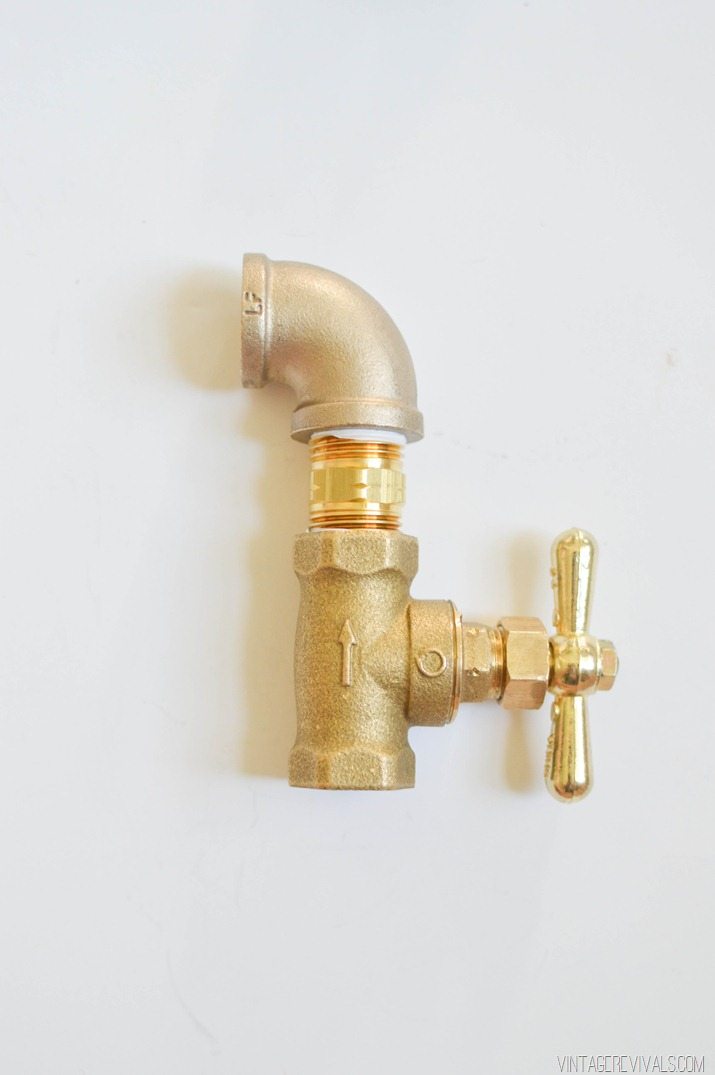
Then the Stop Valve attaches to the other end of the Hex Nipple.
The brass nipple goes into the other side of the elbow.
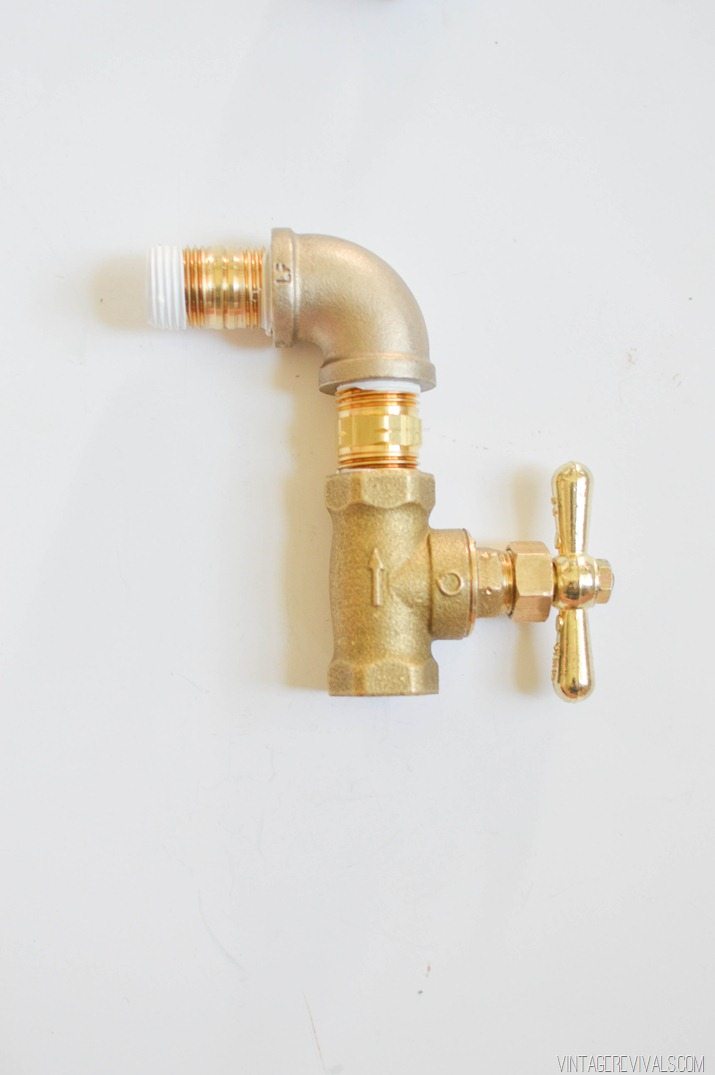
Then the T is attached to that.
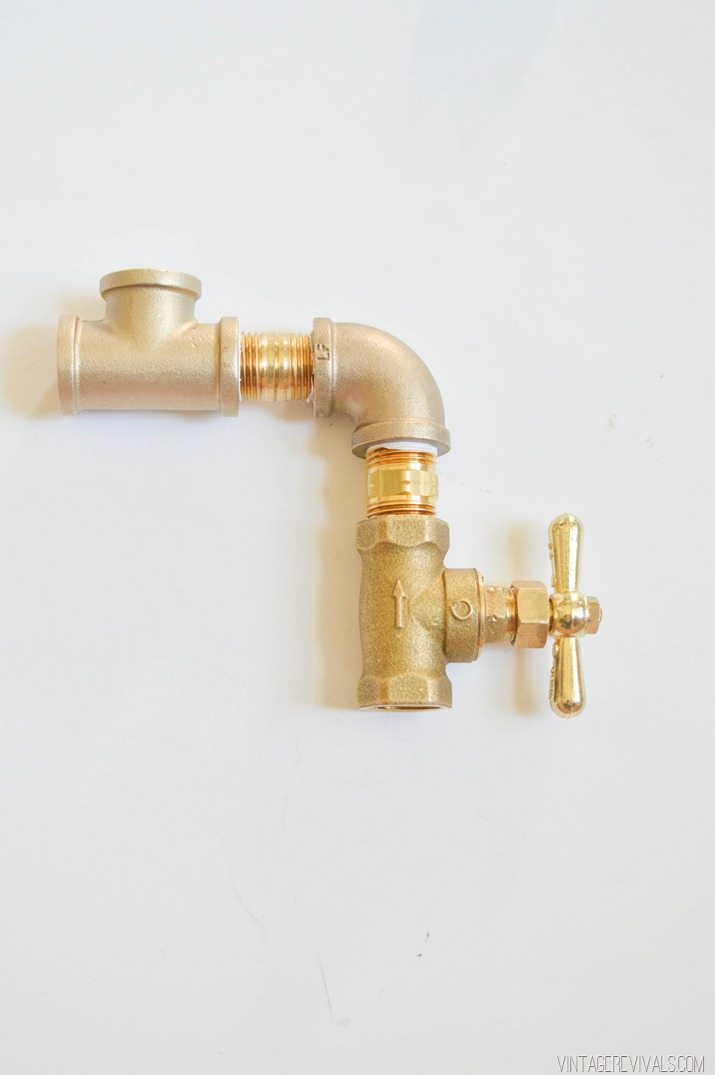
Lastly, the 3” pipe nipple that you had threaded attaches to the bottom of your Stop Valve.
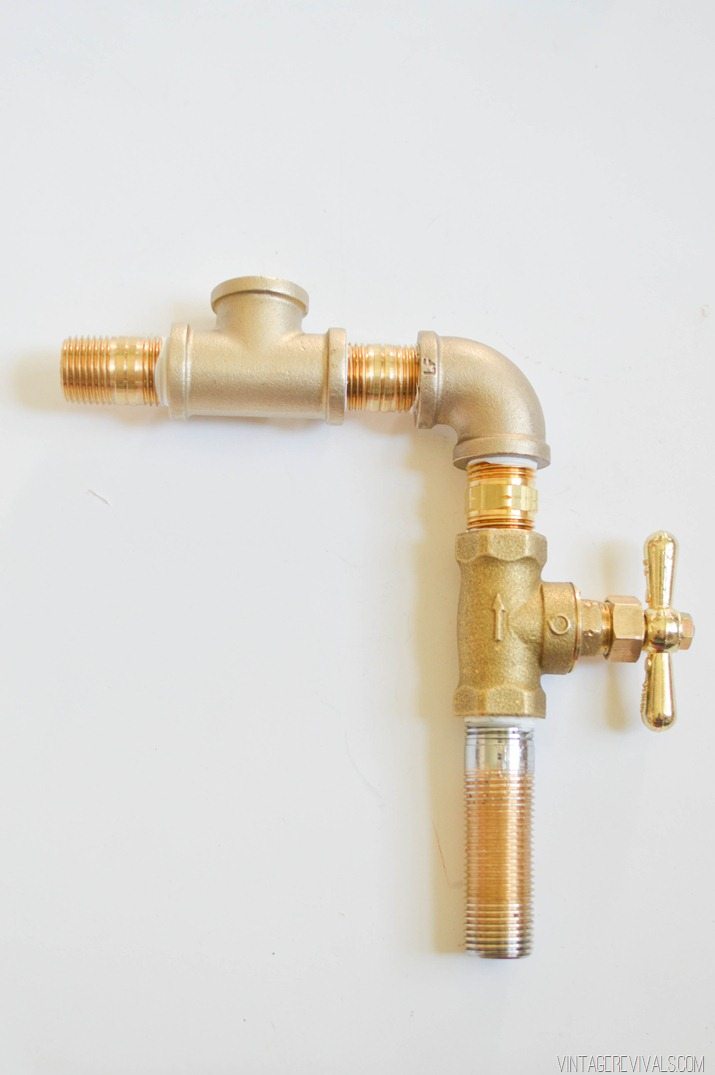
Repeat for the other side.
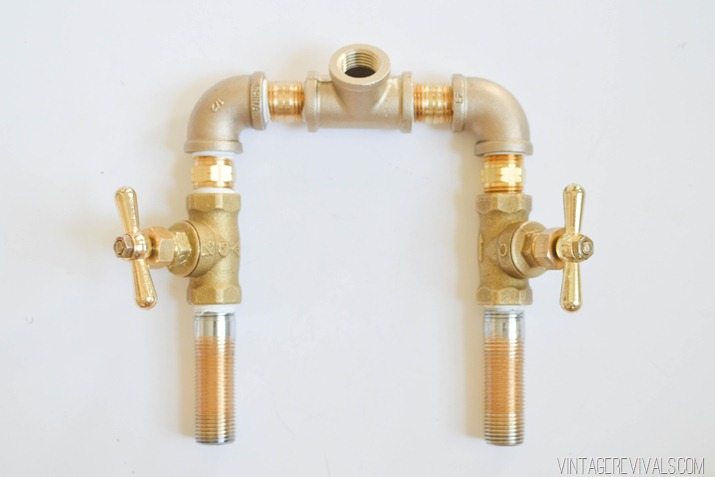
Your copper male adaptor will attach to the top side of the T, and the brass faucet arm should fit fairly snuggly on that!
Next is soldering. Now. I know how you soldering virgins are feeling. I too was a soldering virgin. But it is not hard to do at all. And the best part is that you can start over as many times as you need to (you guys know how much I love that.)
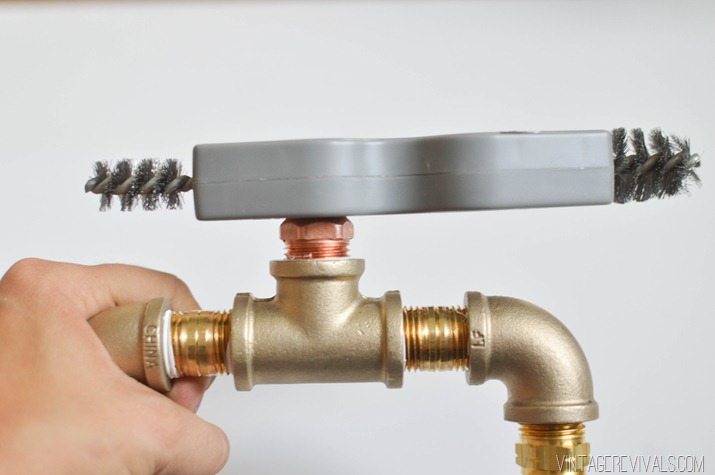
Before you solder, start by scrubbing the inside and outsides of the pieces that you are joining together.
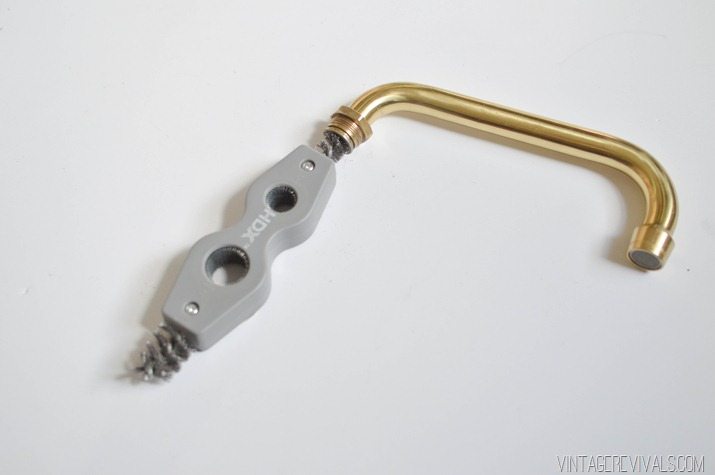
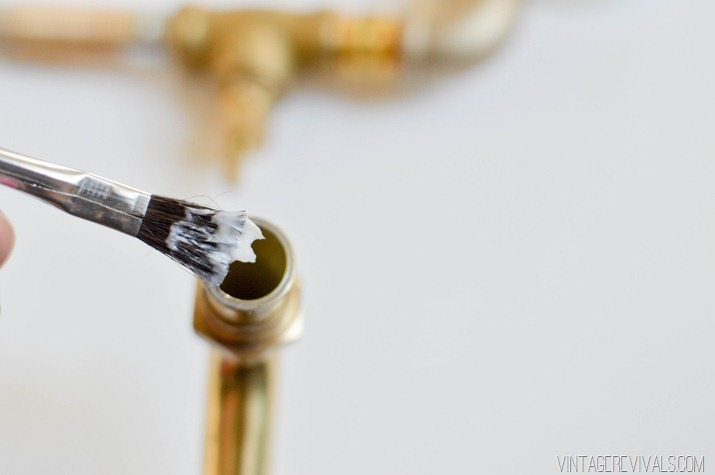
Brush on the flux (this is the magic ingredient that sucks the solder into the pipe)
Heat your pipe up so that it is nice and hot (all of the instructions for soldering are on the package of the kit, and I am sure there are hundreds of awesome videos that explain this much better than I do.)
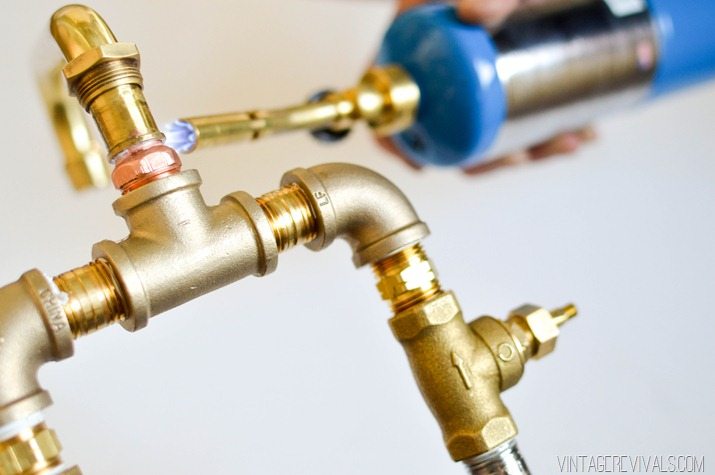
Then it’s time for the actual solder. I don’t have a picture of this because molten metal, but it was really cool to see it disappear into the joint.
Obviously you will want to let it cool off before you get all manhandly.
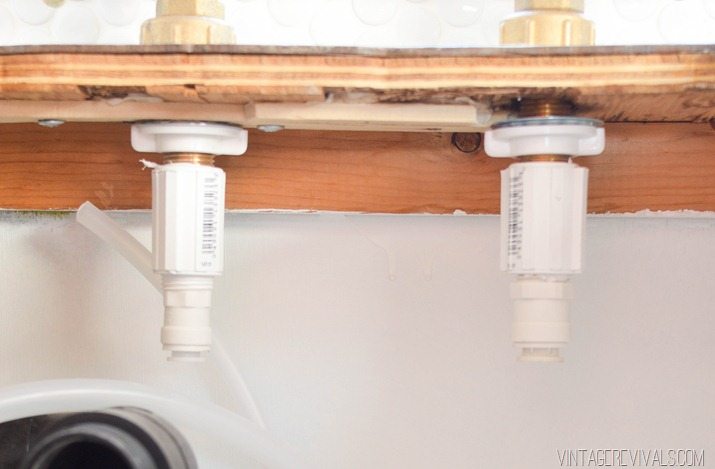
Before you install, put the washer caps over the holes in your countertop. Because plumbing is different for every situation, take pictures of the underside of your sink, and head to your local HD. The plumbing expert will be able to help you get exactly what you need to connect your pipes.
The picture below is of what ours looks like. PVC nuts that tighten the faucet to the sink, and adaptors that screw onto the nipples and have a place to push into the new pipe. Home Depot has every kind and size of connector that you will need.
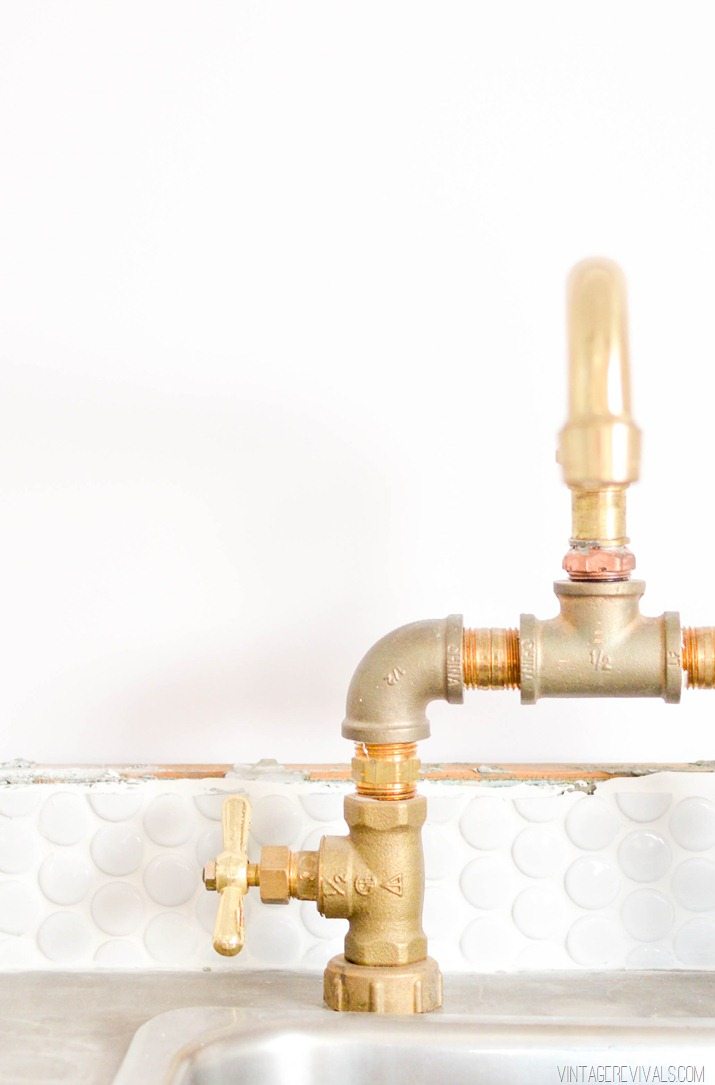
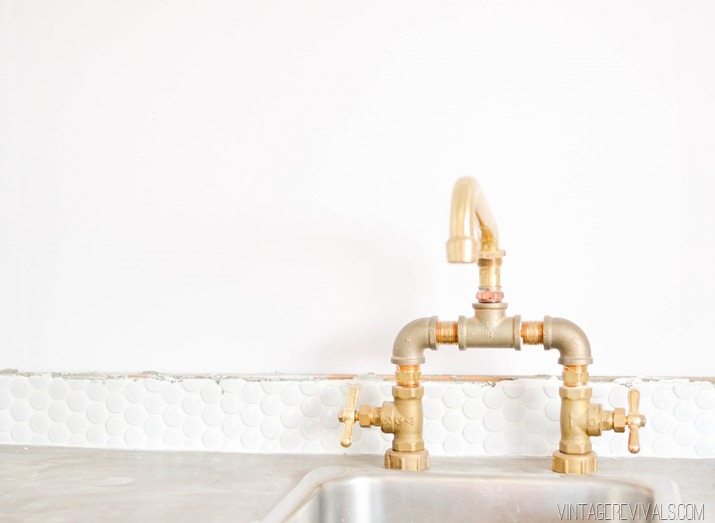
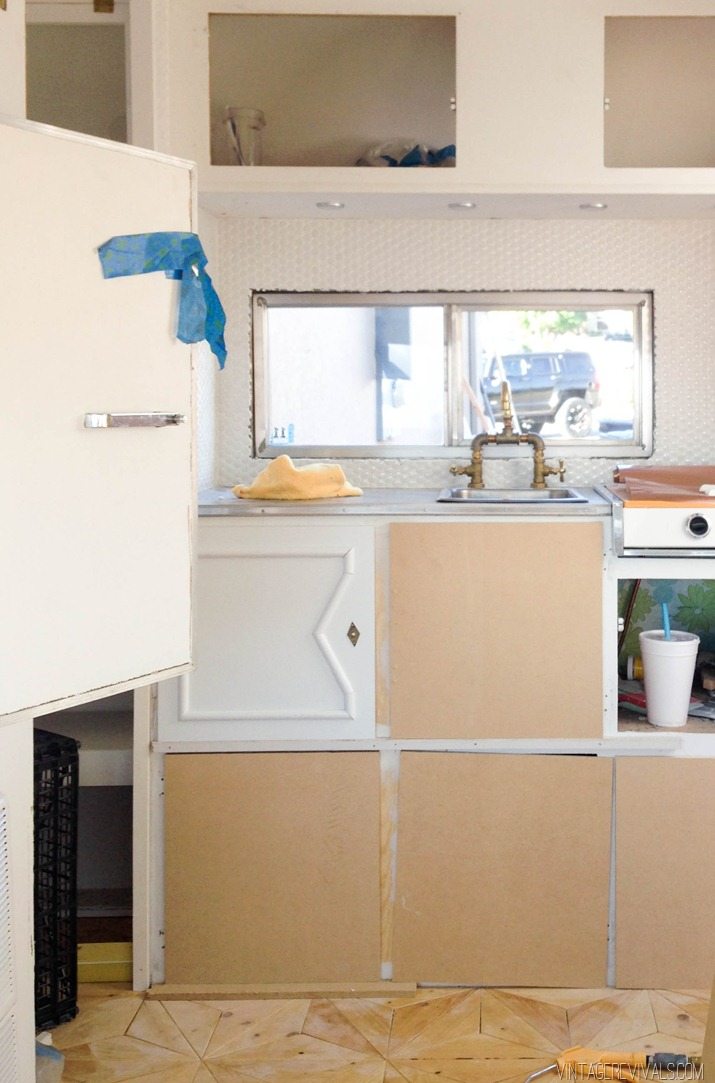
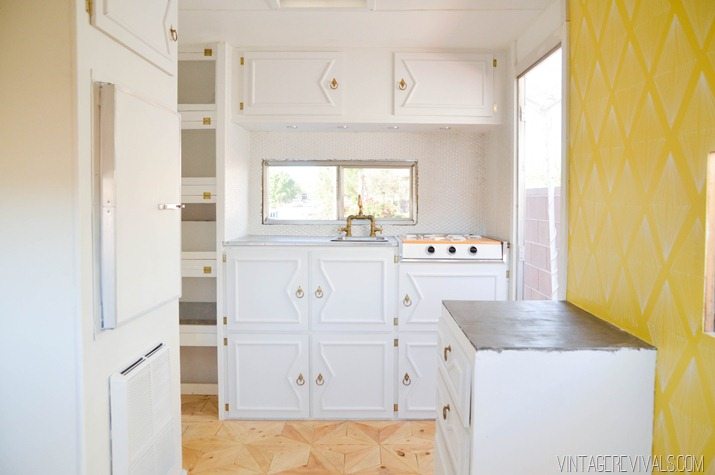
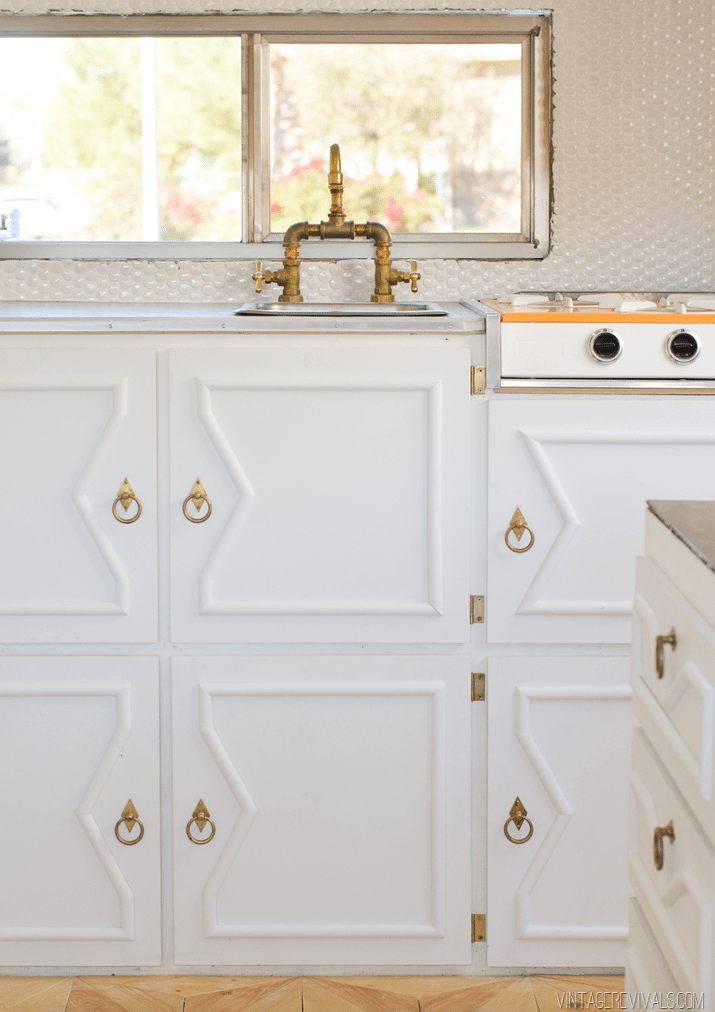
I cant wait to report back on how it works once we get the battery hooked up, the tank filled and the whole thing going!! But until then, lets just look at how pretty it is, shall we?
And if you are wondering if this would be good in a house, I am going to give you a resounding…I don’t know yet. The stop valves (where the handles are attached) are a type of gate valve, which basically means that it is a moving gate that blocks the water (or lets it in). Its not going to be as simple as lifting a single handle, but I think it would be gorgeous AND amazing. I will keep you posted!
